Hi there! Happy Wednesday!
As a mother of three little loves under the age of six I am tired (so.tired) and that combined with my hereditary under eye darkness (still love ya lots mom and dad…) I am constantly dealing with dark circles under my eyes. I have one product that I absolutely swear by for reducing my under eye darkness and have repurchased countless times and will continue to repurchase and today I want to share that with you.
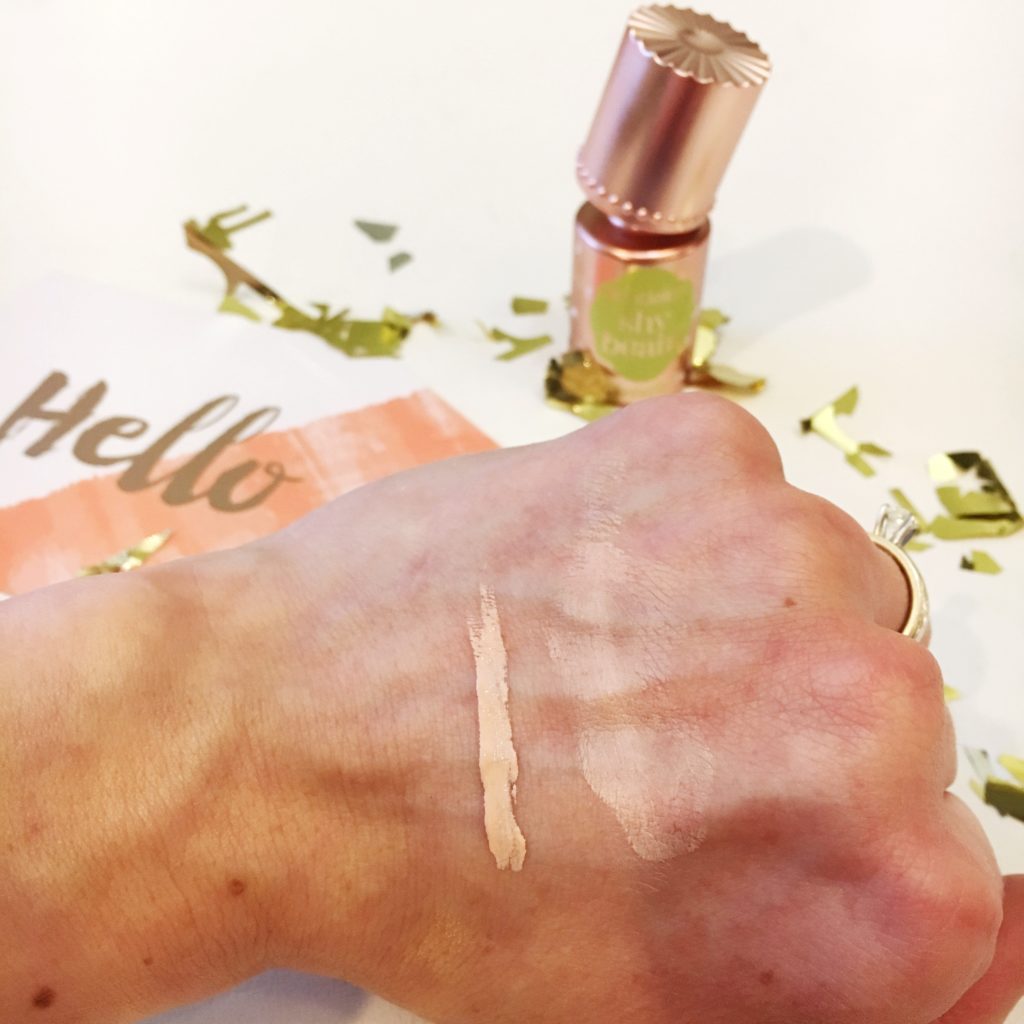
Benefit It’s Potent Eye Cream
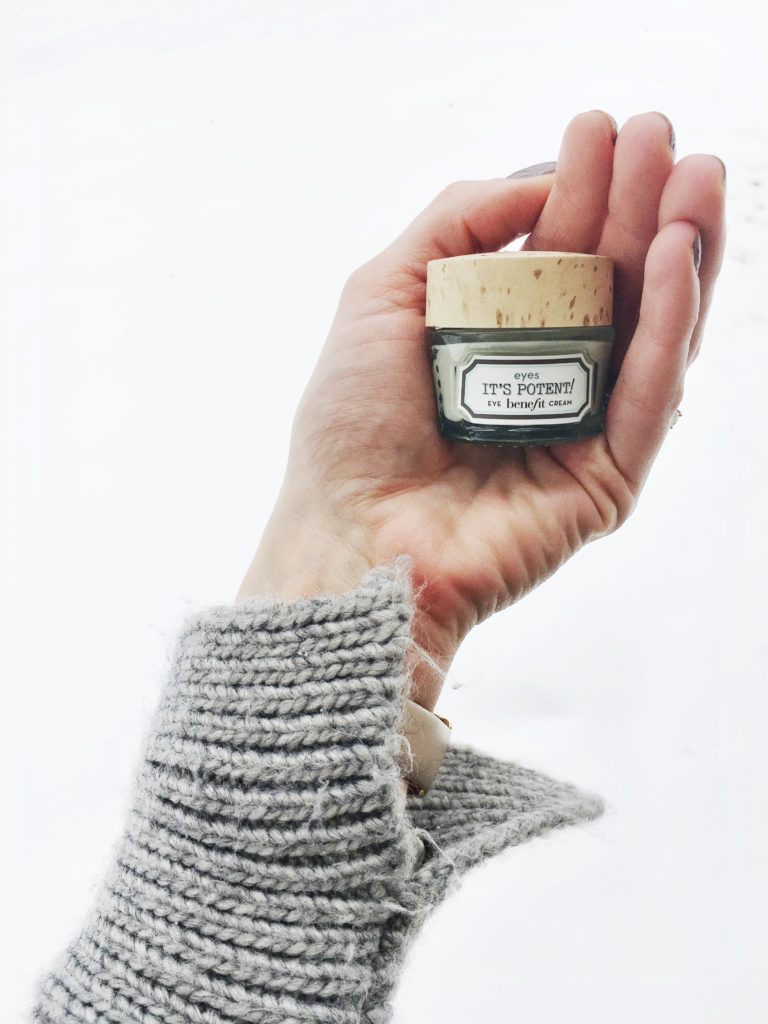
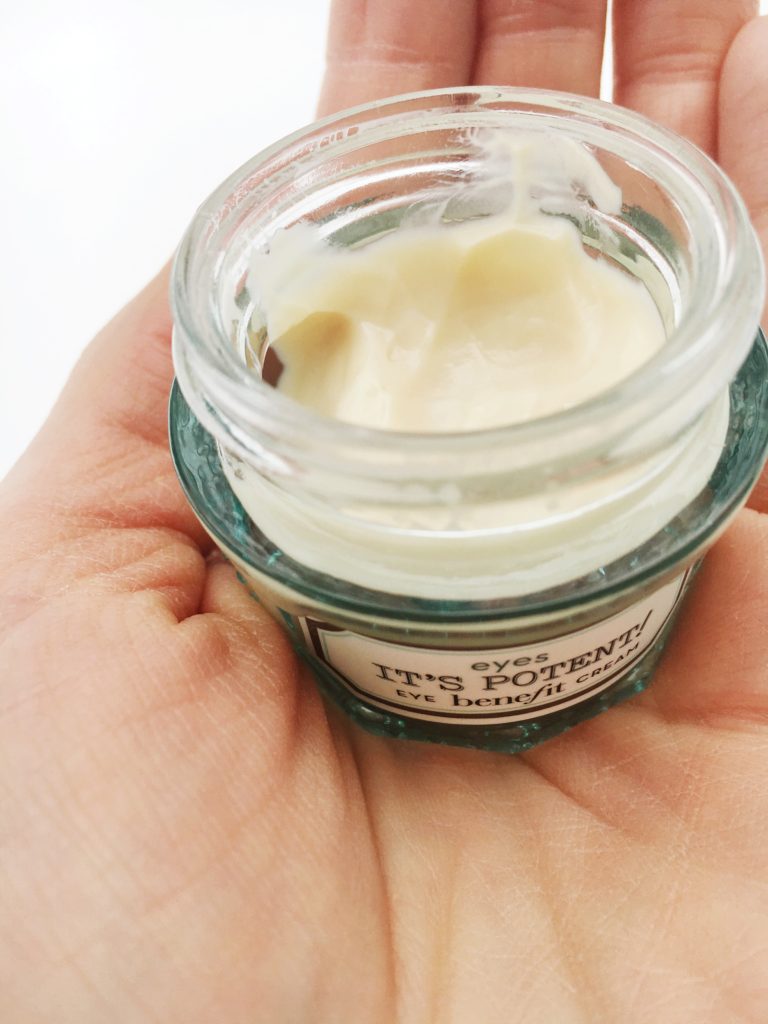
This is an eye cream that is formulated with a peptide complex that is known to help bring back firmness and elasticity to the eye area. This product is a brightening eye cream that helps fade dark circles, reduce puffiness, and smooth fine lines. I notice a MAJOR difference when I use this in the appearance of my dark circles, and notice much brighter and more awake looking eyes.
My Routine
After cleaning my skin with Purity by Philosophy, I use my Sea Breeze Sensitive Astringent, and then apply my Benefit It’s Potent Eye Cream before applying Say Yes To Tomatoes Daily Balancing Moisturizer followed by Benefit the Porefessional Matte Rescue.
Why I Love It
I love the Benefit It’s Potent Eye Cream because I notice drastic results with my dark circles! I personally prefer to use a more aggressive anti-aging eye cream at night to combat fine lines and wrinkles, but this has been my “Holy Grail” eye cream for my morning routine for years! I personally do not have much under eye puffiness, so I can’t speak to how it works for under eye puffiness as much, but if you’re looking for something to really help with under eye darkness, this is it! I also find I end up having a much easier time with my under eye concealer because I don’t have to use nearly as much when I use this eye cream regularly.
I have mentioned this product before in My Morning Skincare Routine, My Product Empties, My Sephora VIB Sale Suggestions, and My Under Eye Concealer Tips.
Shop
Do you suffer from dark circles? What are your favorite products? Tell me your favorite eye creams in the comments! Have a wonderful weekend! xx