Hi there! Happy Monday!
I hope that all of your are having a fantastic start to your week! I know that it isn’t even Halloween yet, but the holiday makeup sets are out so I want to mention a few that I think are a great value because they do tend to sell out early.
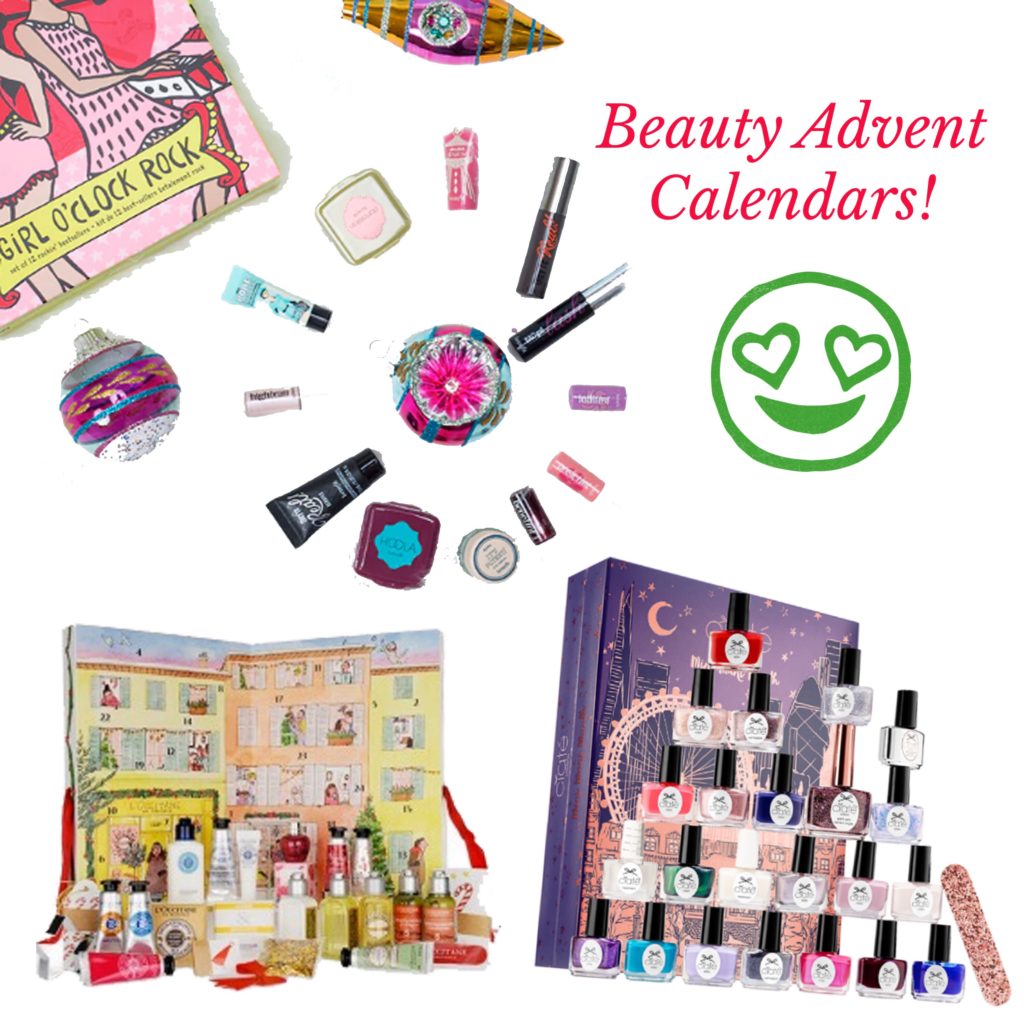
HOLIDAY 2016 MAKEUP SETS:
I love so many of the holiday makeup sets that have come out, but these I think are fantastic because you can give the set as a whole to one person, or you can split the sets up to have smaller gifts, stocking stuffers, or even make your own gift sets! I think it would be so cute to split these up and put a few goodies from each set into a stocking for a unique and personal gift.
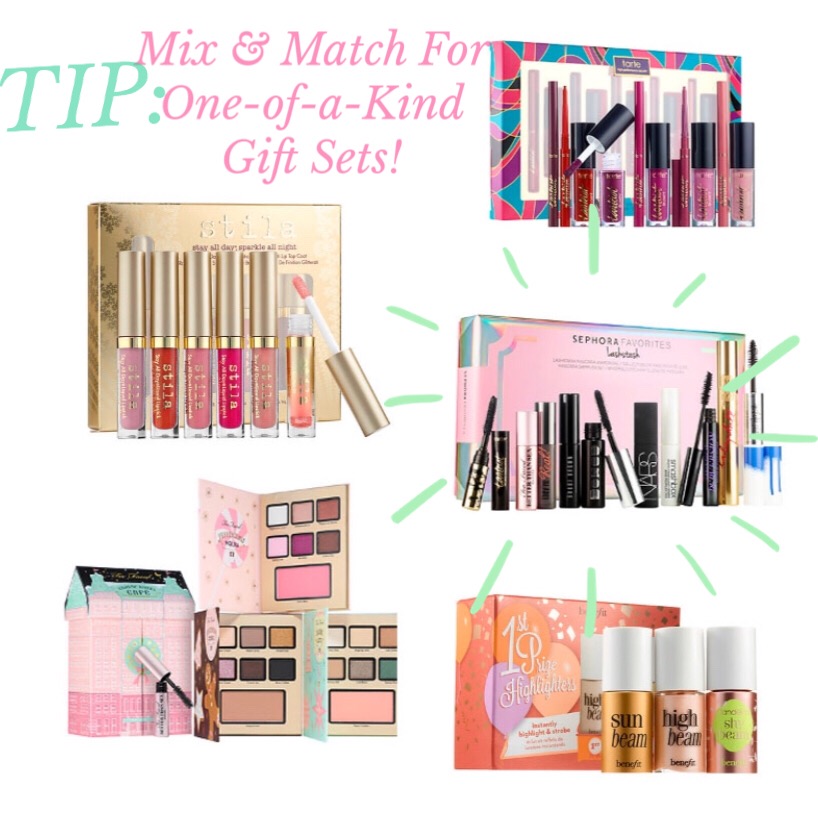
STILA STAY ALL DAY, SPARKLE ALL NIGHT SET
TARTE KISS BLISS TARTEIST MATTE LIP PAINT & CRAYON SET
BENEFIT 1ST PRIZE HIGHLIGHTERS
I hope you have a great week! Be sure to let me know in the comments any holiday makeup that you are excited about : ) Thank you for reading!