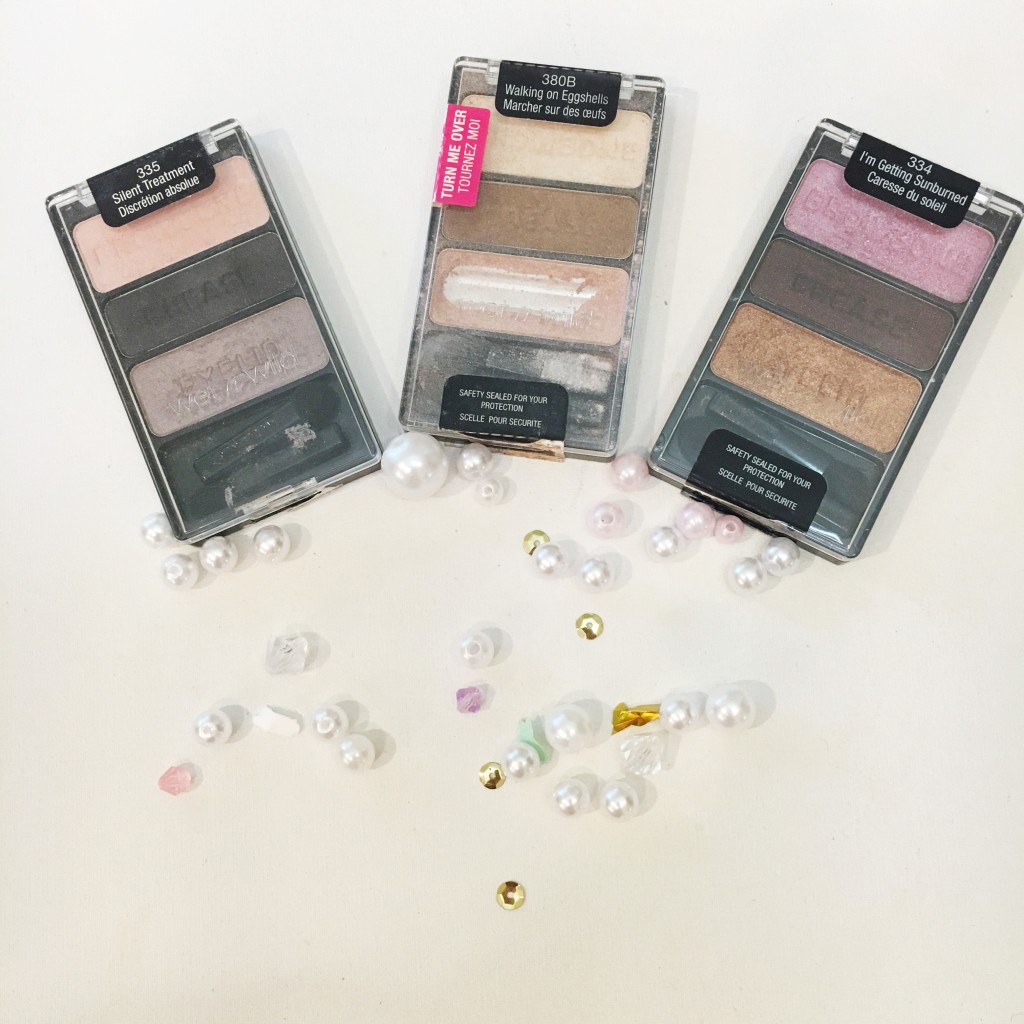
Hi there! Happy Monday!
I hope that you had a great weekend! Thank you, as always, for taking time out of your busy day to read my blog! It means a lot to me : ) I can *tend* to be a perfectionist (friends and family may be laughing at this “confession” because to them I’m sure it’s obvious!) and have to watch myself so that I don’t fall into an “all or nothing” mindset, and lately I’ve been doing that with skincare. For example, yes I do have a morning and evening skincare routine, but just because I maybe can’t afford a super fancy eye cream, or can get regular facial treatments, doesn’t mean that I should throw in the towel, so to speak. So, today I want to share three very easy ways to really improve the tone, even-ness, and health of your skin.
1. Drink Water!
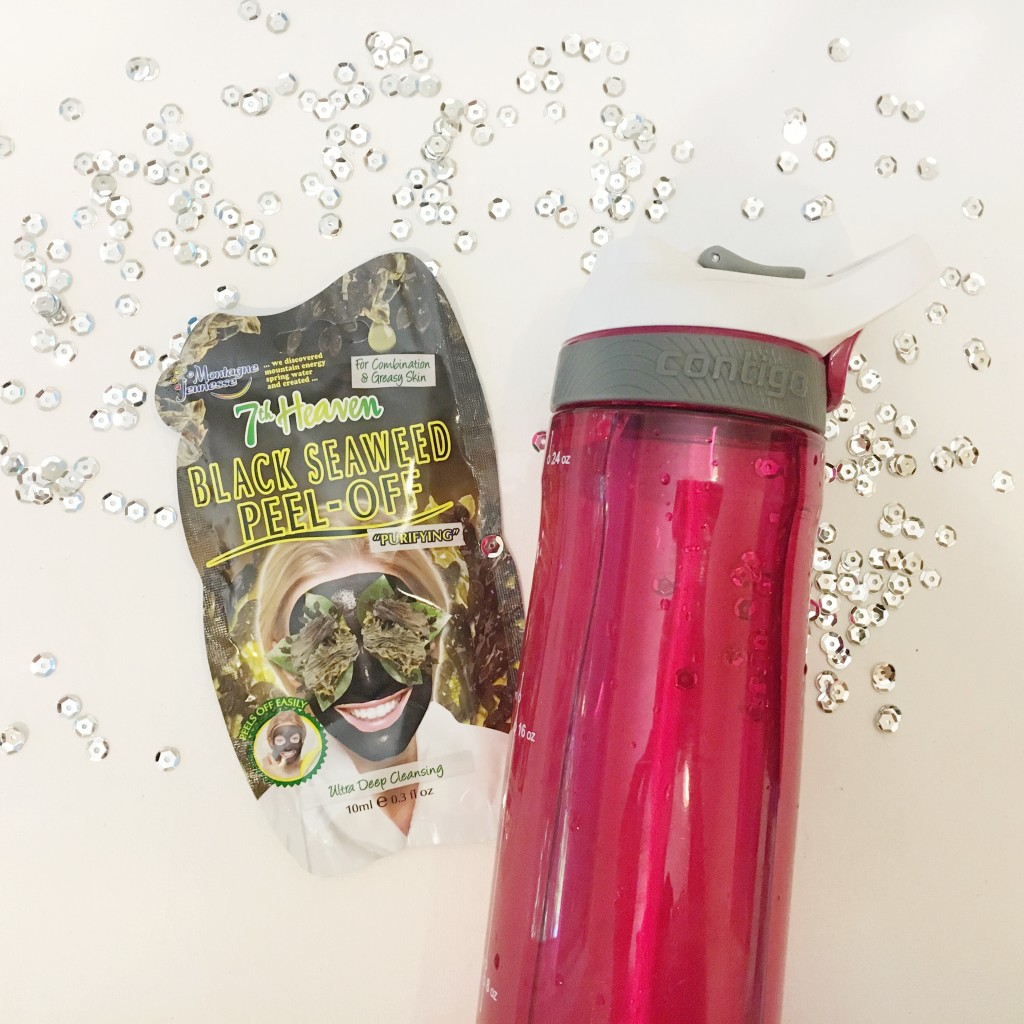
I know this is an obvious one, but I drink so much water that I can immediately tell if I haven’t had enough water to drink. I really like using a bottle that is large enough to fit 8 servings of water in it. It also makes my lips much more willing to endure drying liquid lipsticks! Don’t drink anything else until you’ve finished the jug of water! I drink a coffee (or three…) each day, but besides that it is almost exclusively water! I will have the occasional glass of wine, and I’ll have a fountain drink when traveling, but otherwise it is only coffee and water. Plus, water has no calories and I much prefer to eat my calories than drink them ; )
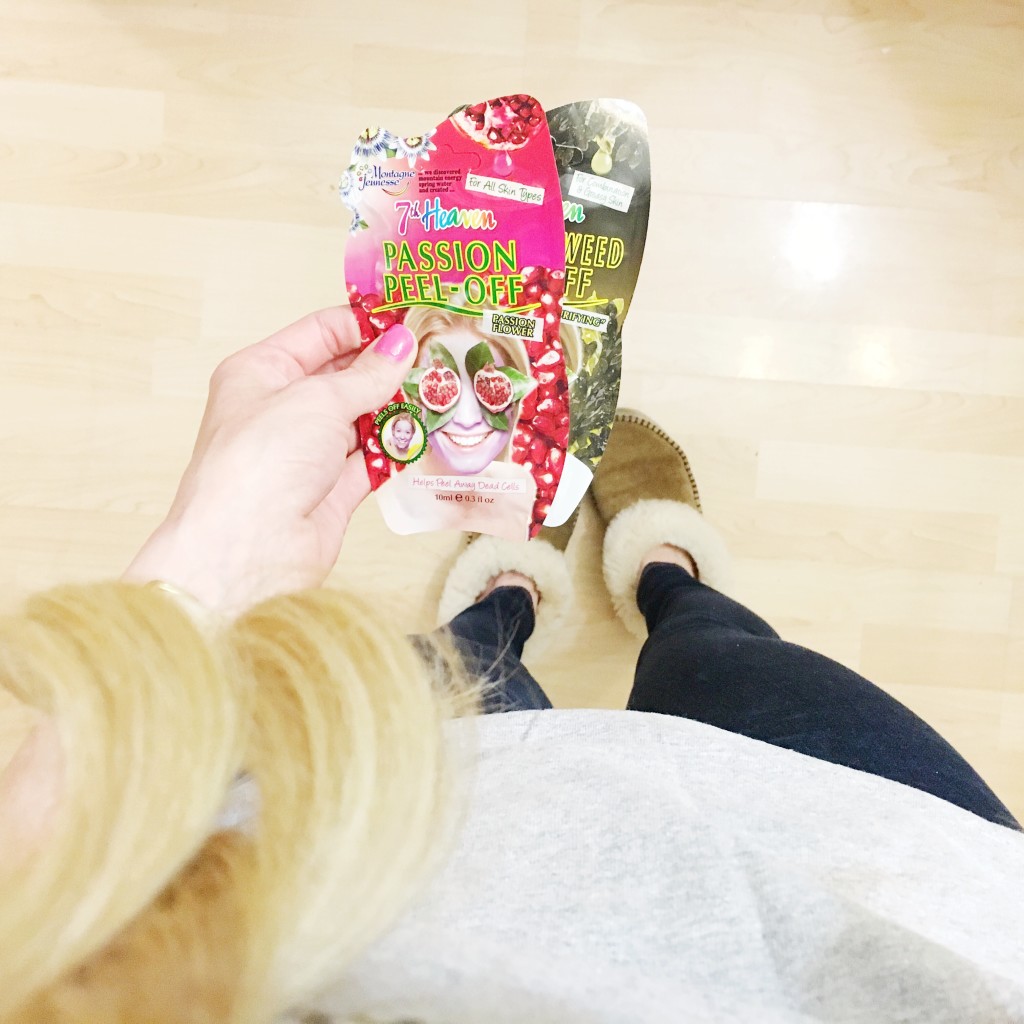
2. Do Face Masks!
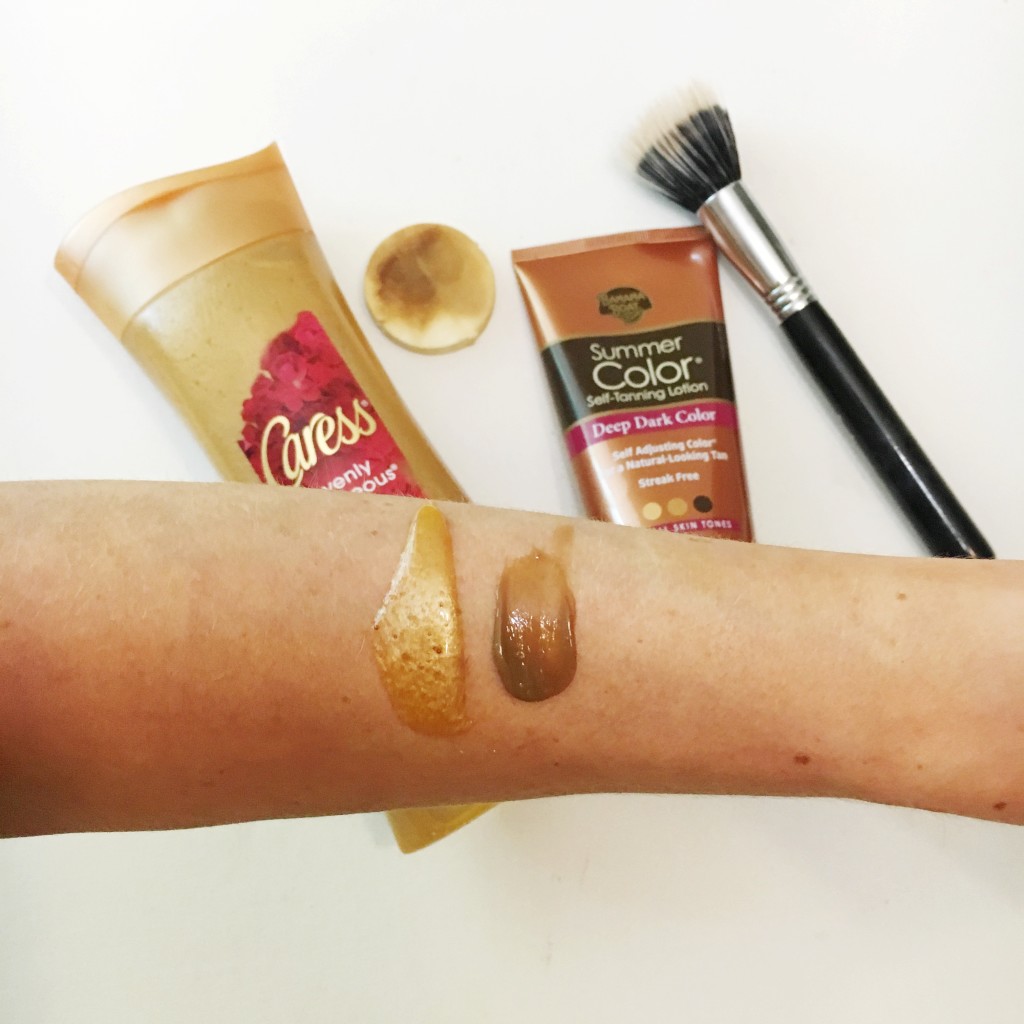
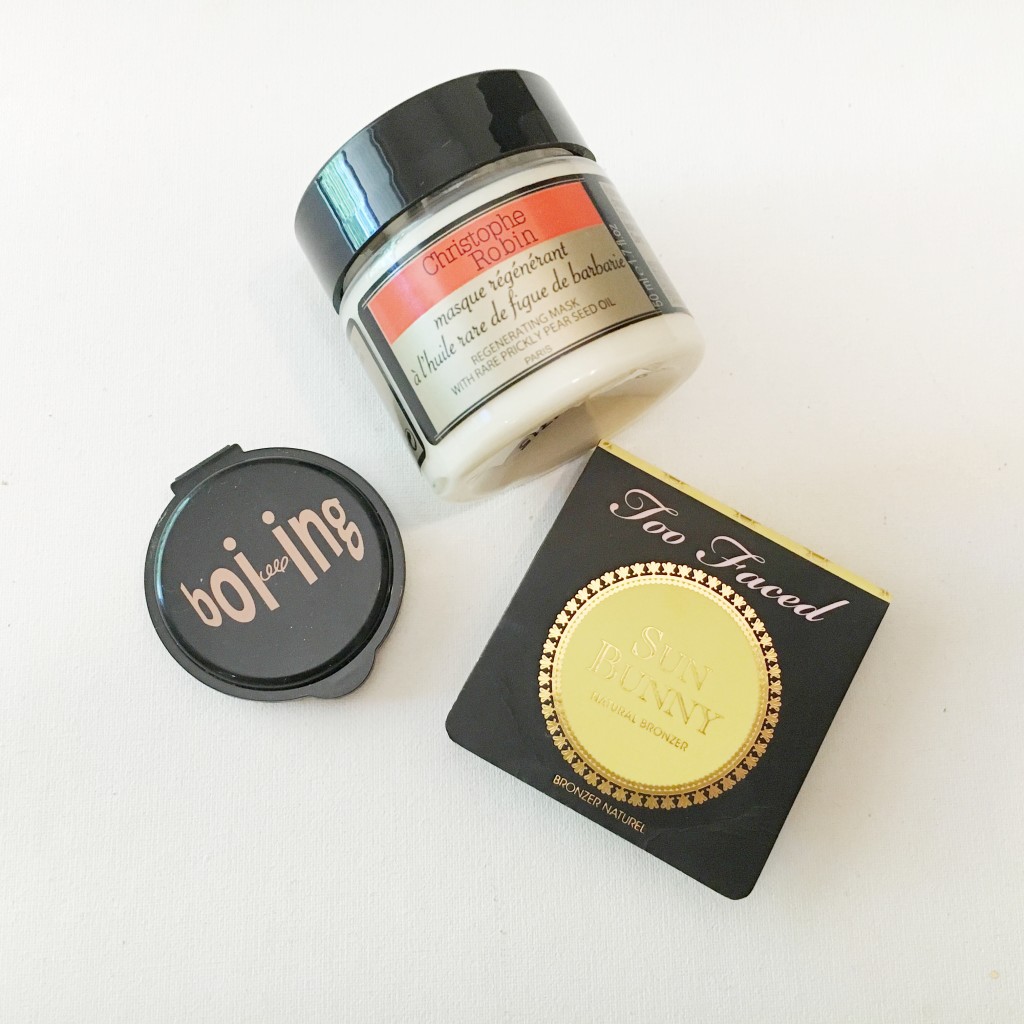
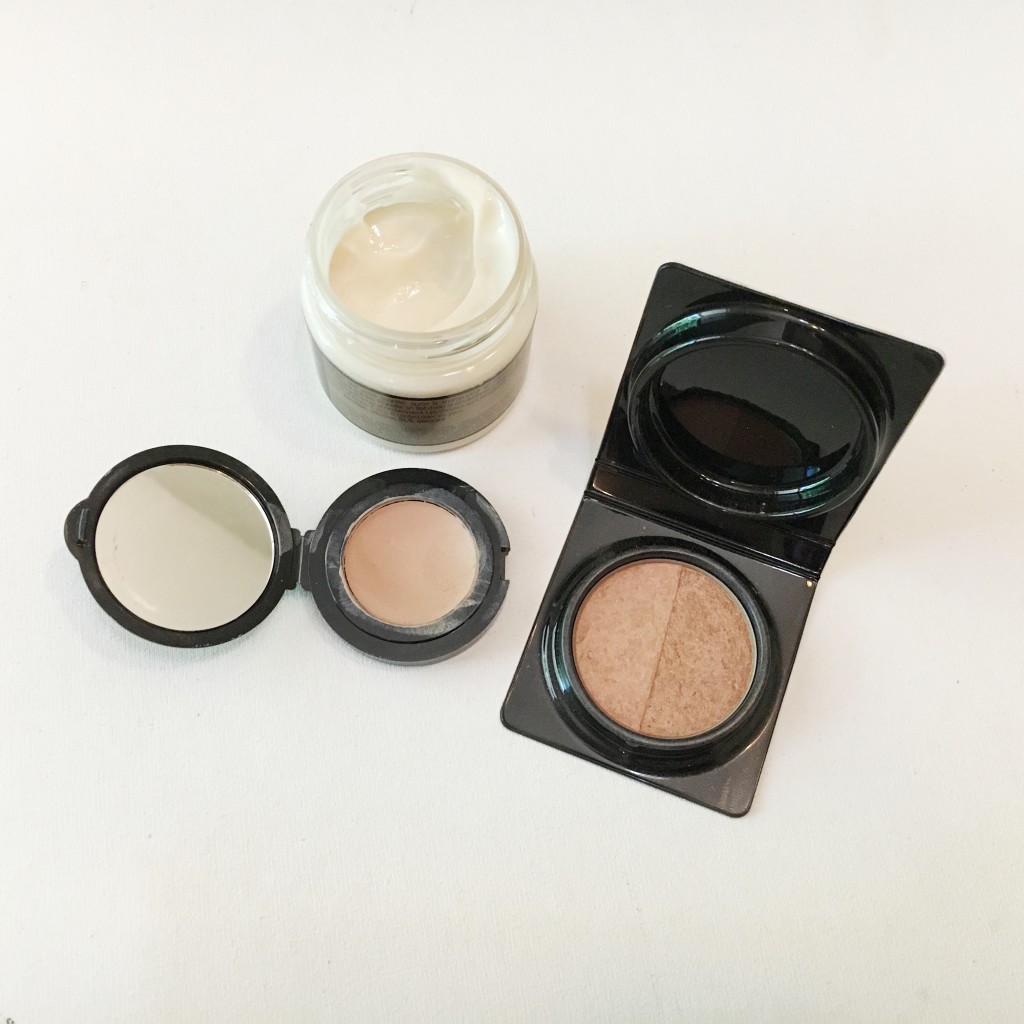
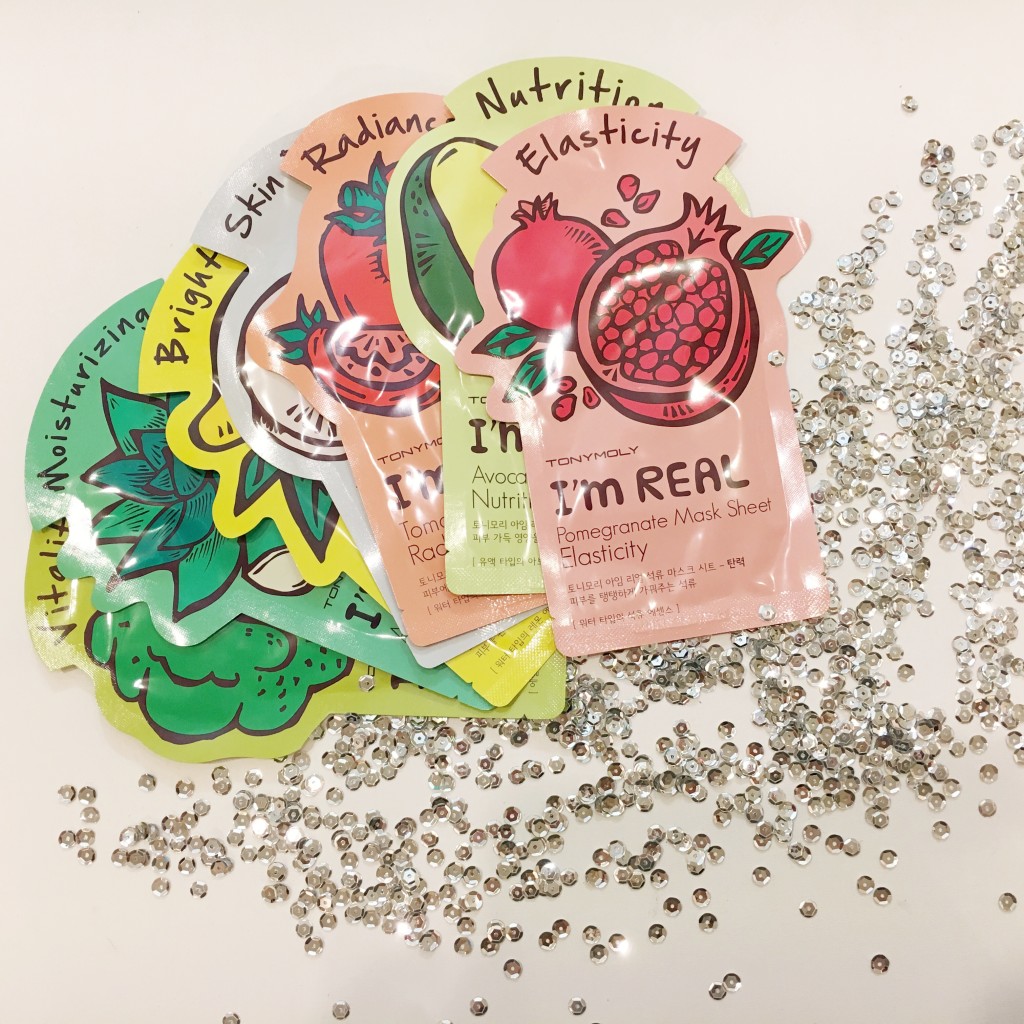
I recently did a post called “My Favorite Face Masks & How To Use Them” because this simple change has made my skin tone so much better! My skin truly is much more even now that I’ve been doing face masks a couple of times a week. We Daily Vlog (KwapisFamilyTackles on YouTube) and I’ve always vlogged with a bare face occasionally, but I’ve found myself doing it regularly now that I feel better about my skins appearance.
3. Don’t Touch Your Face!
This is so hard! I didn’t realize how much I did this until I made a real effort not to. Also, if you follow me on Snap Chat you have seen that I tend to touch my face / neck while vlogging or Snapping. But, not touching your face really does help keep your face clean!! Just think of all of the things you touch and all of the oils on your hands…not what you want on your face!
I challenge YOU to do this for one week and report back in the comments section telling me if you noticed any changes in your skin! I hope that you do because I think you’ll love how easy it is to make a big difference : ) Please don’t forget to subscribe! xx