Hi there! Happy Wednesday!
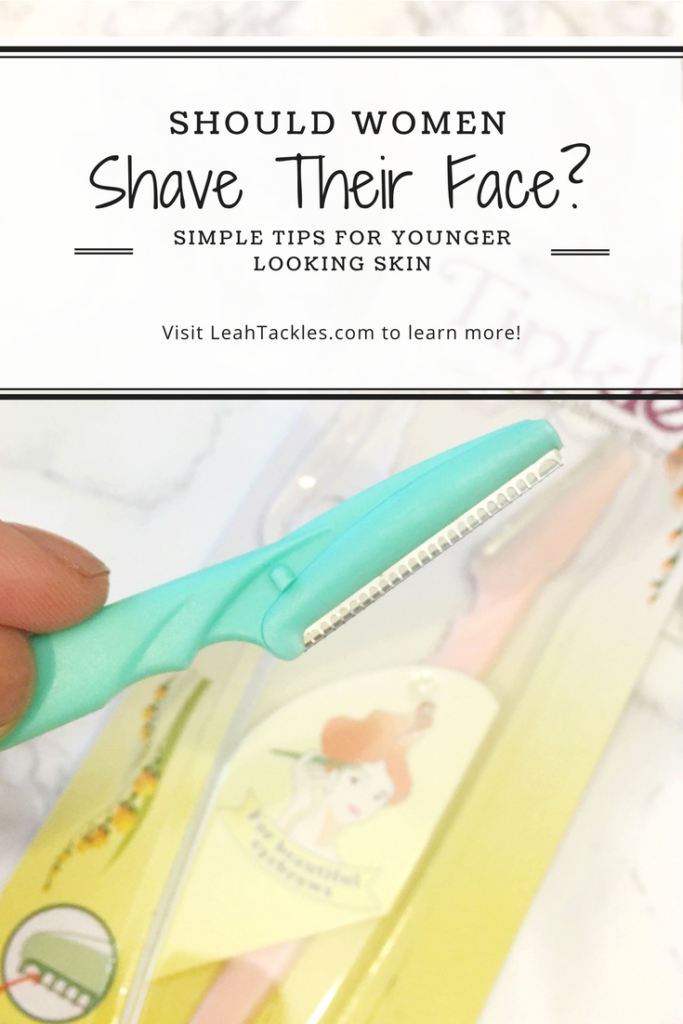
I hope that you are having a wonderful week so far! Last week I talked about how shaving your face can have anti-aging benefits and is a regular part of my skincare routine (you can read about that here). Today I thought that I would share another skincare post because it is so essential to take care of your skin and it makes a huge difference in makeup application, too.
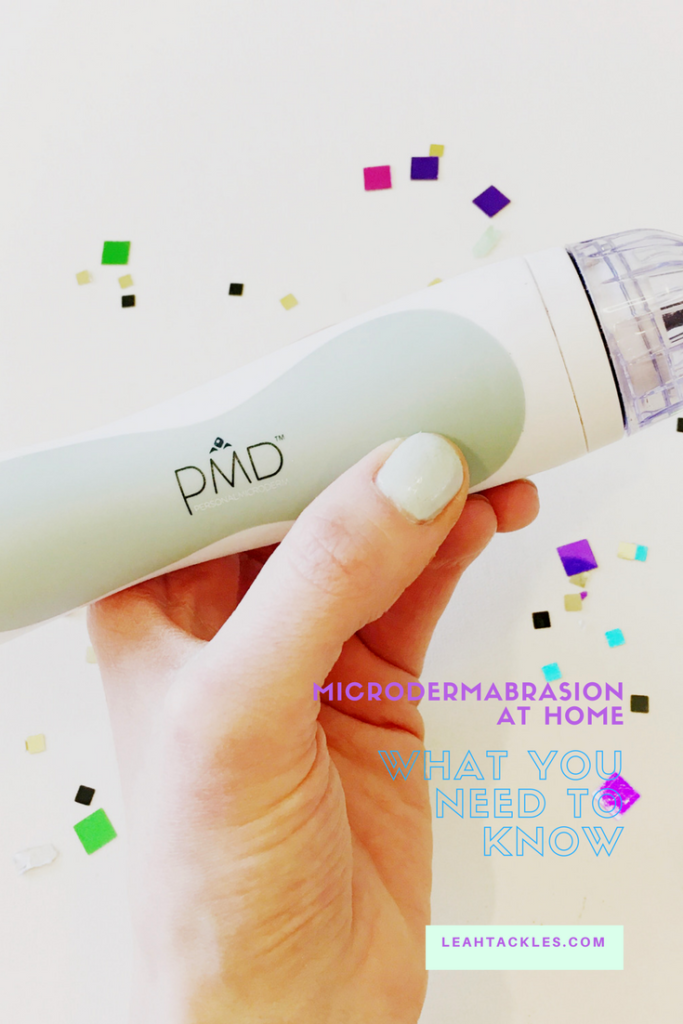
What Is a PMD?
A PMD is a microdermabrasion tool that you can use in the comfort of your own home to get the same results that you get in a dermatologists office or a skin spa.
Why I Love It
Microdermabrasion is a great way to safely but effectively remove a layer of skin to reveal younger looking skin by getting rid of dead skin, increasing blood flow, and boosting the bodies production of collagen and elastin. Microdermabrasion can also help fade the look of sun spots or discoloration, acne scars, enlarged pores, and fine lines. I have had microdermabrasion treatment done at a skin spa, but the PMD pays for itself after a couple of uses! The PMD uses a patented spinning disc technology along with calibrated vacuum suction. I love the PMD because it also helps for my skincare products to absorb more into the skin, and we all know that skincare products cost a pretty penny, so to me this is a *huge* plus!
My Routine
I use the PMD weekly, usually on Sunday when I have a bit more time to dedicate to my skincare routine. I start by shaving my face (again, read about that here) and then immediately use the PMD. I hold the skin tight and in upward strokes use the PMD on my neck and face. I avoid the eye area for the most part but do ever so lightly do it near where fine lines and crows feet appear. I also love to use the PMD to exfoliate my lips! Another great spot to use the PMD is your hands because both your neck and hands are telltale areas that show aging. *Note: The PMD comes with a very helpful instructional DVD as well as several different discs for both the face and body. You can see more tips from the PMD website here.
Shop
Have you ever tried mircodermabrasion? Let me know your favorite skincare tools in the comments! And please don’t forget to subscribe!