


Hi there! Happy Wednesday!
Thank you for reading : ) I hope that you had a great Saint Patrick’s Day! If you tried my East Saint Patrick’s Day Beer Bread Recipe, let me know how it turned out in the comments!
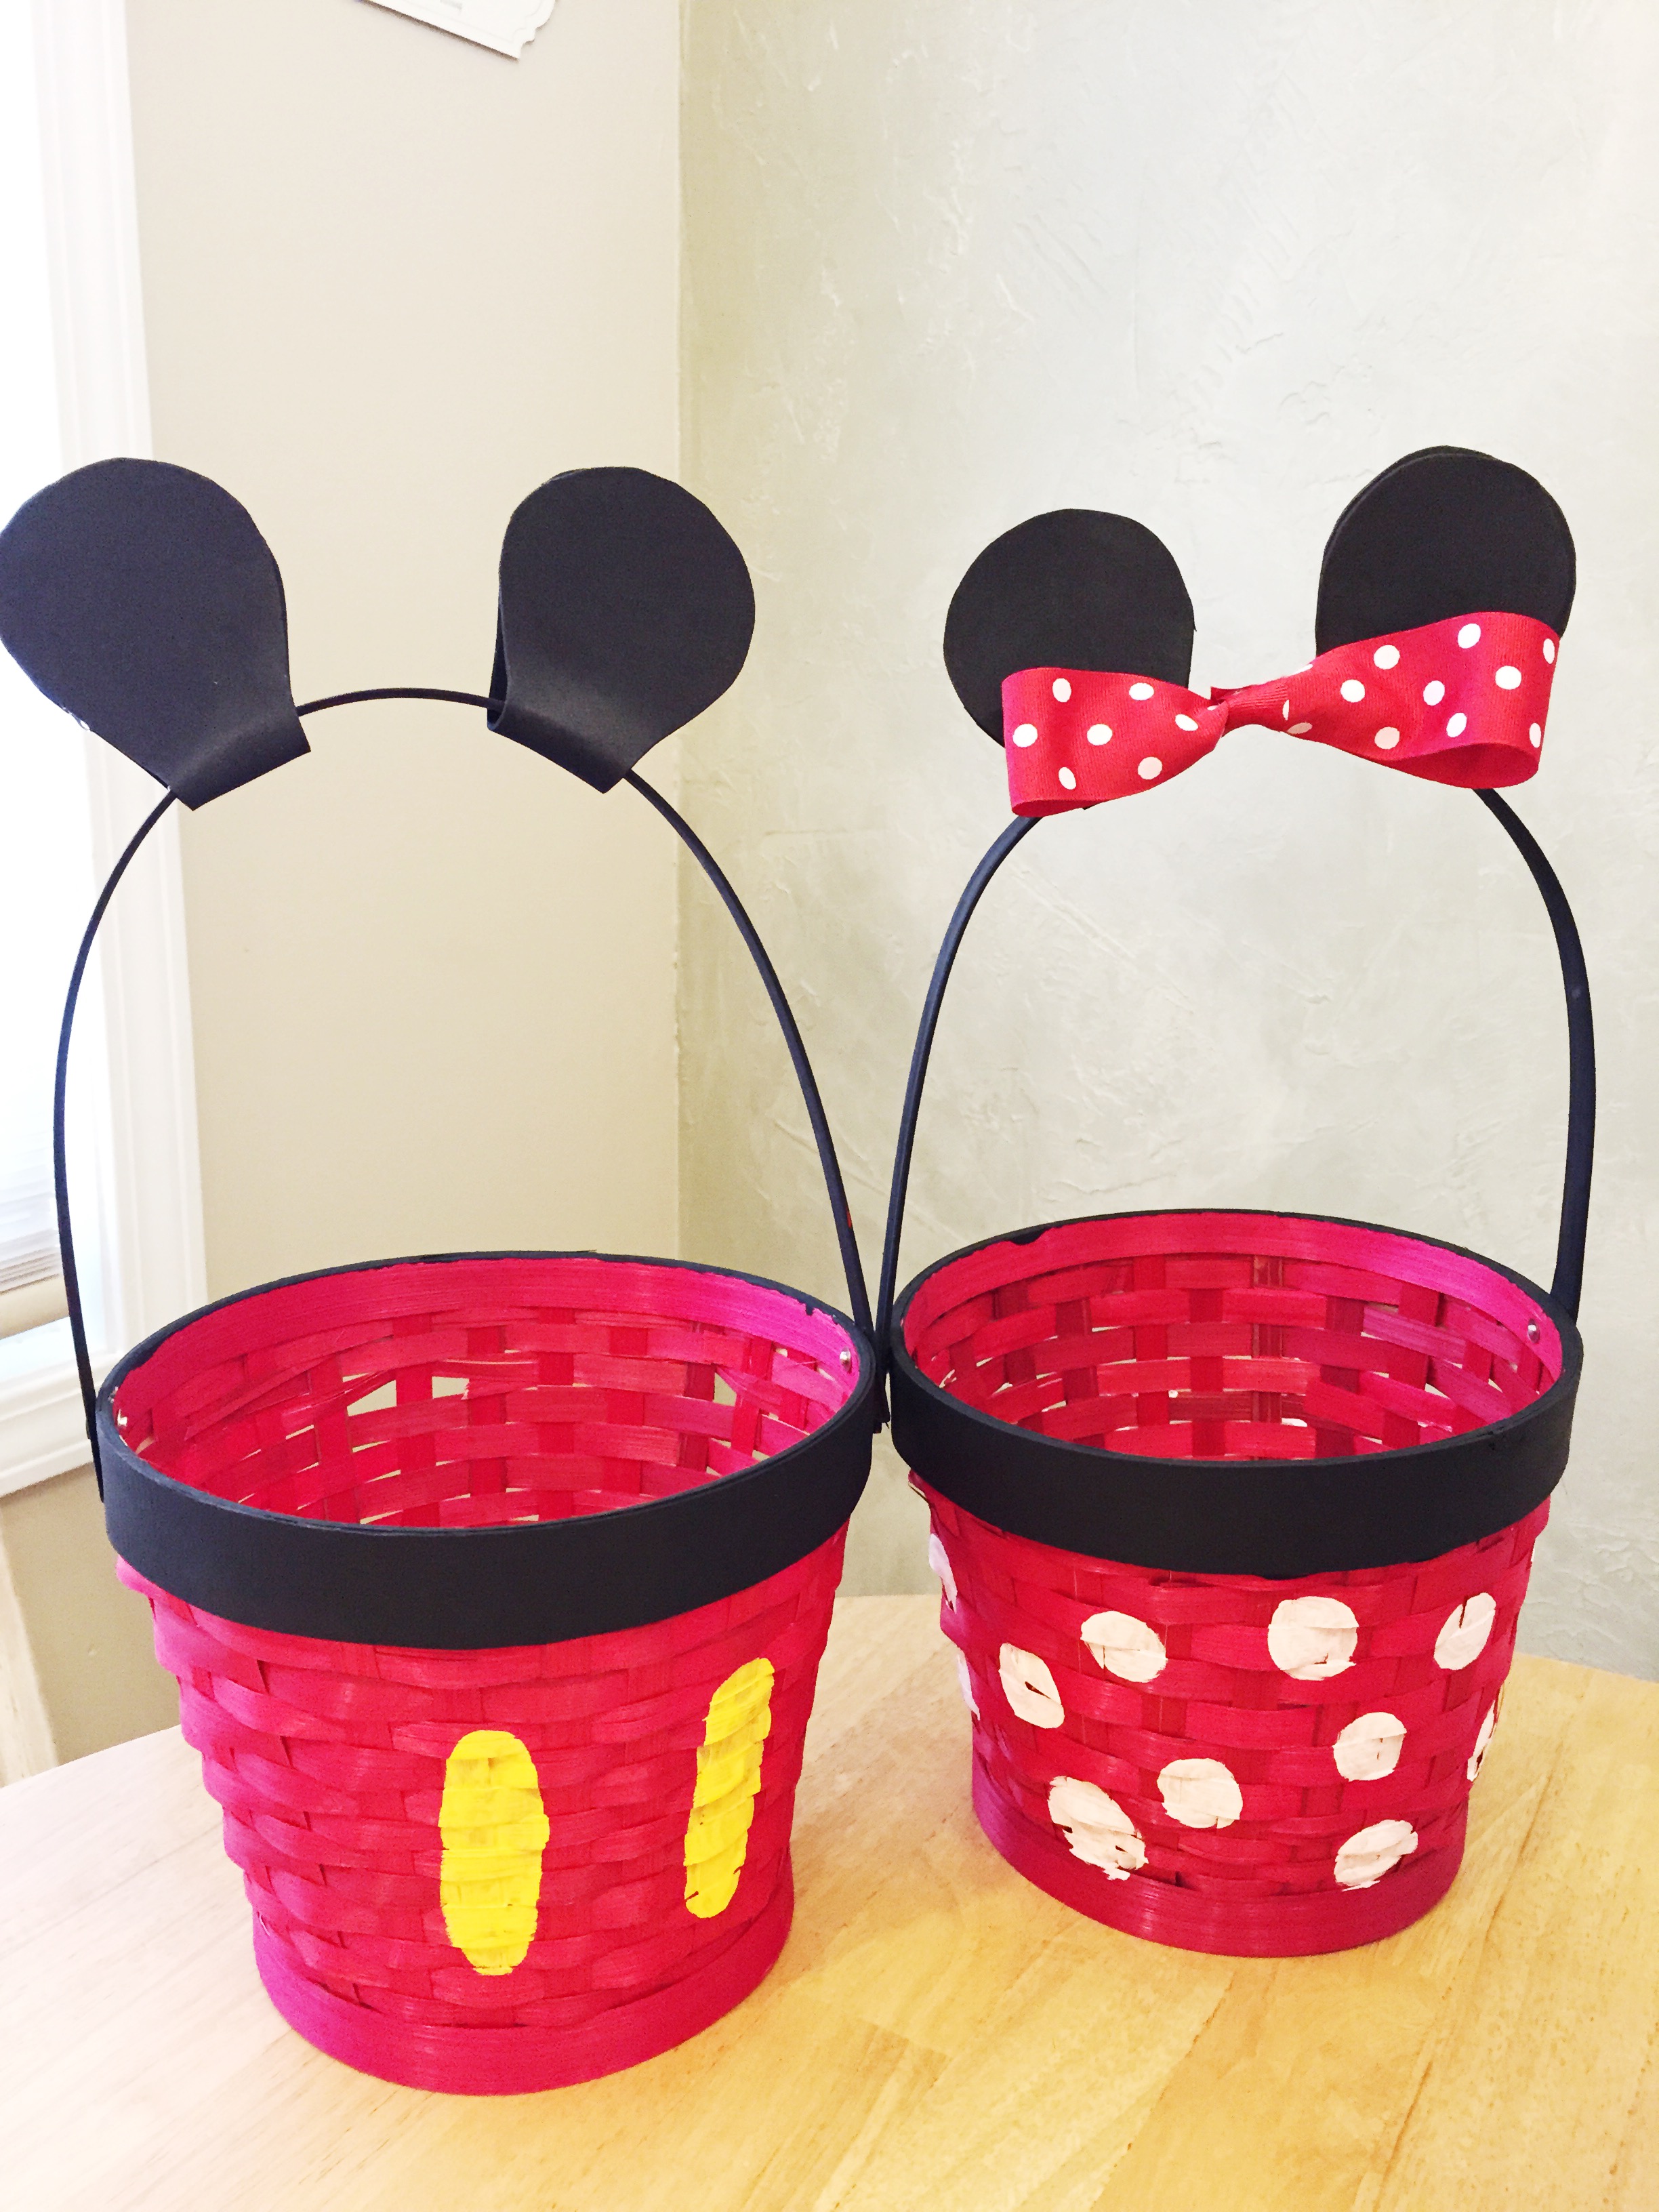
Now that Saint Patrick’s Day is over, it is time to really start thinking Easter if you haven’t already, because it is only a few weeks away! This year I decided to go with a Disney theme for our baskets because we will be going to Walt Disney World in late 2015. Hailey, who is almost 4, knows tons of characters and is sooo exicted for our trip! Connor, who just turned 2, is really getting into Mickey, and Logan is only 2 months so he doesn’t know any of them…yet ; ) I will be showing you what is in the baskets in another post, but today I want to show you how I made these DIY Mickey (X2 in my case!) and Minnie Easter baskets. I saw a fantastic post done by Inspired by Dis and this is my take on her baskets, switching up a few things and using some of her ideas as well.
DIY MICKEY AND MINNIE EASTER BASKETS:
What You’ll Need:
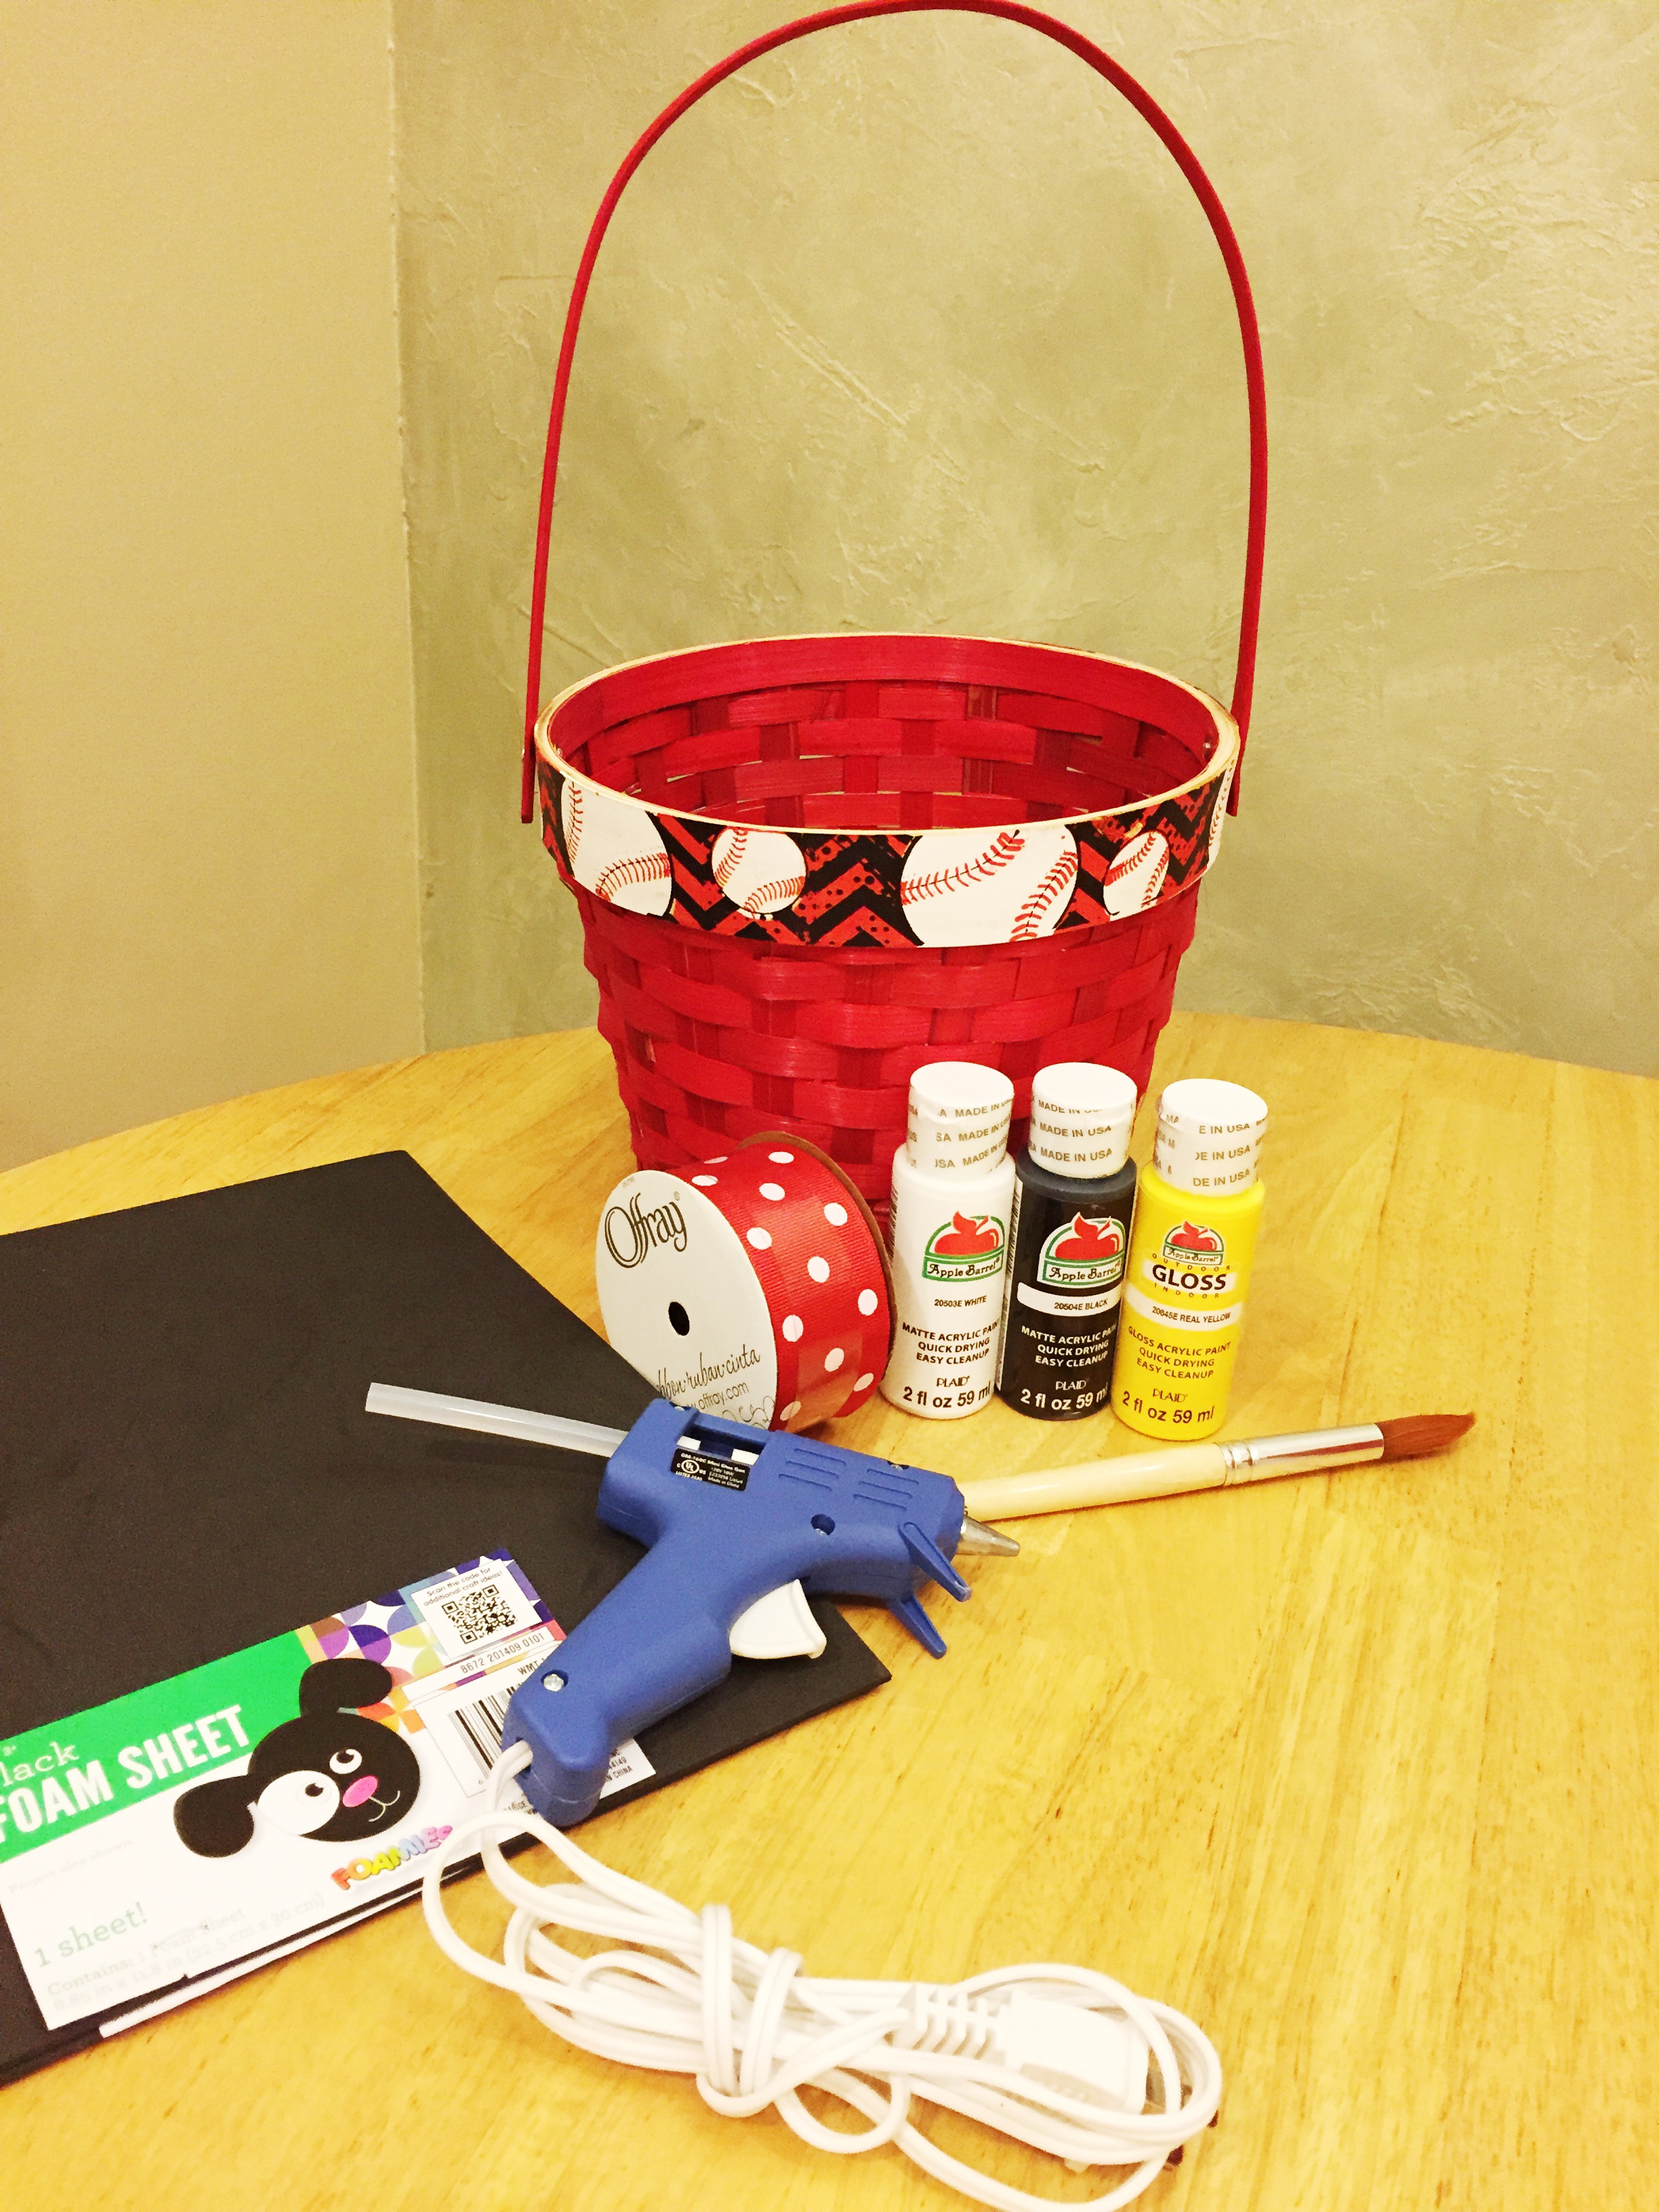
Wicker Basket(s)
(*Tip: I found baskets that were already red at my local Walmart store)
Yellow, White, and Black Acrylic Paint
Red Spray Paint if using a basket that isn’t already red
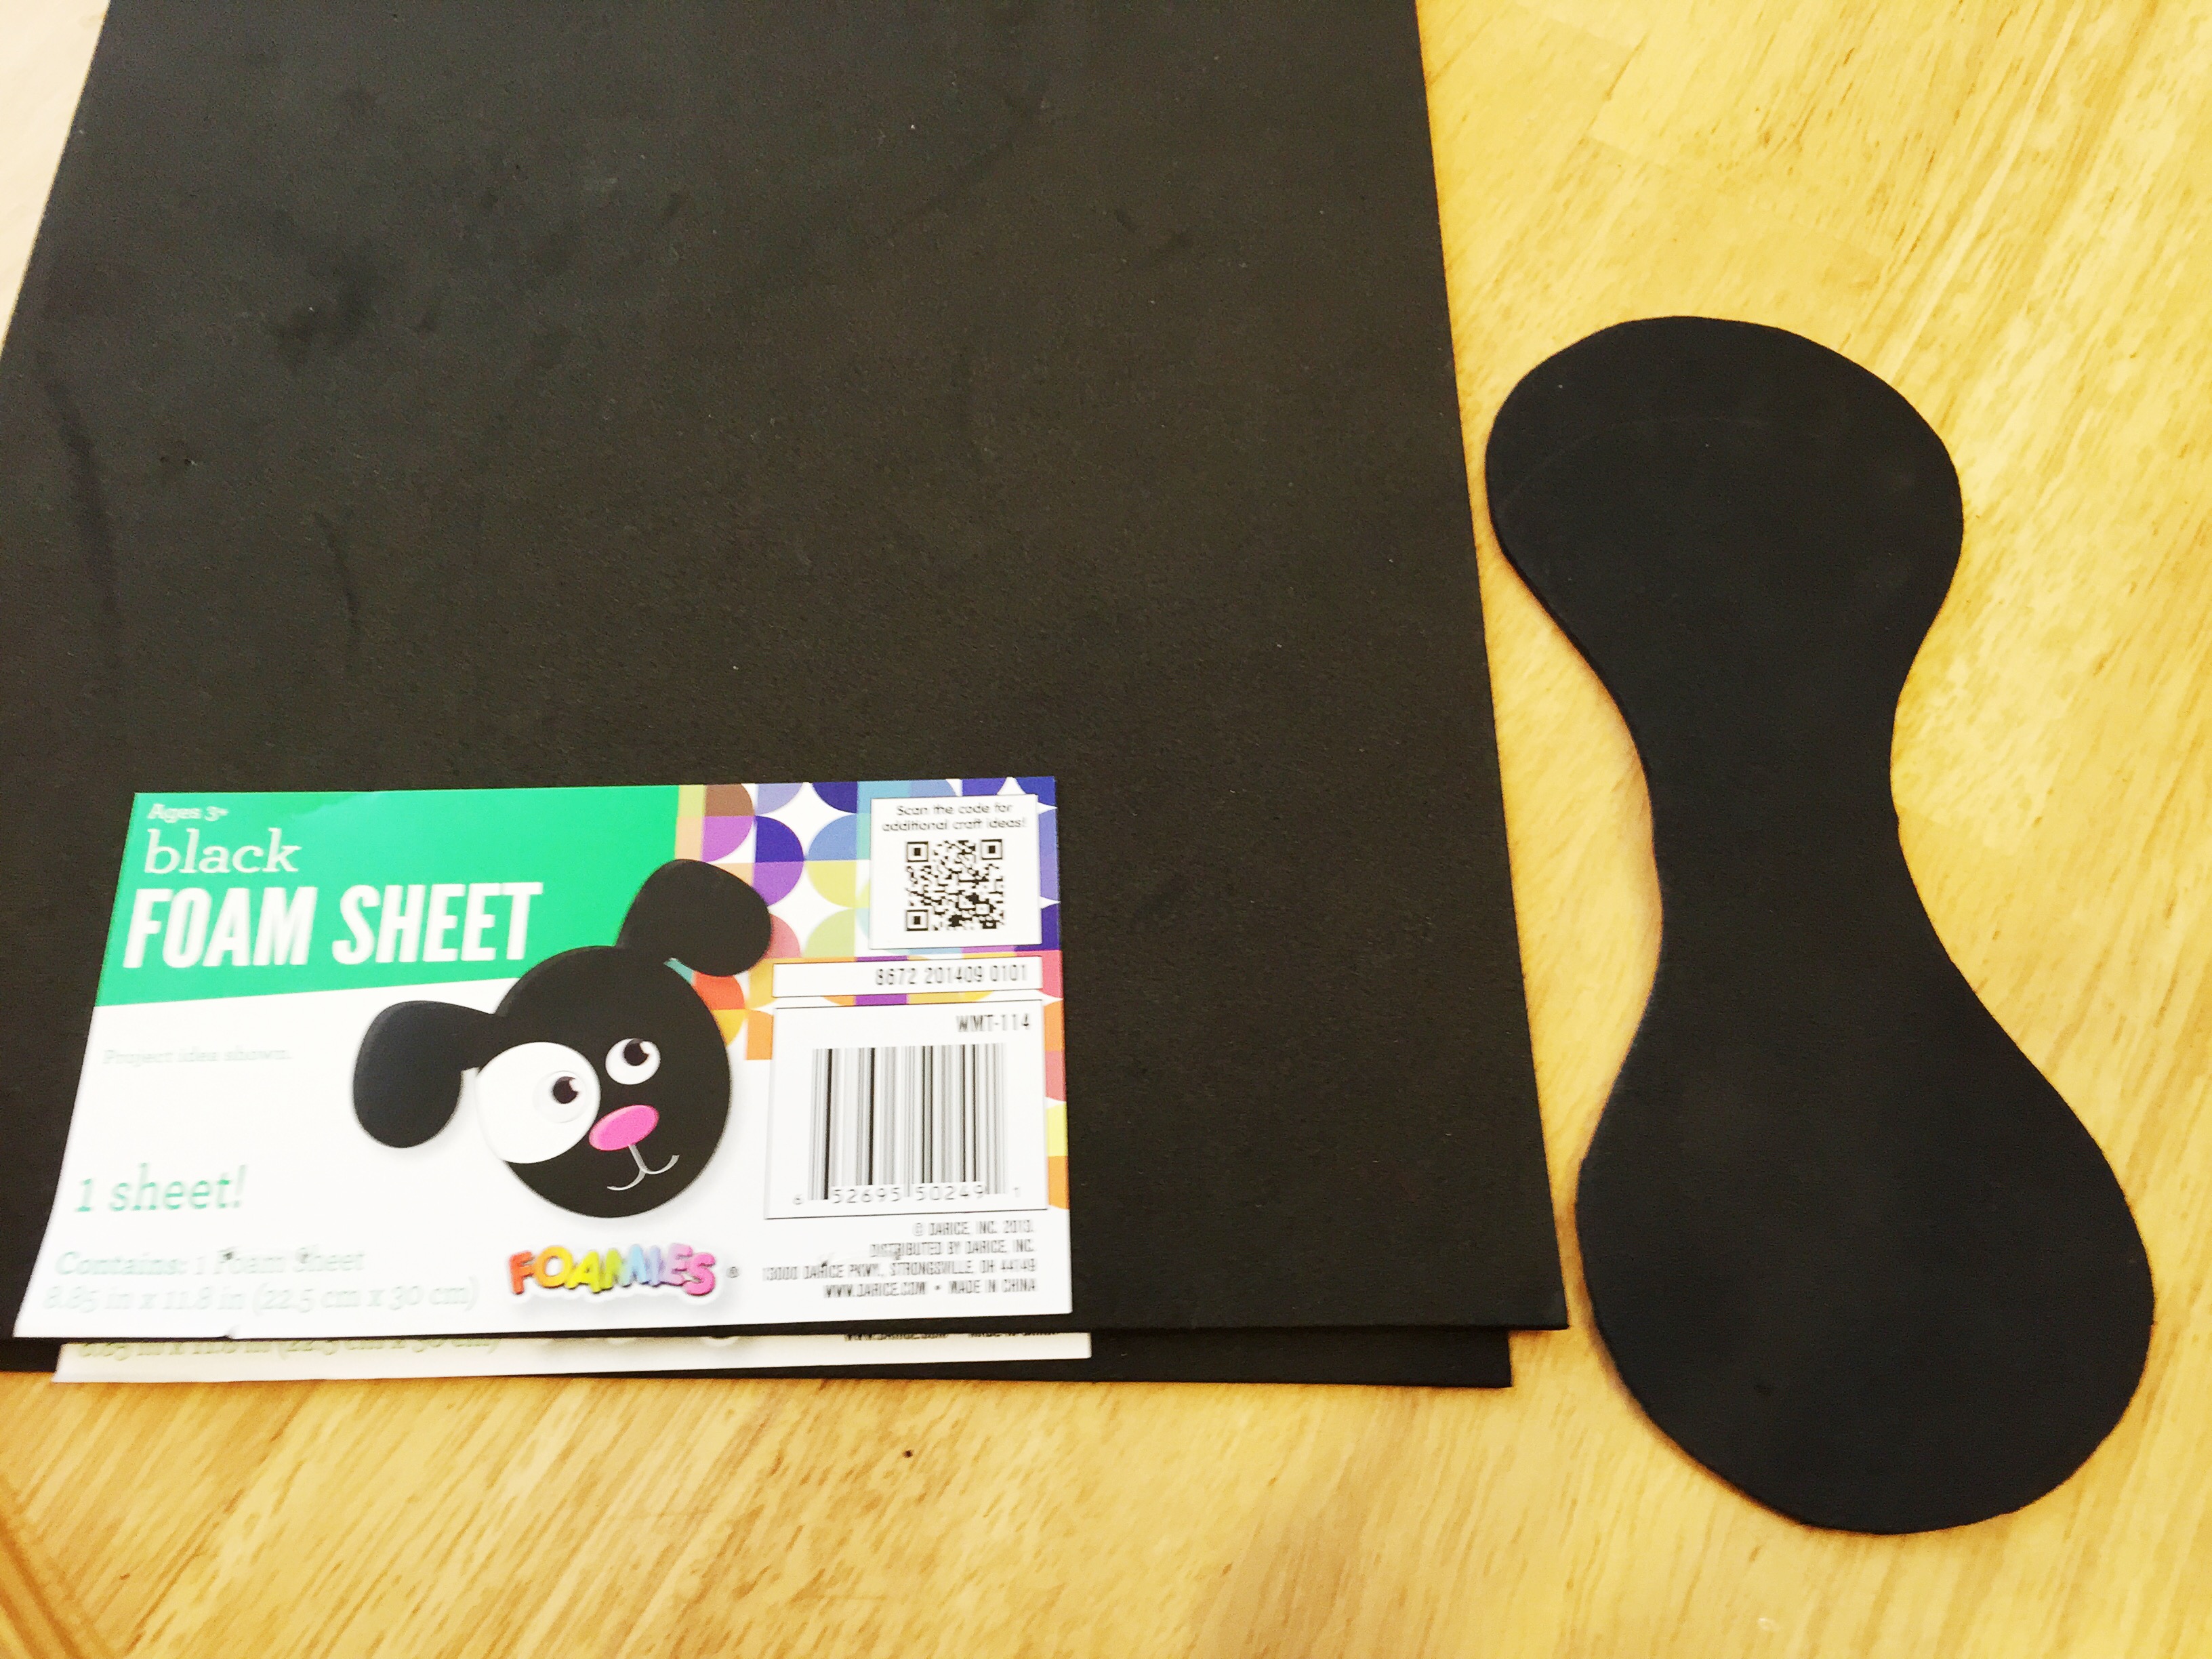
Black Foam Paper (I needed 2 sheets for 3 baskets)
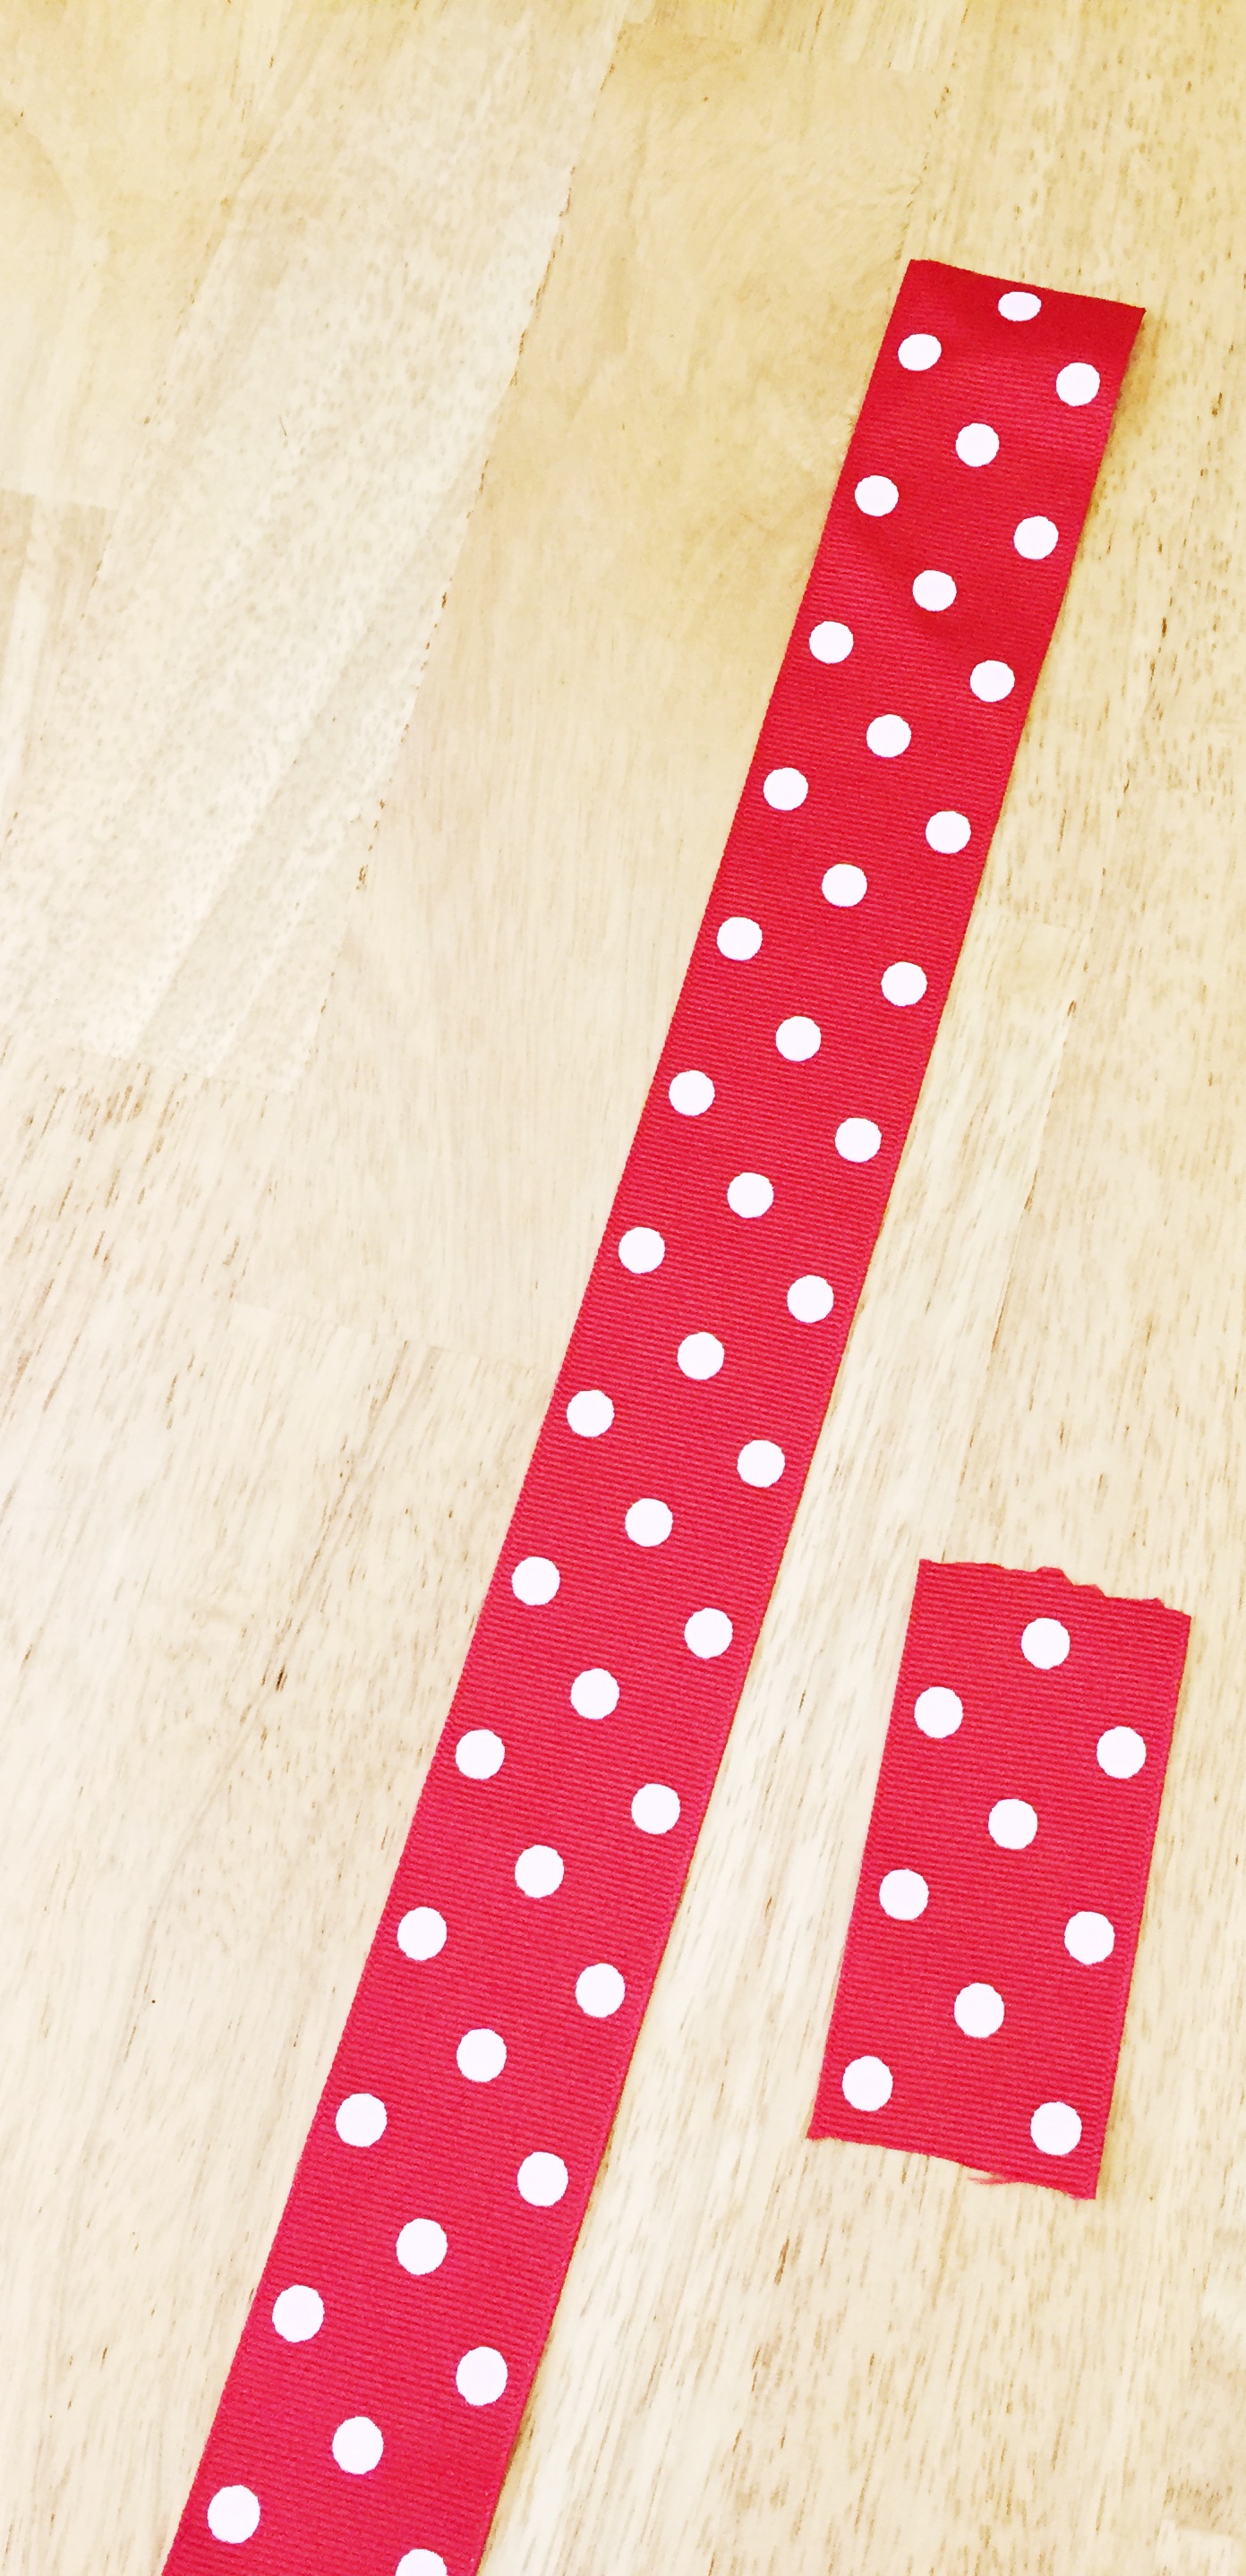
Red Polka Dot Ribbon (if making a Minnie basket)
Paint Brush
Glue Gun (or any glue you prefer)
Piece of Paper
Optional:
Sponge Foam Stippler to make uniform circles
I paid $5 for each basket, $.50 for each jar of paint, $.23 for each sheet of foam paper and about $3 for my ribbon.
Step 1:
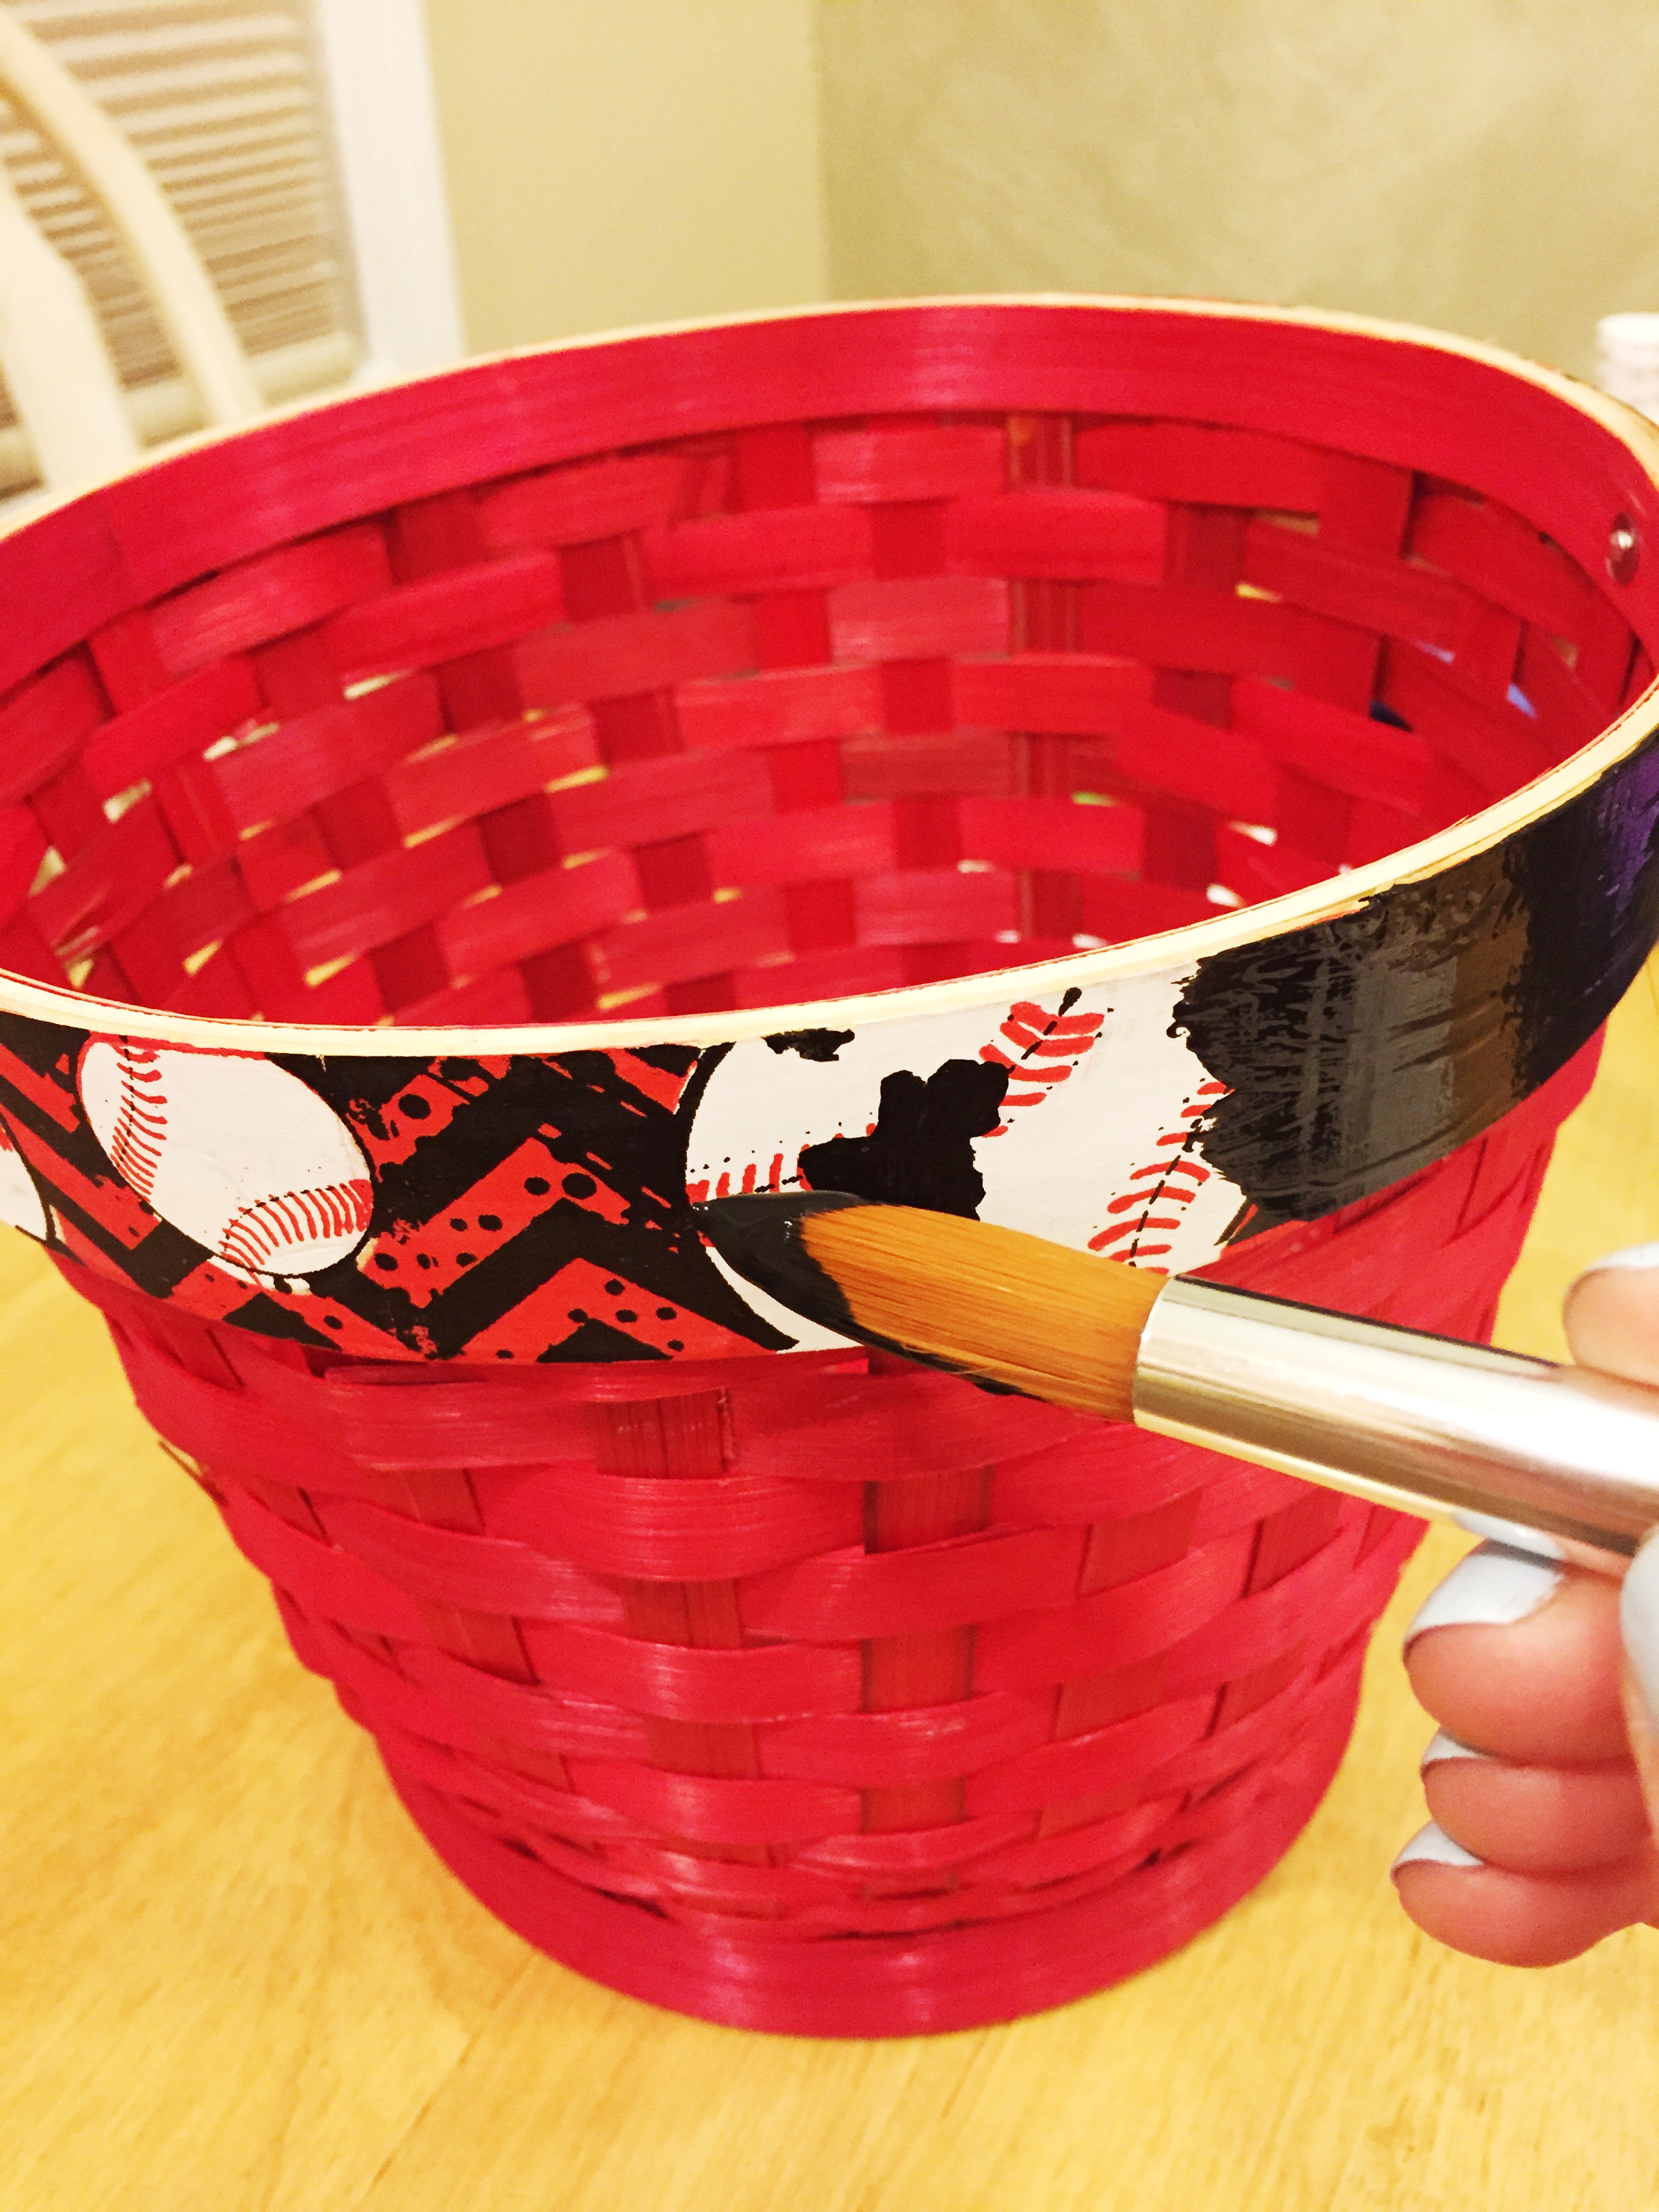
Spray paint your basket red in a well ventilated area! I was so happy to skip this step, but I definitely lucked out by finding red baskets!
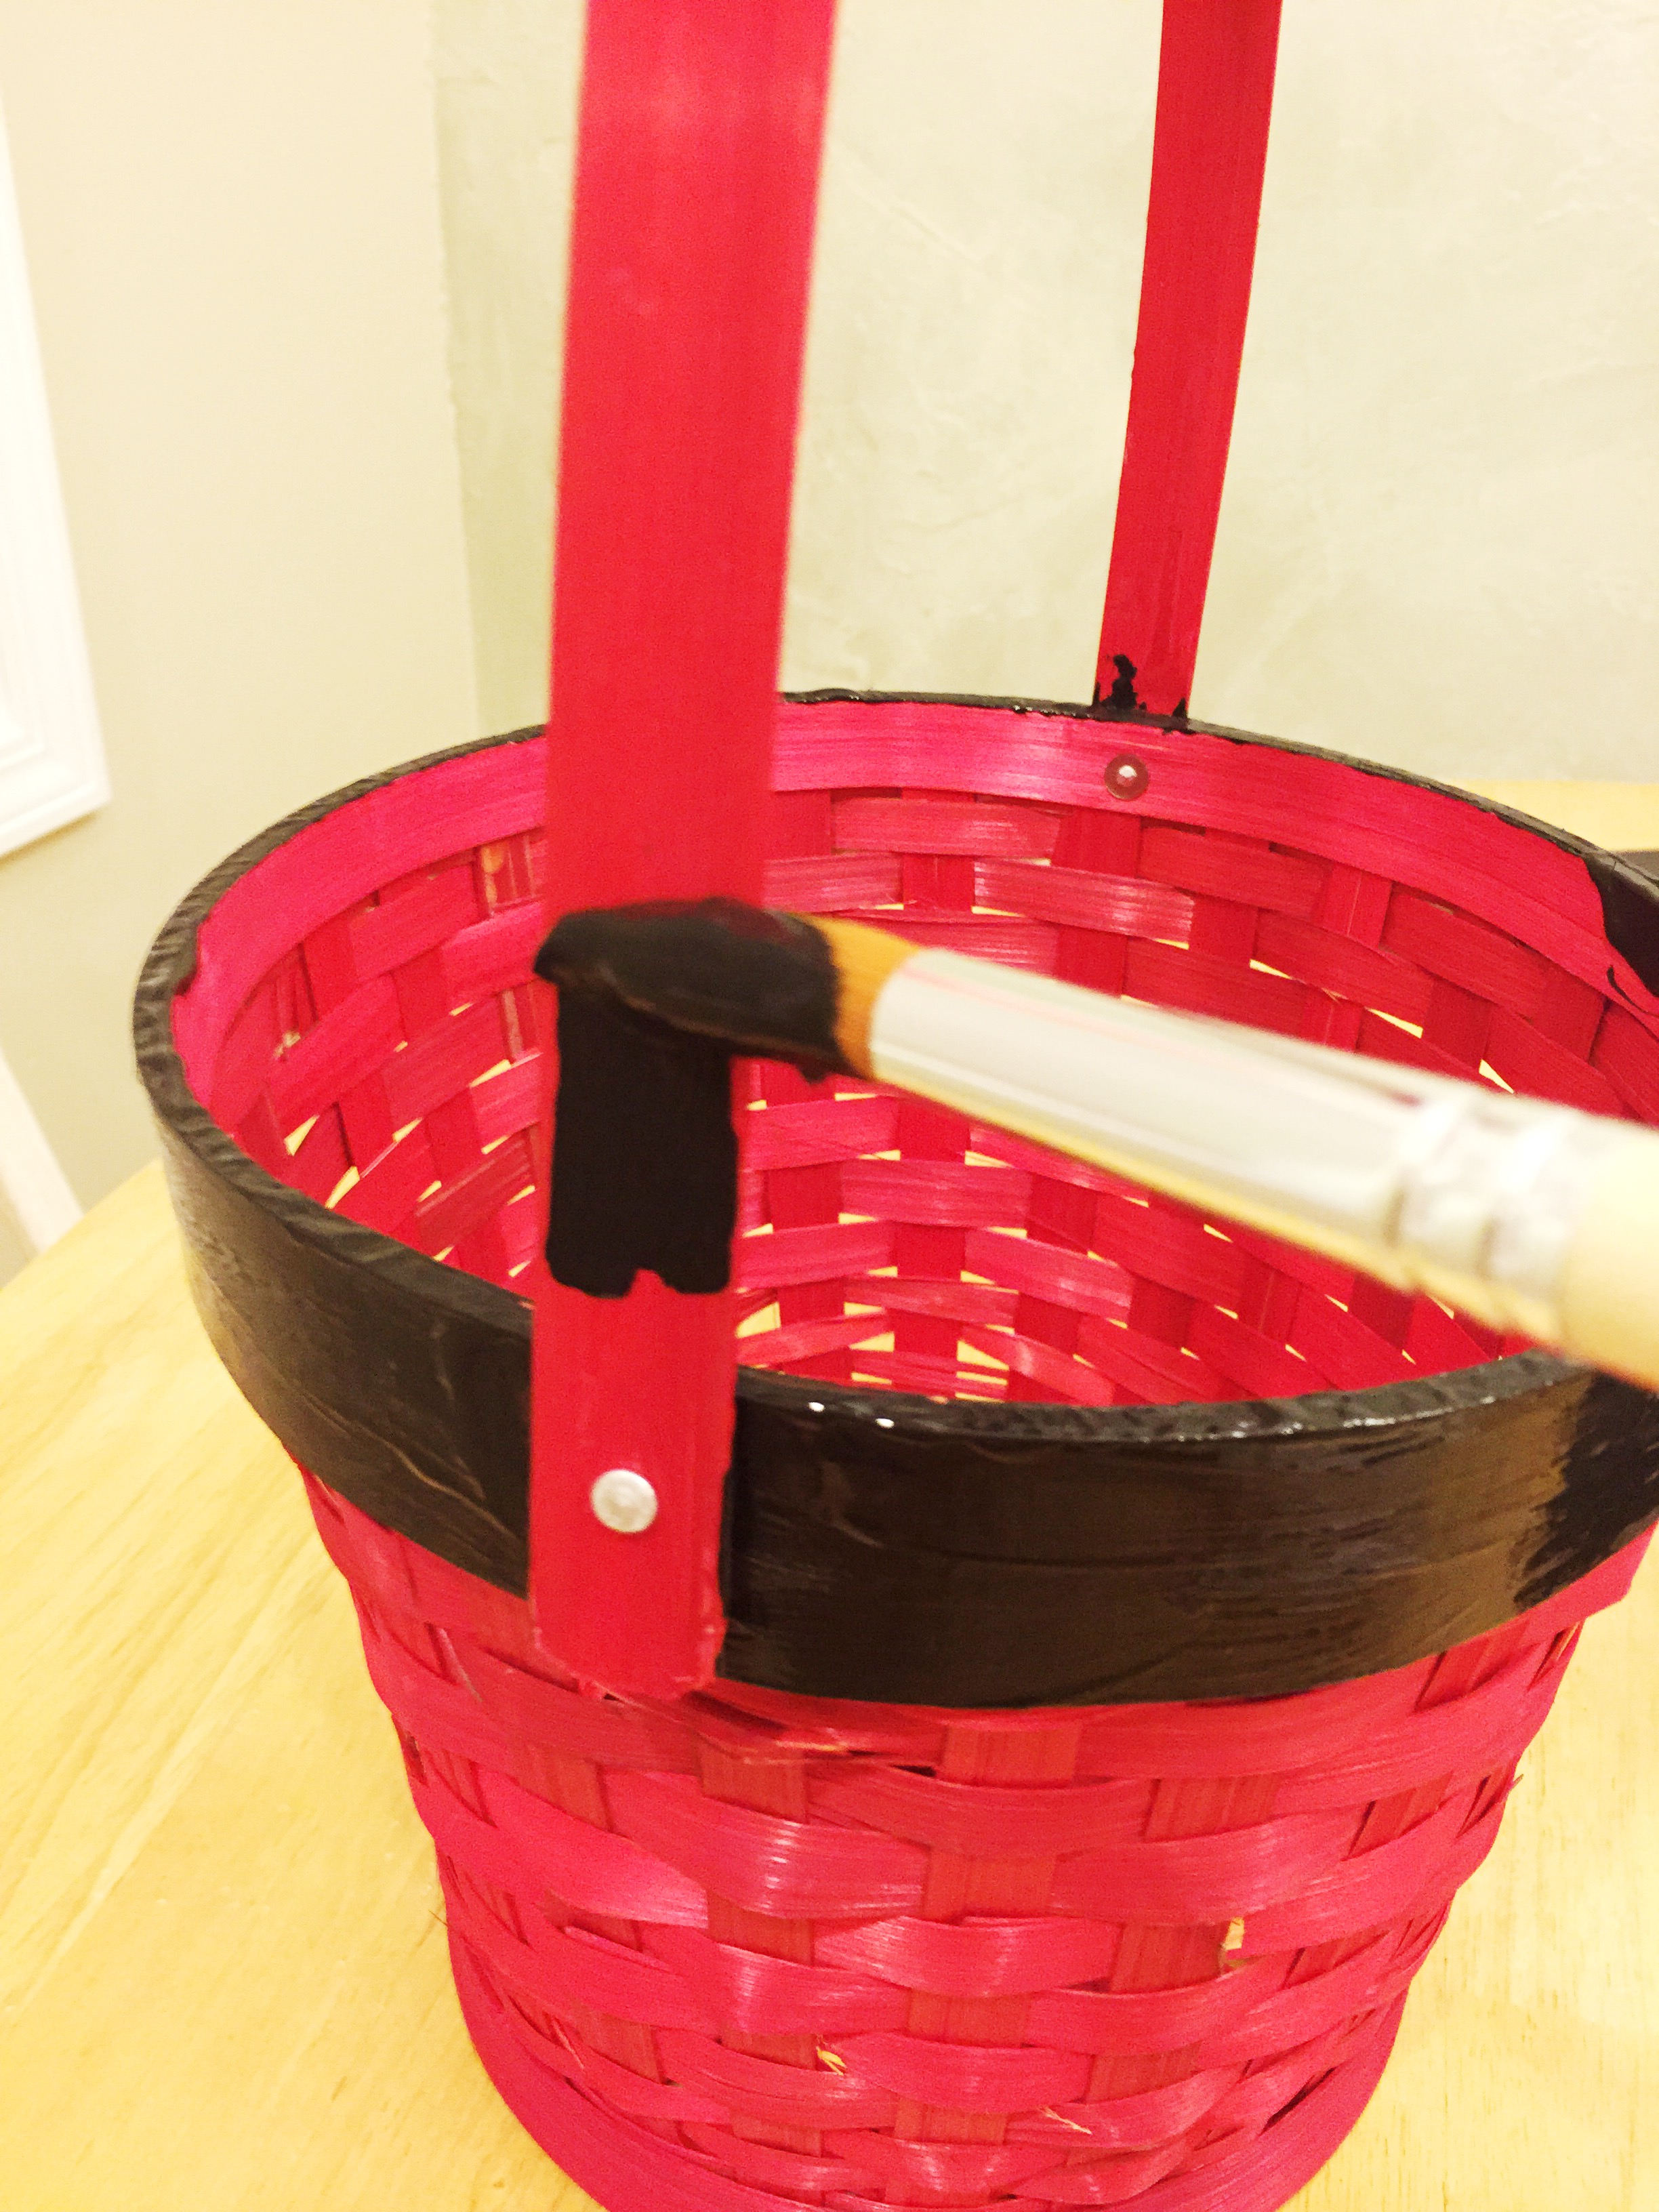
Step 2:
After your basket is dry, paint the handle and top of the basket black.
Step 3:
For the Minnie Basket:
Paint while polka dots all around the basket making circles that are about 1 inch around. Or you can use a sponge stippling brush to make more perfect circles.
For the Mickey Basket:
Paint long yellow oval shapes about 1.5 inches apart on the front of your basket. I didn’t trace this at all, but it would be simple to cut out a little stencil beforehand if that makes your more comfortable.
Step 4:
*Note: This is the hardest step, and it is pretty simple, so if you can do this you’re golden ; )
Using a pencil draw on a plain piece of paper first and make almost a whole circle, then a 1 1/2 or 2 inch line and then make another circle on the other end and connect it back to the first circle. Confused yet? Basically you’re drawing a dog bone and you make the circles as big as you want your Mickey or Minnie ears to be : ) Once you’ve checked to see that your template works on your basket, use it to trace out your ears.
Step 5:
Put glue around the edge and in the middle of each ear (be sure to pick the “good side” and put the glue on the other side if you have any dents or marks on your foam) and quickly wrap it around the basket EXACTLY where you want it to be. Do this with the other ear. If you’re making a Mickey basket you’re done!
Step 6 for Minnie Basket Only:
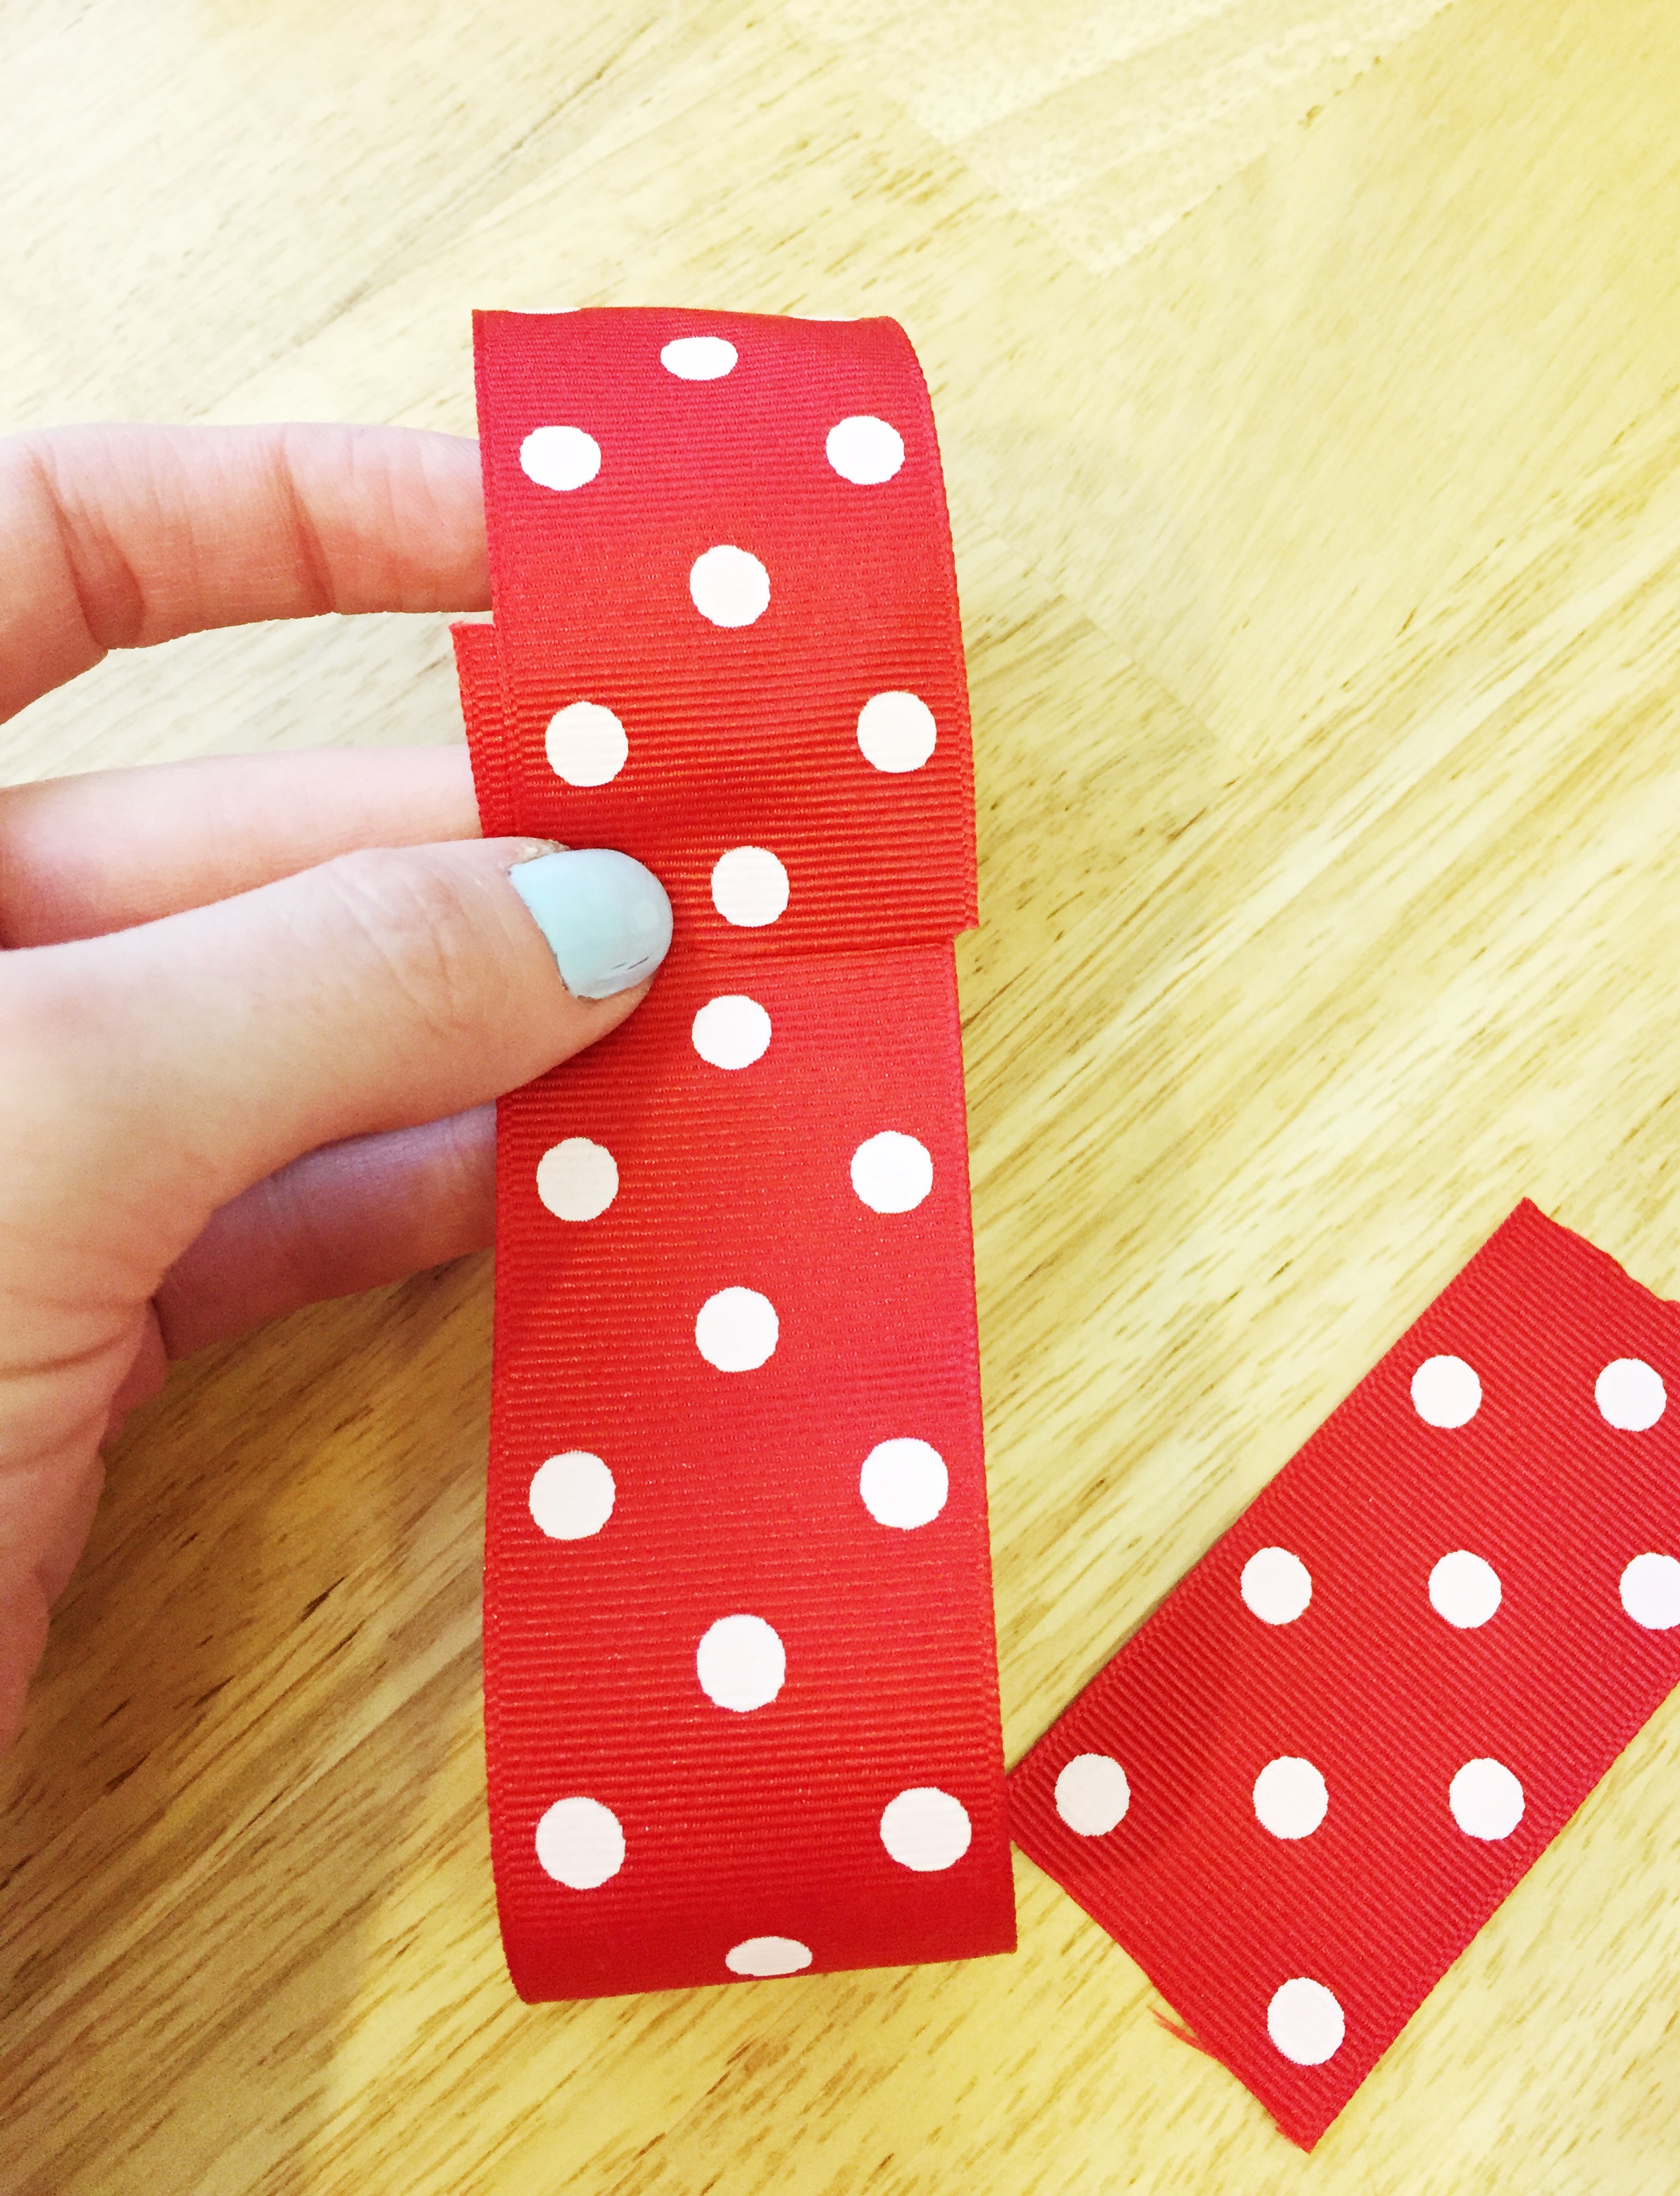
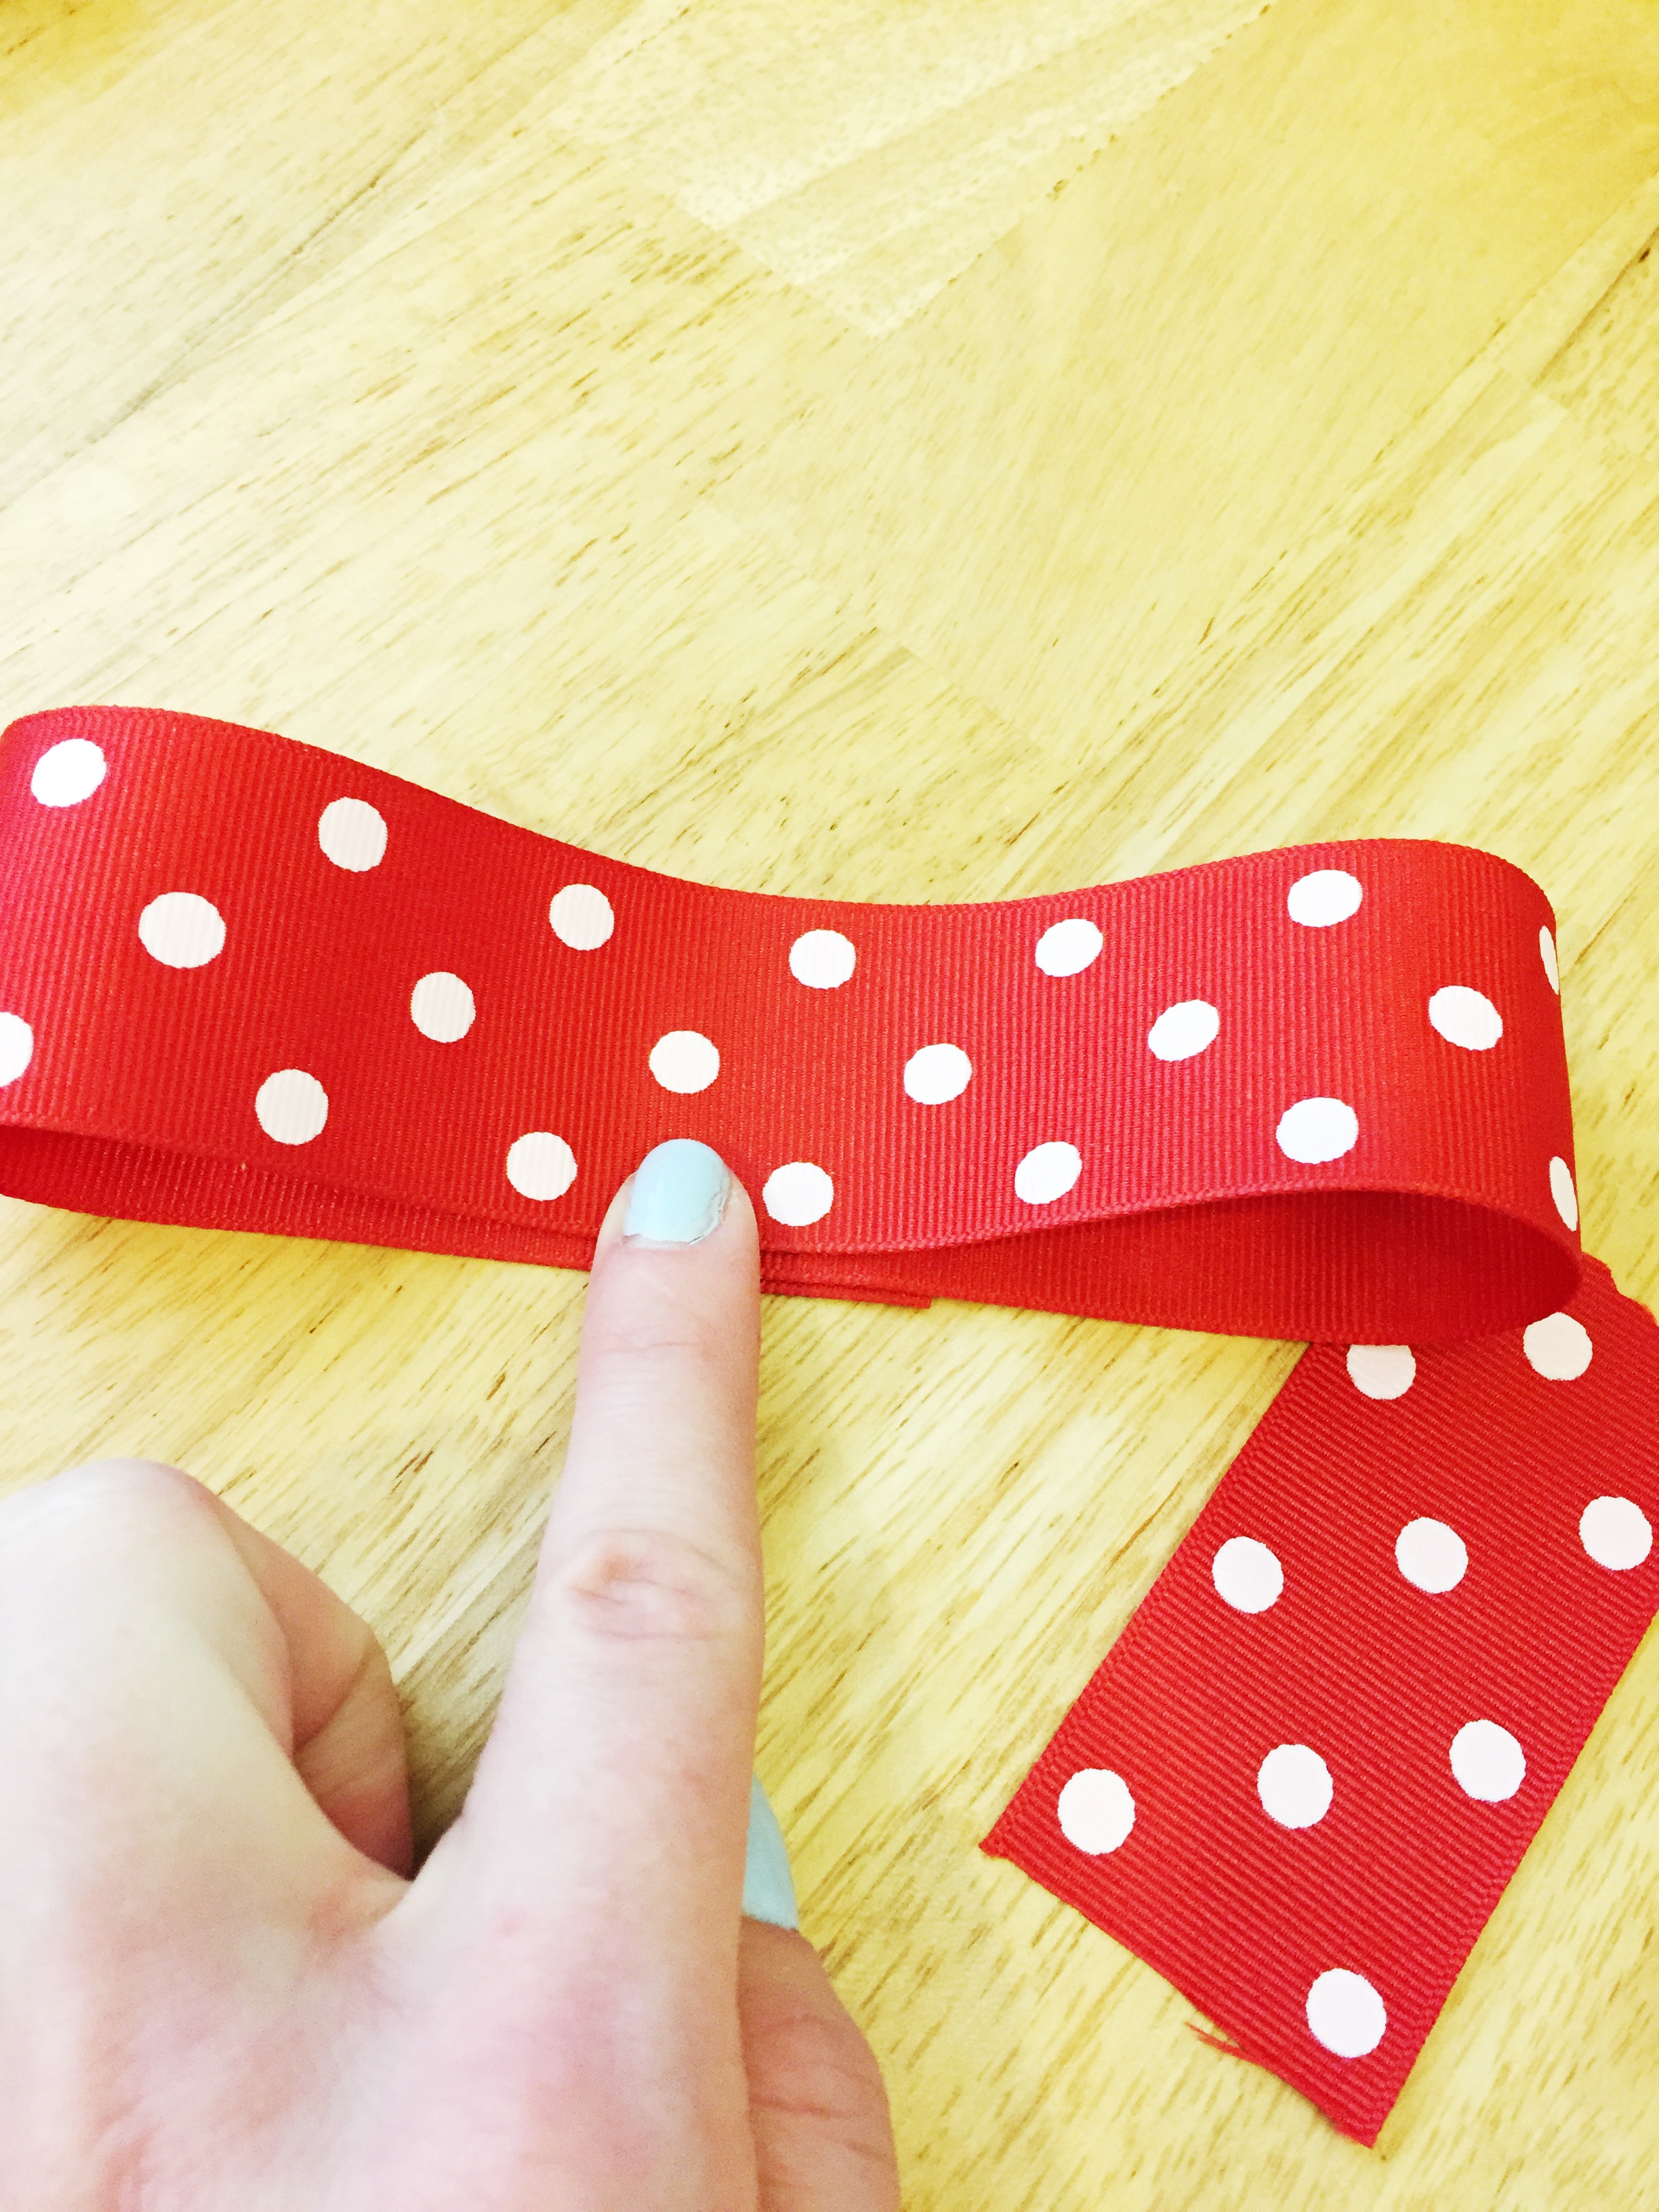
Decide about how long you want your bow to be and then cut double that amout of ribbon. Use your glue gun and glue the ends togther so that you have a loop of ribbon. Cut about a 2-3 inch piece of ribbon for the center of your bow. I cut this piece and then cut it in half because the ribbon I used is quite wide. Hold the loop of ribbon up to the front of your basket and wrap the other piece over the front and around the handle of the basket so the bow is formed and attached to the basket, then glue in place. Be sure to hold it tight and glue it well so that when you get go your bowl doesn’t sag or move. This sounds a lot harder than it was, and if you mess up you should be able to cut it off and start over.
I hope that you’ve enjoyed this! If you have any questions, please reach out in the comments because I would love to help! What are your favorite Easter traditions? Do you make baskets, buy the pre-filled ones, or something else? And does the Easter bunny hide your baskets on Easter morning? : ) Let me know!


[…] Mickey and Minnie baskets- http://www.leahtackles.com/2015/03/18/diy-mickey-and-minnie-easter-baskets/ […]