Leah Tackles

  • Home
  • About
  • Policy
  • Beauty
  • Fashion
  • Cooking
  • Exercise
  • DIY Projects
  • Decor
  • Book Club
  • Family

HOW TO APPLY FALSE LASHES!

January 4, 2017 & Leave a Comment

Hi there! Happy Wednesday!

I hope that you are having a great week so far! I have been getting comments on some of my YouTube videos and Instagram pictures asking if I’m wearing false eyelashes or what lashes I am wearing. Up until about a year ago, I really only wore false eyelashes a handful of times in my entire life, but this past year I’ve been using them while filming certain videos and for special events, so today I decided to tell you about the lashes that I use and how I apply them.


How To Apply False Lashes:

howtoapplyfalselashes-leahtackles.jpeg

Pictures Wearing False Lashes:

howtowearfalselashes-leahtackles.jpeg fullsizerender-67 fullsizerender-66

When To Wear False Lashes:

Whenever you want! I definitely am NOT a false lash every day kind of girl, but I really love the way that they look on film and in pictures. I always have very long and dark lashes naturally, but the difference that false lashes can make is pretty remarkable!

How To Apply False Lashes:

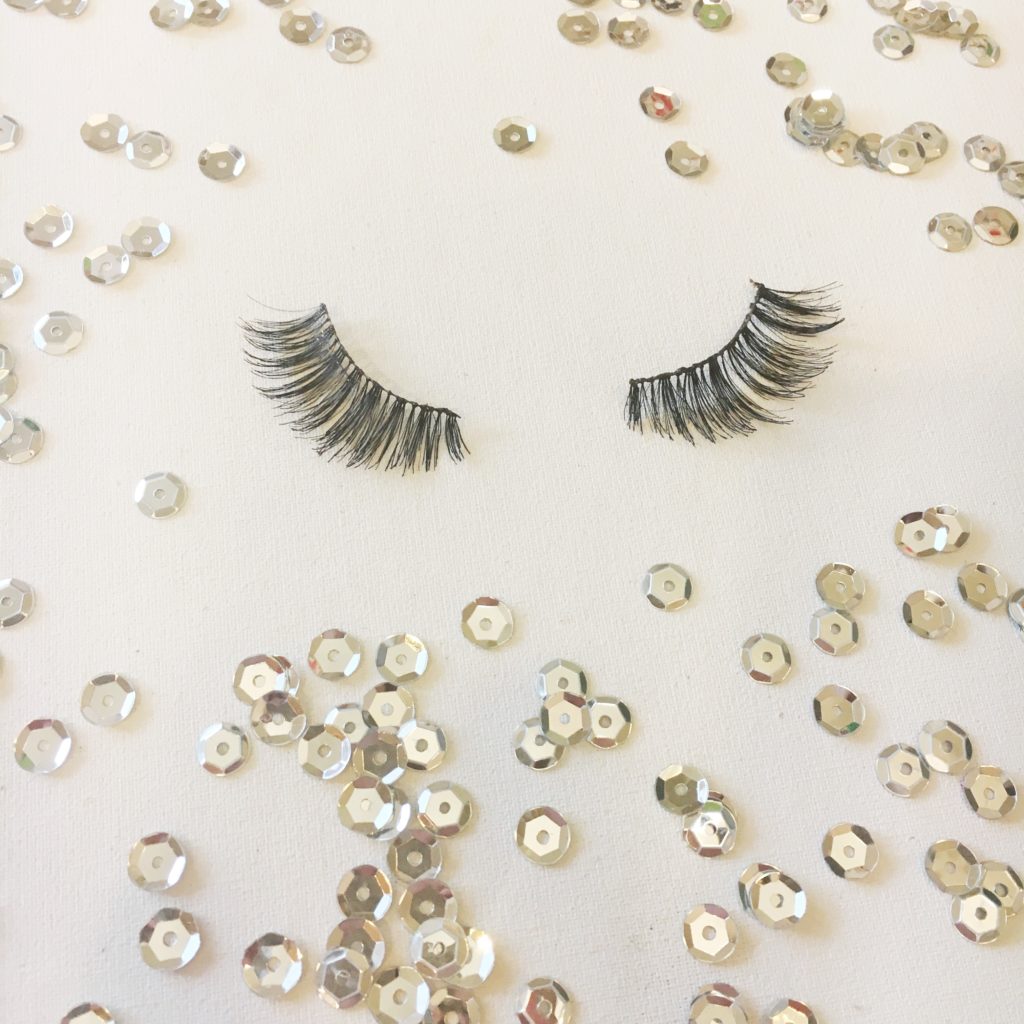
1.Once you’ve removed your lash from the packaging hold the lash up to see if it fits your lash line or needs to be trimmed. If it needs to be trimmed you can do so easily with a small pair of scissors from a manicure set. For some, like myself, the lash bands are actually not long enough so I hold the lash up and figure out where to place it so that it starts in the middle and ends on the outer part of the lash line.

2. Apply a very light layer of a mascara to help blend your lashes with the falsies. This step is optional, but I’ve tried this step and it is my preference to do this.

3. Apply a thin strip of lash glue to the band of the false lash and then let the glue dry for about 30-40 seconds.

4. This is the “tricky” step but I promise it isn’t that bad! If one side of the lash has longer lashes, that part should go on the outer corner of your eye.  Hold the lash up either with your fingers or if you prefer, with a pair of tweezers, and right about your lash line until you get in where you want set it and then put it down onto your lash line. *TIP: Apply a slightly thicker than usual line of liquid eyeliner that helps to blend the false lash band and gives you a spot to “aim” when placing the lash.

5. Check out your handy work! If the lash is sticking too far out or not where you want it to be, lift it up and try again! If you need to, apply a bit more lash glue and repeat step 3. If you are happy with how your lash looks, make sure the band is pressed down and keep your eye closed or look down for a minute so that the lash can set.

6. Use a mascara to blend your lashes with the falsies, if needed. I like to add a little bit of mascara where the lash doesn’t reach near the inner corner of my eye, and then a little bit on my bottom lashes as well.

Repeat these steps for the other eye. That’s it! I know it is a lot of steps and sounds scary, but I promise it isn’t : ) I usually do one eye super quickly, and often struggle with the other once or twice before getting it how I want it, but it’s worth it for a little added drama to your look!

If you have any questions about how I do this, please let me know! I also re-use my false lashes several times by cleaning them after use, and if you’d like to see how I do that please let me know!

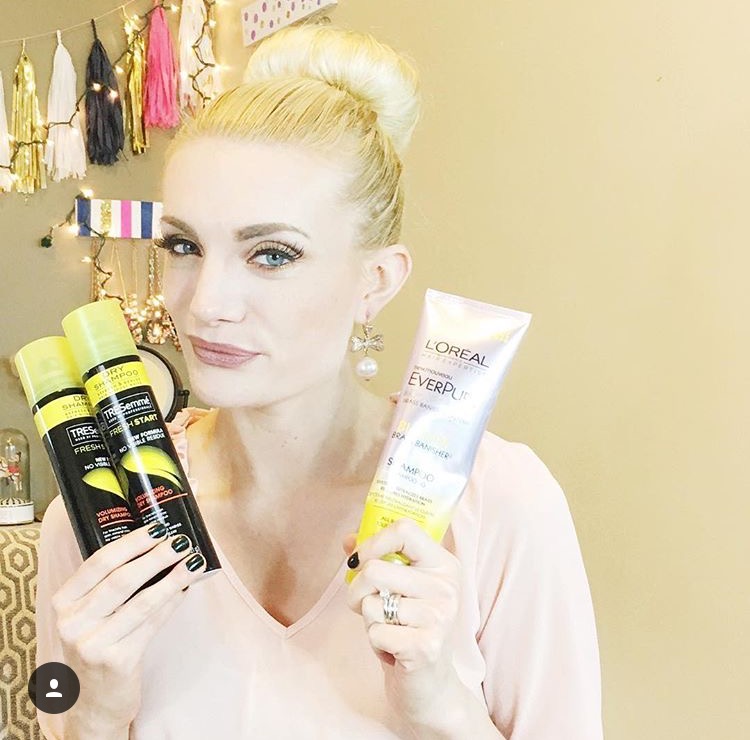
My Favorite False “Natural” Lashes

My Favorite “Glamour” Lashes

My Favorite Lash Glue

My Favorite Mascara

Thank you for reading! Have a beautiful day!

FacebookTwitterEmailPinterestShare

Filed Under: Beauty Tagged With: Apply False Lashes Like a Pro, Ardell False Lashes, beauty blog, beauty blogger, Beauty Vlogger, beauty youtuber, Best False Lashes, Best Lash Glue, False Lash How-To, Glamour False Lashes, How To Apply False Lashes, Inexpensive False Lashes, Lash Tutorial, leahtackles, LeahTackles Lashes, Long Lashes, Natural Lashes, Red Cherry False Lashes, Revlon Precision Lash Glue, vlogger

GO LONGER BETWEEN HAIRCUTS? LIVING PROOF SPLIT END MENDER REVIEW

December 12, 2016 & Leave a Comment

Hi there! Happy Monday!

I hope that you had a great weekend! If you’re like a lot of us, you probably don’t get your haircut the recommended every 6-8 weeks, and sometimes the ends of your hair can start looking a little rough between trims. Today I am going to be sharing my thoughts on the Living Proof Perfect Hair Hair Day Fresh Cut Split End Mender.


Living Proof Split End Mender

skipahaircut-hereishow-leahtackles.jpeg

livingproofsplitendmender-leahtackles.jpeg

What It Is

The Living Proof Split End Mender can be used on wet or dry hair to seal individual split ends so that the ends of your hair looks smooth and aligned. It also contains a conditioning layer that keeps ends sealed and soft for polished looking ends. You can start using this right after a haircut to help prevent split ends, or to treat split ends.

How I Use It

I like to apply this to the bottom few inches of my hair while it is still damp after showering. I also have used it after straightening and curling my hair when the ends look a little bit raggedy and it definitely works to smooth out my ends.

My Thoughts

livingproof-splitendmender-leahtackles.jpeg

I love that a little bit of this goes a long way and helps my split ends look smooth! I really feel like this helps get that “just left the salon” look. I really like this to treat my split ends when my hair is damp. This does work to smooth my ends after curling or straightening for a sleek look, but I can get the same effect using other serums as well. I already have added this to my “loves” list at Sephora and will continue using this to prevent and treat split ends.

Have you ever tried this or other Living Proof products? Let me know your thoughts in the comments! Have a wonderful day and don’t forget to subscribe : )

FacebookTwitterEmailPinterestShare

Filed Under: Beauty Tagged With: beauty, beauty blogger, beauty review, Beauty Vlogger, Haircare Review, leahtackles, Living Proof, Living Proof Hair Care, Living Proof Perfect hair Day, Living Proof Review, Living Proof Split End Mender, Living Proof Split End Mender Review, makeup review, skincare, skincare review, vlogger

3 Ways To Get Better Skin In A Week! 

August 22, 2016 & 2 Comments

Hi there! Happy Monday!

I hope that you had a great weekend! Thank you, as always, for taking time out of your busy day to read my blog! It means a lot to me : ) I can *tend* to be a perfectionist (friends and family may be laughing at this “confession” because to them I’m sure it’s obvious!) and have to watch myself so that I don’t fall into an “all or nothing” mindset, and lately I’ve been doing that with skincare. For example, yes I do have a morning and evening skincare routine, but just because I maybe can’t afford a super fancy eye cream, or can get regular facial treatments, doesn’t mean that I should throw in the towel, so to speak. So, today I want to share three very easy ways to really improve the tone, even-ness, and health of your skin.


howtogetbetterskininaweek-leahtackles.jpeg


1. Drink Water!

I know this is an obvious one, but I drink so much water that I can immediately tell if I haven’t had enough water to drink. I really like using a bottle that is large enough to fit 8 servings of water in it. It also makes my lips much more willing to endure drying liquid lipsticks! Don’t drink anything else until you’ve finished the jug of water! I drink a coffee (or three…) each day, but besides that it is almost exclusively water! I will have the occasional glass of wine, and I’ll have a fountain drink when traveling, but otherwise it is only coffee and water. Plus, water has no calories and I much prefer to eat my calories than drink them ; )

2. Do Face Masks!

I recently did a post called “My Favorite Face Masks & How To Use Them” because this simple change has made my skin tone so much better! My skin truly is much more even now that I’ve been doing face masks a couple of times a week. We Daily Vlog (KwapisFamilyTackles on YouTube) and I’ve always vlogged with a bare face occasionally, but I’ve found myself doing it regularly now that I feel better about my skins appearance.

3. Don’t Touch Your Face!

This is so hard! I didn’t realize how much I did this until I made a real effort not to. Also, if you follow me on Snap Chat you have seen that I tend to touch my face / neck while vlogging or Snapping. But, not touching your face really does help keep your face clean!! Just think of all of the things you touch and all of the oils on your hands…not what you want on your face!

I challenge YOU to do this for one week and report back in the comments section telling me if you noticed any changes in your skin! I hope that you do because I think you’ll love how easy it is to make a big difference : ) Please don’t forget to subscribe! xx

FacebookTwitterEmailPinterestShare

Filed Under: Beauty Tagged With: beauty blog, beauty blogger, beauty videos, Beauty Vlogger, beauty youtuber, contigo water bottle, Easy SKincare, Get Better Skin, get even skin, healthy skin, improve skintone, improve your skin, KwapisFamilyTackles, leahtackles, makeup blog, Mom Makeup, mom skincare, Montagne Jeunesse Masks, skincare in your 20s, skincare in your 30s, skincare tips, vlogger, Youtuber


SUBSCRIBE

Leave your email to subscribe!

SEARCH

SPONSORS

ARCHIVES

GRAB MY BUTTON


copy & paste code

site design by The Kinch Life Design & development by Olive & Ivy Design

Catch The Webinar Replay! Boundary Setting For Entrepreneurs

Go to leahtacklessocial.com and sign-up for the link!