Hi There! Happy Monday!
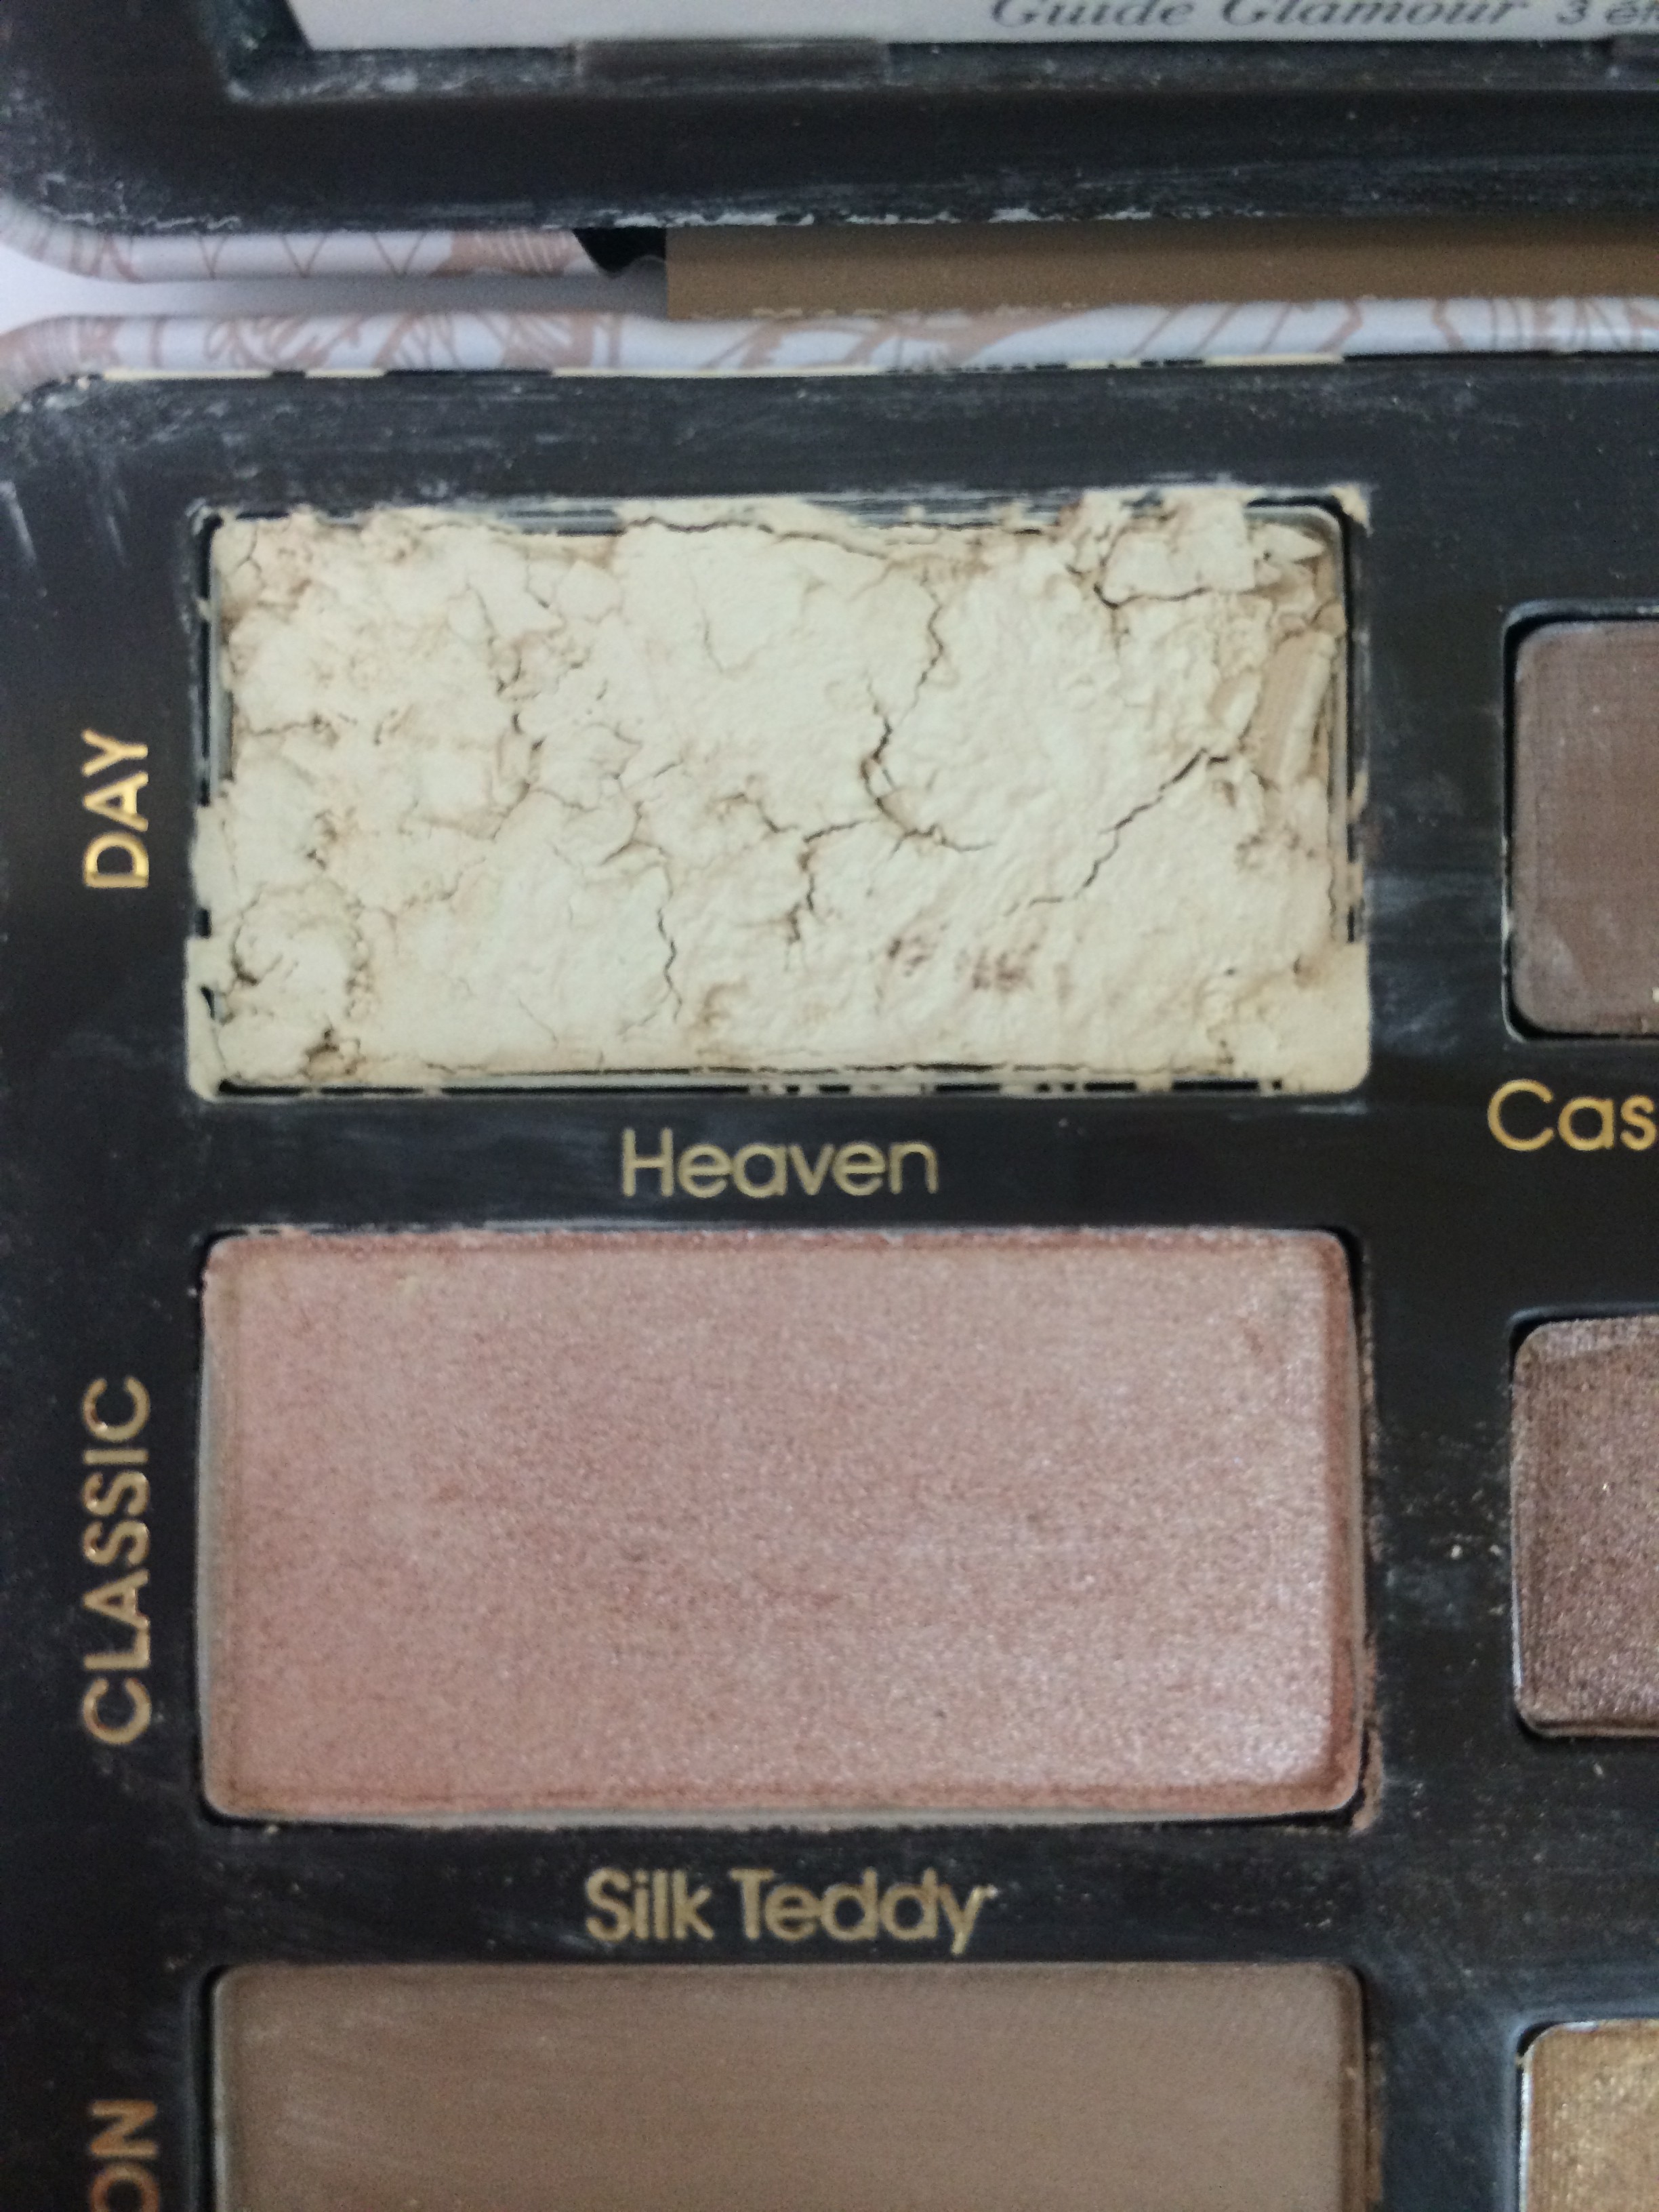
I hope that you had a wonderful weekend! Our daughter turned 3 on Saturday, and we celebrated with family and friends! It was a great party, and we were so happy that she had fun : ) In my April PopSugar Must Have Box my Too Faced eye shadow palette arrived with one of the shadows broken, PopSugar replaced it, but I wanted to repair my broken one too. Today I thought that I would show you a quick tutorial on how to repair broken eye shadow, blush, bronzer, or most powder makeup products. There are several ways to do this, and I have pinned several different techniques on my Pinterest, but I am going to show you my favorite method.
WHAT YOU’LL NEED:
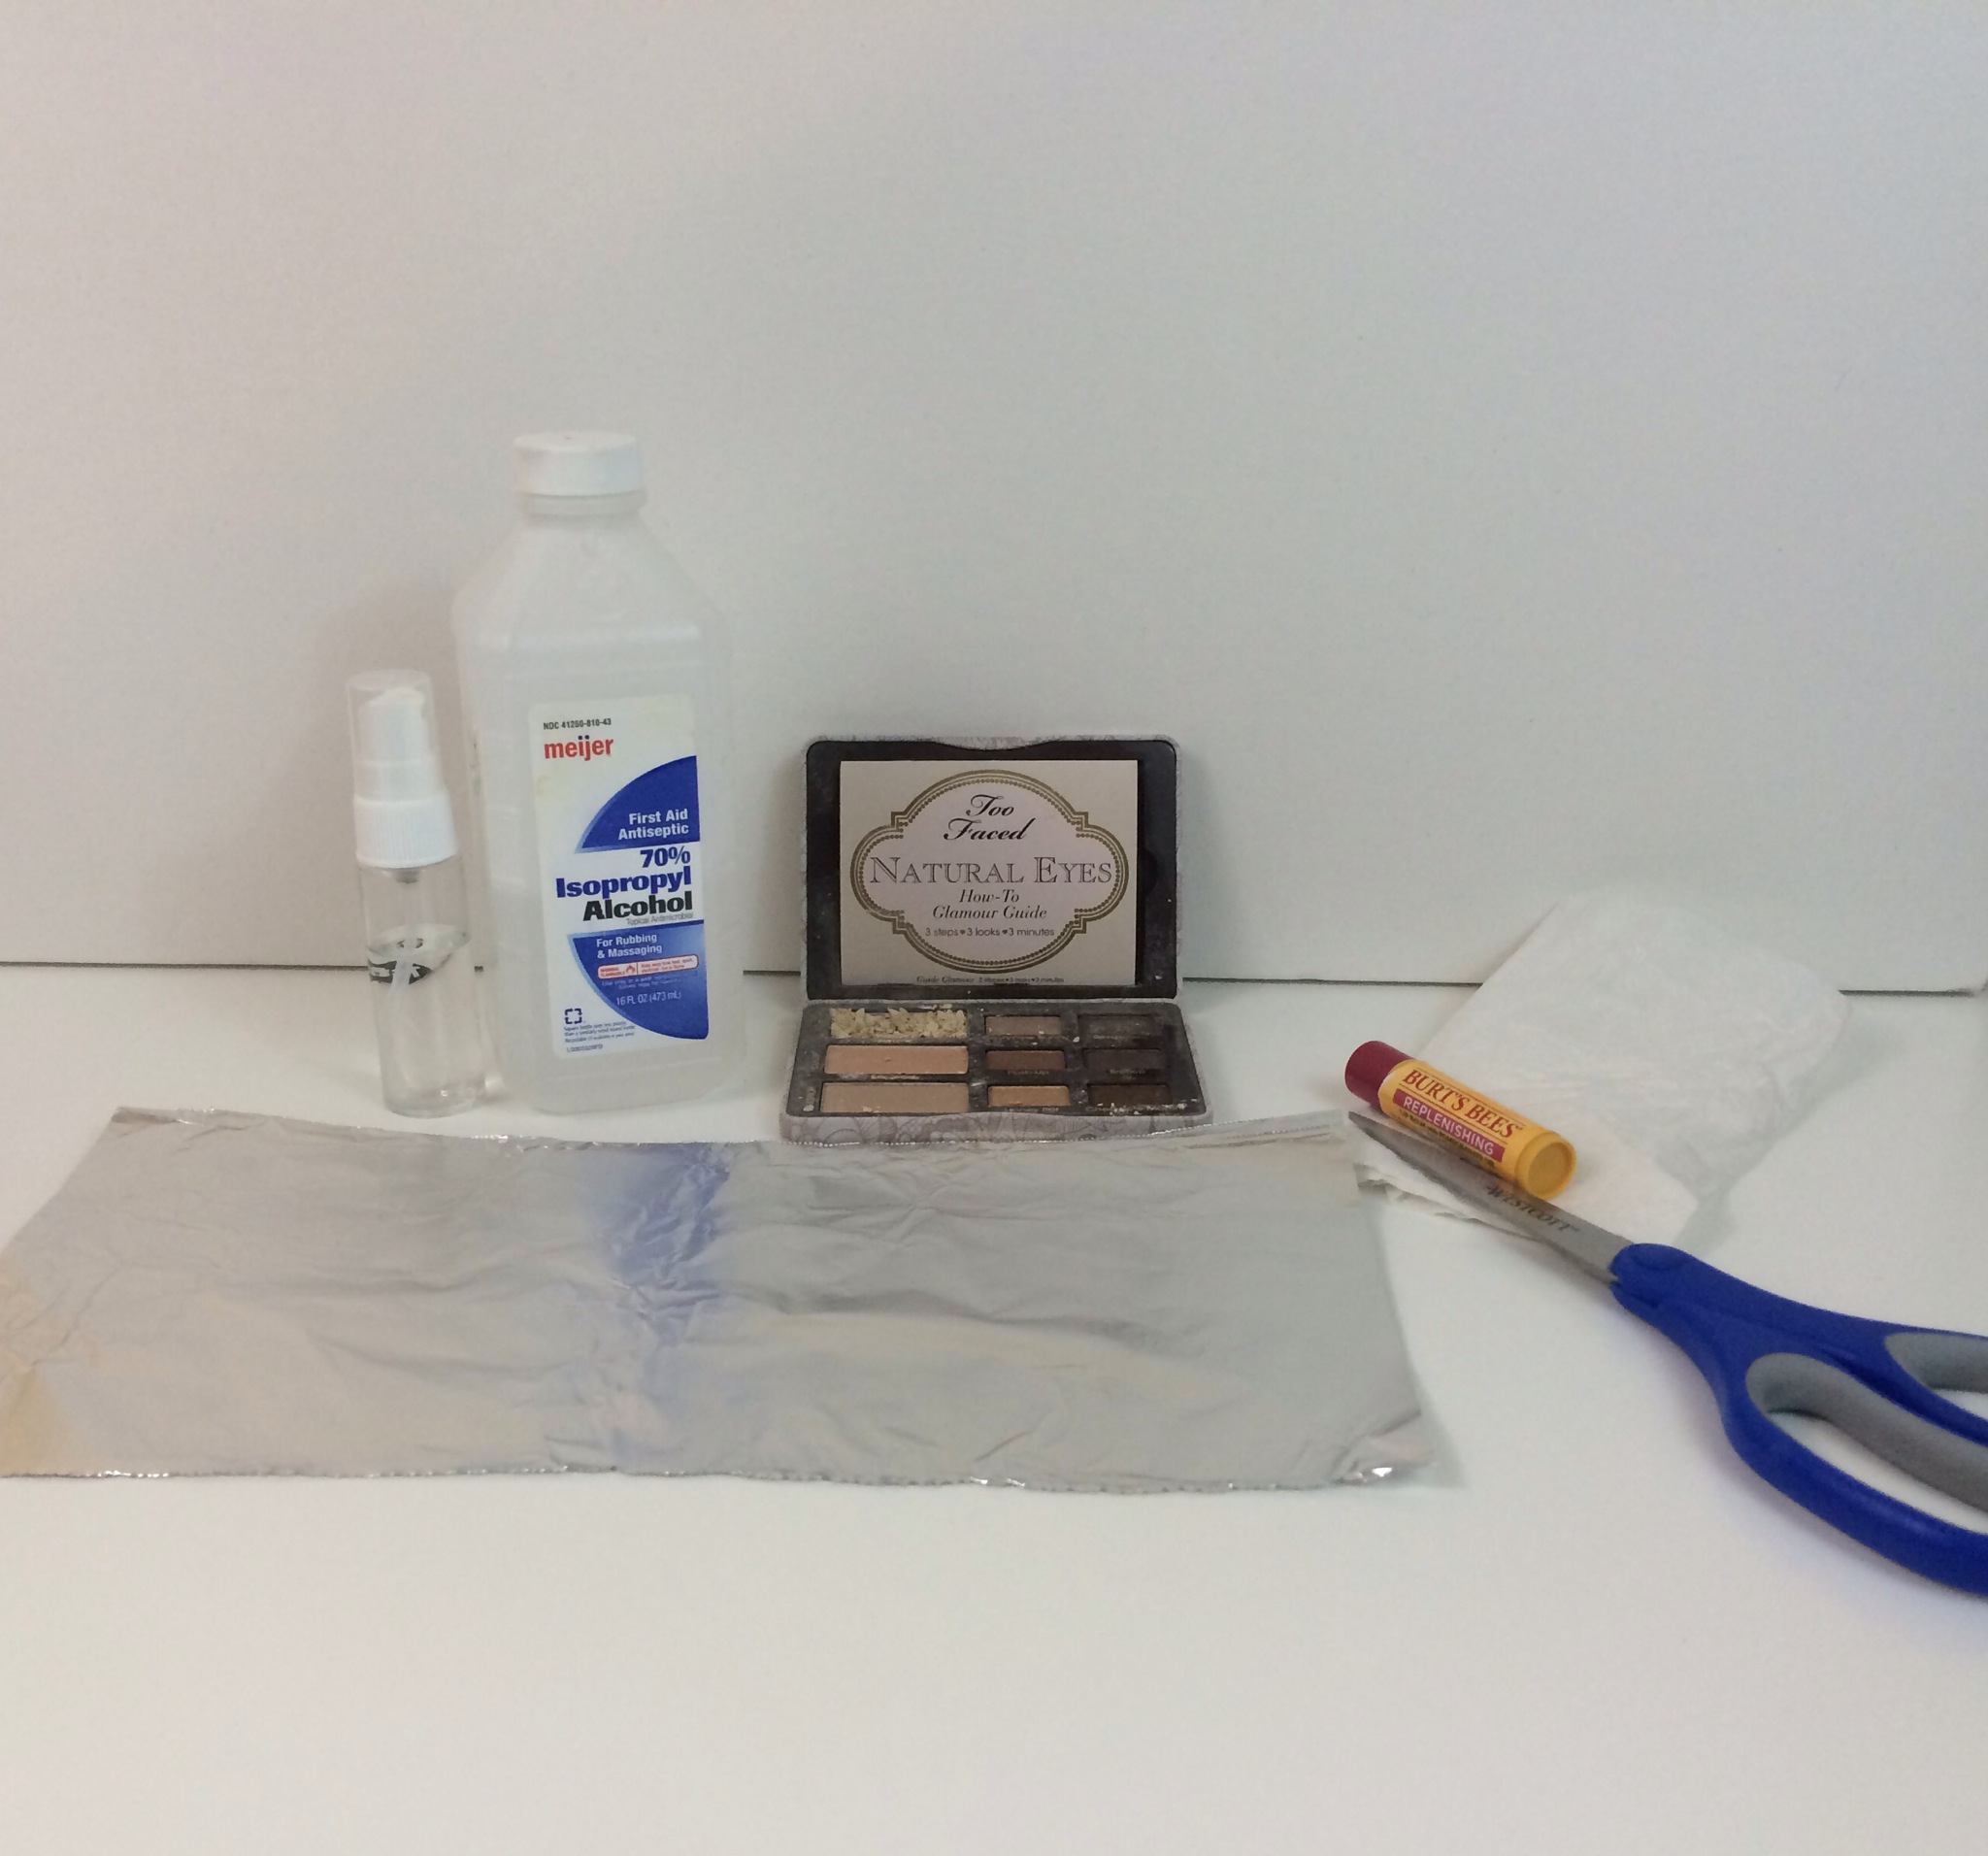
Broken eye shadow or other powder product ; )
A pen
Aluminum foil
Scissors
Rubbing alcohol in a small spray bottle
Paper towel
Chapstick tube
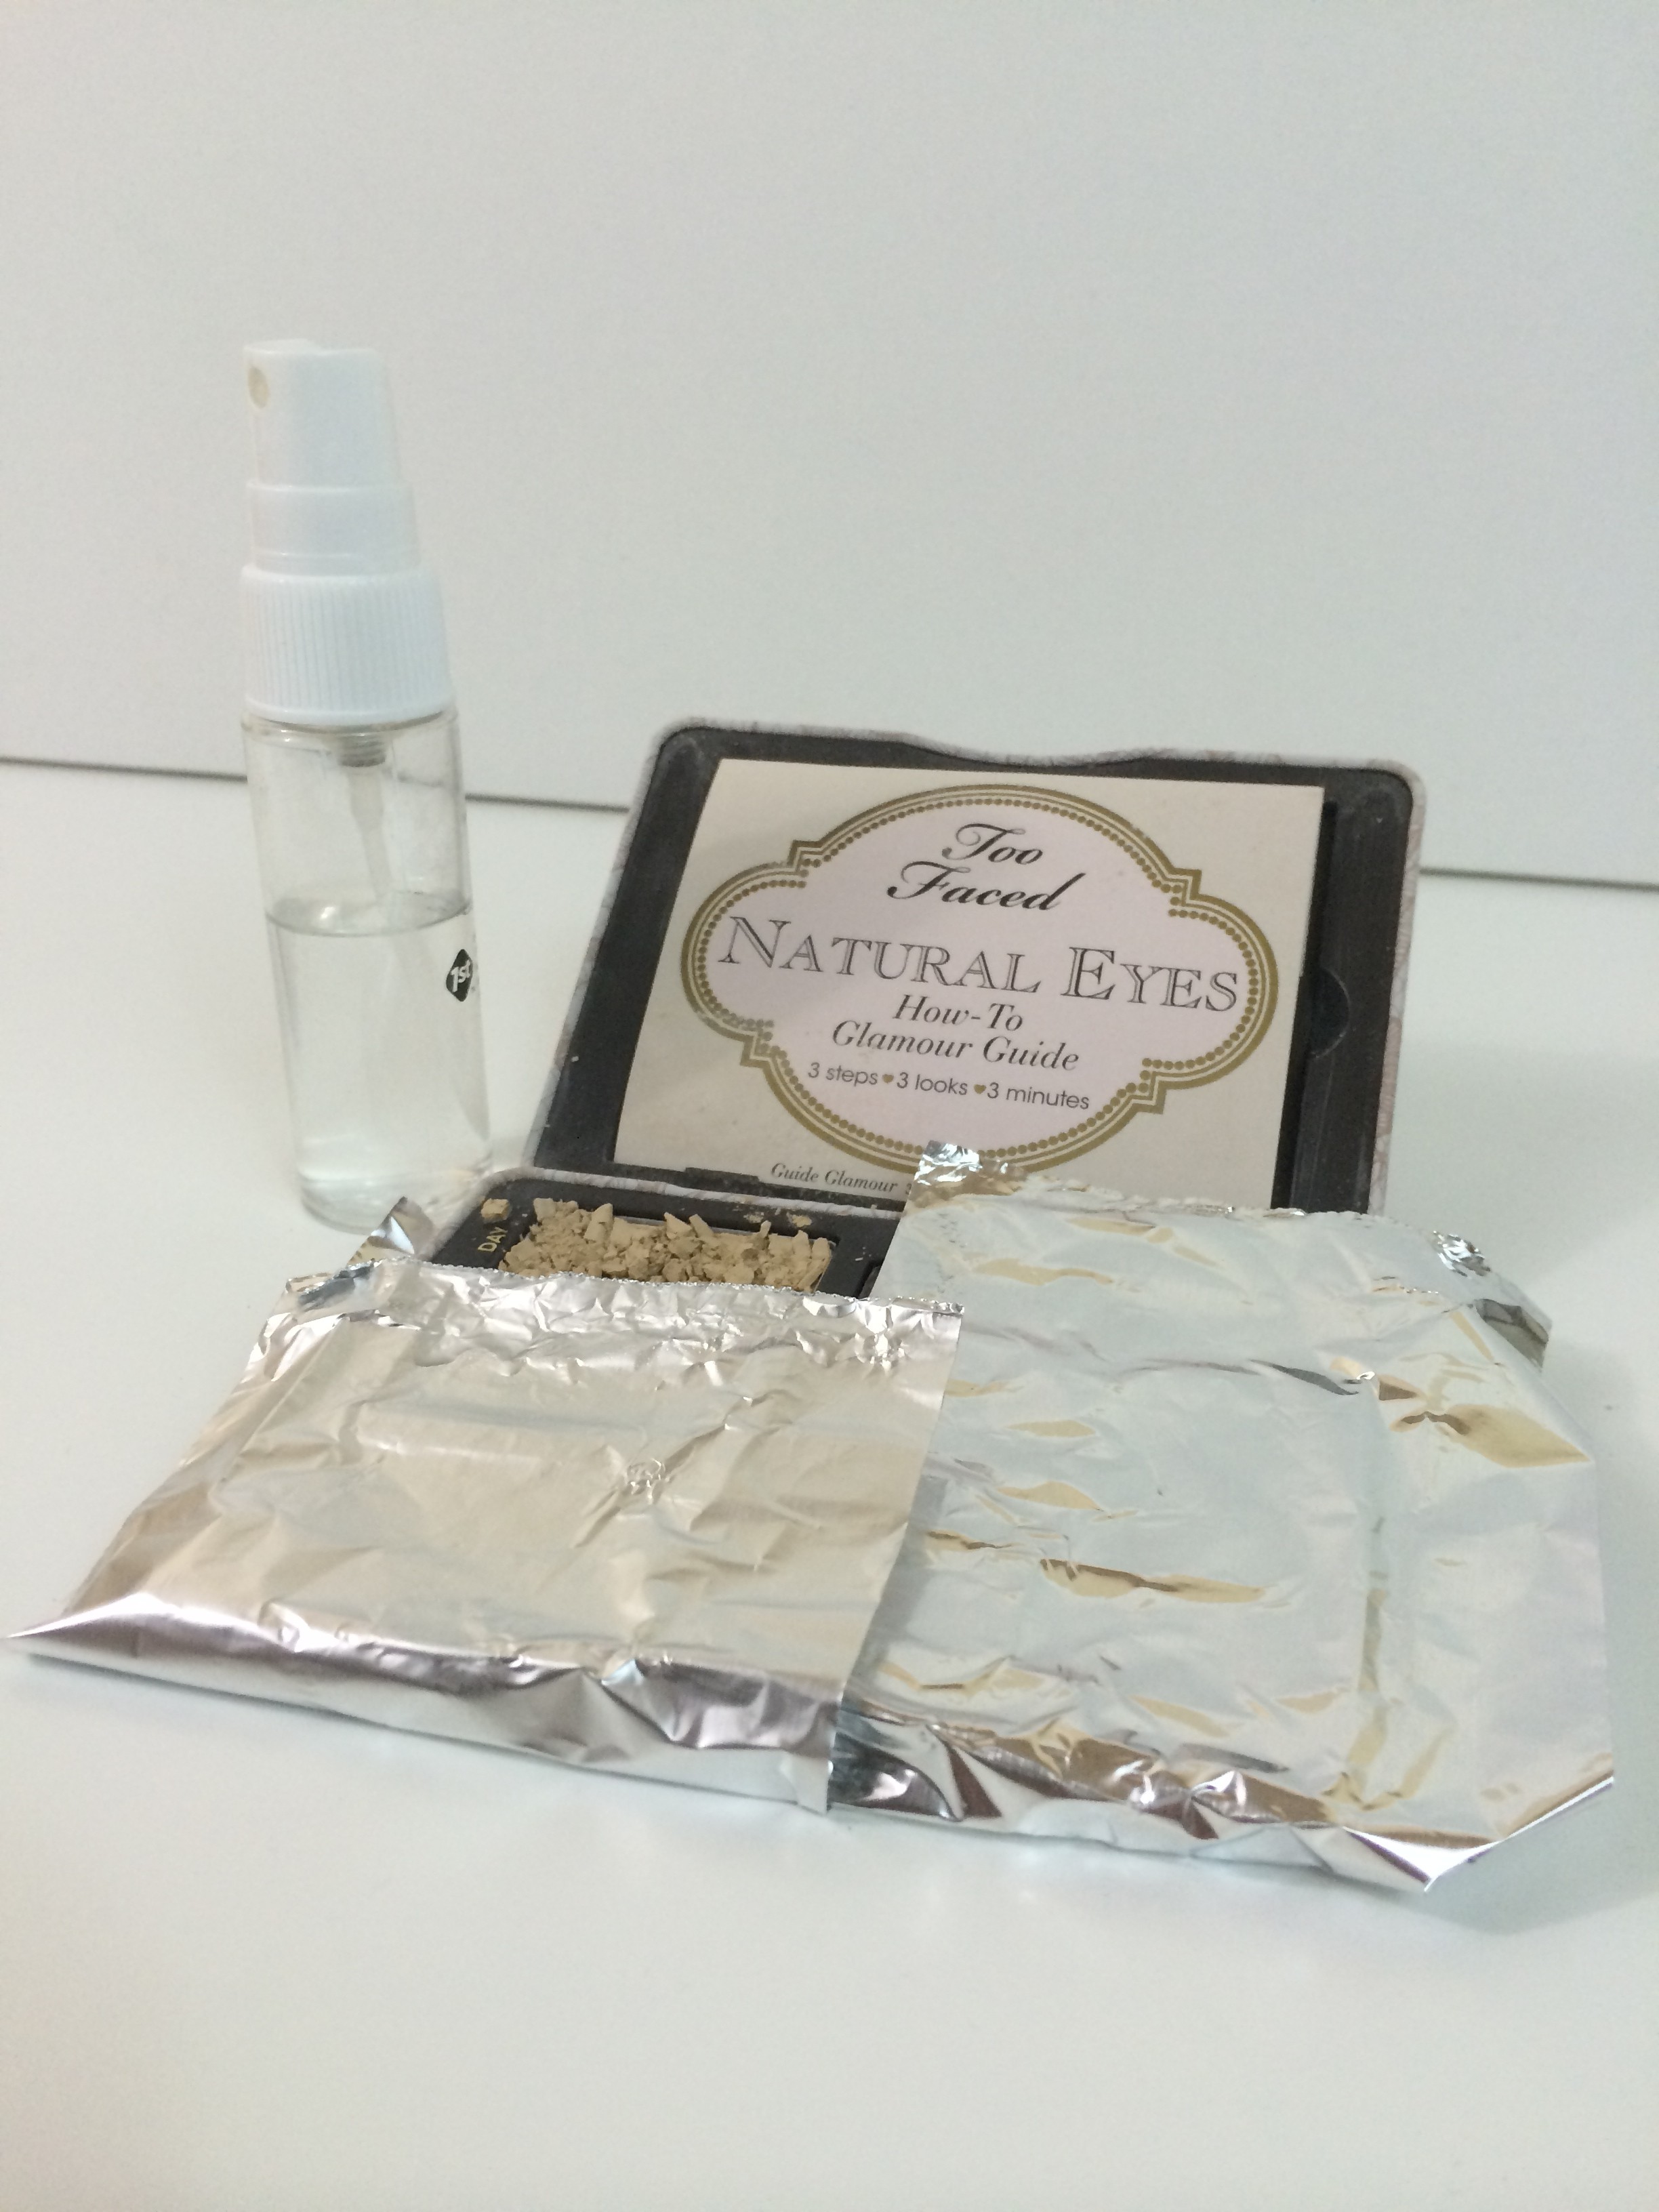
STEP 1:
This step is only needed if your eye shadow is in a palette with other shadows. Use the aluminum foil to cover up the shadows that are not broken.
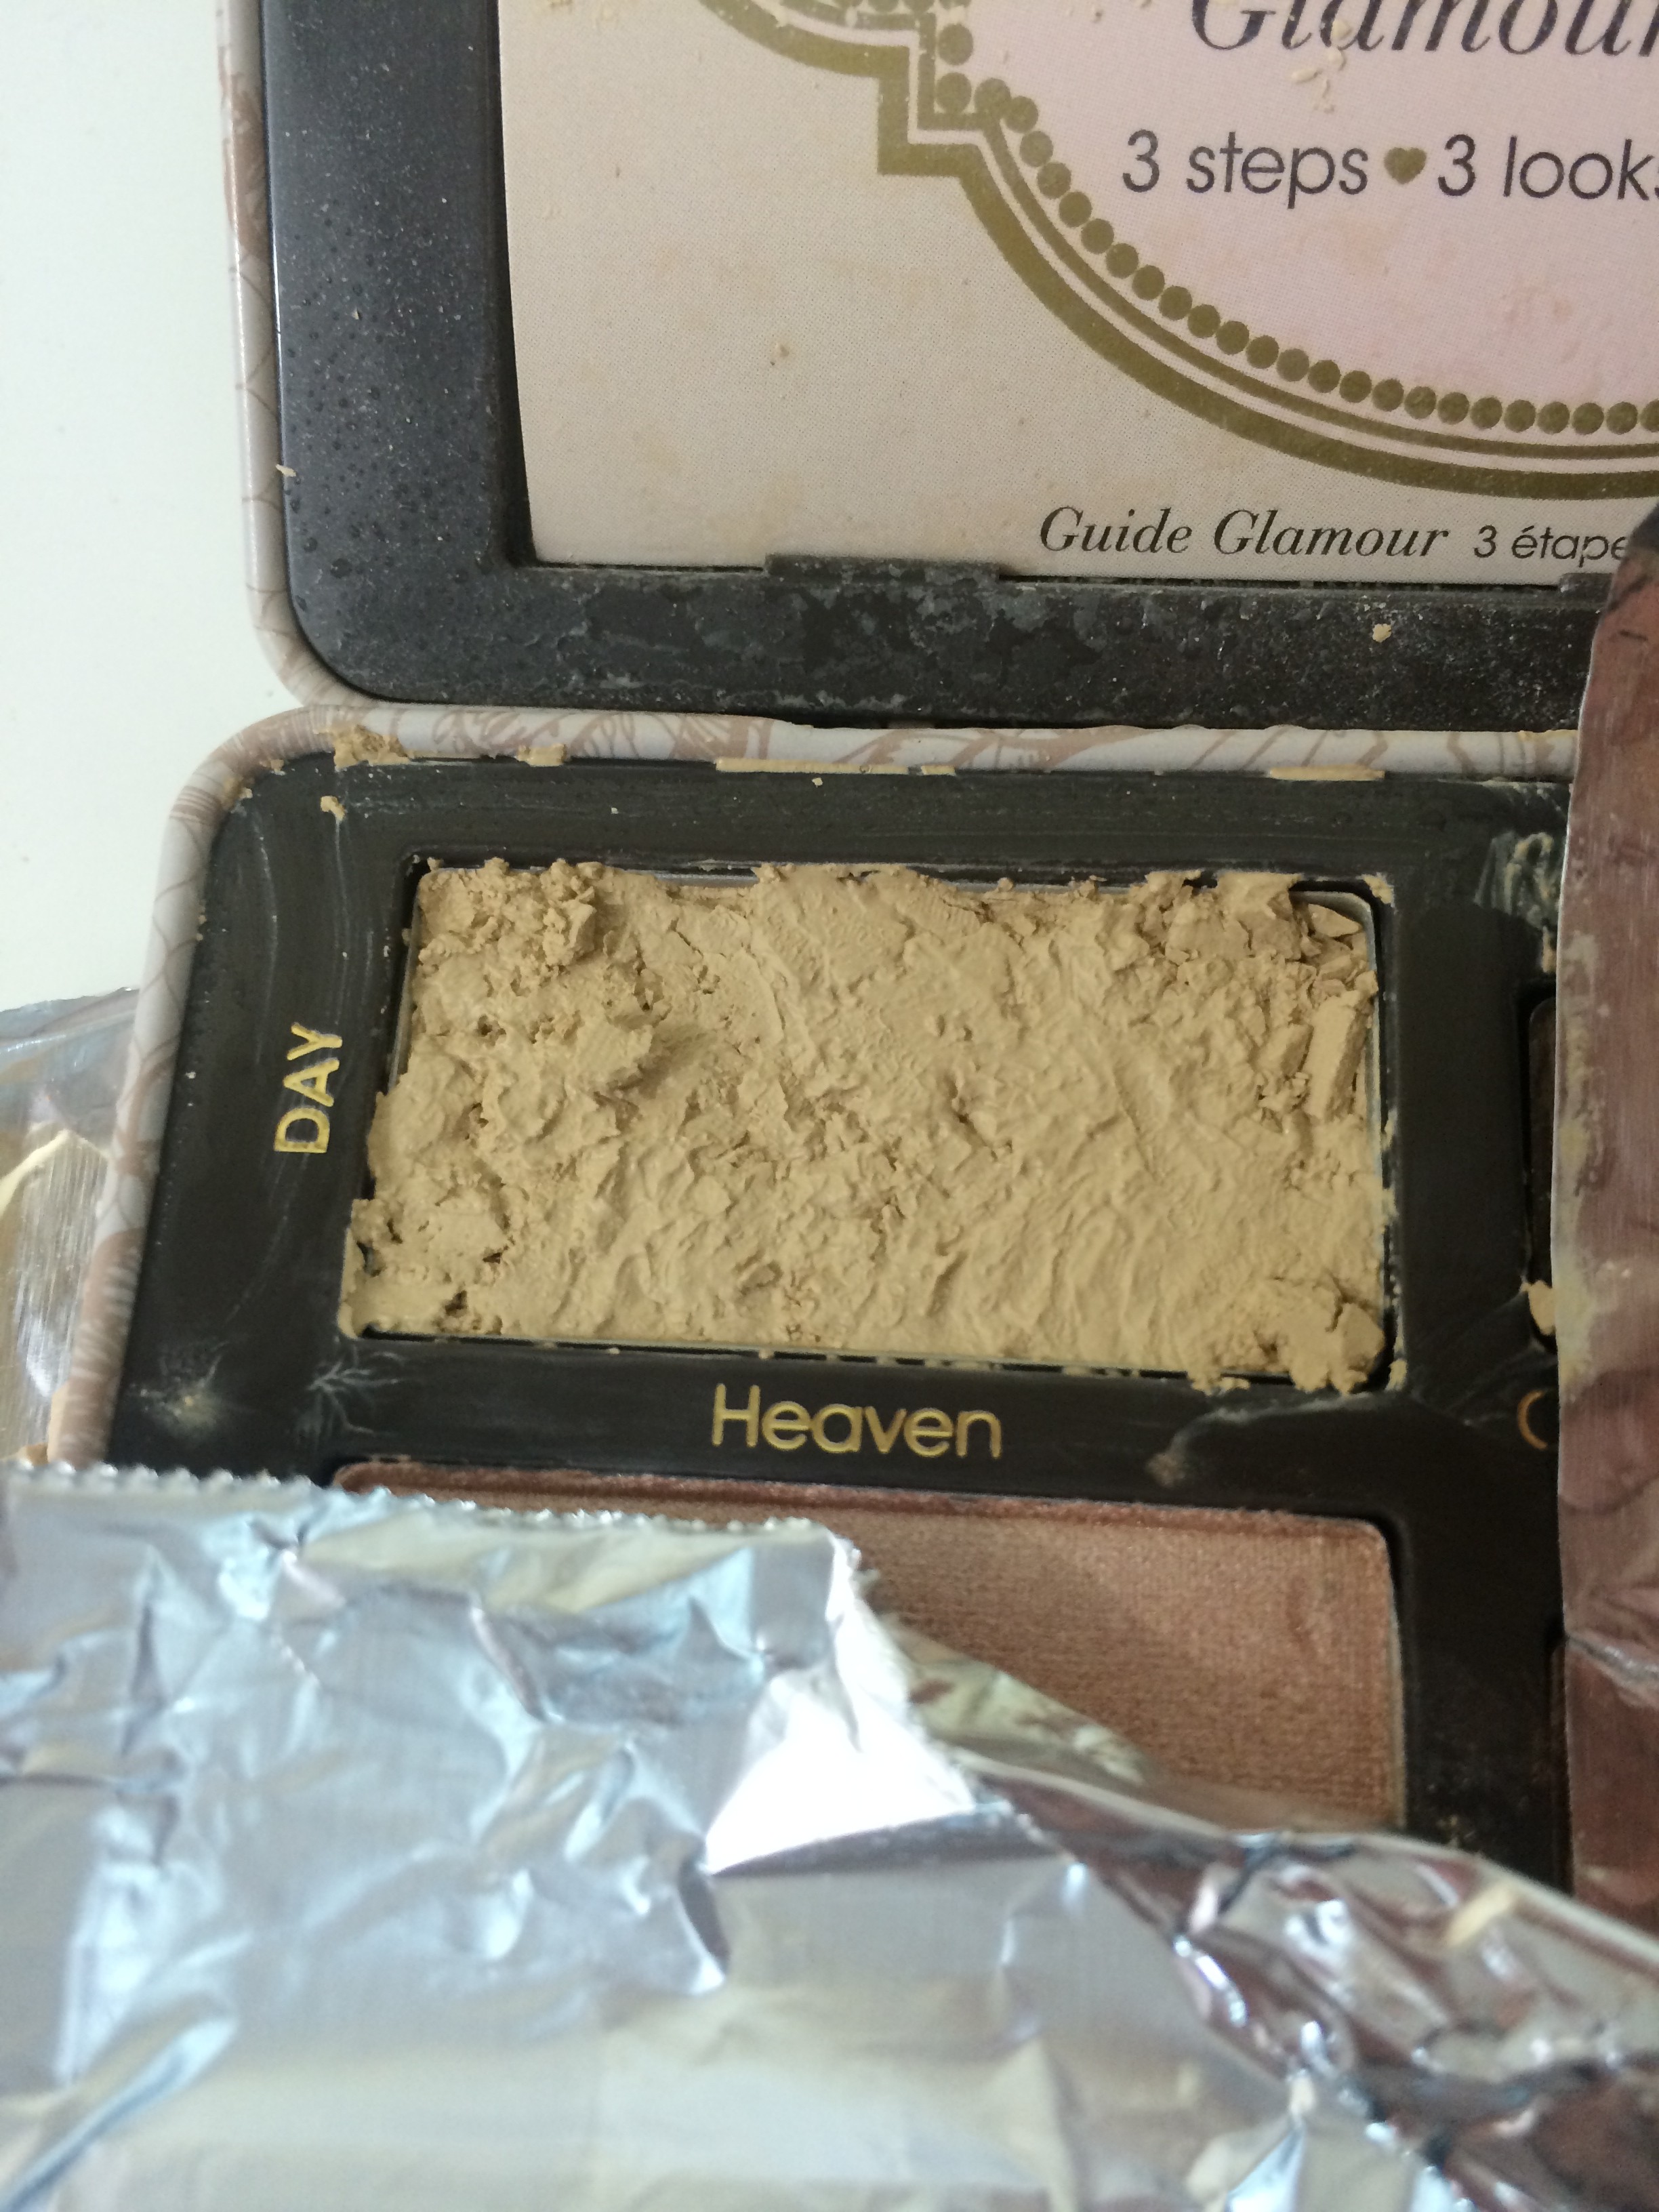
STEP 2:
Use the pen to smash the broken pieces powder until it looks like a finely milled loose powder.

STEP 3:
Spray fairly heavily with rubbing alcohol.
STEP 4:
Wrap your chapstick tube in paper towel and press down onto the broken powder.
STEP 5:
Allow to dry for several hours and Ta-Da! Your powder may not be as pretty as before it broke, but it should work just as well and be all in one piece!
I hope that this was helpful for you! Please feel free to pin this onto your Pinterest account by clicking the pink “pin” button that shows up when you scroll over any of the pictures. If you have any questions or comments, let me know by commenting (click on the link by the title of this post) or find me on Facebook, Twitter, or Instagram! Thank you so much for taking the time out of your day to read this, and I hope you have a wonderful week! Don’t forget to subscribe! : )