Leah Tackles

  • Home
  • About
  • Policy
  • Beauty
  • Fashion
  • Cooking
  • Exercise
  • DIY Projects
  • Decor
  • Book Club
  • Family

Wet n’ Wild Megalast Nail Polish! Dollar General Exclusive Colors!!

May 21, 2014 & 5 Comments

Hi There! Happy Wednesday!!

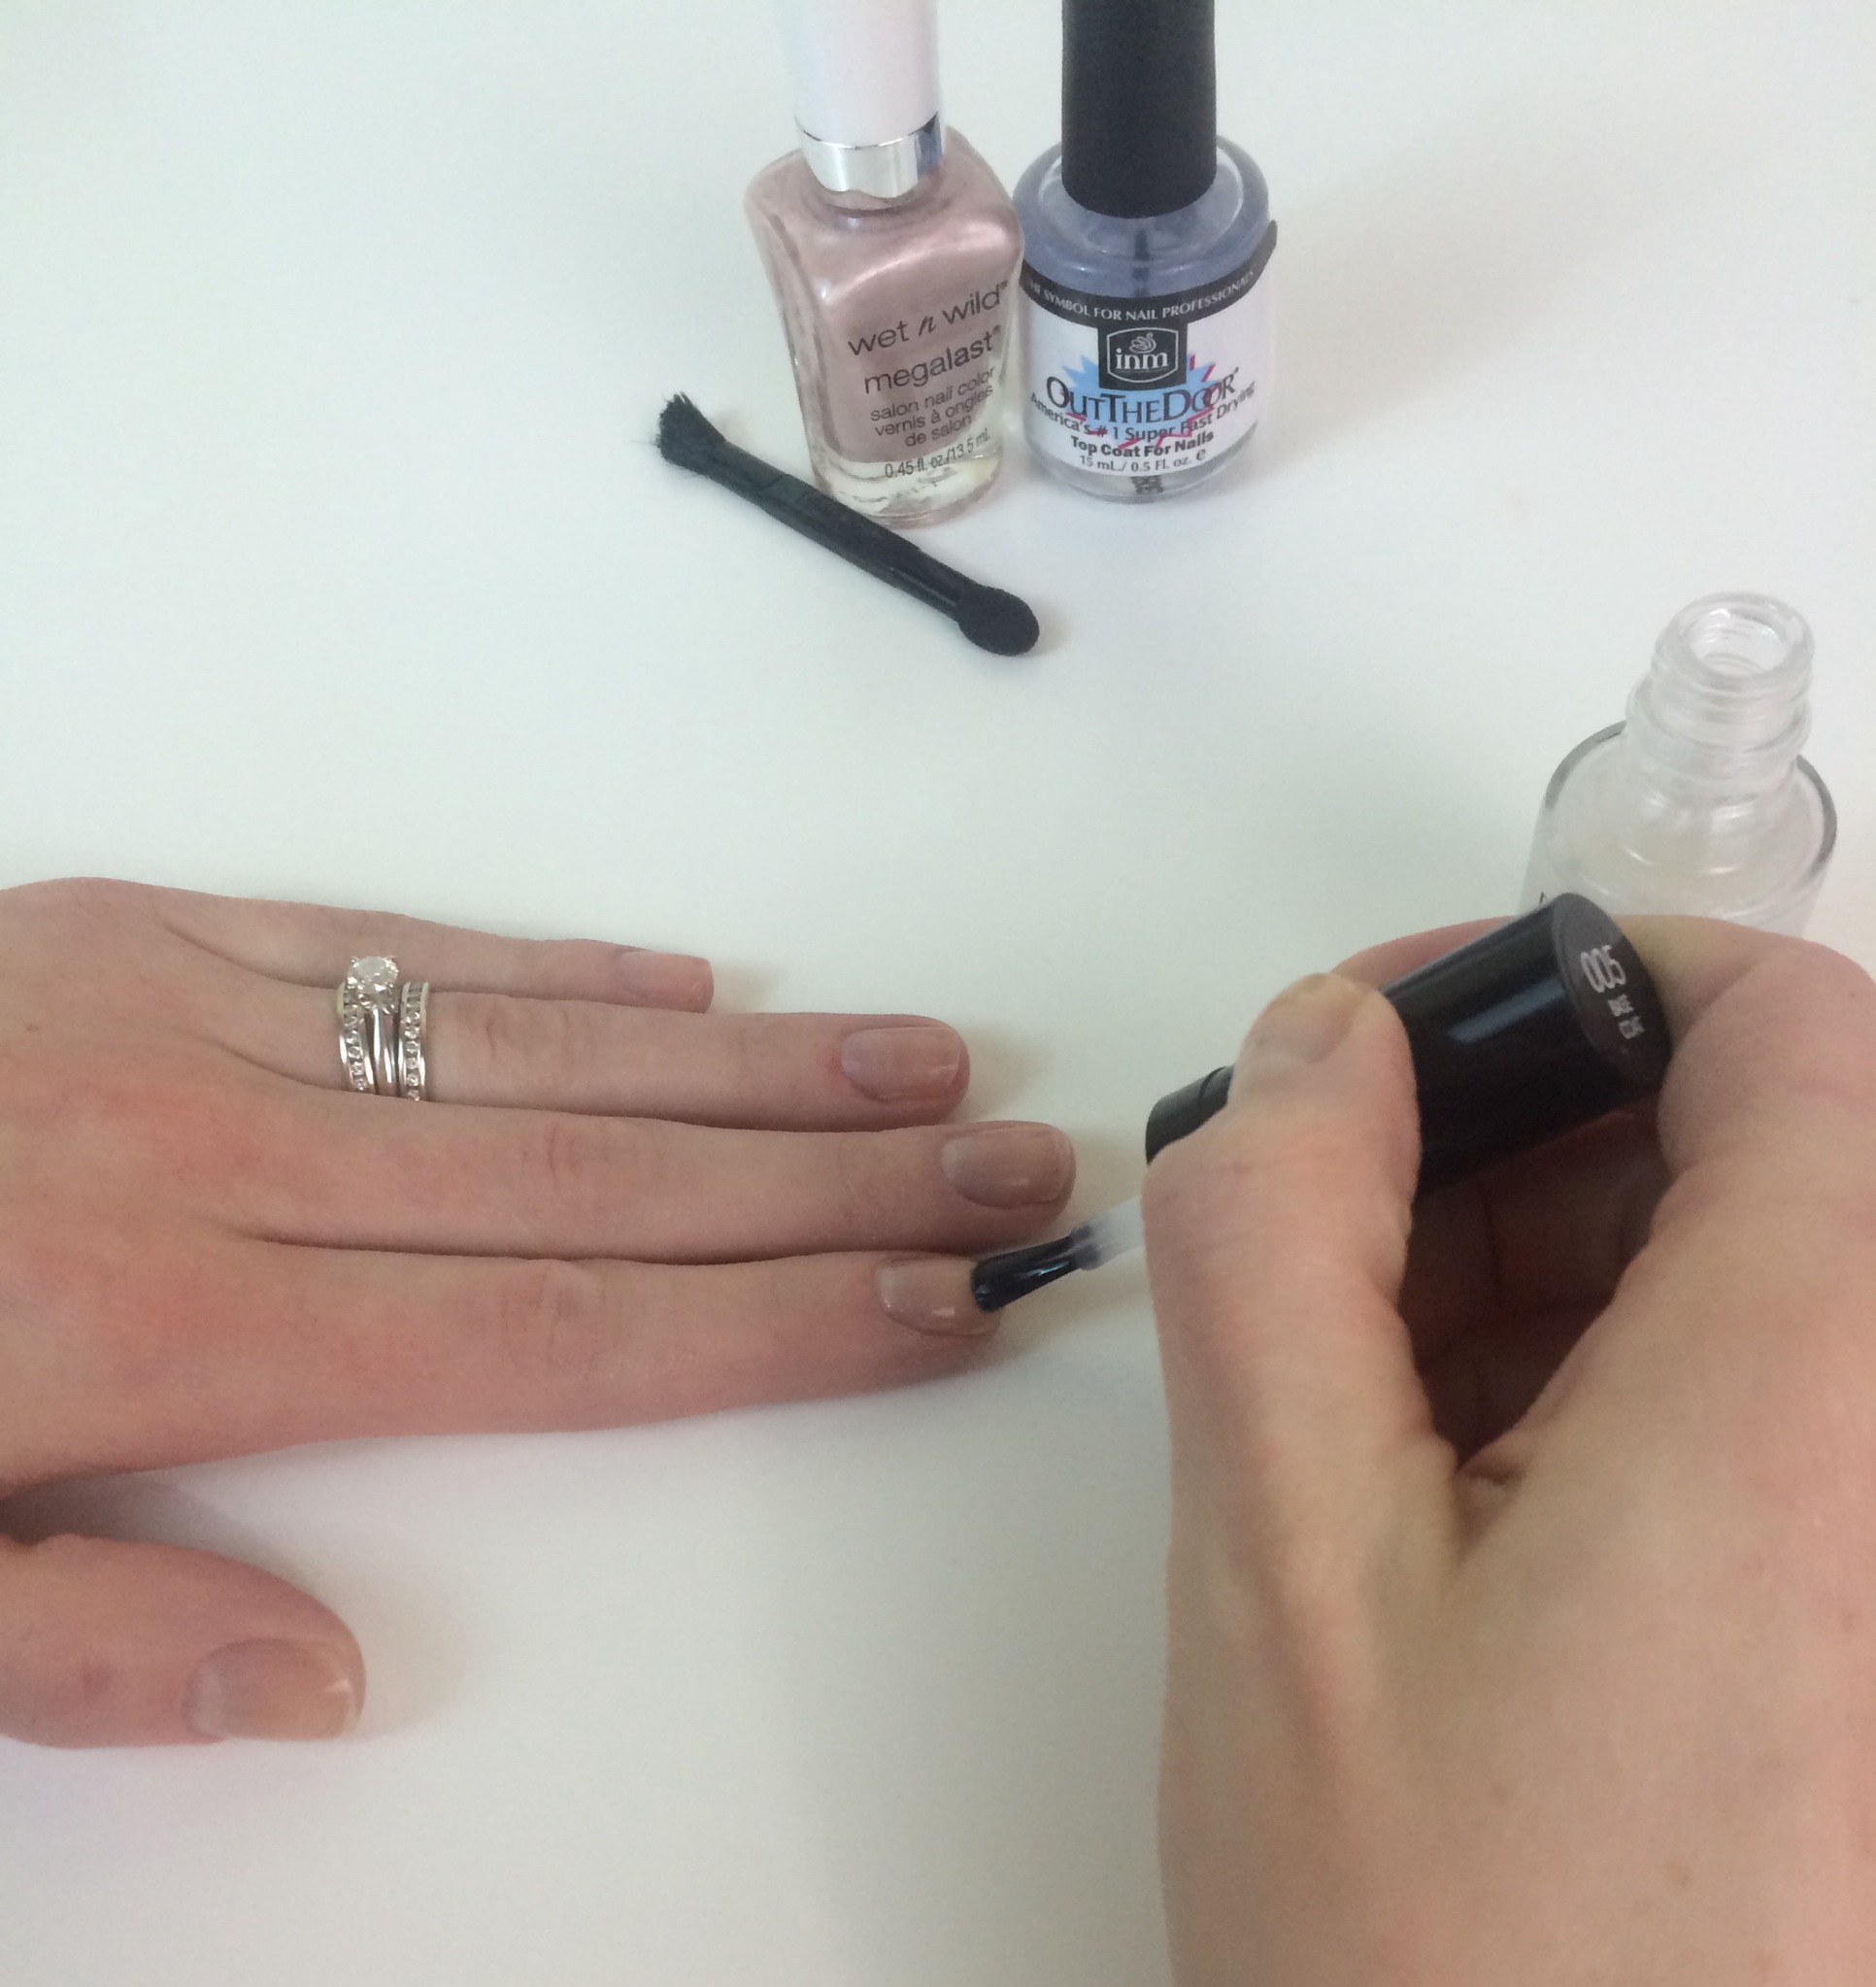
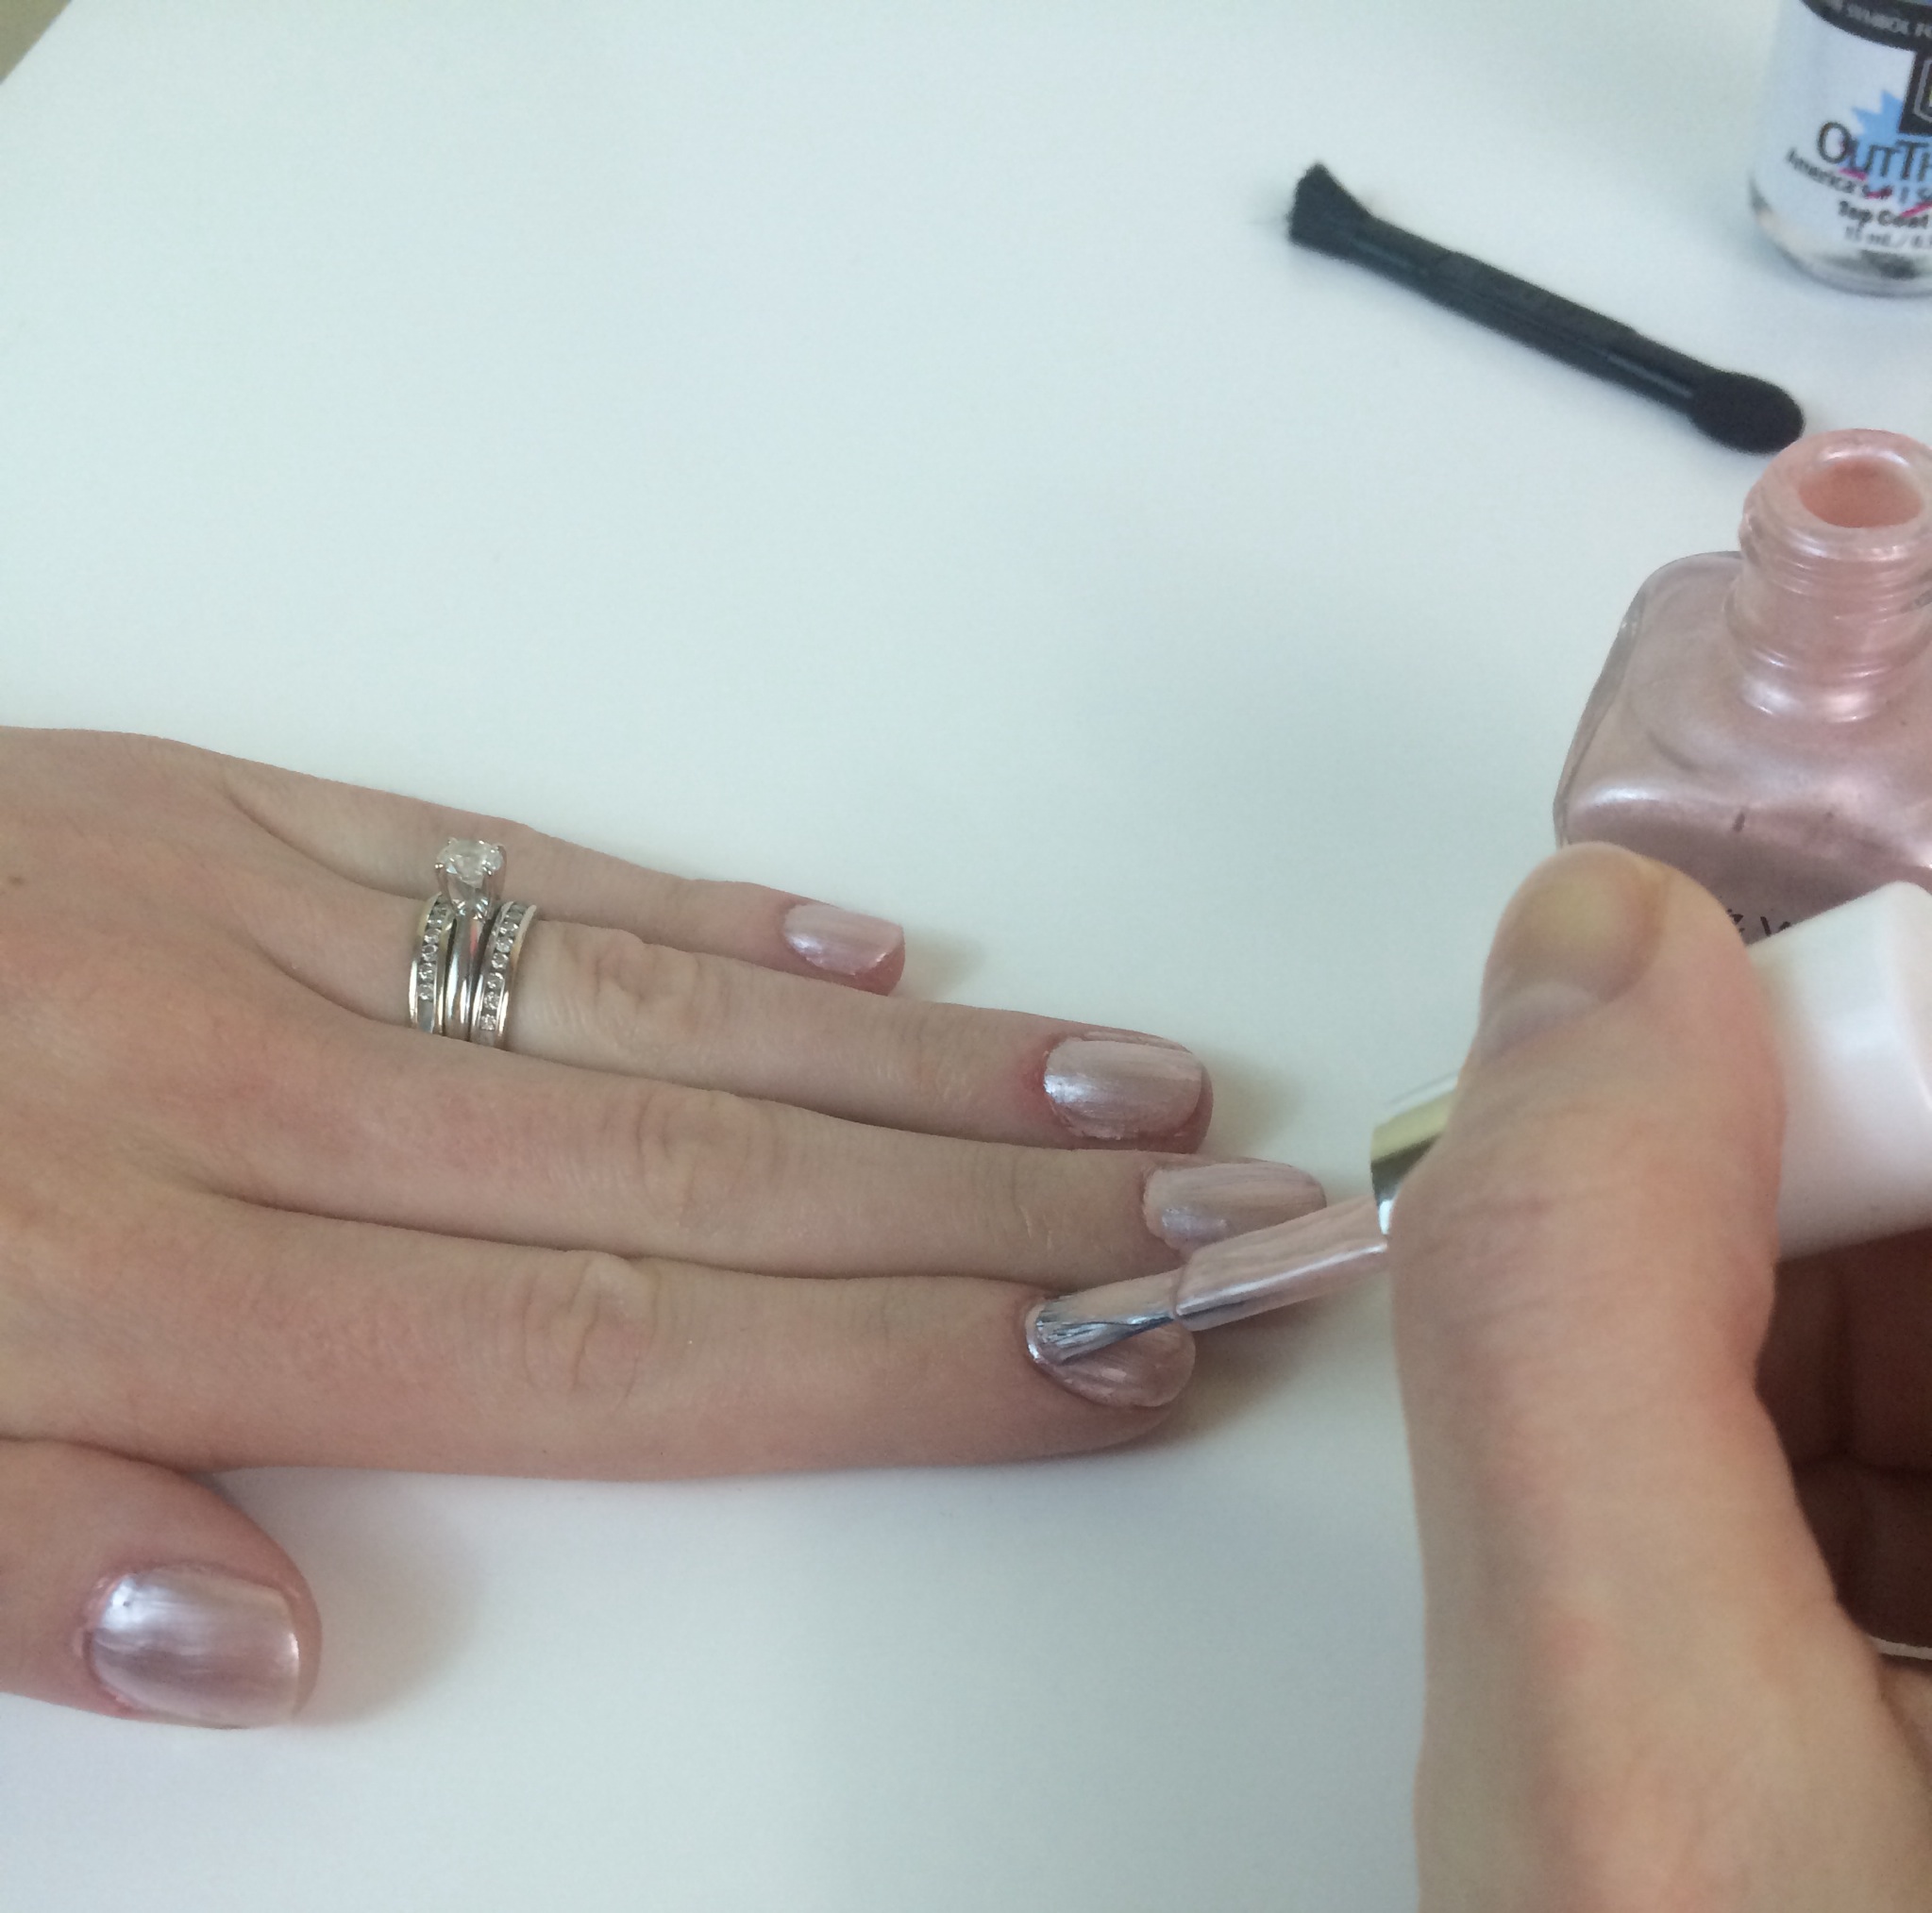
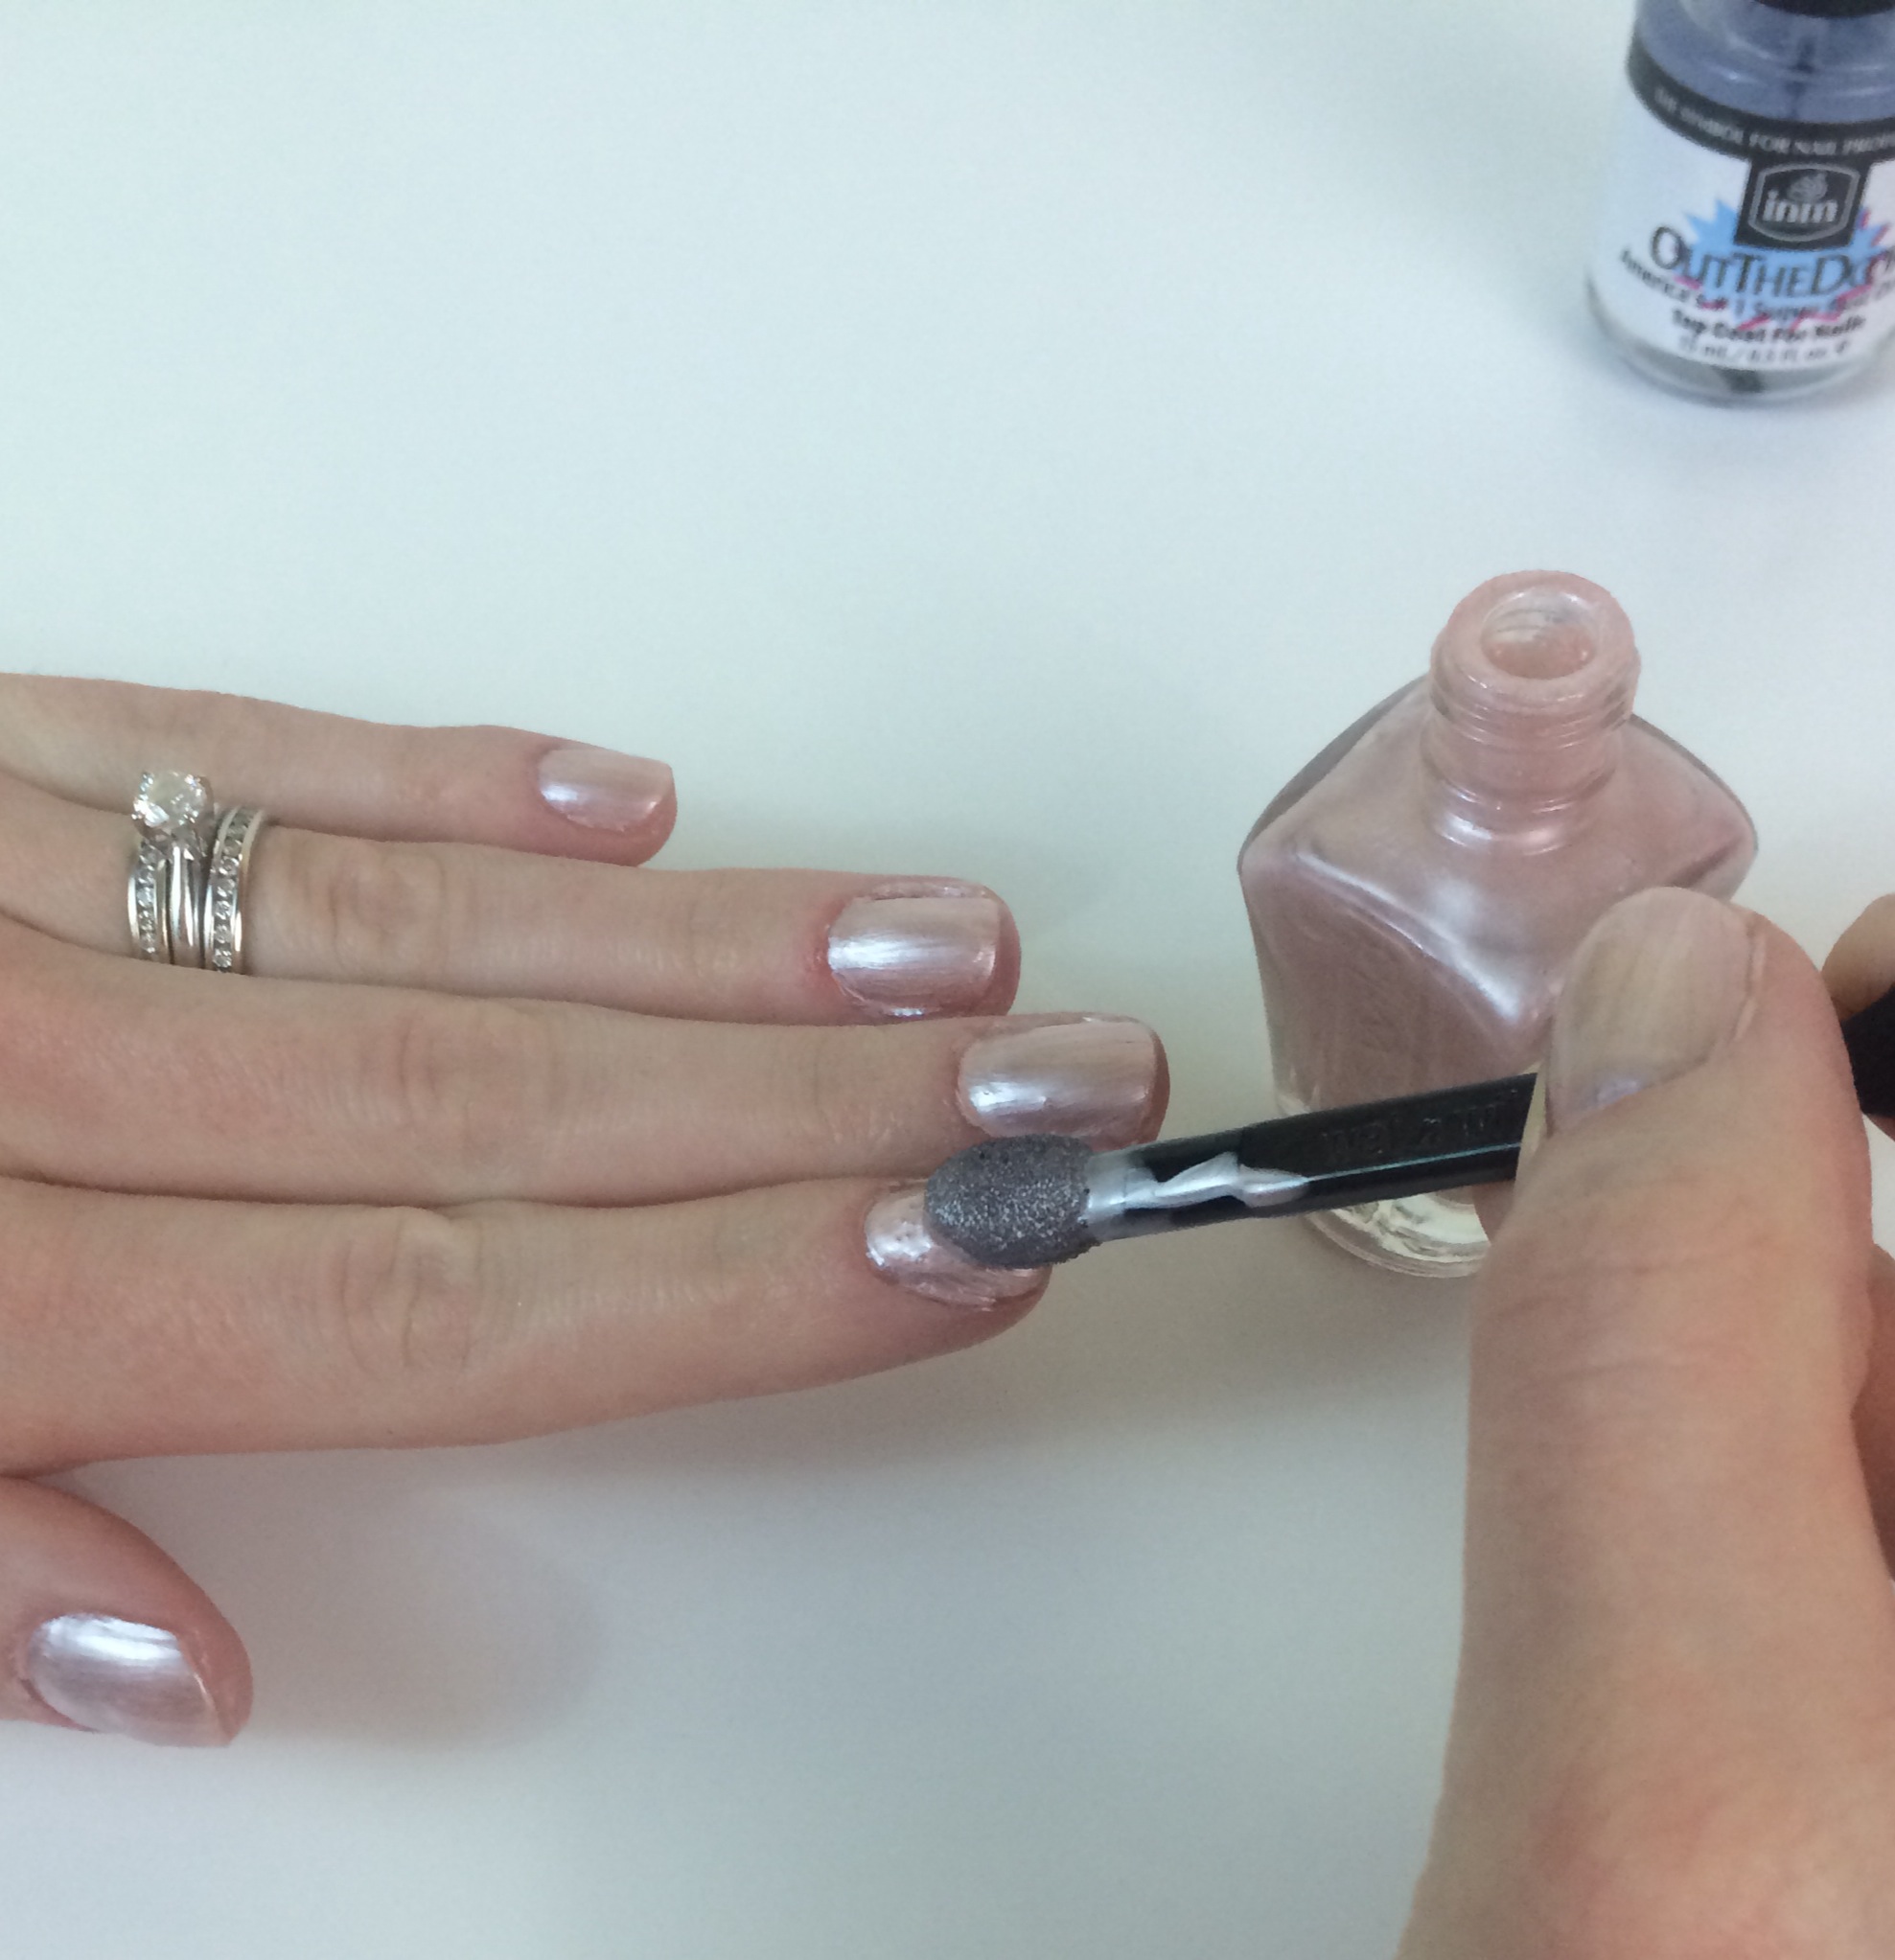
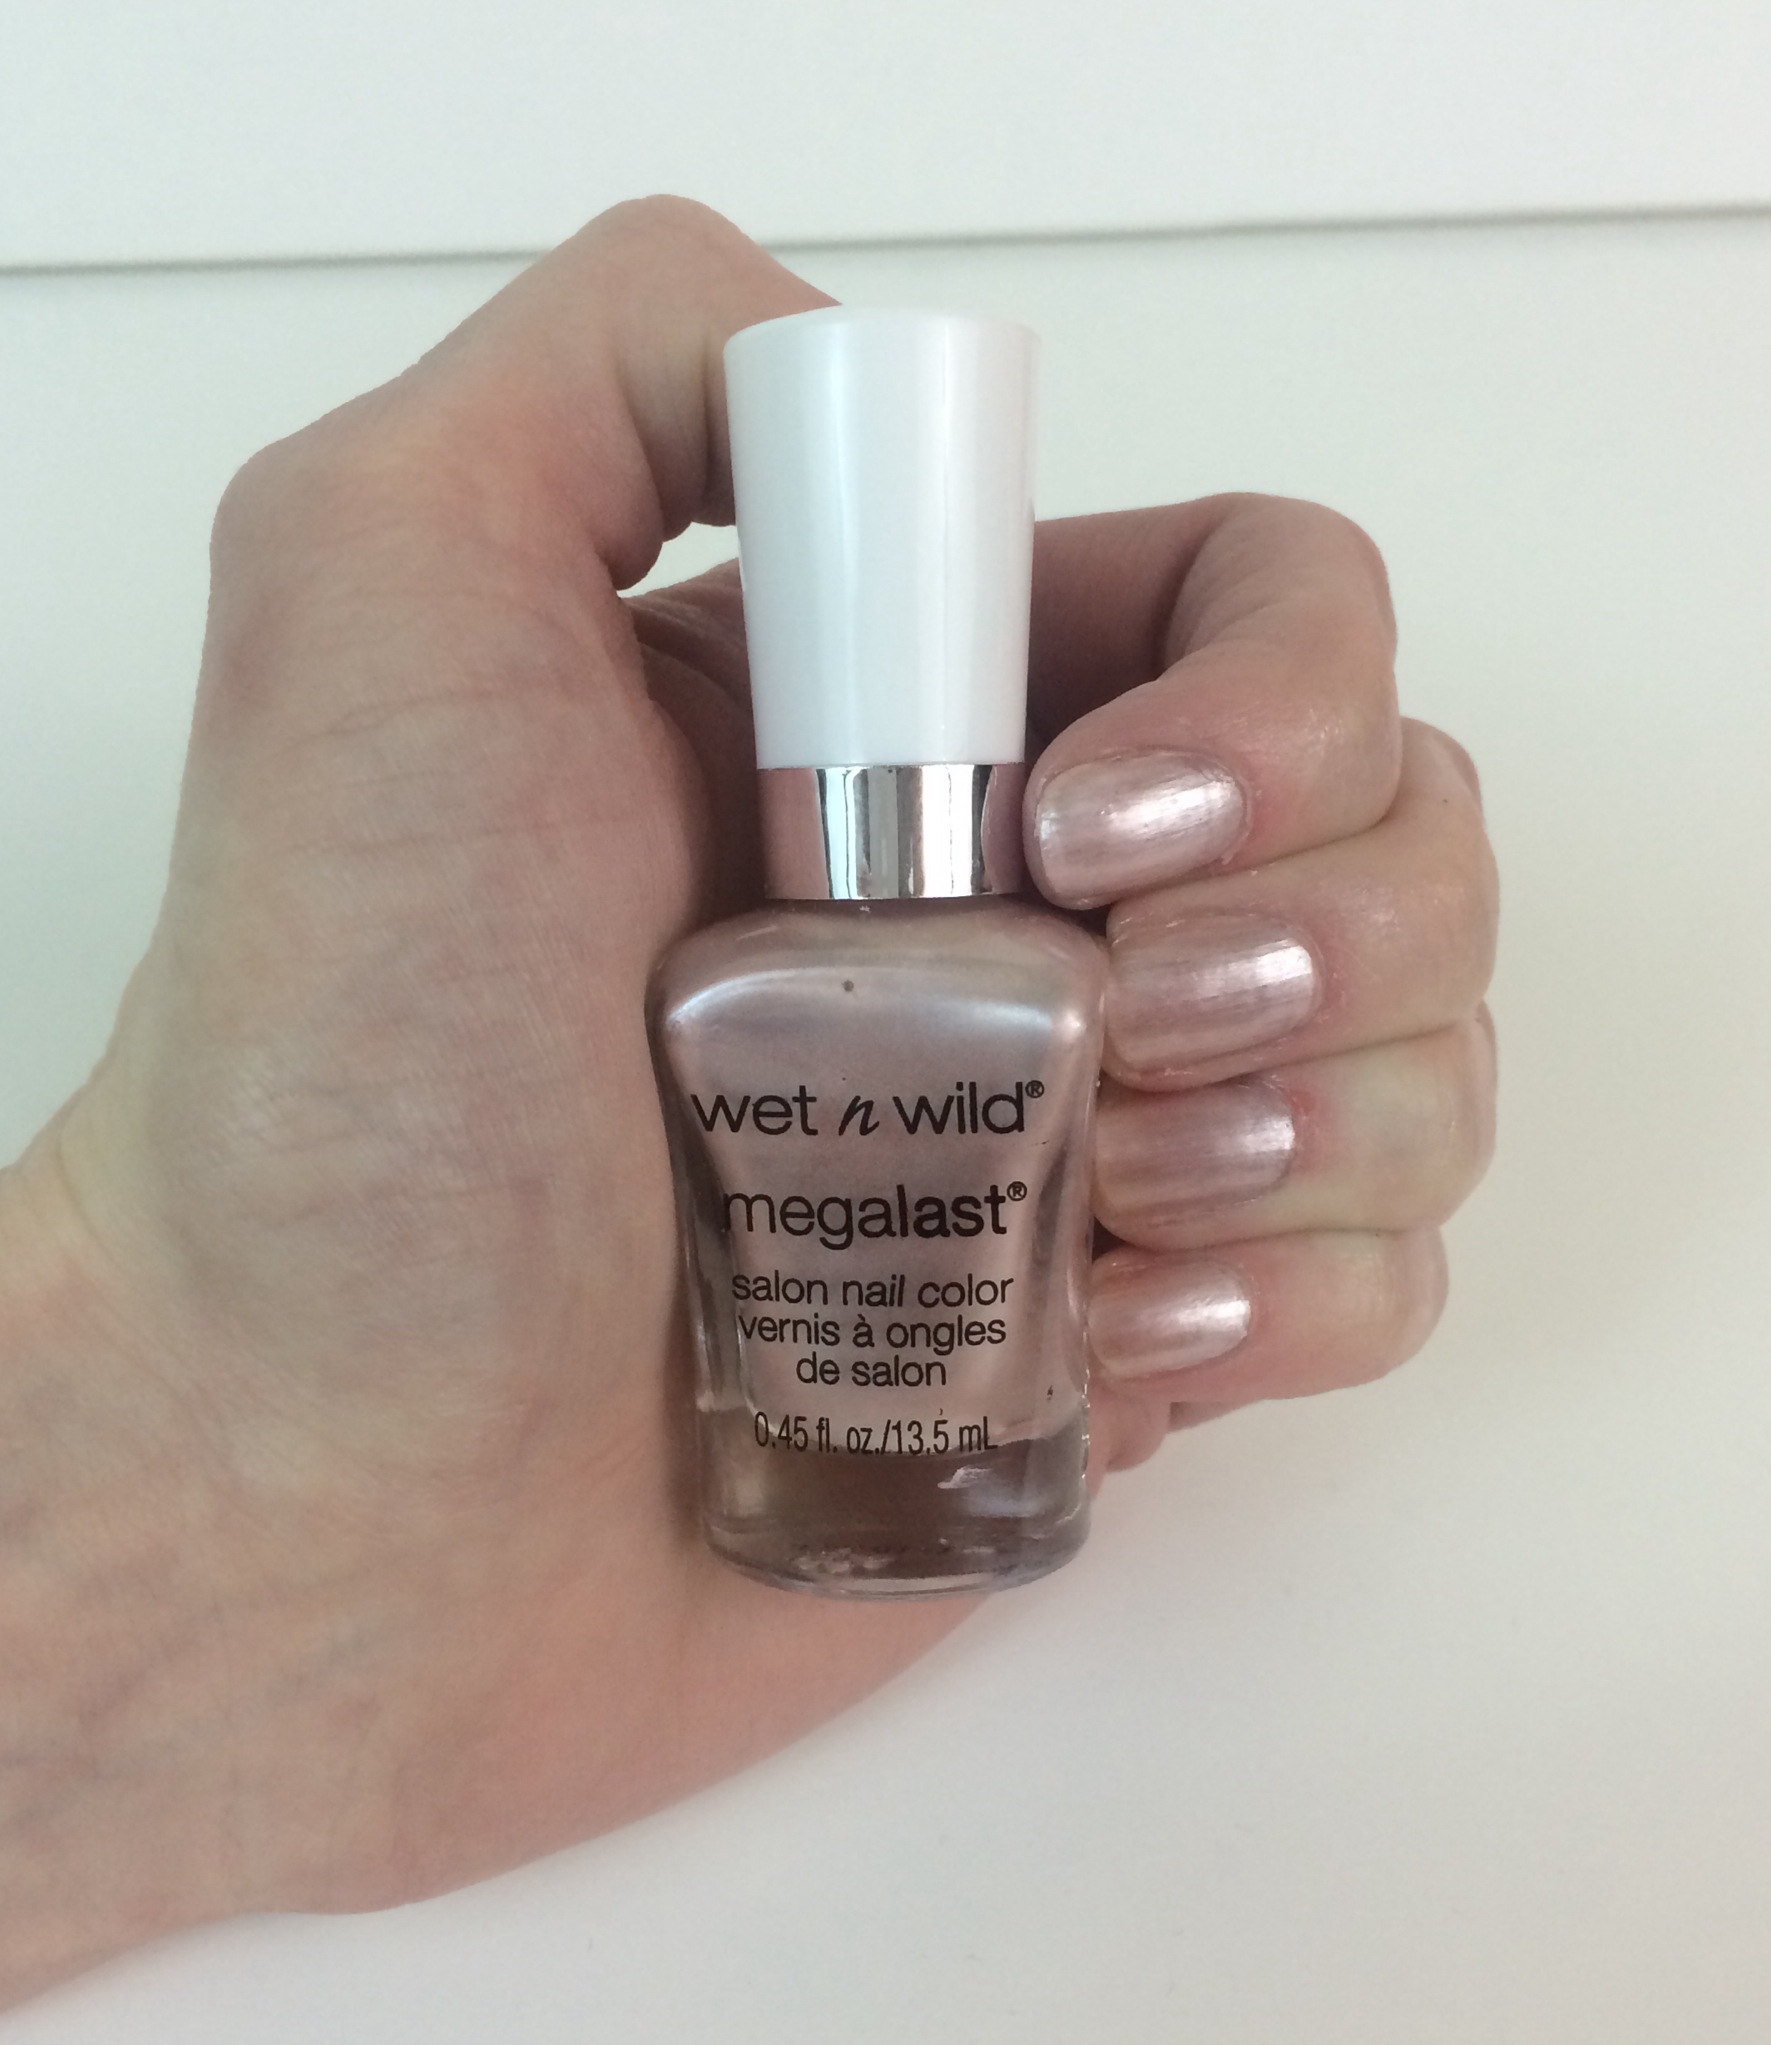
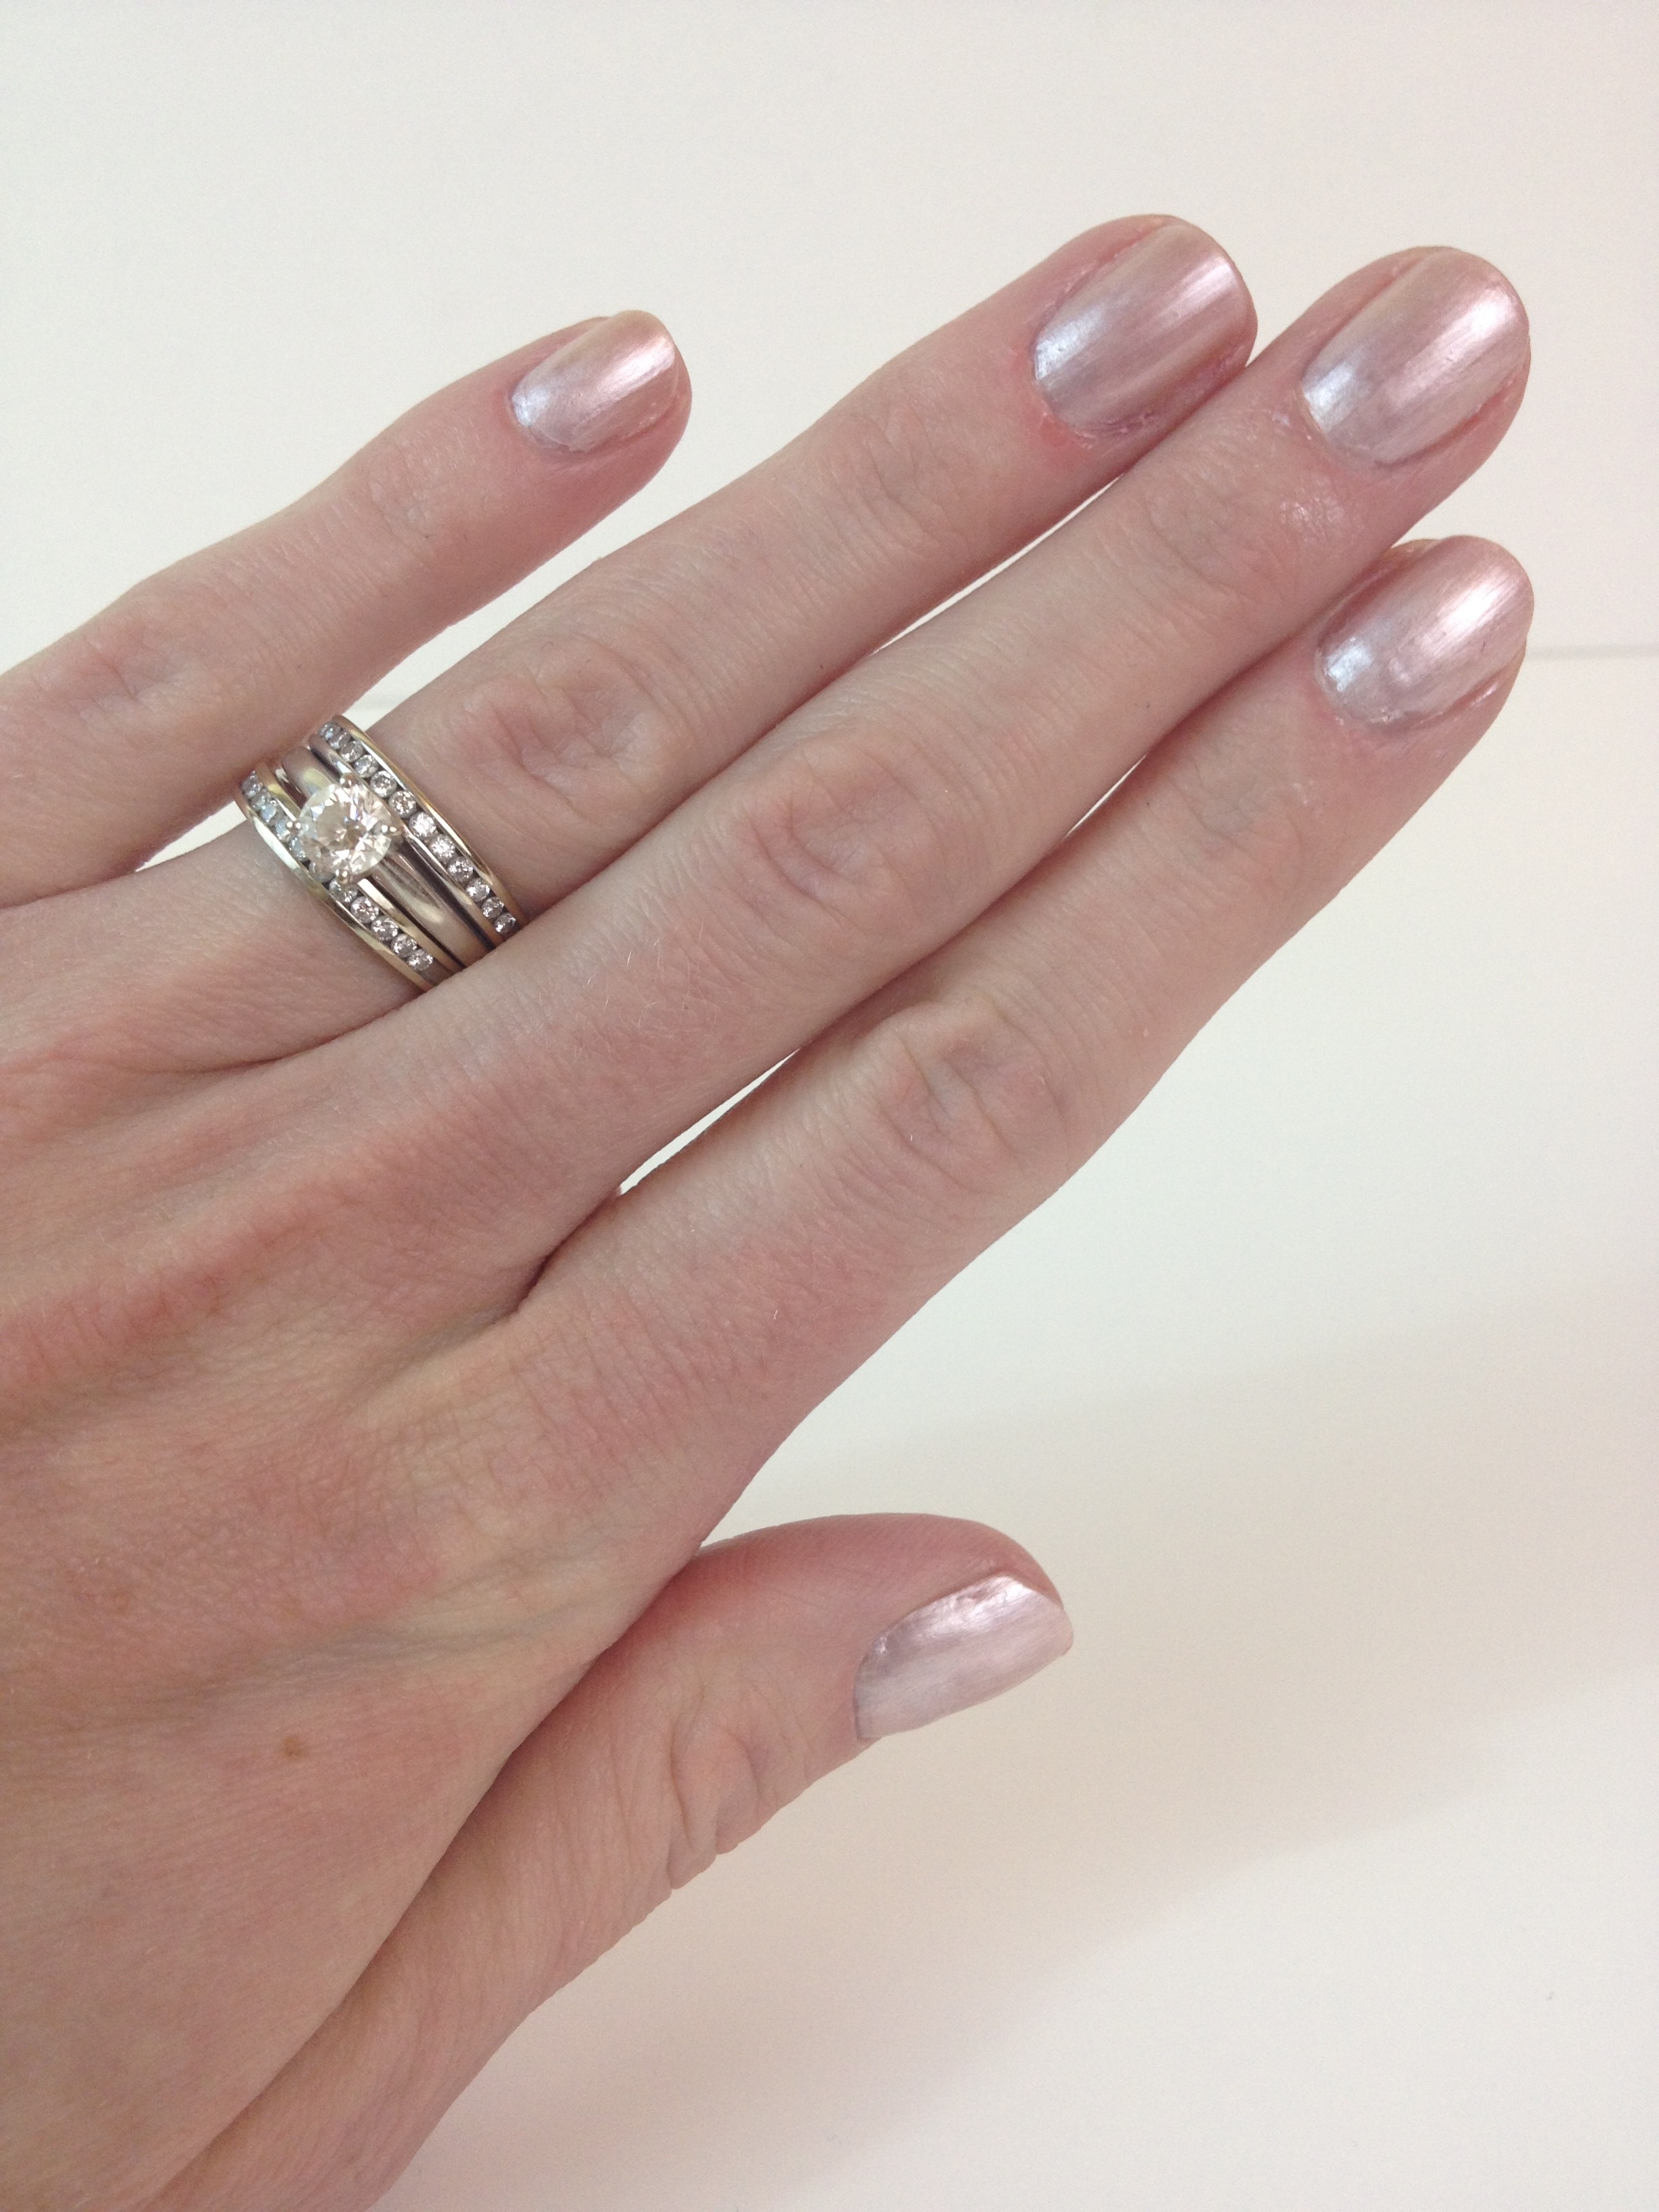
It is a BEAUTIFUL day here and I thought it would be the perfect time to talk about the bright and fun colors that Dollar General carries exclusively for Wet n’ Wild Megalast nail polish! This isn’t a new release, the colors have been in Dollar General stores for a little over a year now, but when I did my Wet n’ Wild Limited Edition Spring 2014 Collection “And The Style Award Goes To…” post I realized that some of you out there are as hooked on Wet n’ Wild Megalast as I am!! So, I thought that this post may be helpful to those of you that may not know about the Dollar General exclusives.  This is one of my favorite nail polish formulas! I do not have every color, and some stores seem to carry 40 (the amount that Wet n’ Wild originally announced would be exlusive) and others have more. If you have any additional information on these exclusives, feel free to comment down below! This can be interactive! If you have any questions about specific colors, please let me know! I would be happy to help in any way I can : )


Find a Dollar General Store Near You


What You Shoud Know:

$2.00 each (some Megalast polishes are $1.50 but the Dollar General ones are labeled $2.00 here)

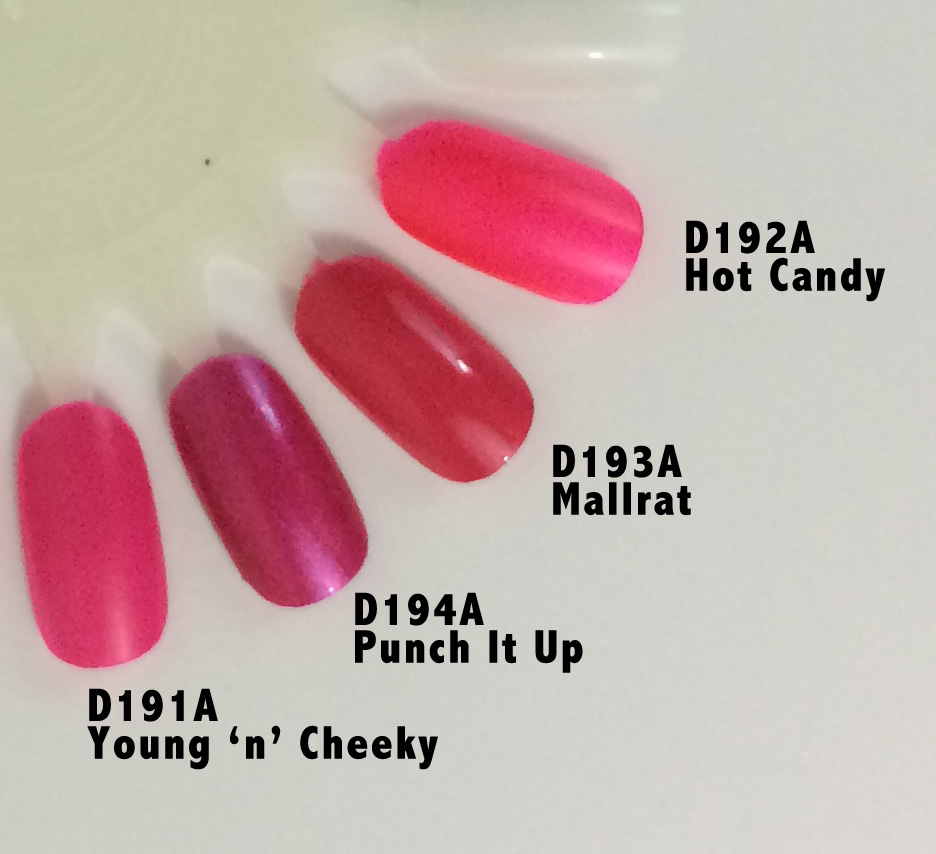
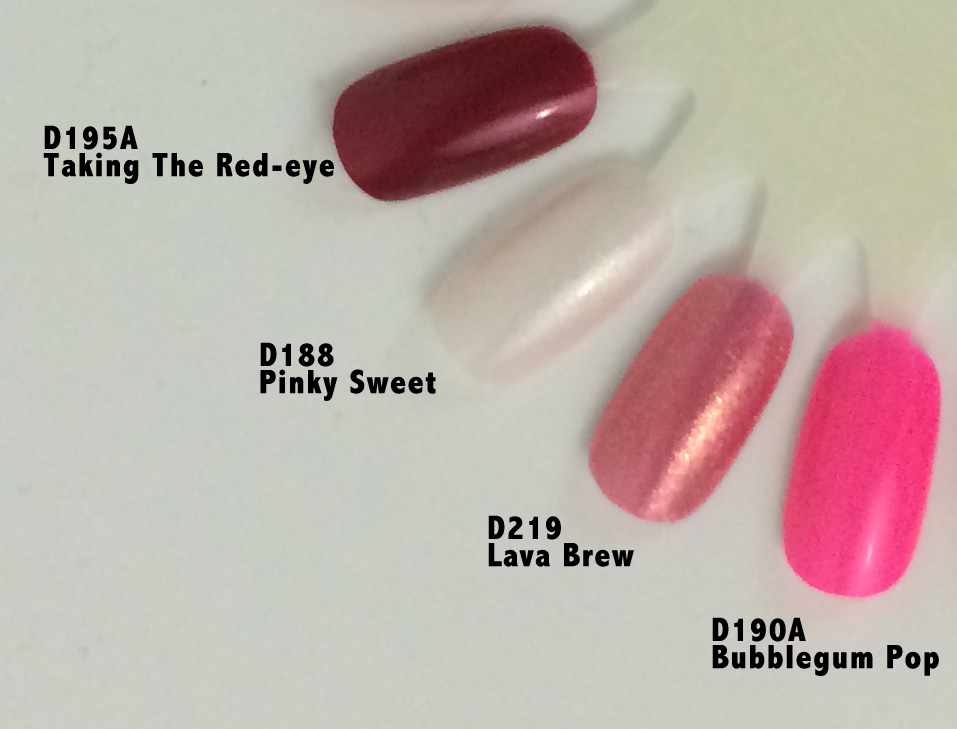
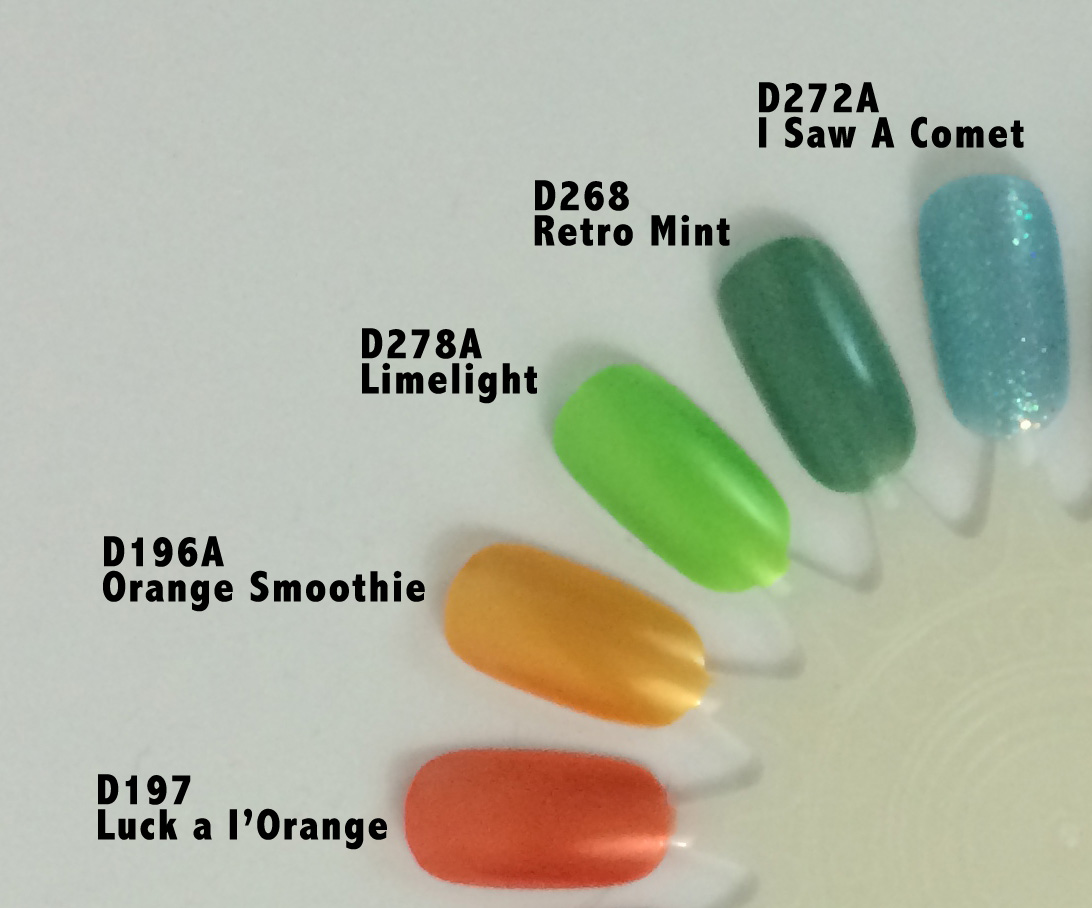
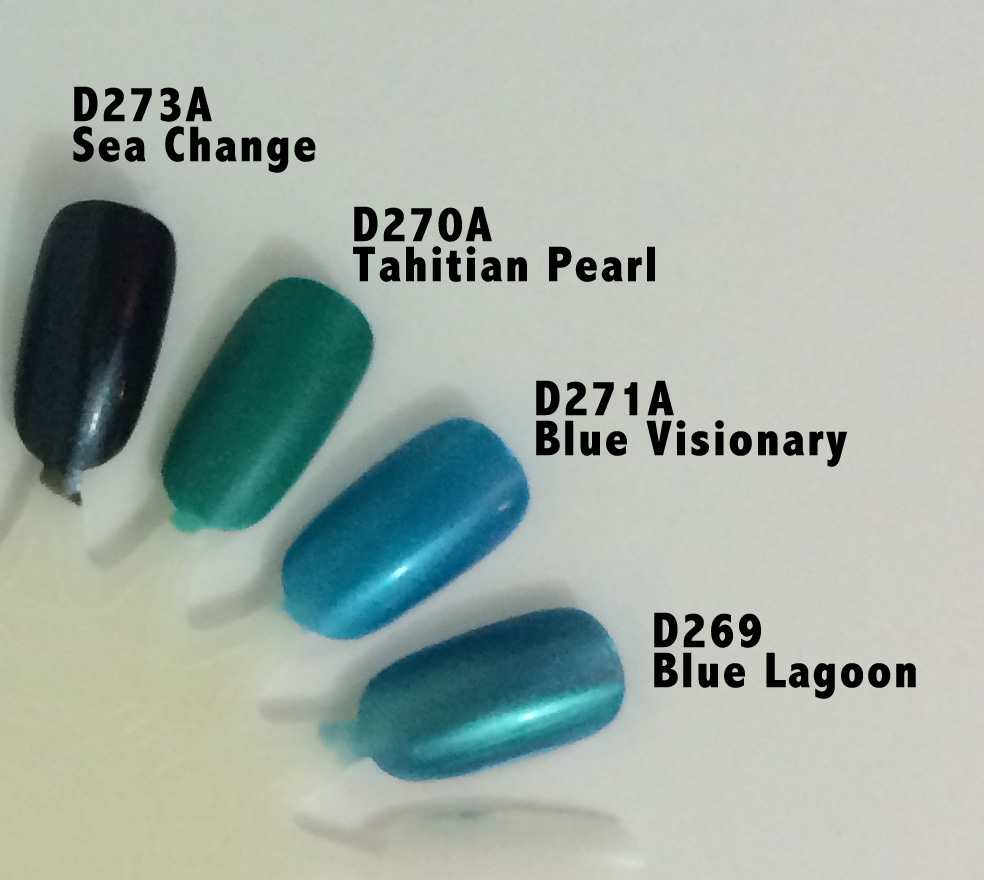
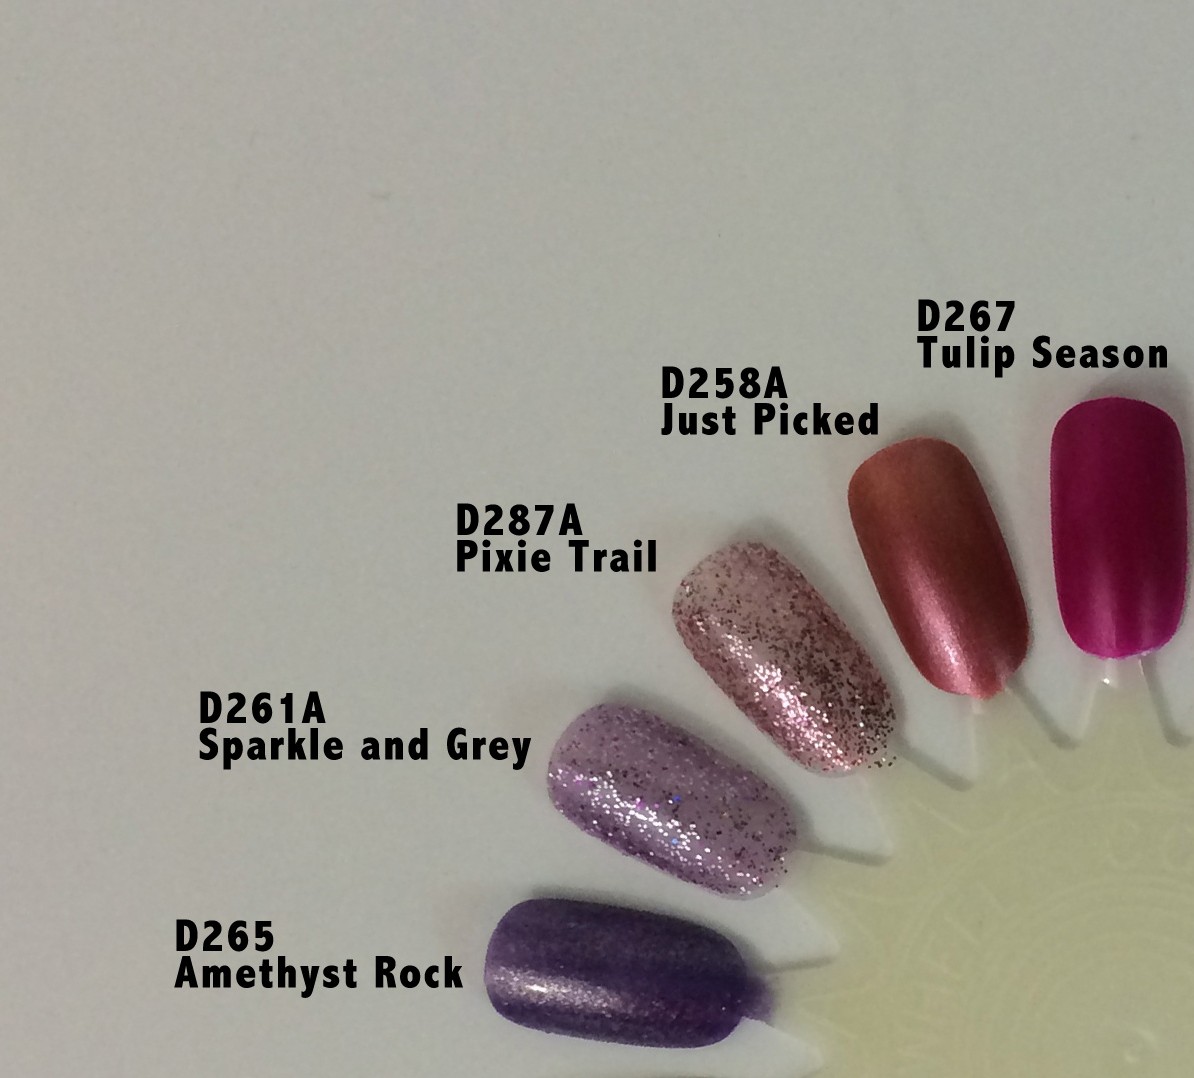
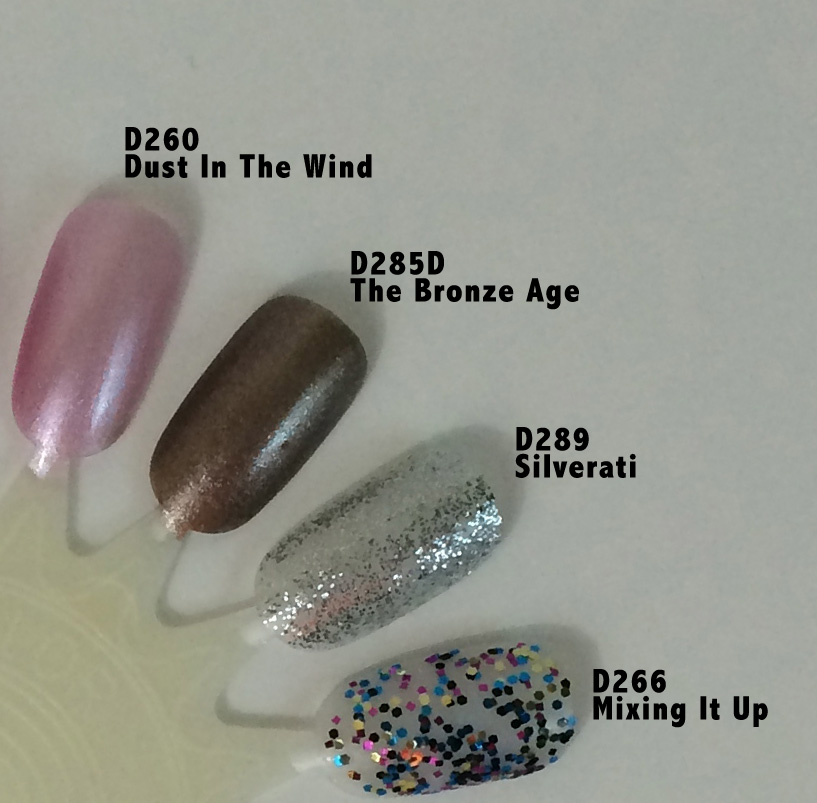
You know they are a Dollar General exclusive if they have a “D” before the color number. Example: D292A


wet-n-wild-dollar-general-exlusives


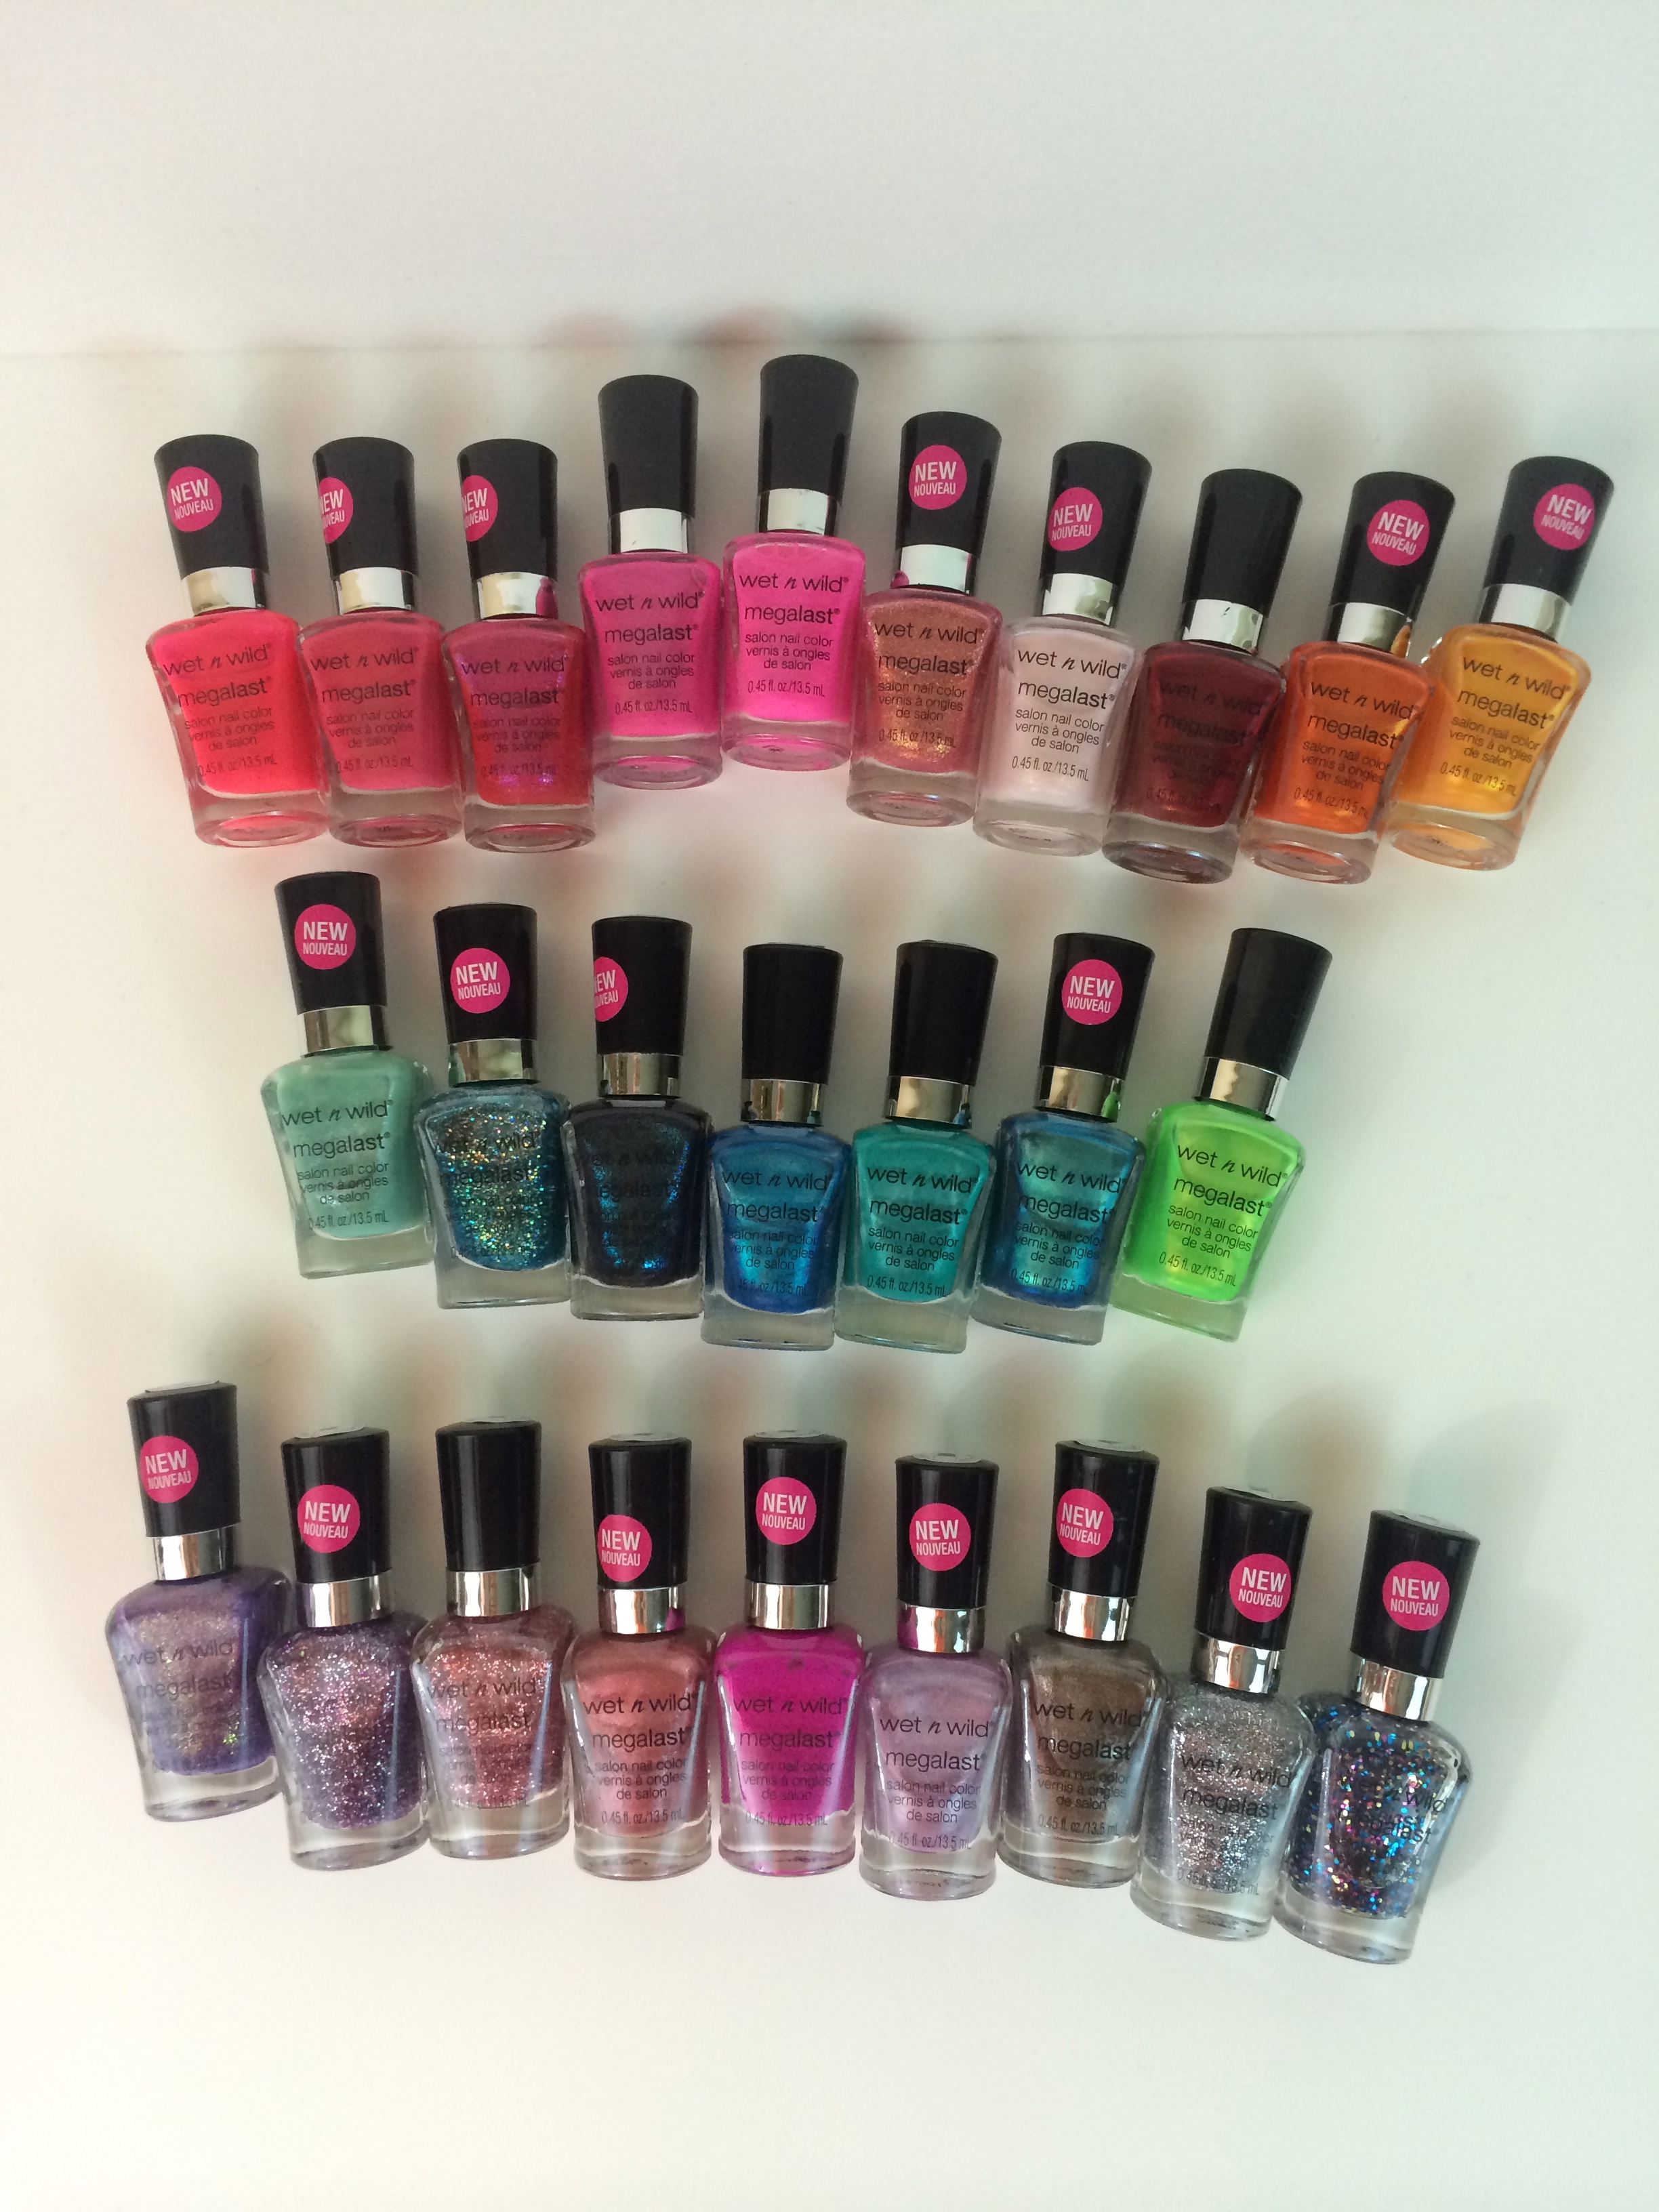
Wet n’ Wild Megalast Nail Polish Dollar General Exclusive Colors:


wetnwild-dollargeneral.jpeg

wetnwild-dollargeneral-exclusives.jpeg

wetnwild-megalast.jpeg

wetnwild-nailpolish.jpegwetnwild.jpegwet-n-wild.jpeg


I hope that this post was helpful to the other nail polish lovers out there! These are definitely worth a look : ) If you enjoyed this post or found it helpful, please subscribe by entering your email into the subscription box on the right of this page! It’s easy! And you only get emails when I post something new!! Have a fabulous day!!

FacebookTwitterEmailPinterestShare

Filed Under: Beauty Tagged With: beauty blogger, dollar general, exclusive, leah tackles, leahtackles, mani, nail polish, nail varnish, nails, pedi, wet n, wet n wild exclusive colors, wet n wild megalast, wet n wild megalast dollar general, wet n' wild

NAIL POLISH TUTORIAL-HOW TO AVOID BRUSH STROKES WITH FROST FORMULA POLISH

April 18, 2014 & 2 Comments

Hi There! Happy Friday!!! (Friday’s always deserve the most exclamation points!)

A few weeks ago I shared my Wet n’ Wild Spring 2014 Limited Edition Collections “And the Style Award Goes To…” post and mentioned that there is a technique I saw awhile ago to avoid the brush strokes that often happen when using a frost formula nail polish. I had a reader comment that they would love to see the technique, so today I am going to share a quick tutorial post with you on how you to do it by simply using a makeup sponge. I love hearing from you, so if YOU  have anything you would like to see on here, comment (click the link by the title of this post) and let me know!


What you’ll need:


A small piece of a makeup sponge or a sponge eye shadow applicator (my preference is the eye shadow applicator)

A frost nail polish (a nail polish with a very fine, smooth shimmer)

A base coat nail polish and a top coat nail polish (optional, but highly recommended)


Products I used:


Revlon Colorstay base coat (005)

Wet n’ Wild Megalast in Sophisticated Lady (34359)

Out The Door top coat


Step 1:


top-coat-nail-polish.jpeg


Apply your base coat


Step 2:


nail-polish-tutorial.jpeg


Apply 1 or 2 coats of your frost nail polish with the brush your nail polish comes with.


Step 3:


photo 4 (10)


Carefully dip your sponge tip eye shadow applicator into the nail polish or if using a makeup sponge pour a small amount of polish onto a paper plate or something else you can toss when you’re done. Then brush the sponge over your nails in one even motion. If you go over the nail with the sponge too much it can cause bumps which isn’t the look you want (I don’t think!). Try to sure that the sponge isn’t too soaked in the polish, getting it ever so slightly wet before dipping it into the polish can help with this.


Step 4:


nail-polish-wet-n-wild.jpeg


Apply your top coat and allow the polish to dry!


my-nails.jpeg


My application isn’t perfect, and it takes a little practice, but it gives you a much cleaner look and you don’t see such obvious brush strokes. I like this method because it doesn’t take too many extra steps or too many coats of different nail products to get the desired effect.


I hope that you enjoyed this quick and easy nail polish tutorial! What is your favorite nail polish type? What is your favorite nail polish secret? I love crème nail polishes finishes and usually gravitate to those, but trying a frost is a fun change! If you have any questions or comments, please let me know by commenting (click the link by the title of this post!) or find me on Facebook, Twitter, or Instagram! If you liked this post please subscribe (it’ll only take a minute!) by entering your email into the subscription box on the right side on this page. Thank you so much for reading this! I hope that you have a wonderful Easter if you celebrate and a fab weekend!!! MUAH!

FacebookTwitterEmailPinterestShare

Filed Under: Beauty Tagged With: beauty, beauty blogger, beauty tips, blogger, easy nail fix, easy nail tutuorial, frost nail polish, leah tackles, love, nail polish, nail polish sponge technique, nail tutorial, nails, sponge applicator for nails, subscribe, tutorial


SUBSCRIBE

Leave your email to subscribe!

SEARCH

SPONSORS

ARCHIVES

GRAB MY BUTTON


copy & paste code

site design by The Kinch Life Design & development by Olive & Ivy Design

Catch The Webinar Replay! Boundary Setting For Entrepreneurs

Go to leahtacklessocial.com and sign-up for the link!