Hi there! Happy Monday!
I hope you are feeling ready to tackle the week after a relaxing weekend! I am always sad to see the weekend go, but I also love the fresh start of a new week.
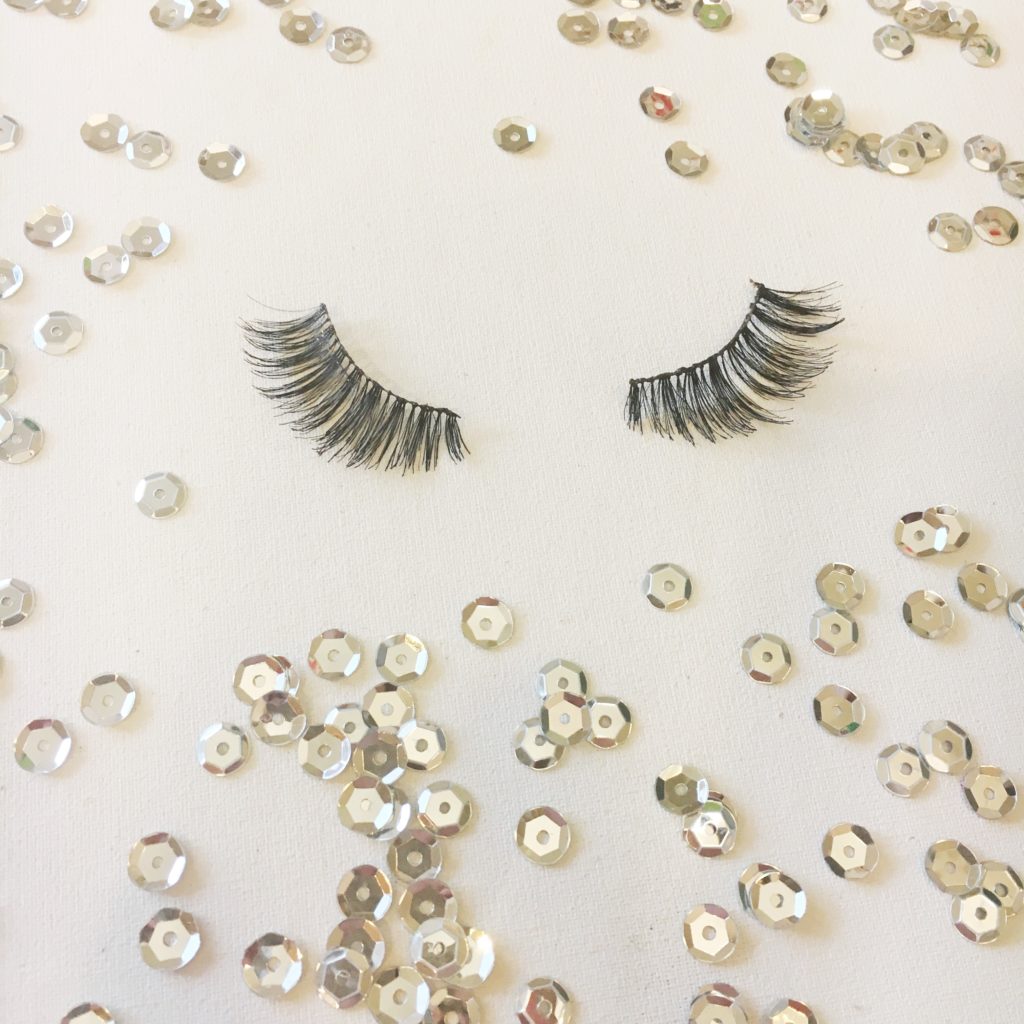
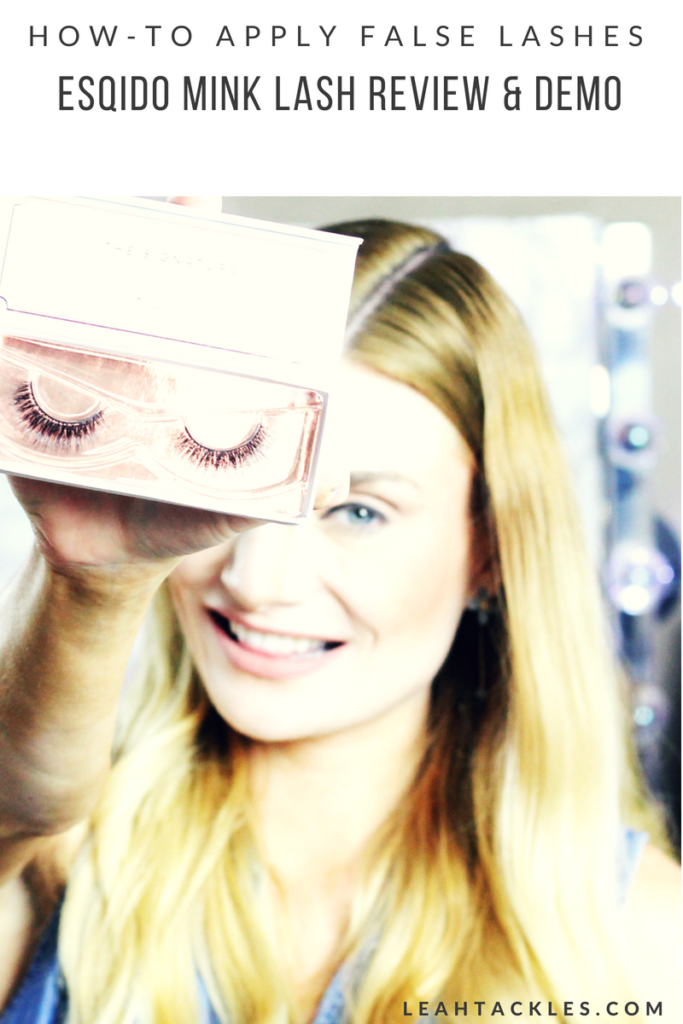
Today I want to share some mink lashes that I’ve been trying out because they are the first high-end lash brand I’ve used and they’ve really changed the lash game for me.
Product Claims
Esqido mink lashes pioneered easy application and unparalleled comfort. The ultimate in luxury, our mink lashes meticulously handcrafted with premium mink hairs, and a soft cotton band.
My Thoughts
I love wearing falsies for special occassions and when filming certain videos for my LeahTackes YouTube Channel or LeahTacklesBeauty Instagram, but usually only wear very cheap lashes. When Esqido Lashes offered to send me a few styles for my consideration for review, I was excited to try out mink lashes. The lashes shipped quickly, and the packaging is gorgeous! The lashes come in a beautiful box with magnetic closure that make it perfect for storing your multi-use lashes. The companion lash glue is in a gorgeous rose gold tube and features a brush applicator which I love because it is much easier than a tube of lash glue to get just the amount you need. These lashes gave plenty of drama but didn’t feel as heavy as some large sets of lashes do, and the band was easy to work with when applying. I love how much less of a frustrating hassle these lashes were. I will definitely be reaching for these for special occasions in the future, or any time when I want feel a little extra special.
My Routine
I like to natural lashes and apply a tiny bit of mascara to help blend my nautral lashes with the falsies. I then apply the lash glue and wait about 45 seconds before applying the lashes to my lash line. I like to have a thicker line than normal for my eyeliner so that it helps make the falsies blend with my eye makeup. If the lashes need to be adjusted I do so and then if needed add a bit more mascara to blend the false lashes with my nautral lashes. To remove the lashes I get a Q-Tip wet with my favorite makeup remover and then gently run the Q-Tip over my lash line. I then gently clean the lash on a piece of toliet paper with a Q-Tip and then put them back into the box for next time. You can read my How-To Apply False Lashes Post to see more tips.
Lash Demo
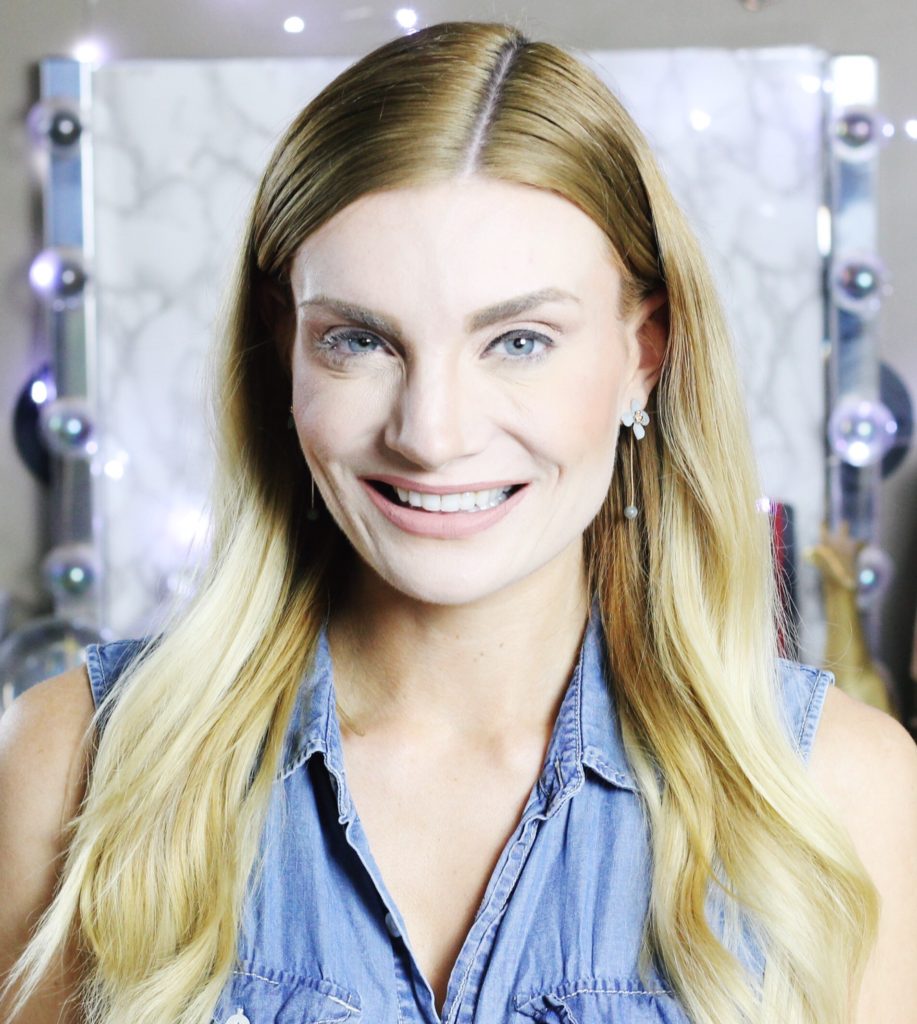
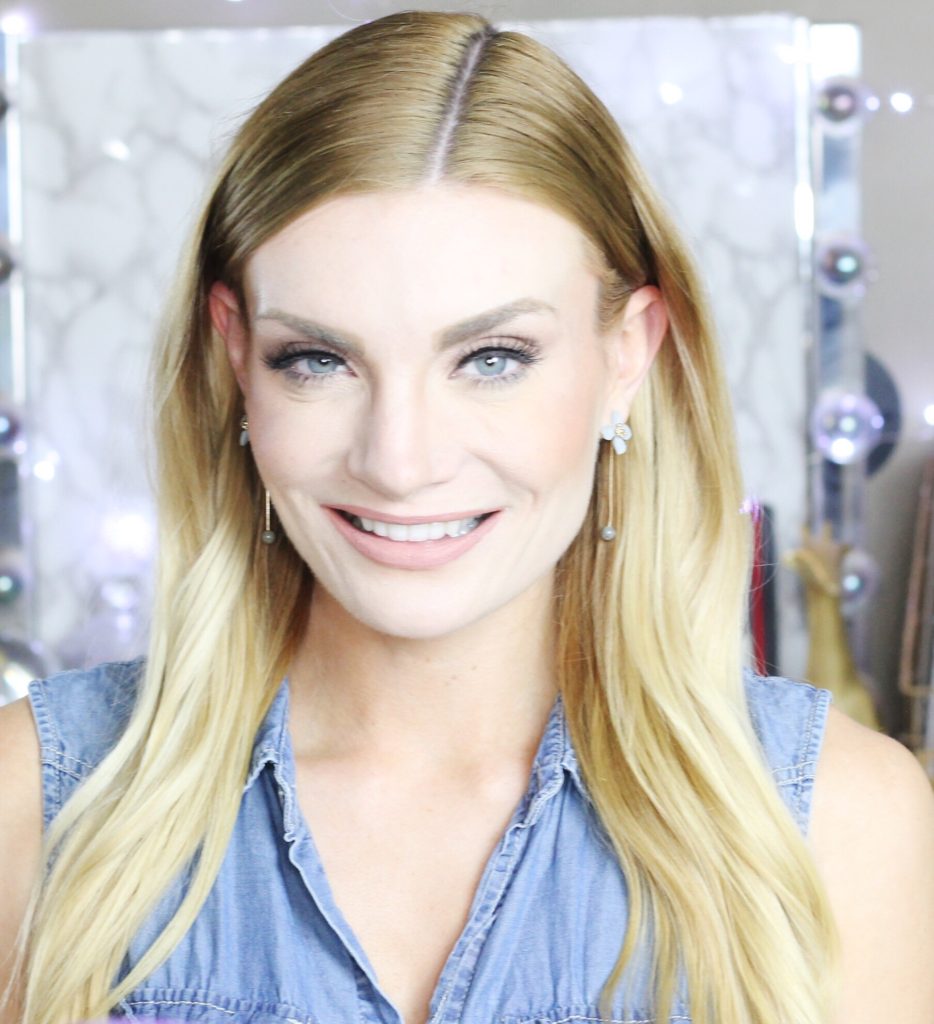
Before and After
Styles I Love
BFF (style shown)
Shop
Have you ever worn false lashes? What is your favorite false lash brand? Do you like falsies? Let me know! Have a great day : ) xx
Watch My Latest YouTube Video
Track: Jim Yosef & Alex Skrindo – Ruby [NCS Release] Music provided by NoCopyrightSounds. Watch: https://youtu.be/Np-Y8ClGgRk Free Download / Stream: http://ncs.io/RubyYO