Leah Tackles

  • Home
  • About
  • Policy
  • Beauty
  • Fashion
  • Cooking
  • Exercise
  • DIY Projects
  • Decor
  • Book Club
  • Family

NATURAL EFFORTLESS FOUNDATION FOR EVERY DAY! MAYBELLINE DREAM MATTE MOUSSE

December 21, 2016 & Leave a Comment

Hi there! Happy Wednesday!

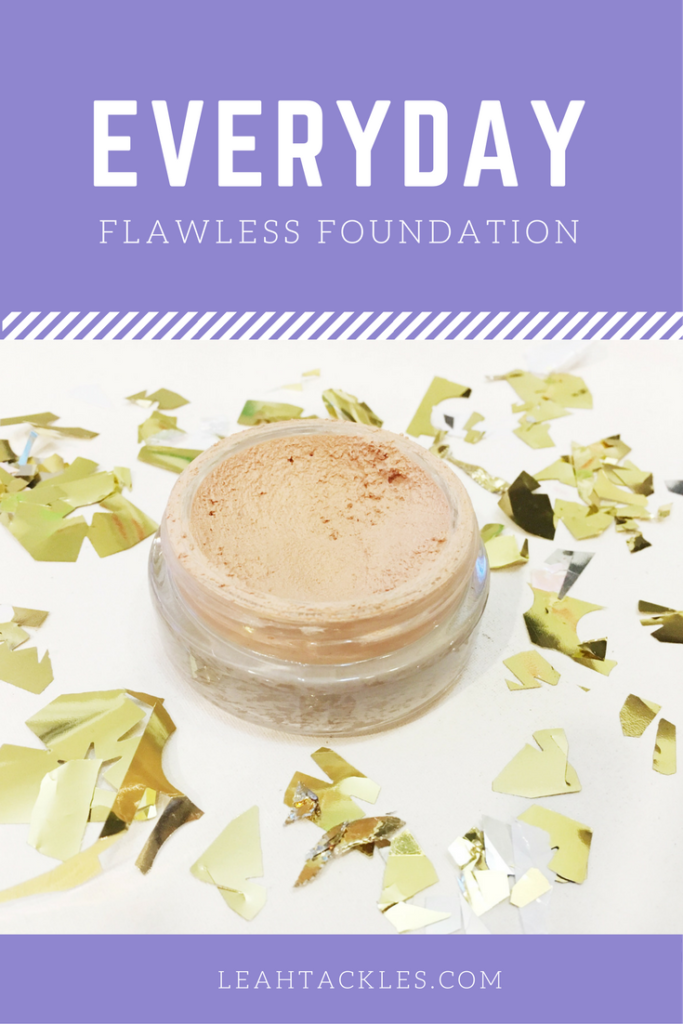
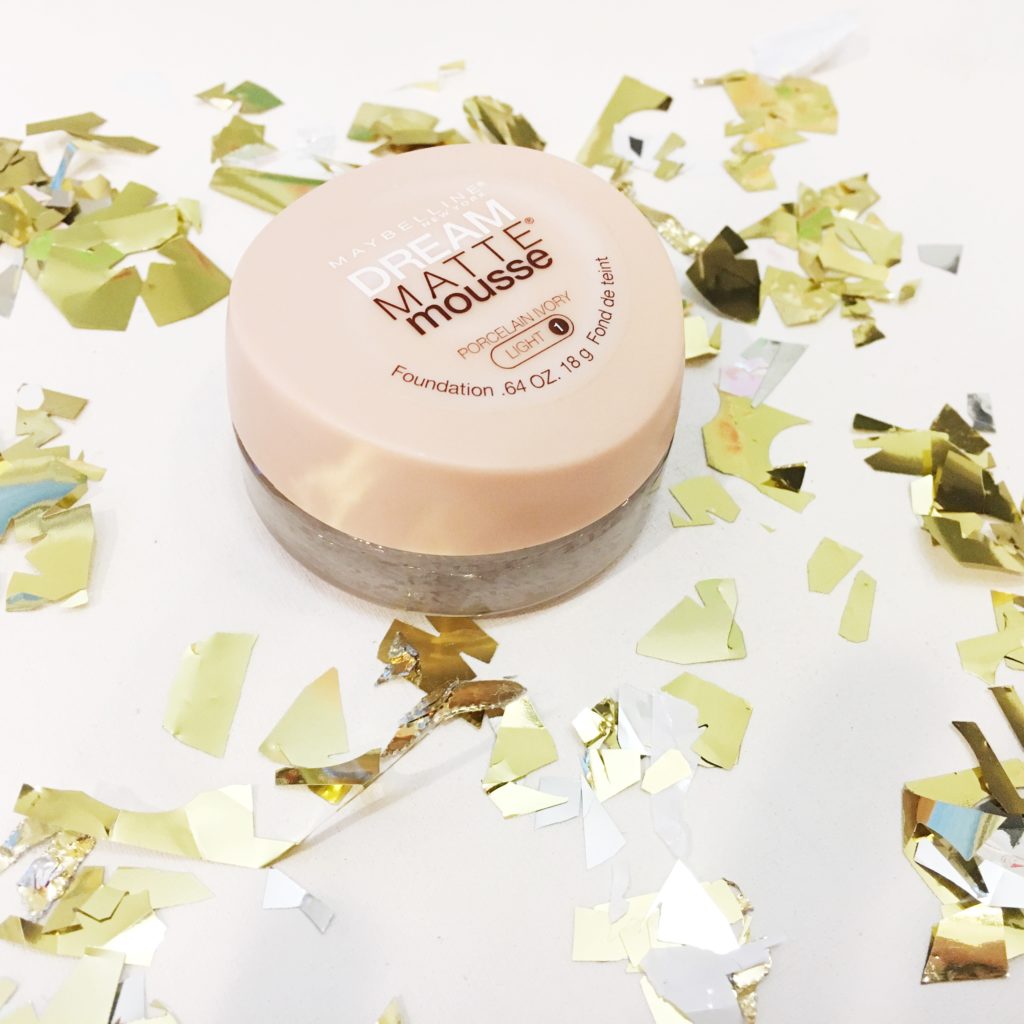
The winter months include lots of social functions with friends and family starting with Christmas and holiday celebrations continuing on with things like Super Bowl parties, where I find myself wanting to look put together but not in a full-on multi step makeup routine. I have been “shopping my own stash” of makeup lately (which is how I found my current favorite Too Faced Snow Bunny Bronzer which I blogged about here). I recently rediscovered Maybelline Dream Matte Mousse Foundation and had to share it with you today!


Why I Love It:
maybelline-dream-matte-mousse-review-leahtackles.jpeg

leahtackles-everydaydrugstorefoundation-leahtackles.jpeg

maybellinedreammattemousse-review-leahtackles.jpeg

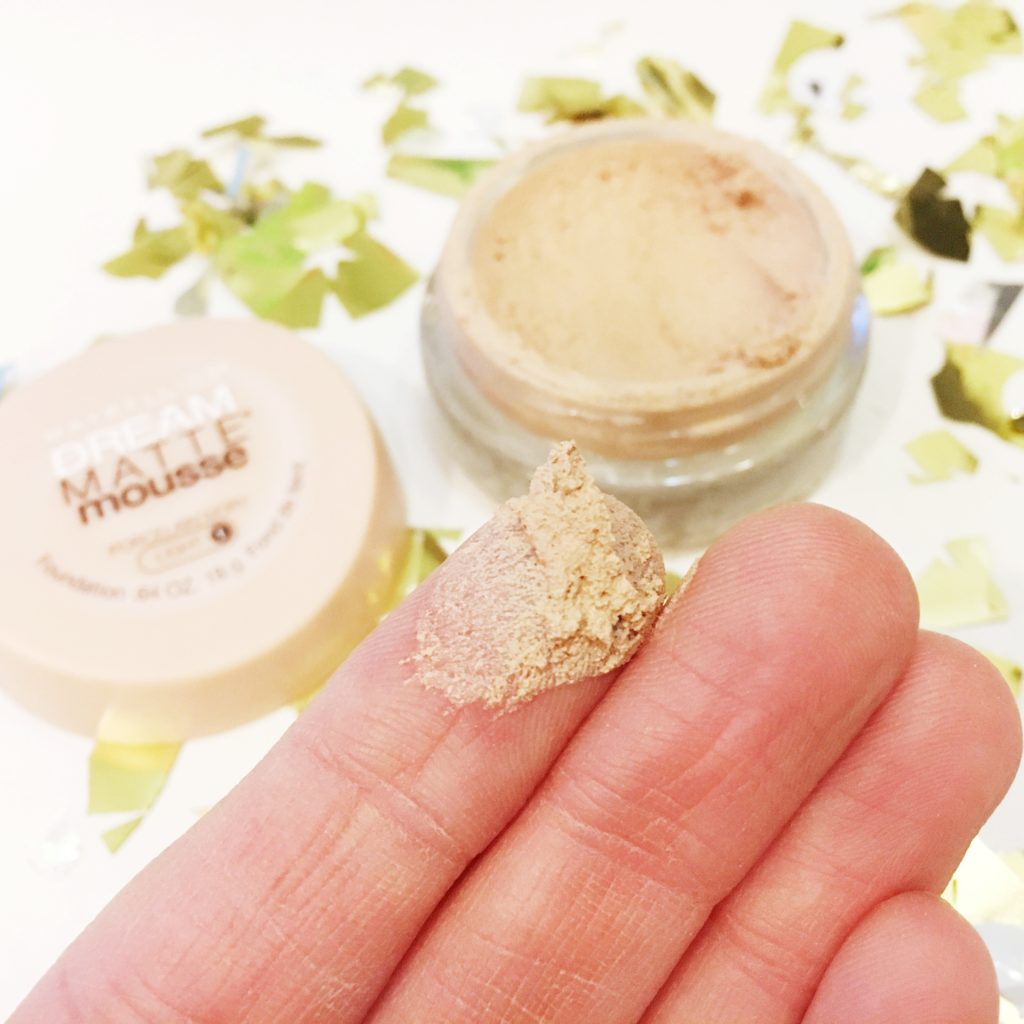
This foundation is one that I used years ago and had honestly forgotten about until I saw one of my most trusted beauty YouTubers, Emily Noel, mention it recently and I decided to give it another shot. This foundation gives me a great medium coverage without much work at all and I don’t mind the need to touch up much during the day. I will say that this isn’t as full coverage as some of my favorite foundations, but that is why I’ve been loving it lately…it’s EASY, no-fuss and looks very natural. I do like using a primer with this as I do all foundations, but I don’t find this to sink into my pores horribly if I do skip a primer. I do set this with a loose setting powder (my current favorite is the Laura Mercier Loose Setting Powder). I like applying this was an ever-so-slightly damp Beauty Blender, but it does also applying nicely with your fingers which is AWESOME when you’re in a rush or feeling a little lazy which is completely acceptable in these cold, dark months ; )

Please let me know your favorite easy, no-fuss foundation(s) in the comments! I LOVE trying new foundations, especially at awesome drugstore prices!! I hope that you have a VERY MERRY CHRISTMAS if you celebrate! Thank you so much for your support and love, it truly means the world to me! xx

FacebookTwitterEmailPinterestShare

Filed Under: Beauty Tagged With: beauty blogger, beauty tips, Beauty Vlogger, beauty youtuber, Dream Matte Mousse, Drugstore Foundation, drugstore foundation for combo skin, drugstore foundation for oily skin, easy foundation, Everyday Makeup, foundation for combo skin, Foundation Tips, leahtackles, leahtackles drugstore makeup, makeup blog, makeup tips, Matte Drugstore Foundation, Maybelline Dream Matte Mousse, maybelline dream matte mousse review, Mousse Foundation, natural foundation, simple makeup

HOW TO MAKE YOUR FOUNDATION WORK BEST FOR YOU!

August 15, 2016 & Leave a Comment

Hi there! Happy Monday!

I hope that you had a fantastic weekend! I was talking to a few friends recently about what foundations we had been loving and which we maybe hadn’t been loving as much. I realized that a lot of people (myself included until I really got into the blog and YouTube scene a few years ago) will try a foundation once or just one way before giving it a yes or no verdict. Buying a foundation, especially one you’re really excited about or you’ve heard others rave about, and not having it work can be frustrating! So, today I thought I would share a few quick tips for what to do if you think a foundation isn’t living up to the hype.


MAKEYOURFOUNDATIONWORK-FOUNDATIONTIPS-LEAHTACKLES.JPEG


TRY A DIFFERENT APPLICATION METHOD:

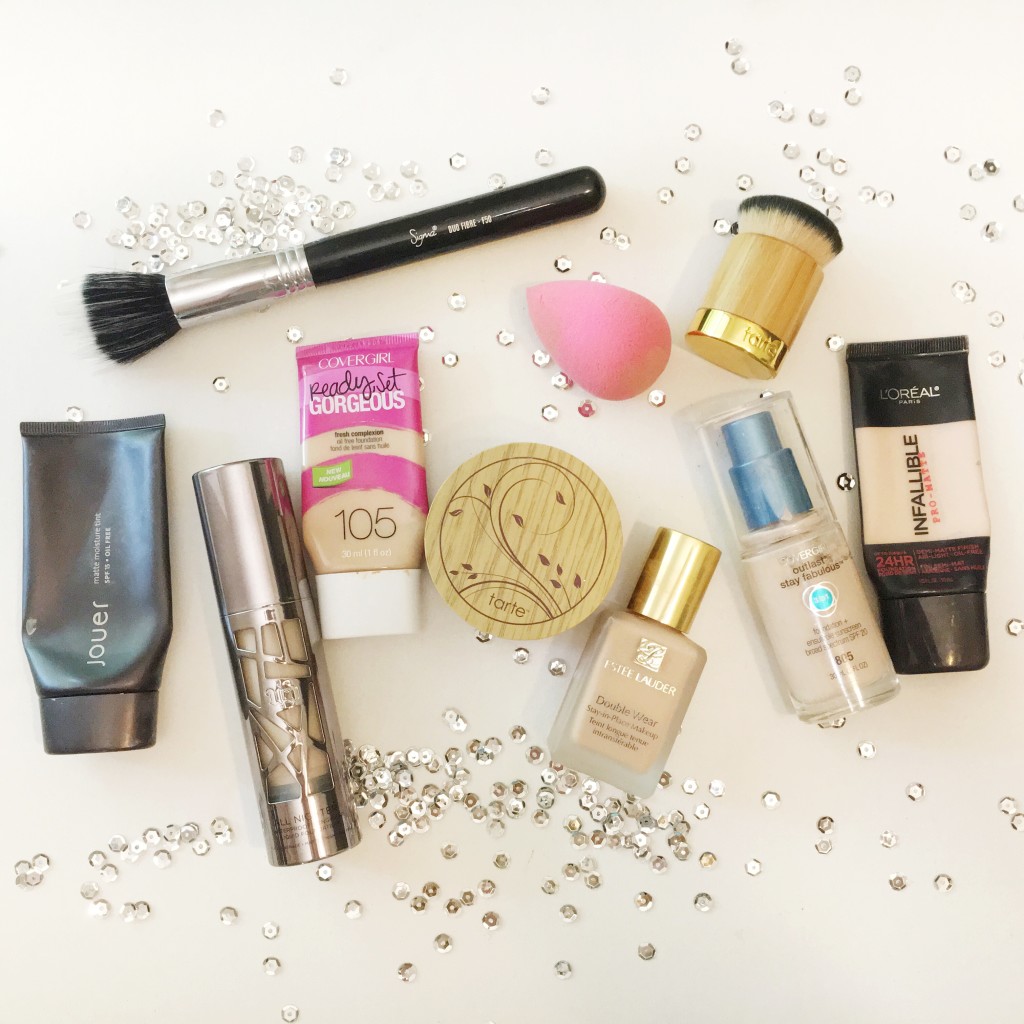
This is absolutely my biggest tip! I have some foundations that I apply with a makeup sponge like the Beauty Blender, I have others that I know I prefer the look when applied with a stippling brush like the Sigma F50, and others still that I apply with my fingers or other brushes. I have some foundations that I can apply any way and the look turns out pretty much the same, but a few of them I dislike one way but love the finish I get using another way to apply it.

SOMETIMES LESS IS MORE AND SOMETIMES MORE IS MORE:

For some foundations they will look and feel cakey very quickly, so I apply a very small amount. Other foundations are more buildable, so I will apply a small amount and then go back in any areas that still have redness, blemishes, or inperfections that I want to cover.

WHAT IS THE WEATHER?:

Some foundations I love on myself in the dry winter months I absolutely cannot wear in the summer, so if the foundation is an oil-slick on you, for example, in the summer, there is still a chance it could be dewy perfection on you in the winter!

GET SHADE MATCHED:

I need to follow my own advice here, but I consider myself a fairly easy shade match because I am so fair that I can usually get away with buying the lightest shade in a foundation range, but definitely go to Sephora, Ulta, or a cosmetics counter at a department store to get color matched whenever possible! If you can’t go to be color matched in person, websites like Sephora and Ulta do offer very good return policies. Drugstore makeup is tricky because here in the United States you typically cannot open the makeup, so you have to just take your best guess as far as color goes. I will say that some drugstores do have very friendly return polices as well, but be sure to check them before you purchase just incase!

WATCH FOR OXIDIZING:

Oxidizing happens when oxygen mixes with the air and this can cause you foundation to turn orange, flake off, and dry out! Sometimes, because of oxidizing, you need to be careful about the shade that you pick because it may change.

USE NATURAL LIGHTING:

Always use natural lighting whenever possible when applying your foundation! This can be tricky when being shade matched inside a store like Sephora, but you can walk outside to take a peek ; ) If you don’t have good natural lighting where you apply your makeup, get a nice makeup mirror that mimics sunlight.

I hope that you found these tips helpful! Never be afraid to ask for samples, ask questions, or return products that do not work for you! Makeup is expensive, and as long as you’re kind and follow the return policies you are absolutely fine girl! Let me know your tips for testing out new foundations in the comments! I would love to hear them : )

FacebookTwitterEmailPinterestShare

Filed Under: Beauty Tagged With: beauty blender, beauty blog, beauty blogger, beauty questions, Beauty Vlogger, beauty youtuber, foundation 101, foundation application, foundation help, Foundation oxidize, Foundation Review, foundation shade match tips, Foundation Tips, How to Pick Foundation, leahtackles, Make Your Foundation Work, makeup blog, sigma f50, skincare, Test Foundation

My Top 3 Ways To Apply LIQUID Foundation!!

September 1, 2014 & 2 Comments

Hi there! Happy Monday!!

I received a request to talk about the correct way to apply liquid foundation and today I am going to share my top 3 ways to apply it. I want to also say that I am not a professinal makeup artist…but I do play around a lot with different makeup, make up brushes and applicators, read blogs and watch videos on makeup a lot…so there is that ; ) If you have any questions or requests, please never hestitate to reach out to me! I would LOVE some more participation from my readers!!


mytop3waystoapplyliquidfoundation.jpeg

#1 Stipple It On!

I LOVE LOVE LOVE to stipple on my foundation!! To stipple means to dot and that is exactly what you do with this technique!  You dot on the foundation instead of brushing the foundation on. Stippling on your foundation gives a beautiful diffused finish because the foundation doesn’t go into lines or scars as easily, but rather brushes over them for a beautiful flawless appearance.

What I Do:

I put a little bit of foundation on the top of the hand that I won’t be holding the brush with (so in my case my left hand) between my thumb and pointer finger. I use the pointer finger of my right hand to dot foundation on the area of my face I want to start with because I like to work in sections. I work in sections because if I dotted foundation all over my face some of it may begin to set before I’ve gotten to it. I stipple the foundation onto my skin by making quick dotting motions up and down to get the perfect finish.

What I Use:

My absolute favorite stippling brush is the F50 Duo Fiber from Sigma Beauty. This brush is sold individually as well as in sets. I use this brush so often that I have two so that it’s in constant rotation even when I’m washing some of my brushes. This brush can also be used to apply cream or liquid blush and bronzer.

#2 Traditional Foundation Brush

When I first started out this is the technique I used, and it’s still a great option. I think that this is a great way when you are first starting out with makeup or with liquid foundations. Using a traditional foundation brush can cause streaking, which nobody wants, but as long as you make small strokes it can be fairly easily avoided.

What I Do:

I put the foundation onto my hand just like I described above, but this time I use the brush to brush on my foundation as if I was painting. I am careful to use very short strokes, and change the direction of the brush as I go. Changing direction when using a foundation brush like this helps so that it isn’t all strokes going the same way which can look streaky.

What I Use:

The foundation brush I use the most frequently is my F60 Foundation Brush from Sigma Beauty, but I also have had great luck with foundation brushes similar to this from Real Techniques, Tarte, and Sephora’s brush line.

#3 Beauty Blender Sponge

I am sure by now almost all of you have tried this sponge, and if not you have probably at least heard about it! This is a GAME CHANGER for me!! It is completely worth the price! This allows me to build up the coverage as needed and you can never see the foundation (a big no-no!)…all you see is beautiful skin that looks airbrushed.

What I Do:

I like to lightly dampen the sponge before using it. I use the round end to apply foundation to my chin, cheeks, nose and forehead. I use the pointy end to apply foundation to harder to reach places like my under eye area and around my nose. I both dot and blend the sponge to get the perfect seamless look.

What I Use:

I have only used The Original Beauty Blender but I know there are lots of other imitators flooding the market now! I have read and watched lots of reviews, and the only sponge that seems to stand up to Beauty Blender is the Miracle Complextion Sponge by Real Techniques. The Real Techniques sponge is about 1/4 of the price of the Beauty Blender, so that might be a great option for some people. If you would like to see me do a comparision sponge on any of these sponges, let me know! Also, if you have tried any that you love (or don’t love!!) let me know in the comments!!

I hope that this post was helpful! Please take a minute to subscribe if you haven’t already! Just enter your email into the box on the right side of this page and you’ll get an email to confirm your subscription!! It will make my day : ) :  ) If you have ANY questions please let me know and have a fabulous day!!

FacebookTwitterEmailPinterestShare

Filed Under: Beauty Tagged With: beauty blogger, Beauty Sponge, Foundation Tips, How to Apply Liquid Foundation, leah tackles, Lifestyle Blogger, Liquid Foundation, makeup tips, Sigma Beauty, The Original Beauty Blender


SUBSCRIBE

Leave your email to subscribe!

SEARCH

SPONSORS

ARCHIVES

GRAB MY BUTTON


copy & paste code

site design by The Kinch Life Design & development by Olive & Ivy Design

Catch The Webinar Replay! Boundary Setting For Entrepreneurs

Go to leahtacklessocial.com and sign-up for the link!