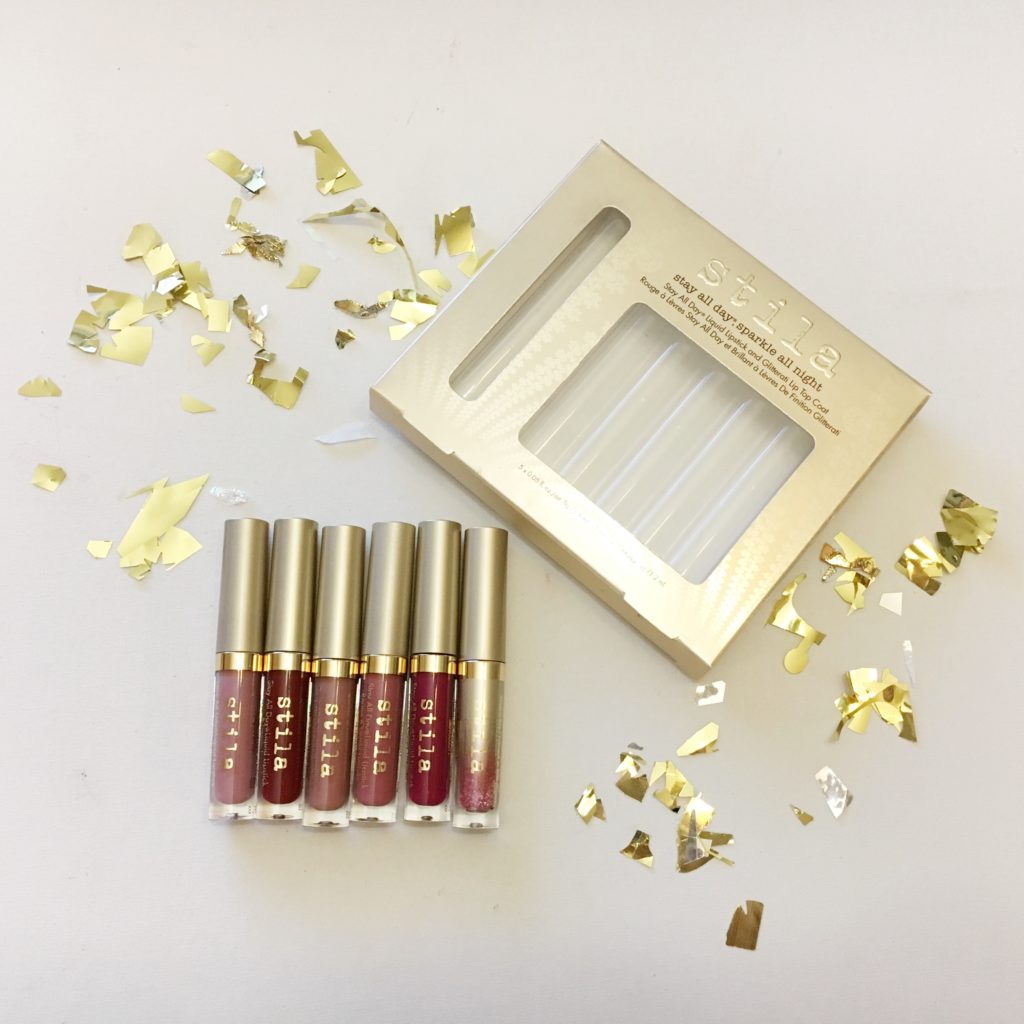
Hi there! Happy Monday!
I hope that all of you had a wonderful weekend, and if you celebrate, a very Merry Christmas! I had a wonderful Christmas with my family, and ate WAY too many cookies ; ) Today I am so excited to be sharing the *highly* anticipated Alchemist Holographic Palette from Kat Von D.
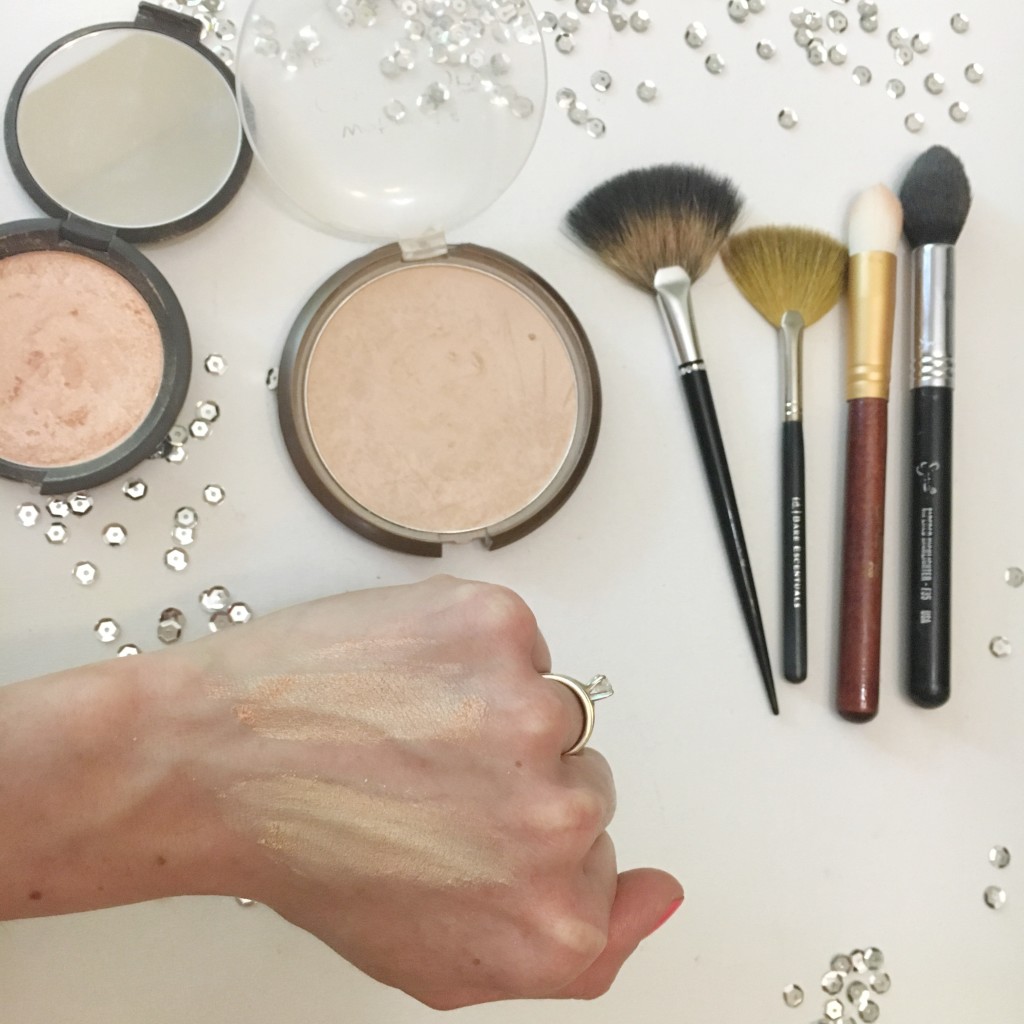
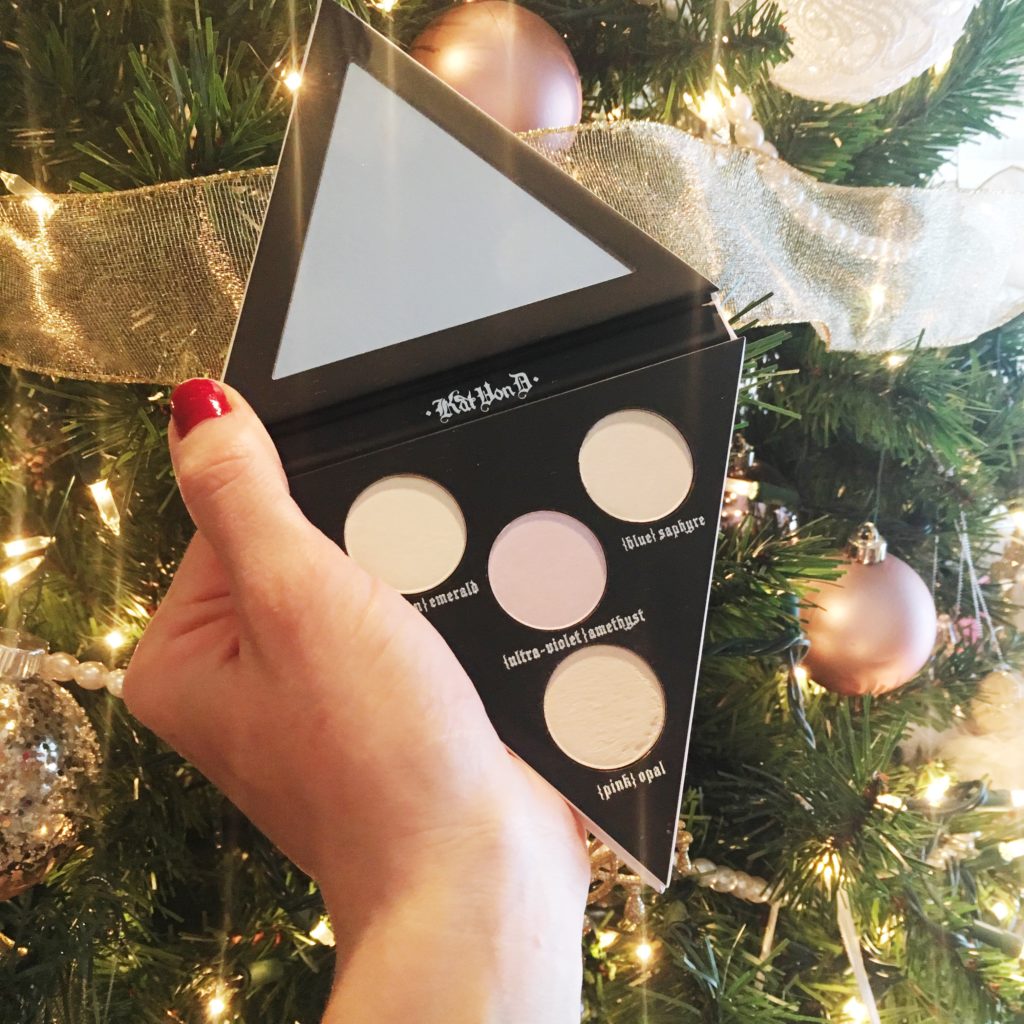
Kat Von D Alchemist Holographic Palette

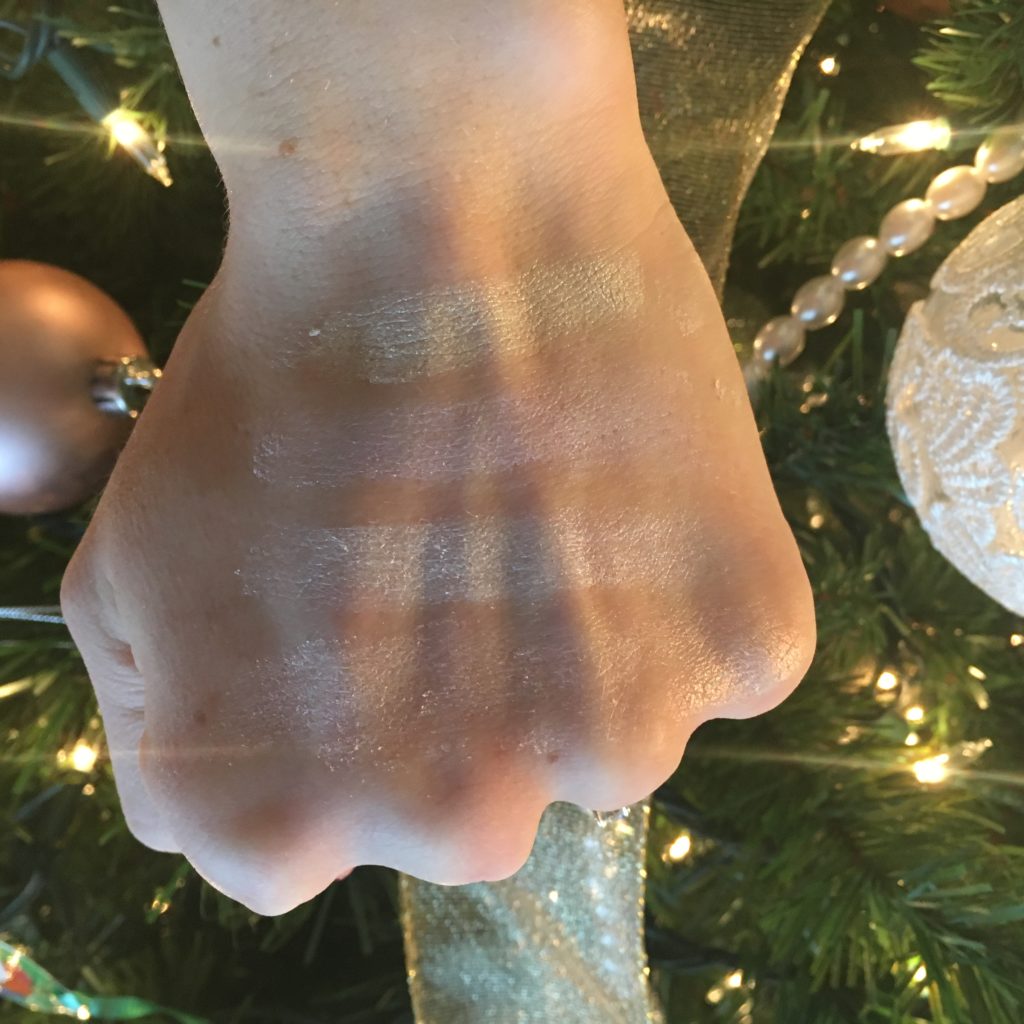
Without Flash:
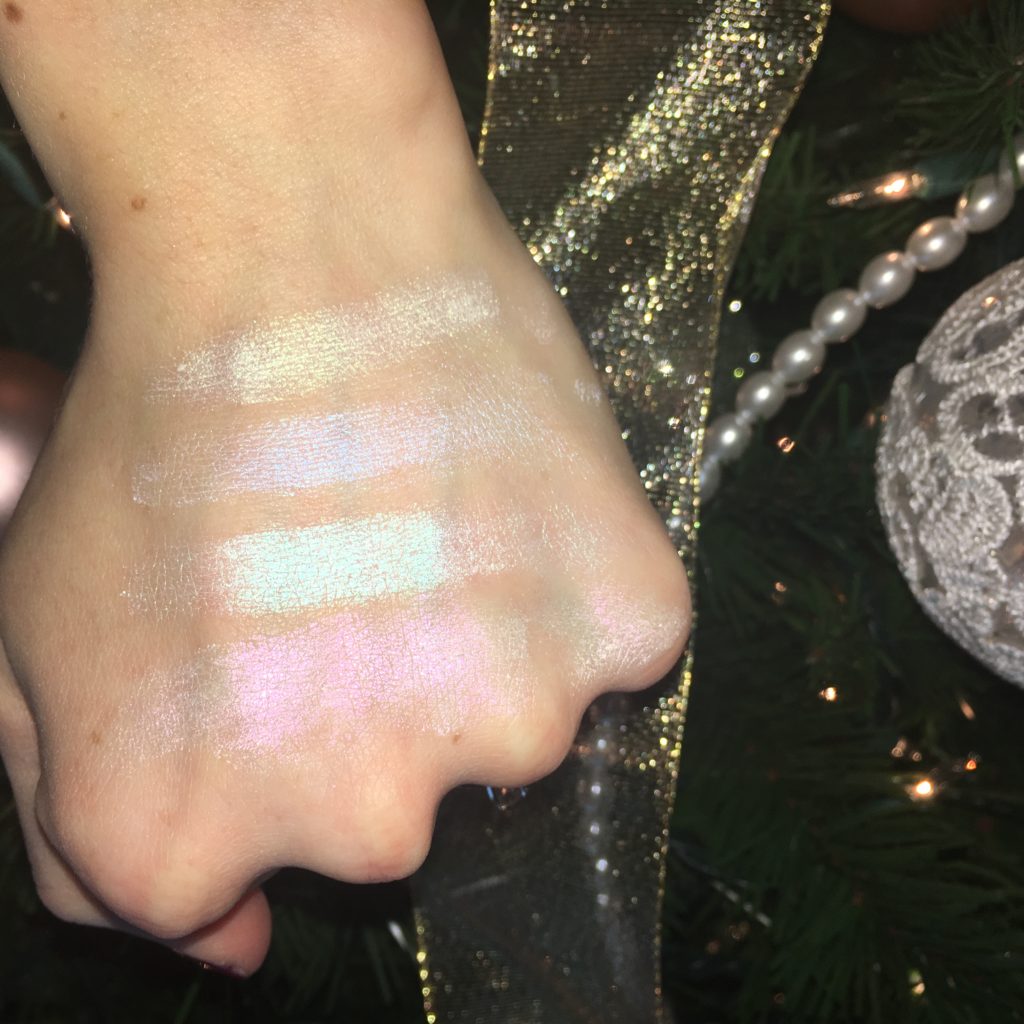
With Flash:


What It Is:
This palette is being called a “transformer” palette because it can be worn as a highlighter, or as a topper for eye shadows and even lipsticks. Each of the four shades are formulated with “Double Dimension Technology” which catches the light from every angle, given a holographic effect.
My Thoughts:
I was intrigued by this palette because I have been watching Kat Von D slowly share sneaks on her Instagram account. Kat Von D has spent years working on these formulas and has called this palette one of her passion projects. Being a beauty lover, I knew that this was something I wanted to try for myself right away! I have worn two of the shades so far as a cheekbone highlight and it is stunning! A little bit goes a LONG way, but I absolutely loved the way it caught the light. I am excited to try this as an eye shadow topper, and think it would be a gorgeous look over a simple look to amp it up to something a lot more special.
Do I Need It?
I think that this is a must have for the makeup junkie who loves to try new things, play with makeup, and collect makeup. I think that this is beautiful for those looking for something new. I have noticed the similarities between this and the Anastasia Beverly Hills Moonchild highlighters, and after comparing swatches online they do look similar though not exactly the same. I think that if you have Moonchild you don’t need the Alchemist, but Alchemist seems more holographic and Moonchild seems to be more metallic or duochrome to me.
Do you have this? Are you planning to get it? I was able to pick it up on Sephora.com during the VIB pre-launch, but it is now available to everyone. Thank you, as always, for reading! I hope that you have a fantastic rest of your day : )