


Hi there! Happy Wednesday!
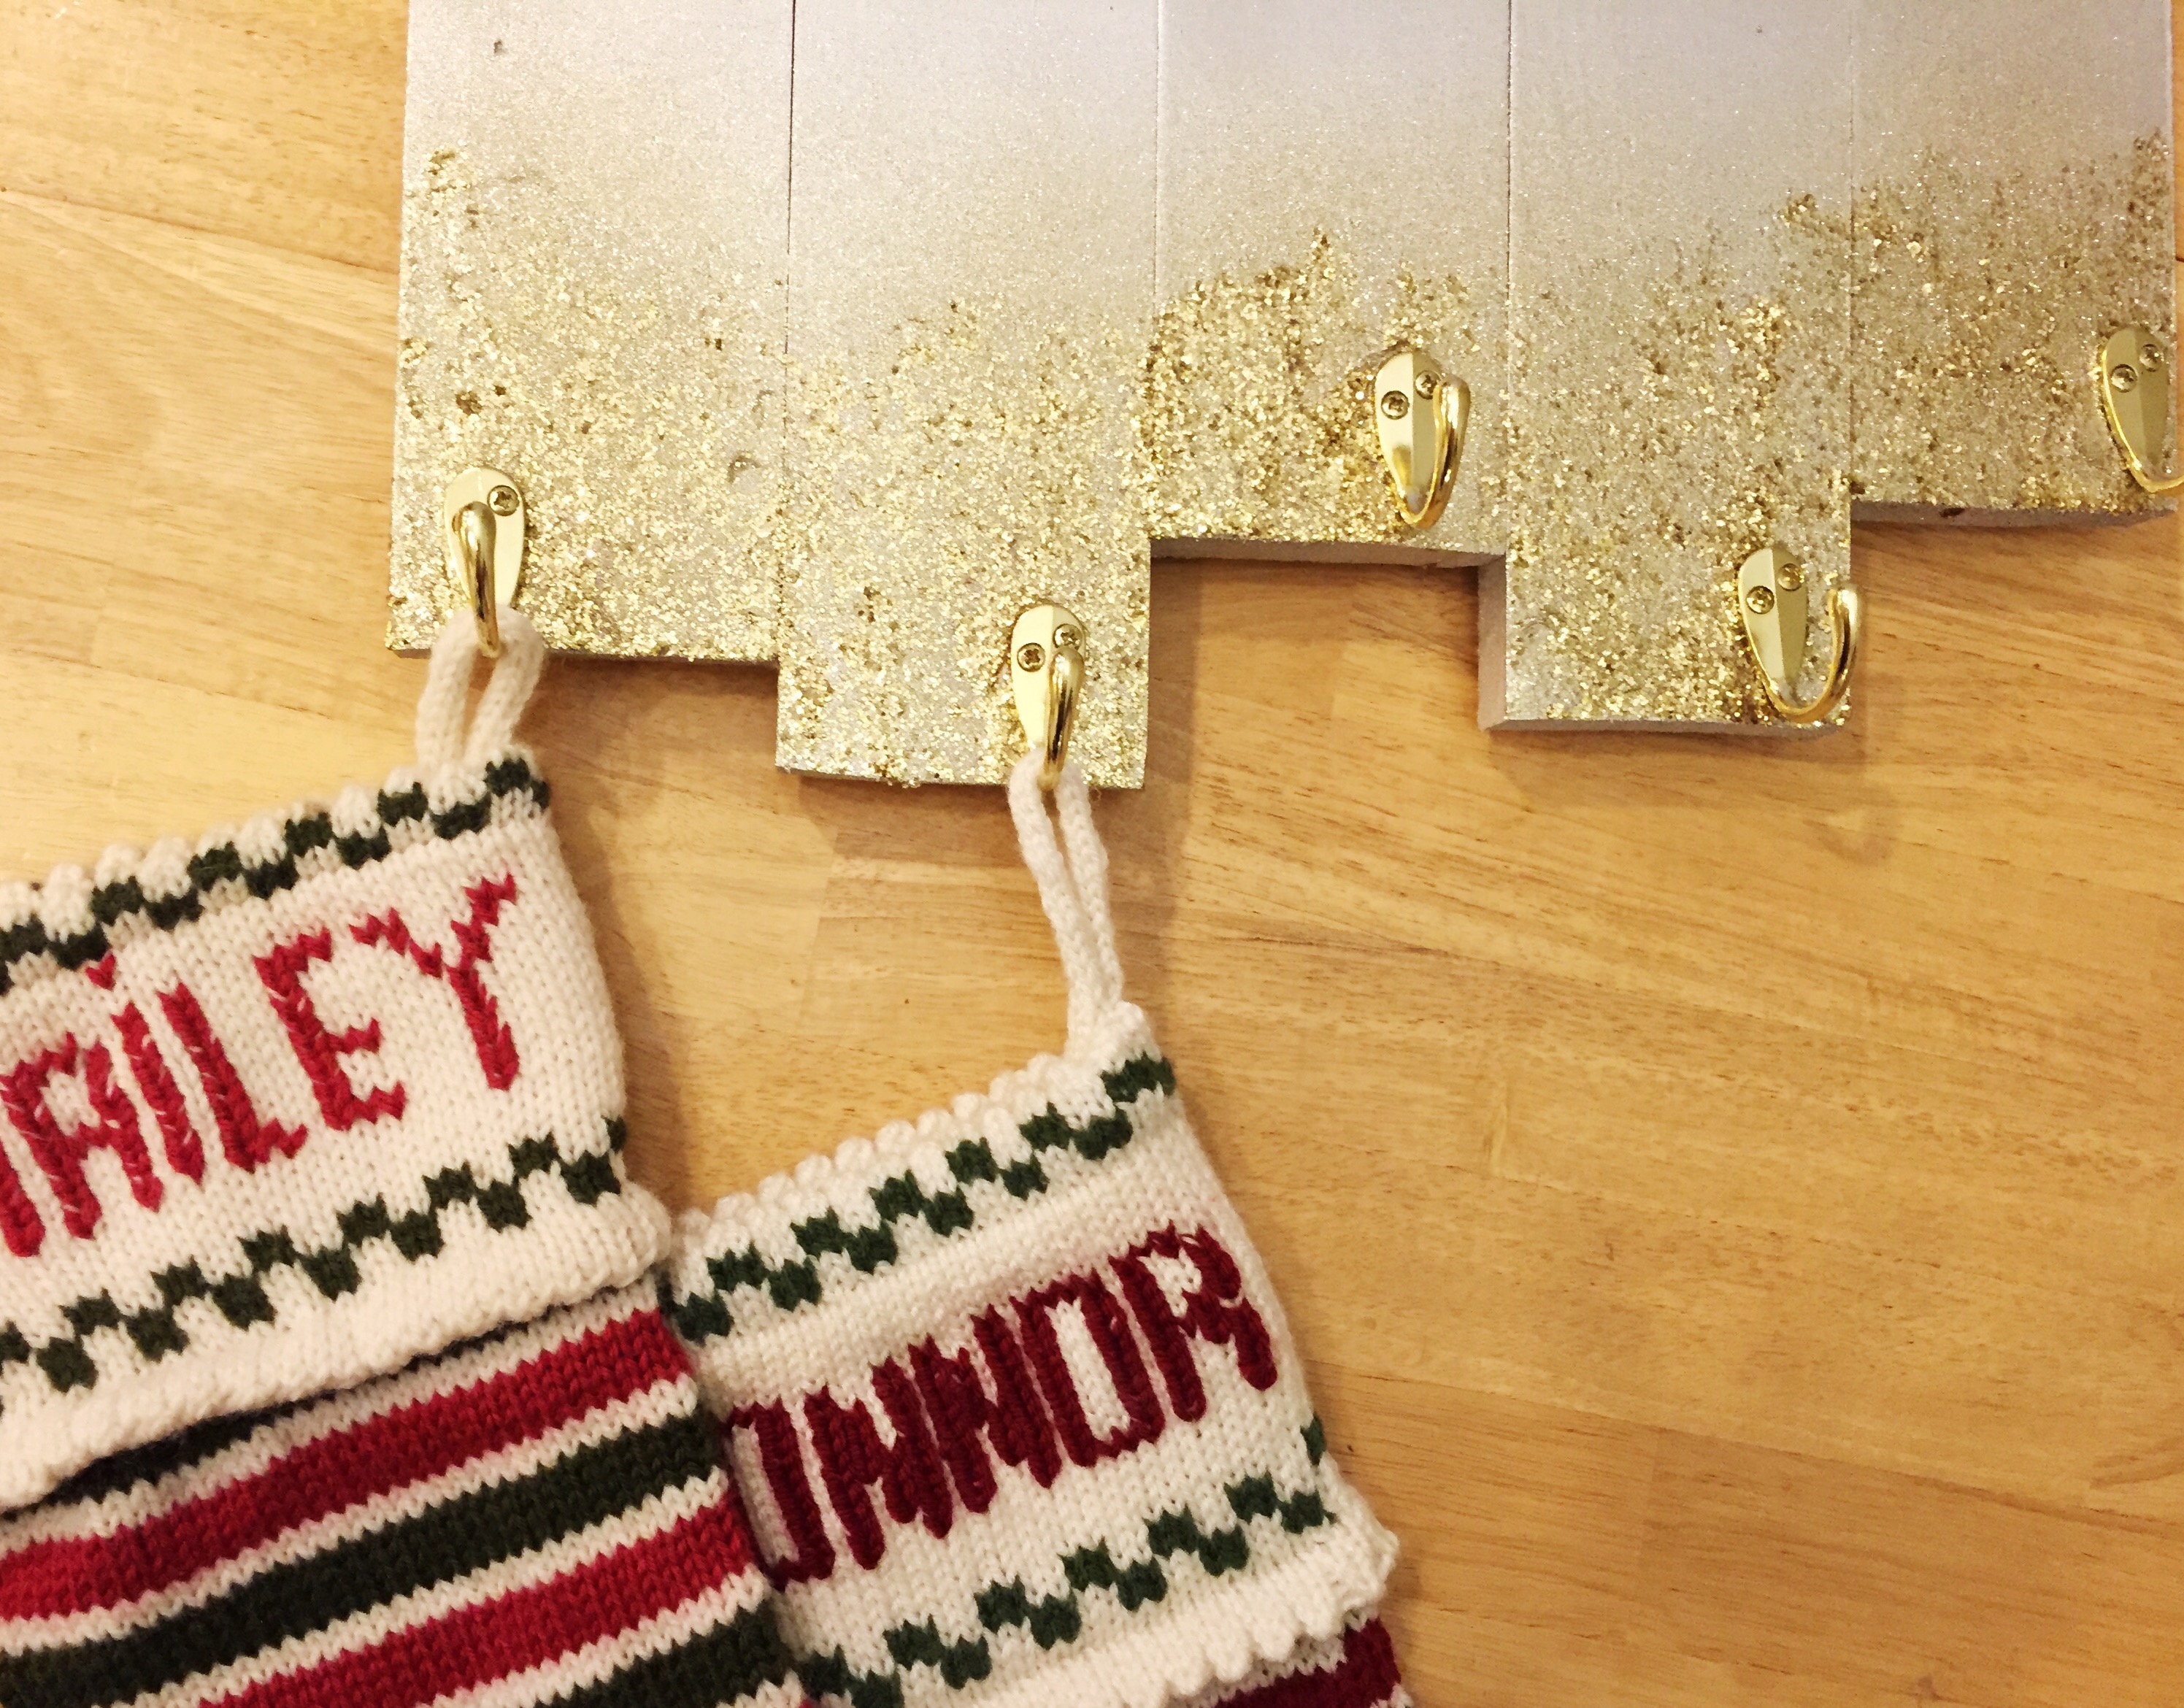
I am in full on Christmas mode, and yes I will pause for Thankgiving next week, but I know that I need to get going on Christmas now because otherwise when we get back from Disney it will be 10 days of stress! And I absolutely love the holiday season, so I want to spread it out and savor it, and prepping ahead means I can do that and limit the stress. Last year I shared a DIY Holiday Wreath Tutorial and I was happy to get that out again this year. We do not have a fireplace, so no mantel to hang the stockings, and every year Santa has just found them laying out on our loveseat, which is fine but not very special. I had seen some adorable stocking hangers on Etsy, but decided that I would make my own. I was able to do this DIY for only a few dollars, and it didn’t take too much time either. If you’d like to see part of the process you can on my Daily Vlogs day 107-110. What I love about this is you can completely make it your own depending on your personal style or home decor. I hope you enjoy it!
WHAT YOU’LL NEED:

-1 Piece of wood to be the back of your stocking hanger (*Tip: I bought all of my wood in small pieces at Lowe’s!)
– 1 piece of wood for each stocking you want to hang (I used 5 because our family has 5 people)
-Screws
-Heavy Duty D Rings
-Various Spray Paints or Acrylic Paints (I used white spray paint, silver spray paint, gold glitter spray paint)
-Decou-Page or Mod Podge
-Mod Podge Glossy Acrylic Spray Sealer
-Gold glitter
-Gold Hooks (I found mine at Lowe’s and bought one for each stocking)
STEP 1:
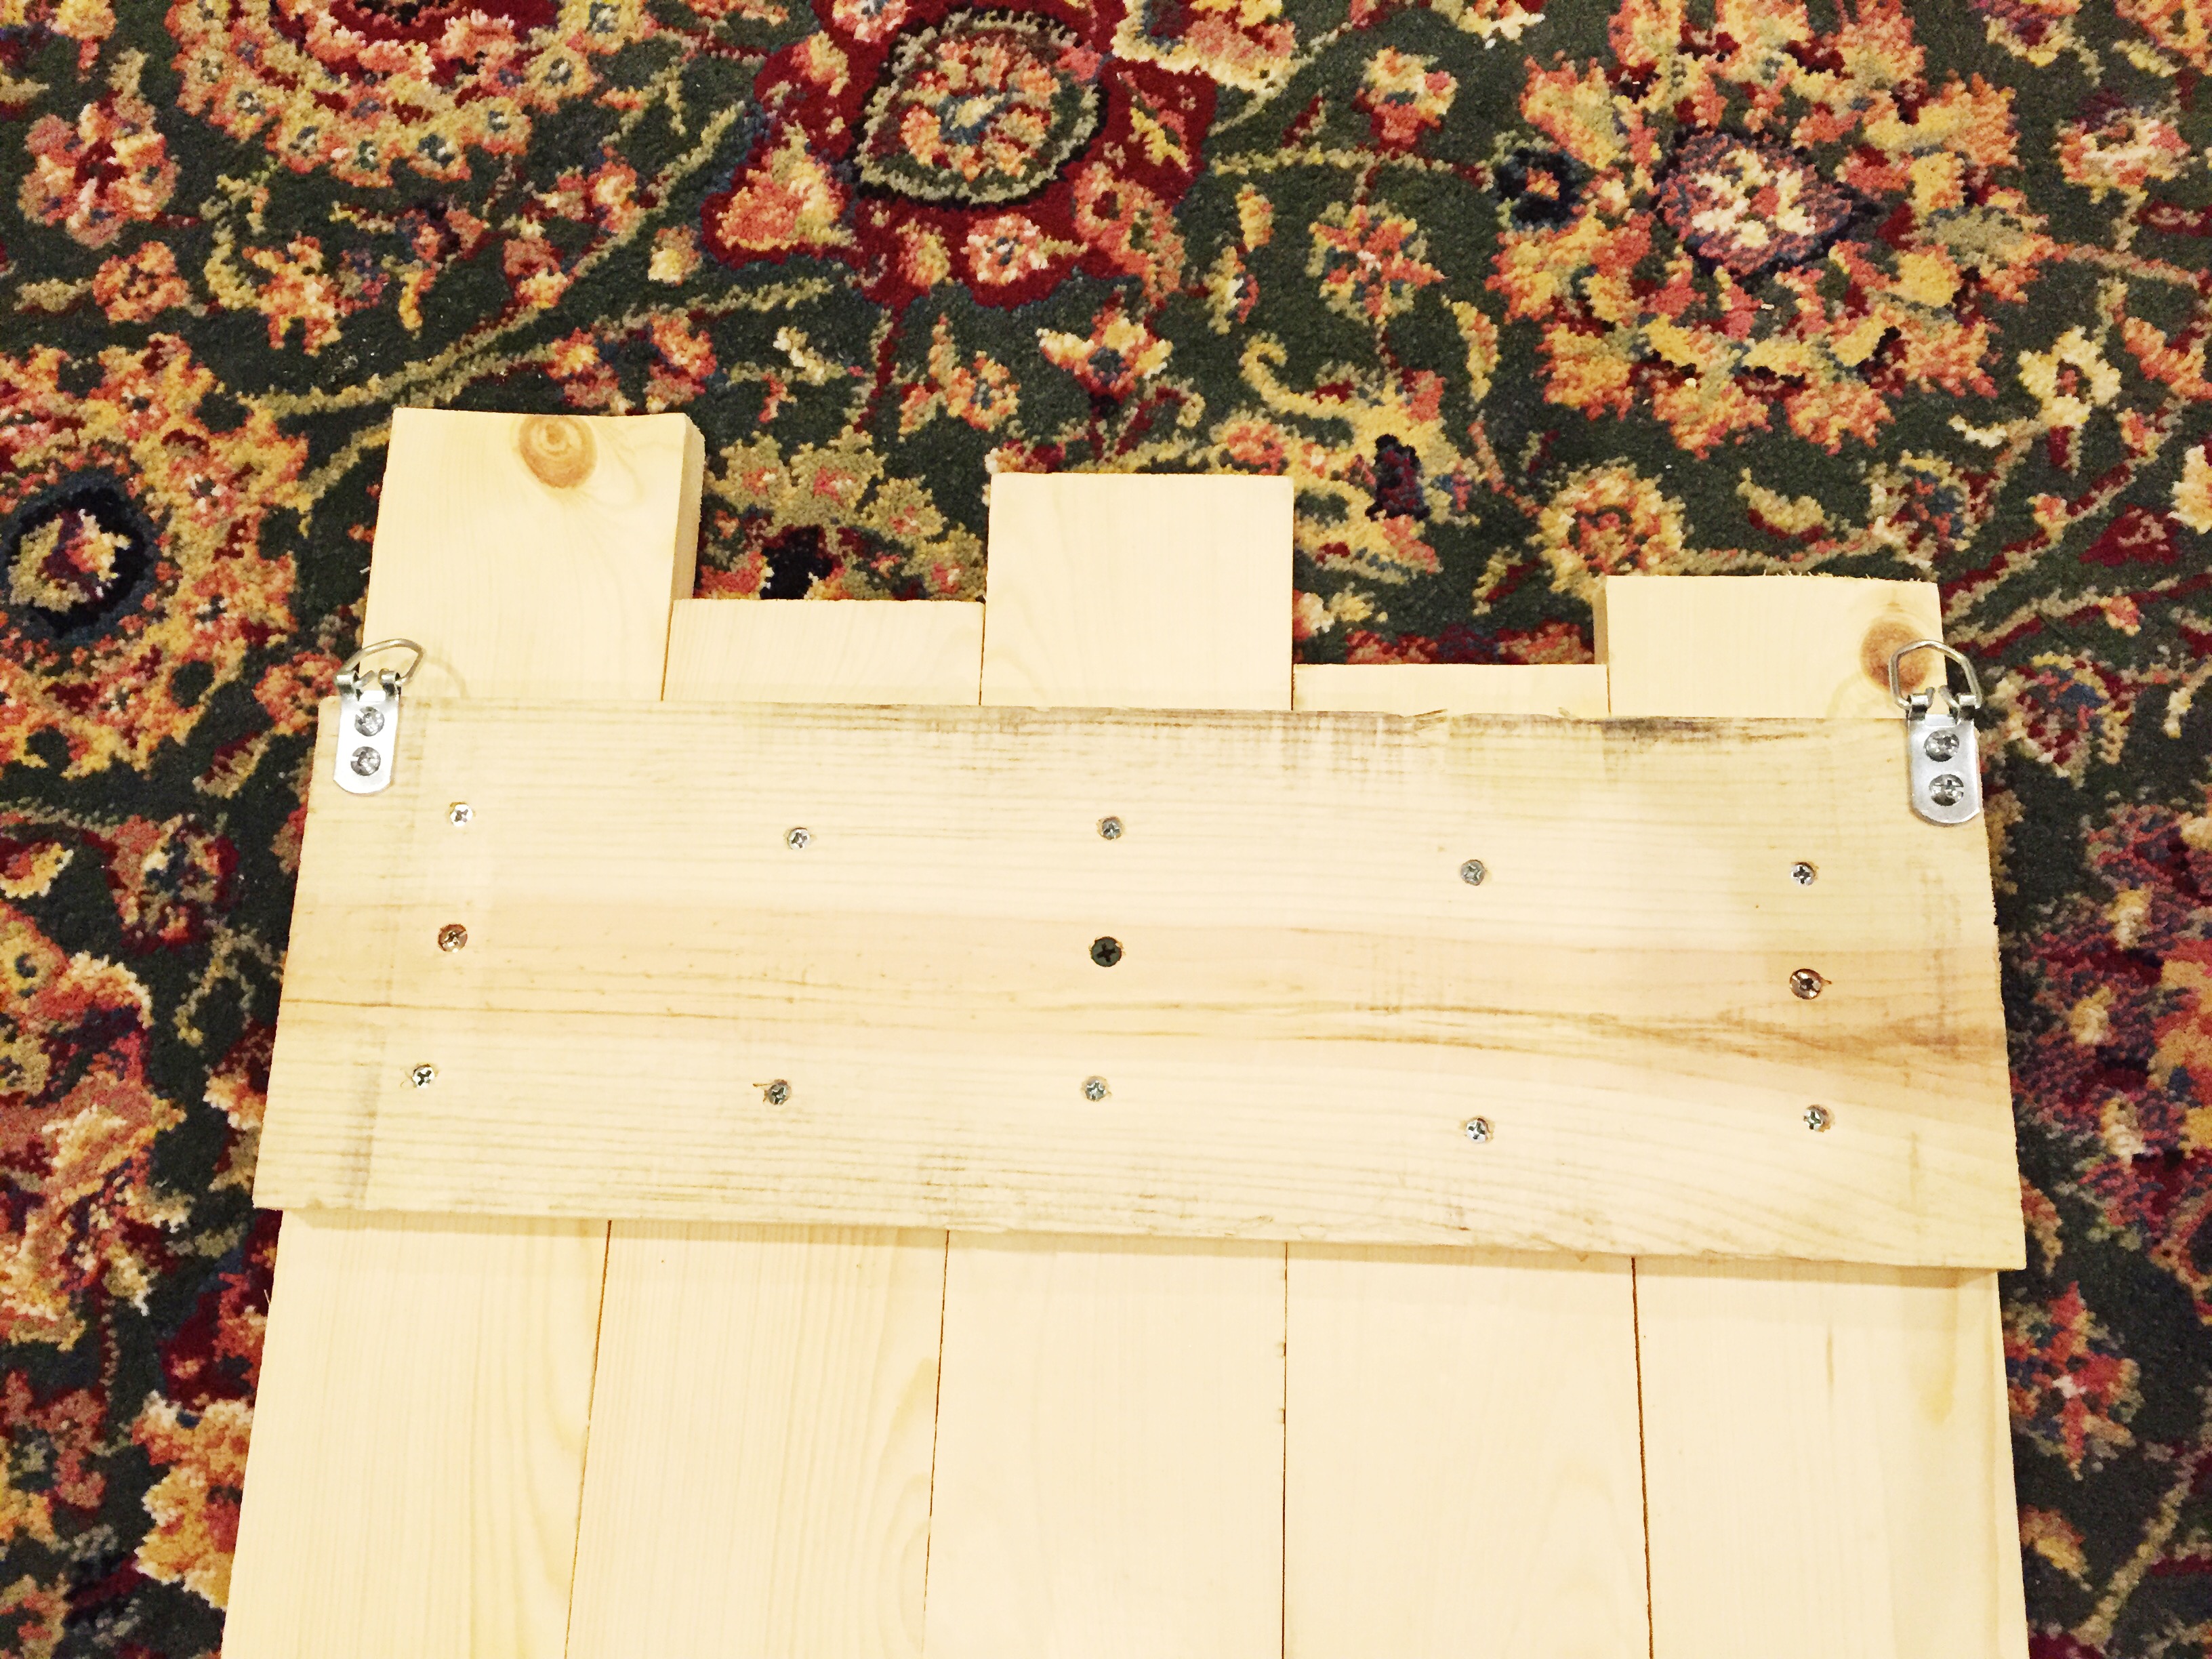
Using screws attach the pieces of wood to the piece of wood that will be your backing. I wanted mine at various heights, so mess around with it until you’re happy with the look.
STEP 2:
Attach your D hooks to the back of the stocking hanger

STEP 3:
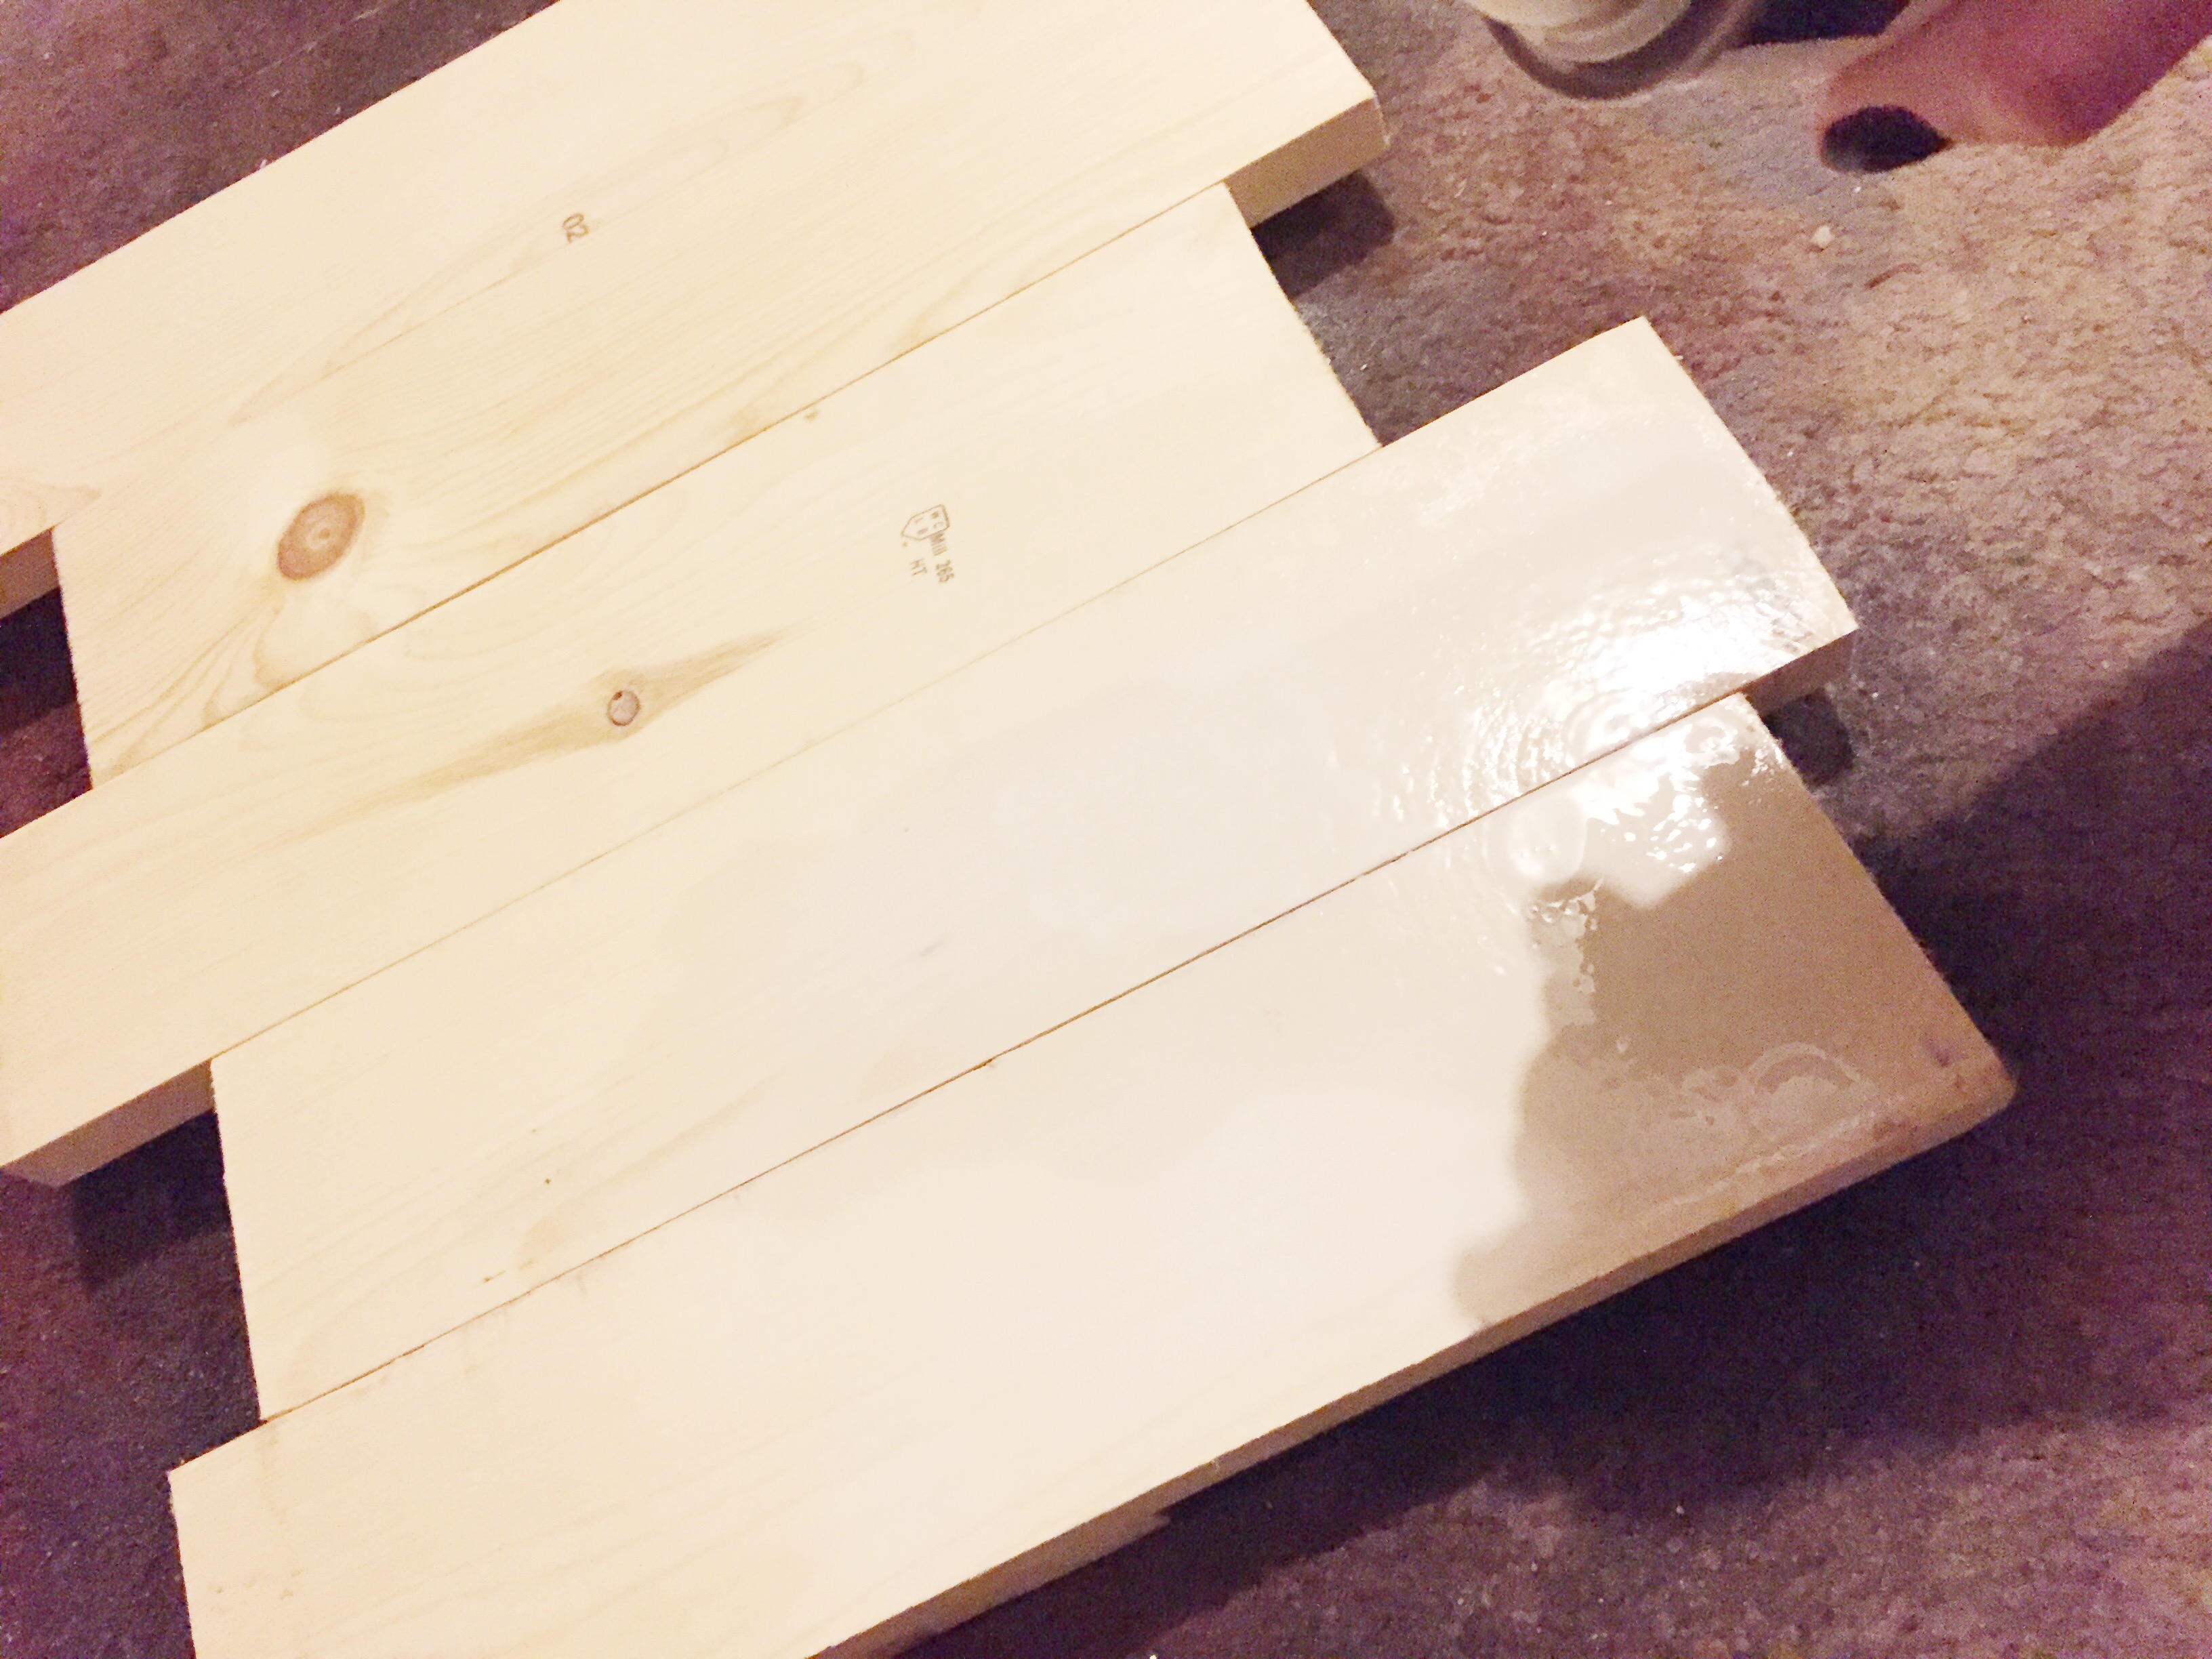
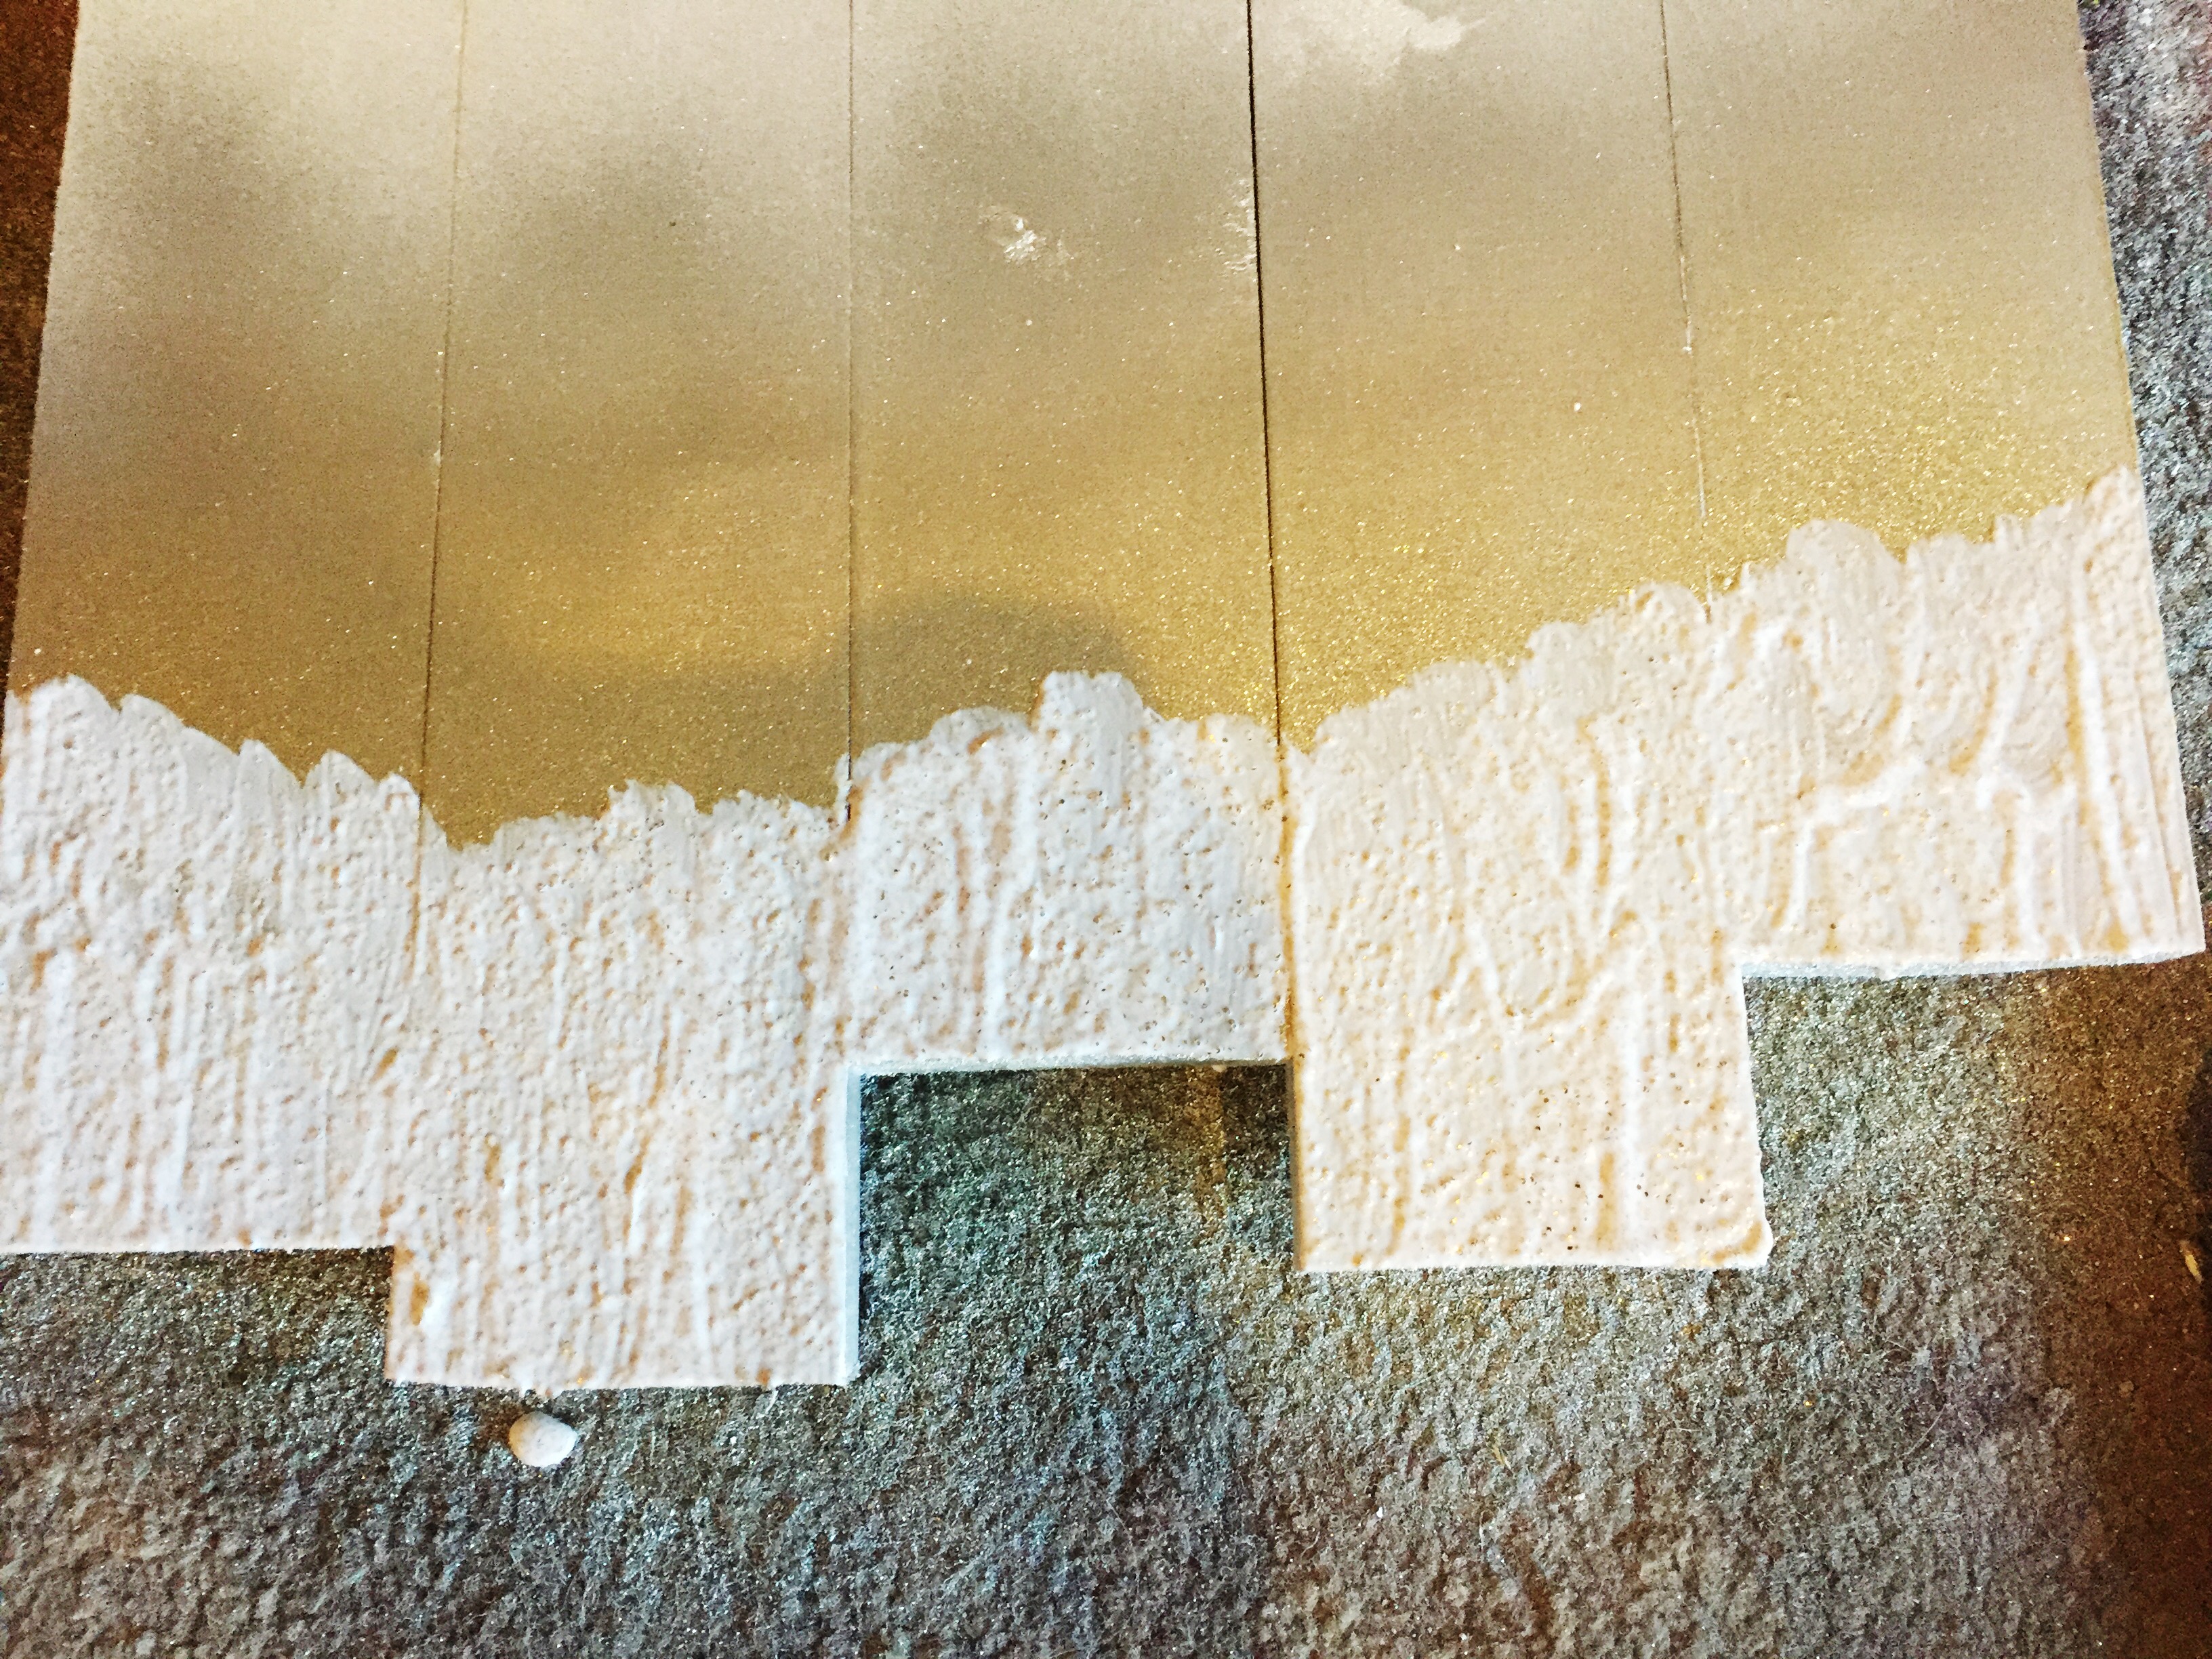
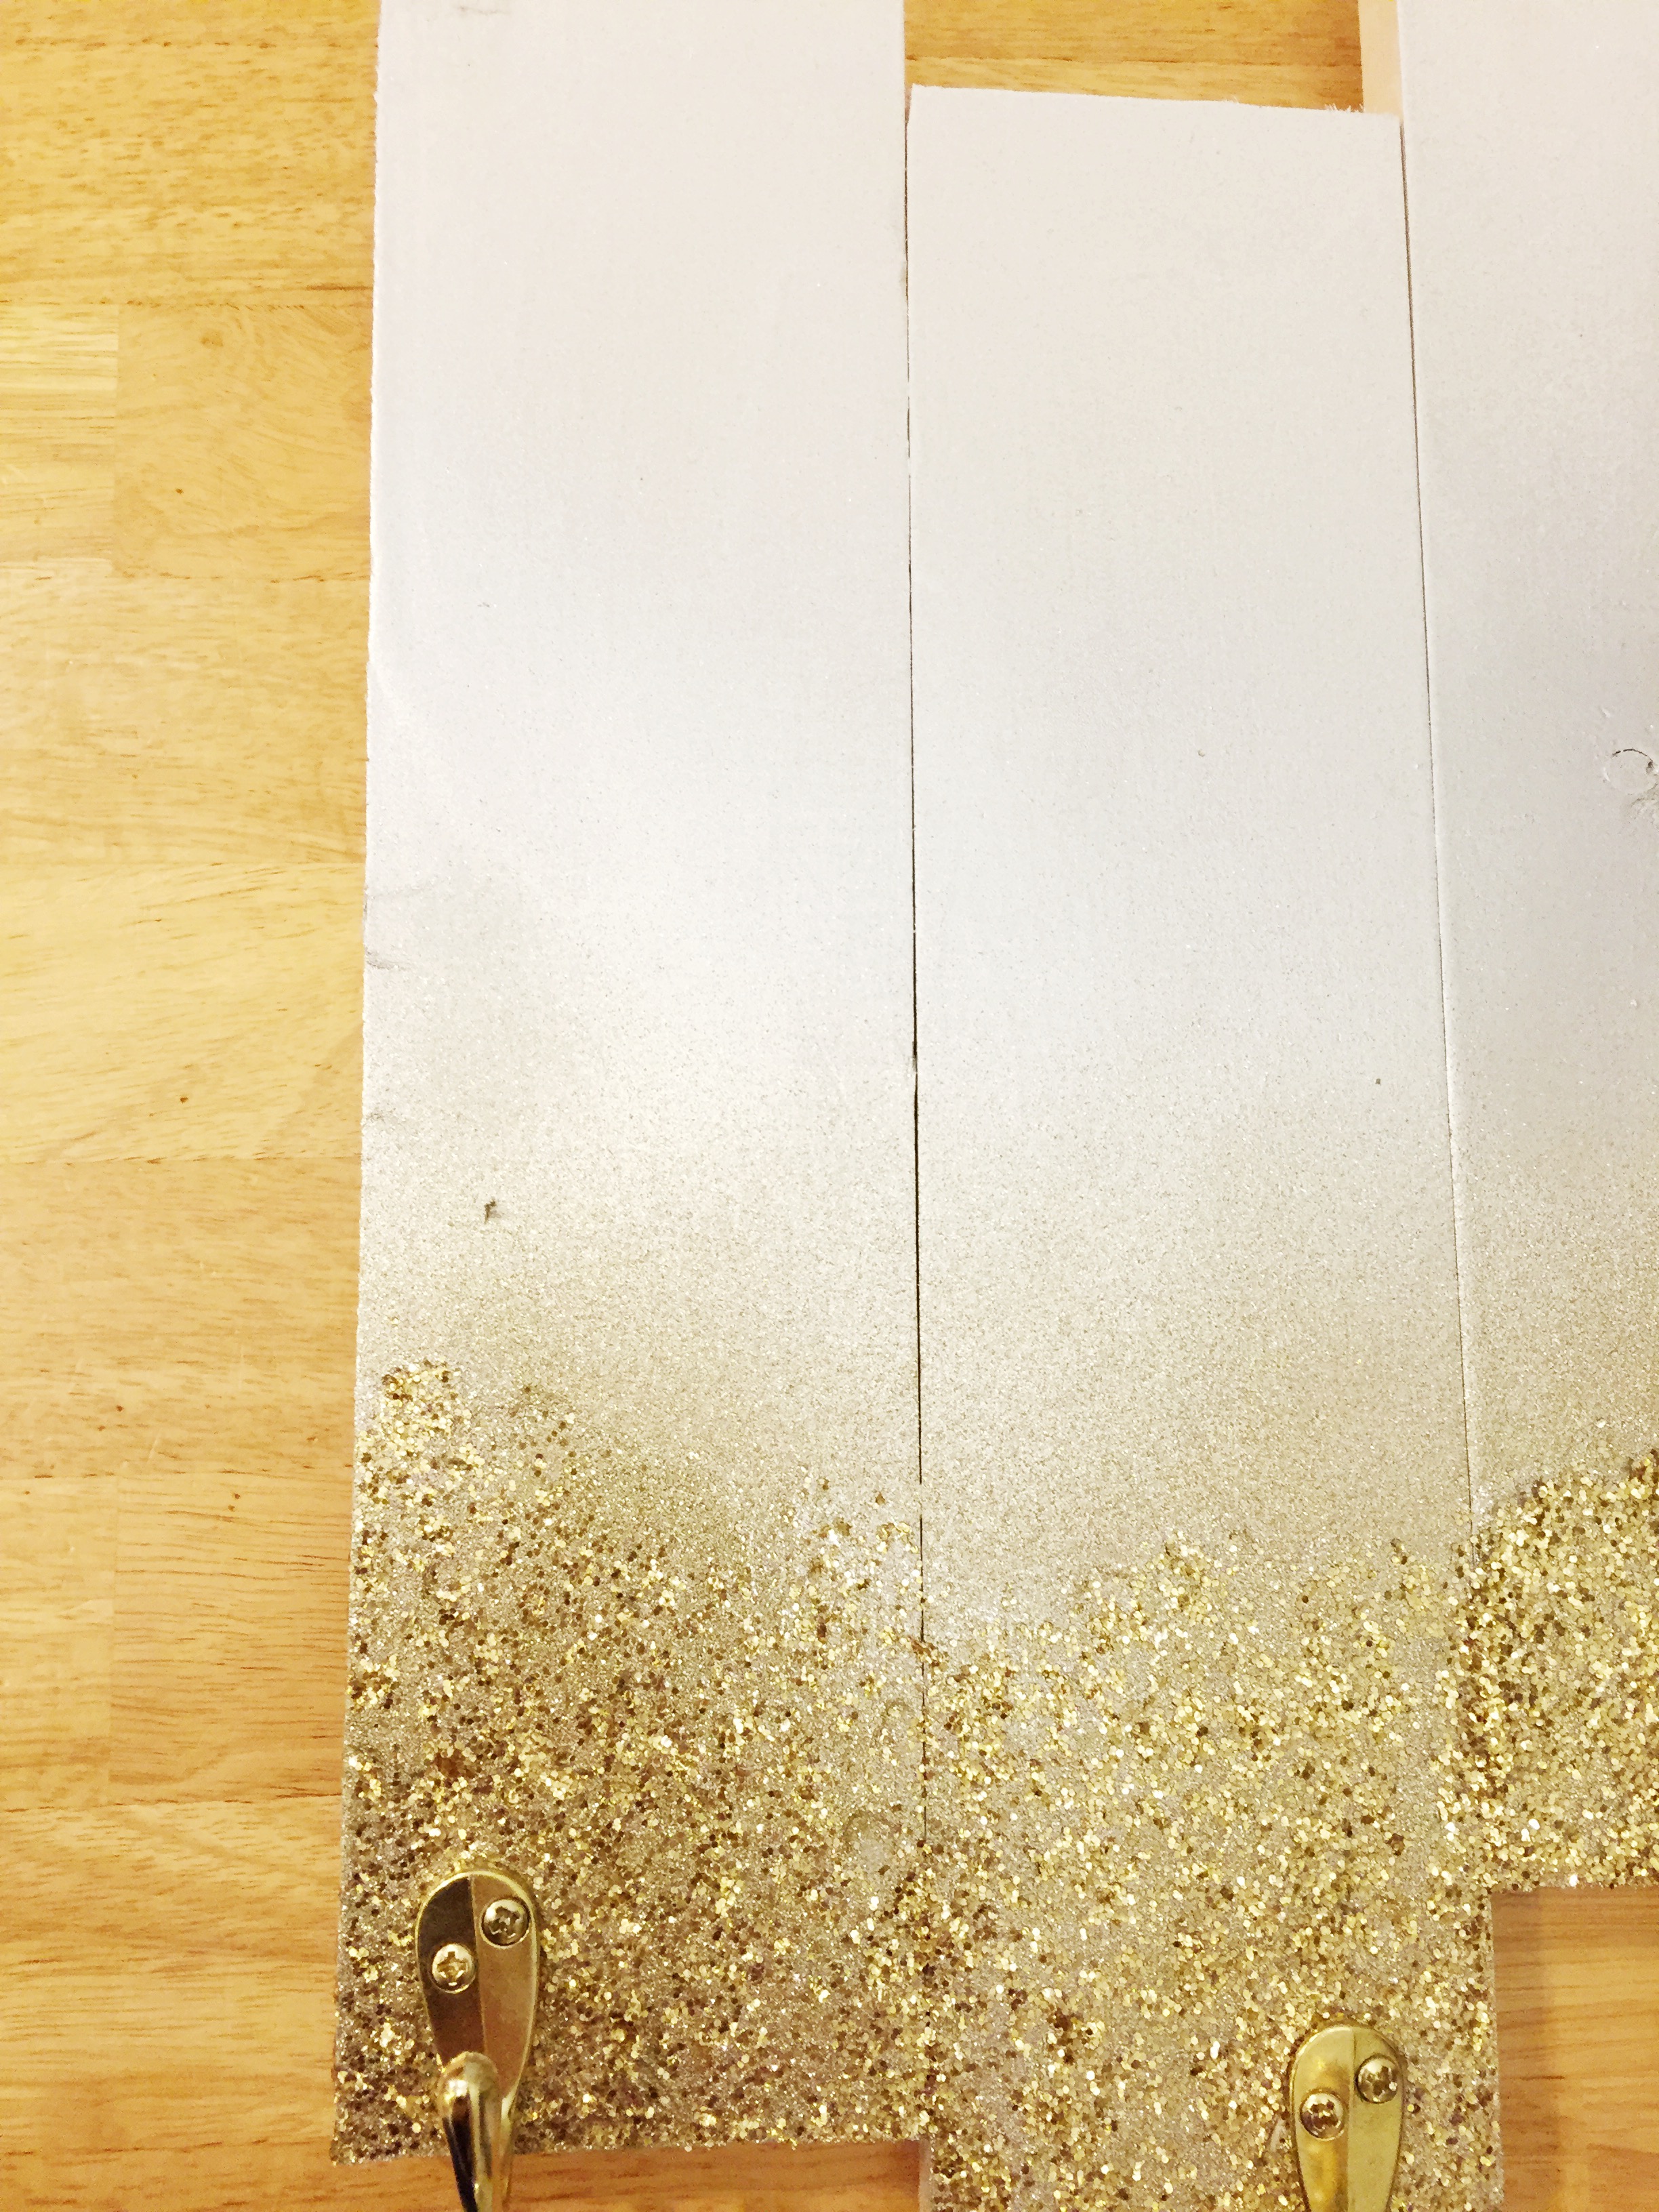
Spray paint the entire front and sides of your stocking hanger white and let dry.
STEP 4:
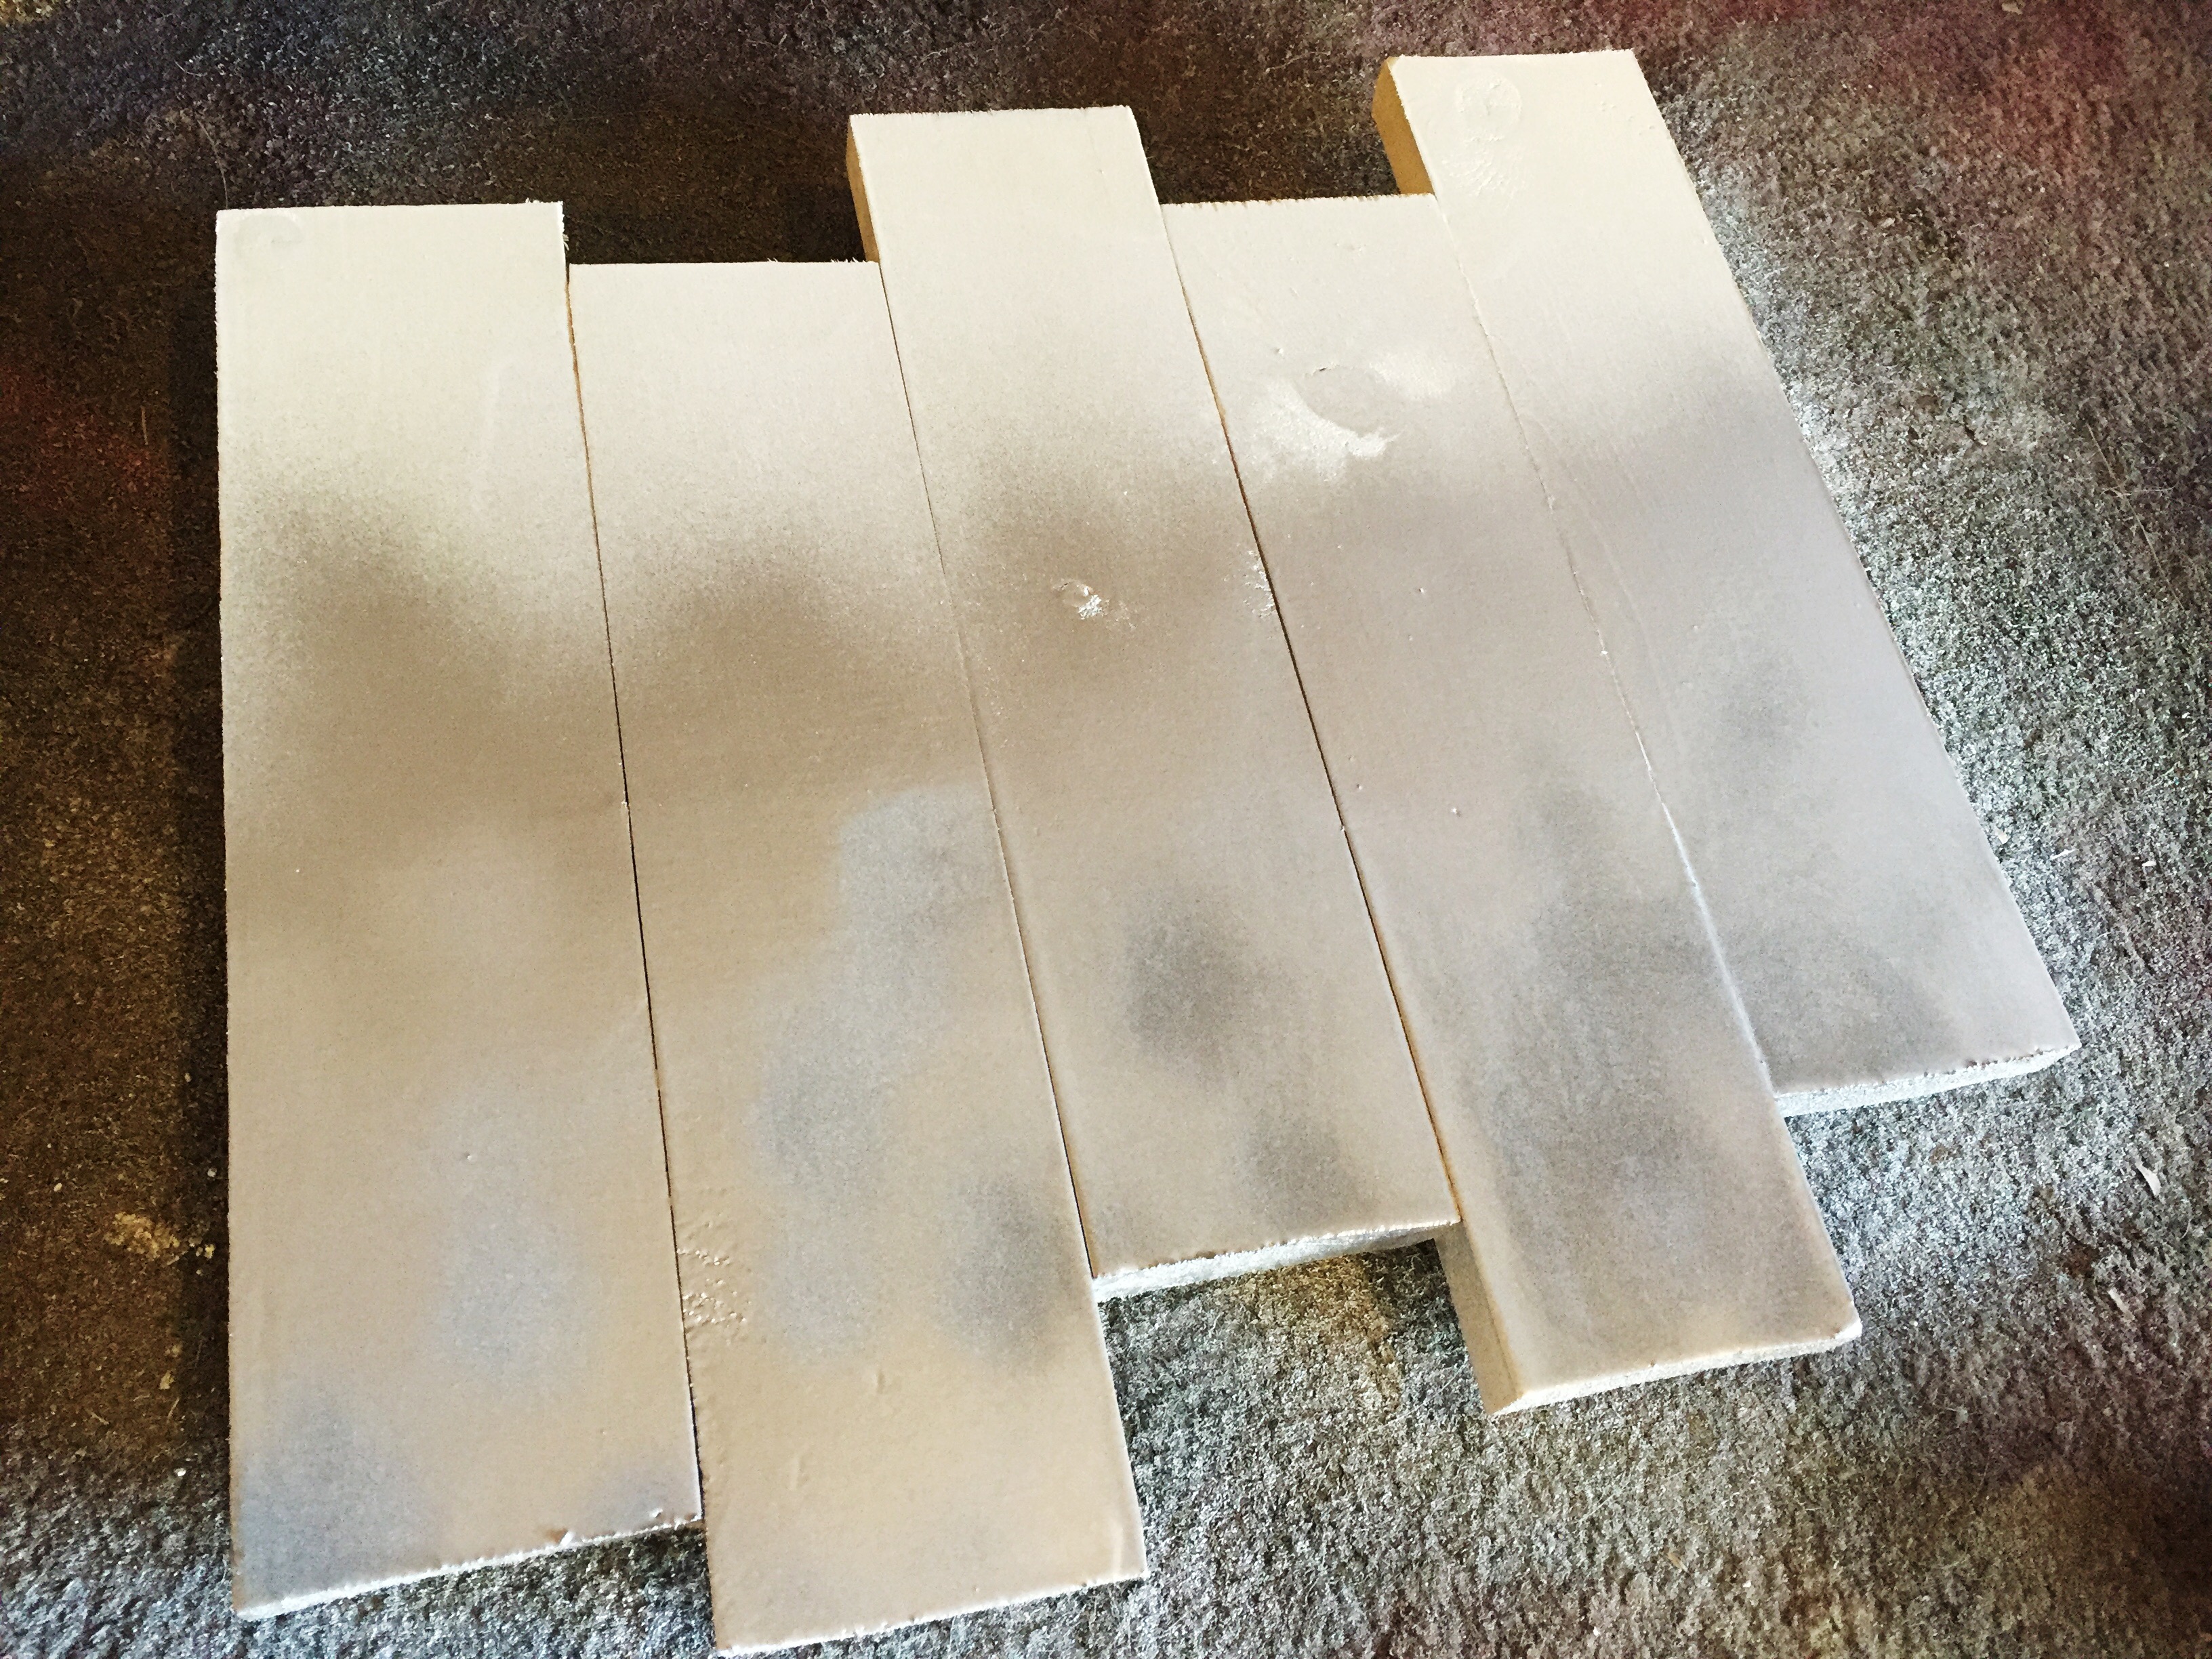
Spray your silver paint focusing on the bottom of your stocking hanger and releasing as you go up to create a gradient or ombrélook. I promise this is much easier than it sounds! You can do a few practice strokes if you want, but it doesn’t need to look perfect.
STEP 5:
Spray the very bottom of your stocking hanger with gold glitter spray paint. I did several layers because I wanted it to be opaque. Once again let it dry.

STEP 6:
Mix some Mod-Podge or Decou-Page with your gold glitter. I went heavy on the gold glitter, because I wanted it to be super sparkly, but be sure to add enough glue so that it spreads and sticks. I applied the glitter glue to only the very bottom of the stocking hanger.
STEP 7:
Spray with a glossy spray to seal the glitter and paint. I used one from Mod-Podge.
STEP 8:
Attach the hooks to the bottom of your stocking hanger once it is COMPLETELY dry! My sweet hubster did this which was a nice surprise : ) Make sure that you put the hooks as far apart as possible intead of in the middle of each board, it may not look perfect because it won’t look perfectly even, but once the stockings are hanging it will look better because they won’t be quite so close together.
STEP 9:
Hang your stockings and wait for Santa : ) : )
I really hope that you enjoyed this DIY project! I think you could do something similar to hang your house keys and that would be adorable year-round! Please send me pictures or tag me on social media (all linked at the top of this website or at the bottom of every blog post!) because I would *LOVE* to see them! Don’t forget to subscribe! Thank you!! xo


Kayla Monville says
I love your DIYs!
leahtackles@gmail.com says
Thank you so much Kayla! I enjoy doing them 😀 xo
Kim Kwapis says
This is the perfect solution for a home without a mantel!
leahtackles@gmail.com says
Thank you I think so too! And we have a magic santa key for the door ; ) so I think we are really set!! xo