


Hi there! Happy Monday!!
I hope that you all had a great weekend! We had our first “real” snowfall here and Hailey is pretty sure it’s because of the snow dance that she did ; ) Last year my friend posted on Facebook a picture of a beautiful wreath that she made, and I have wanted to make my own ever since. I am super excited to be sharing this tutorial with you today!! I love this project because you can absolutely make it your own and use it for any occasion! You can put bulbs all around the wreath if you prefer that look, and you can use different ribbon, like a burlap style, to completely change the feel of this wreath!
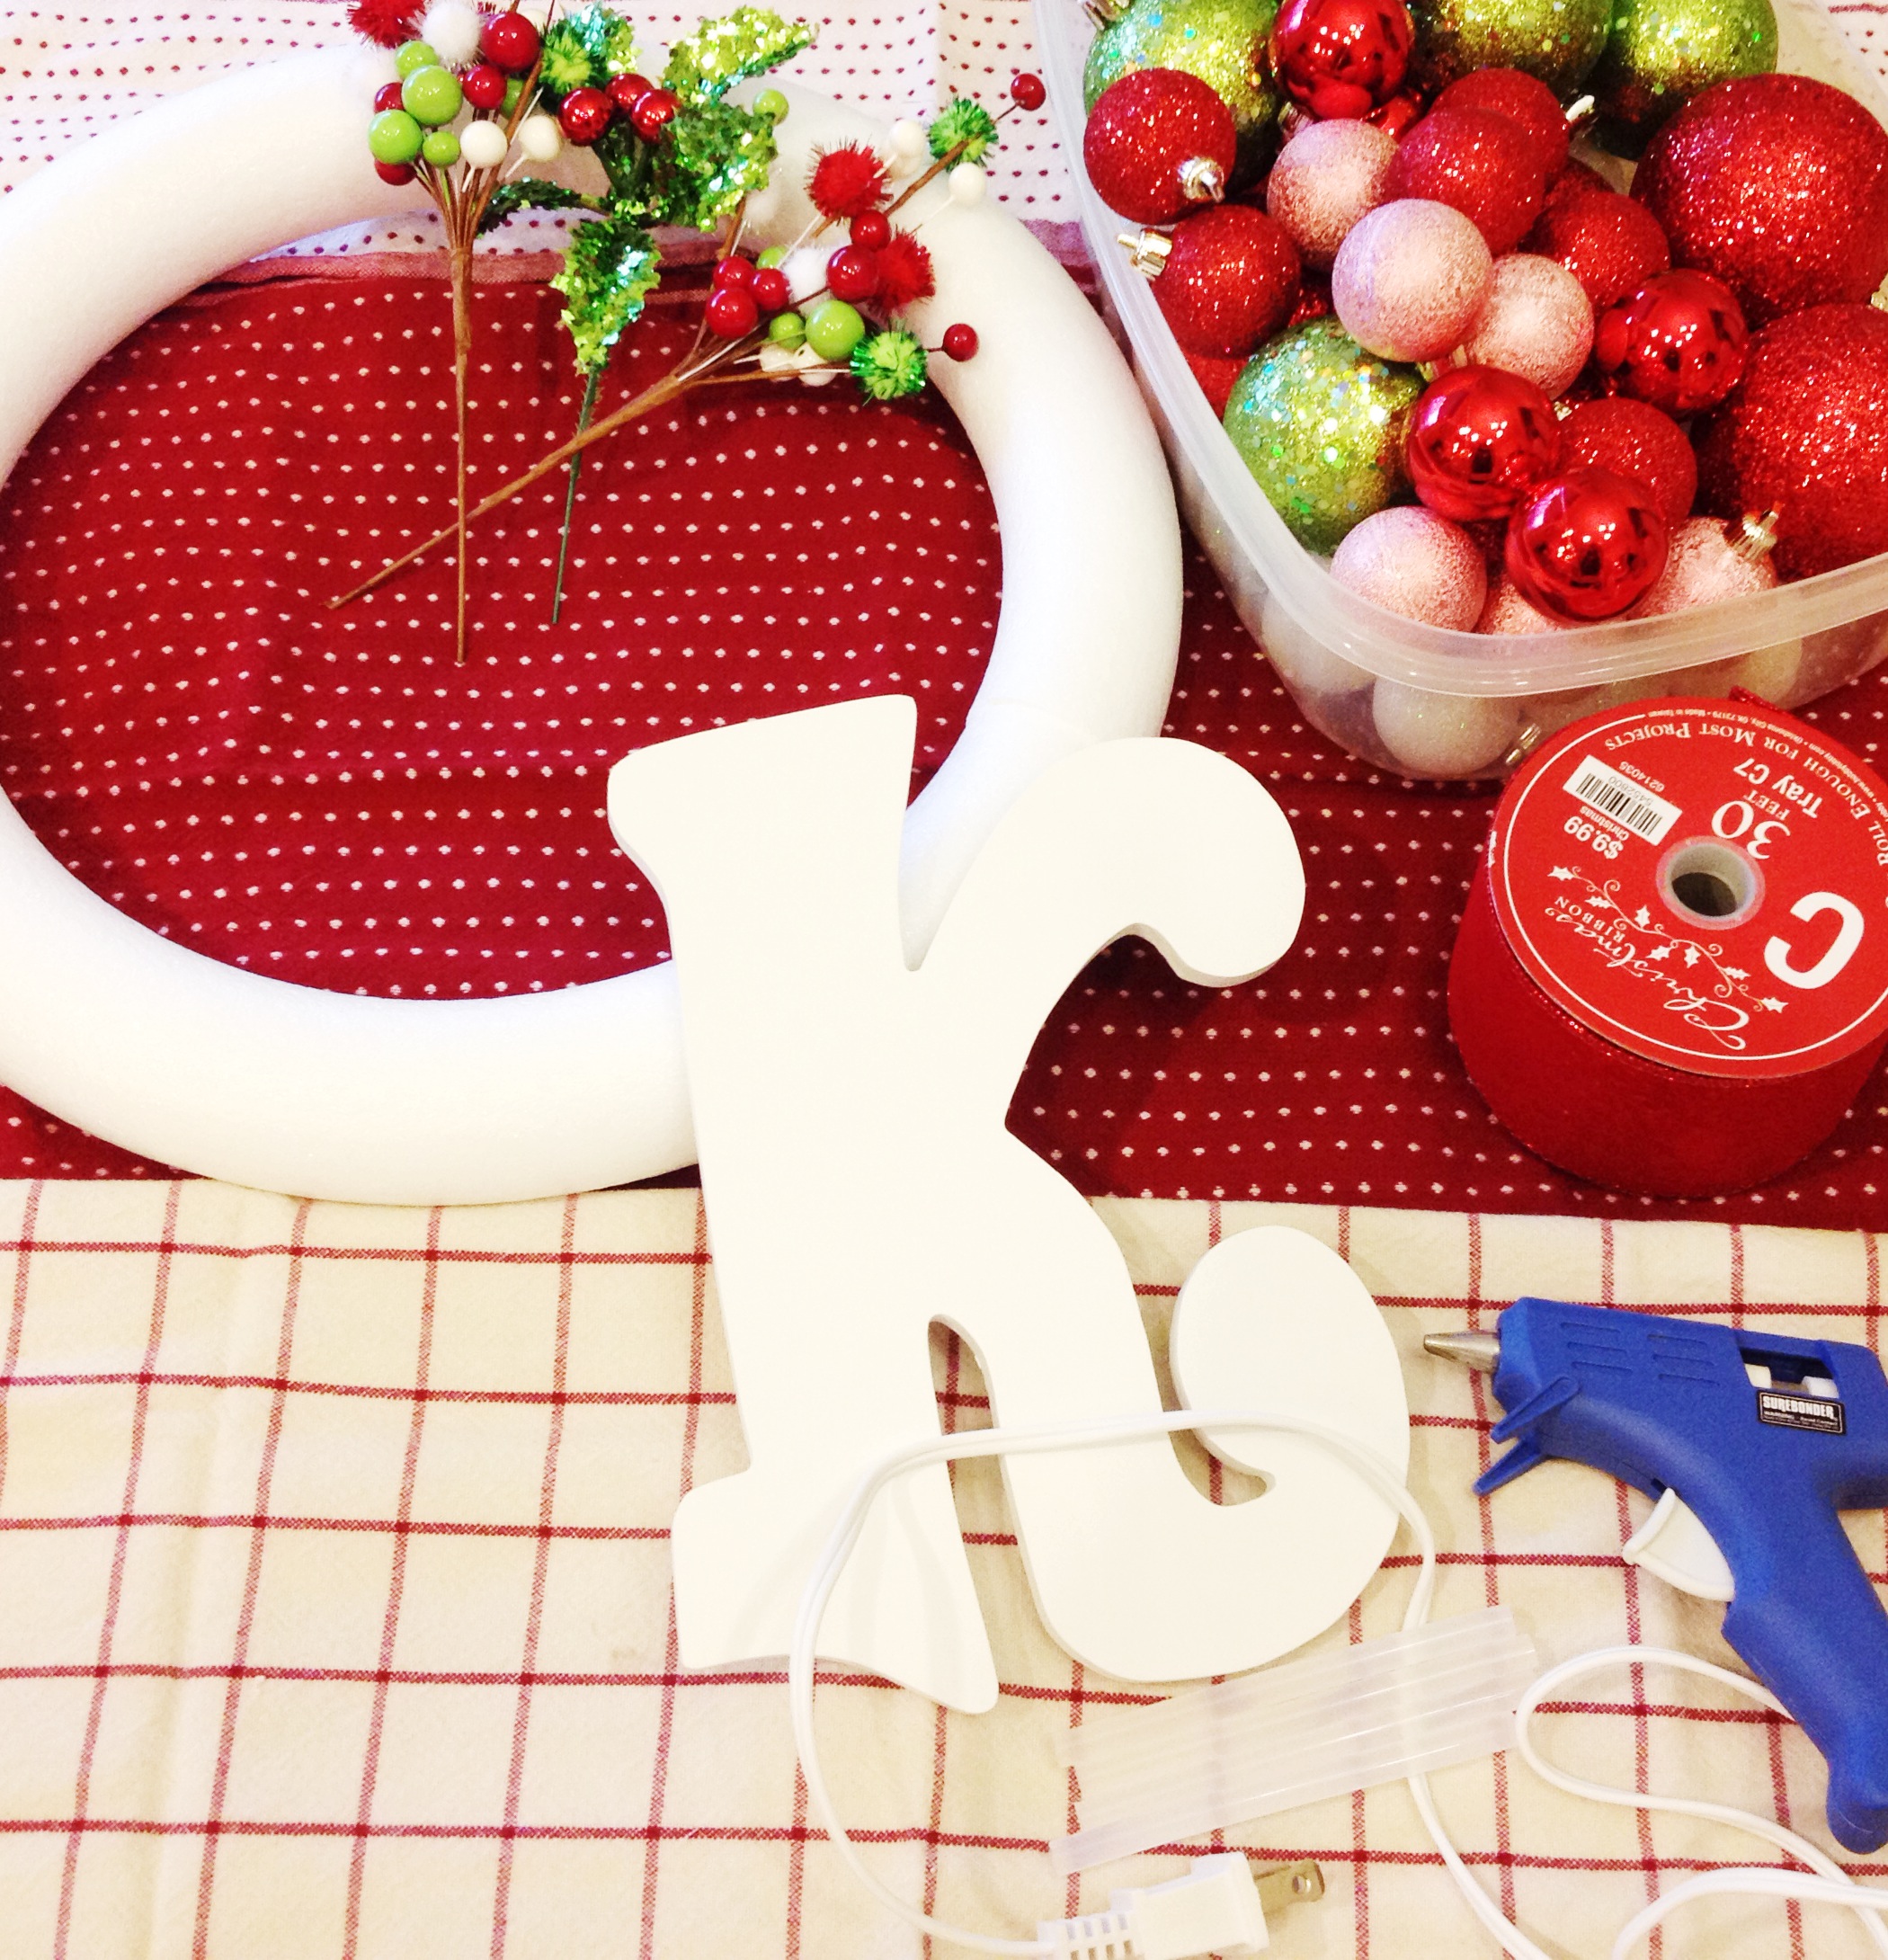
WHAT YOU’LL NEED AND WHAT I SPENT:
*Note: I purchased all of my supplies at Hobby Lobby but did it when all Christmas was 50% off…never buy stuff at Hobby Lobby full price!! The next wreath I make I plan to try getting supplies from Dollar Tree
Styrofoam Wreath $5
Red Ribbon $5
Wooden Letter $3
3 Different Sizes of Plastic/Shatterproof Bulbs $11
Holly and Pom Pom Accents $4
Hot Glue Gun
Total Spent: About $30
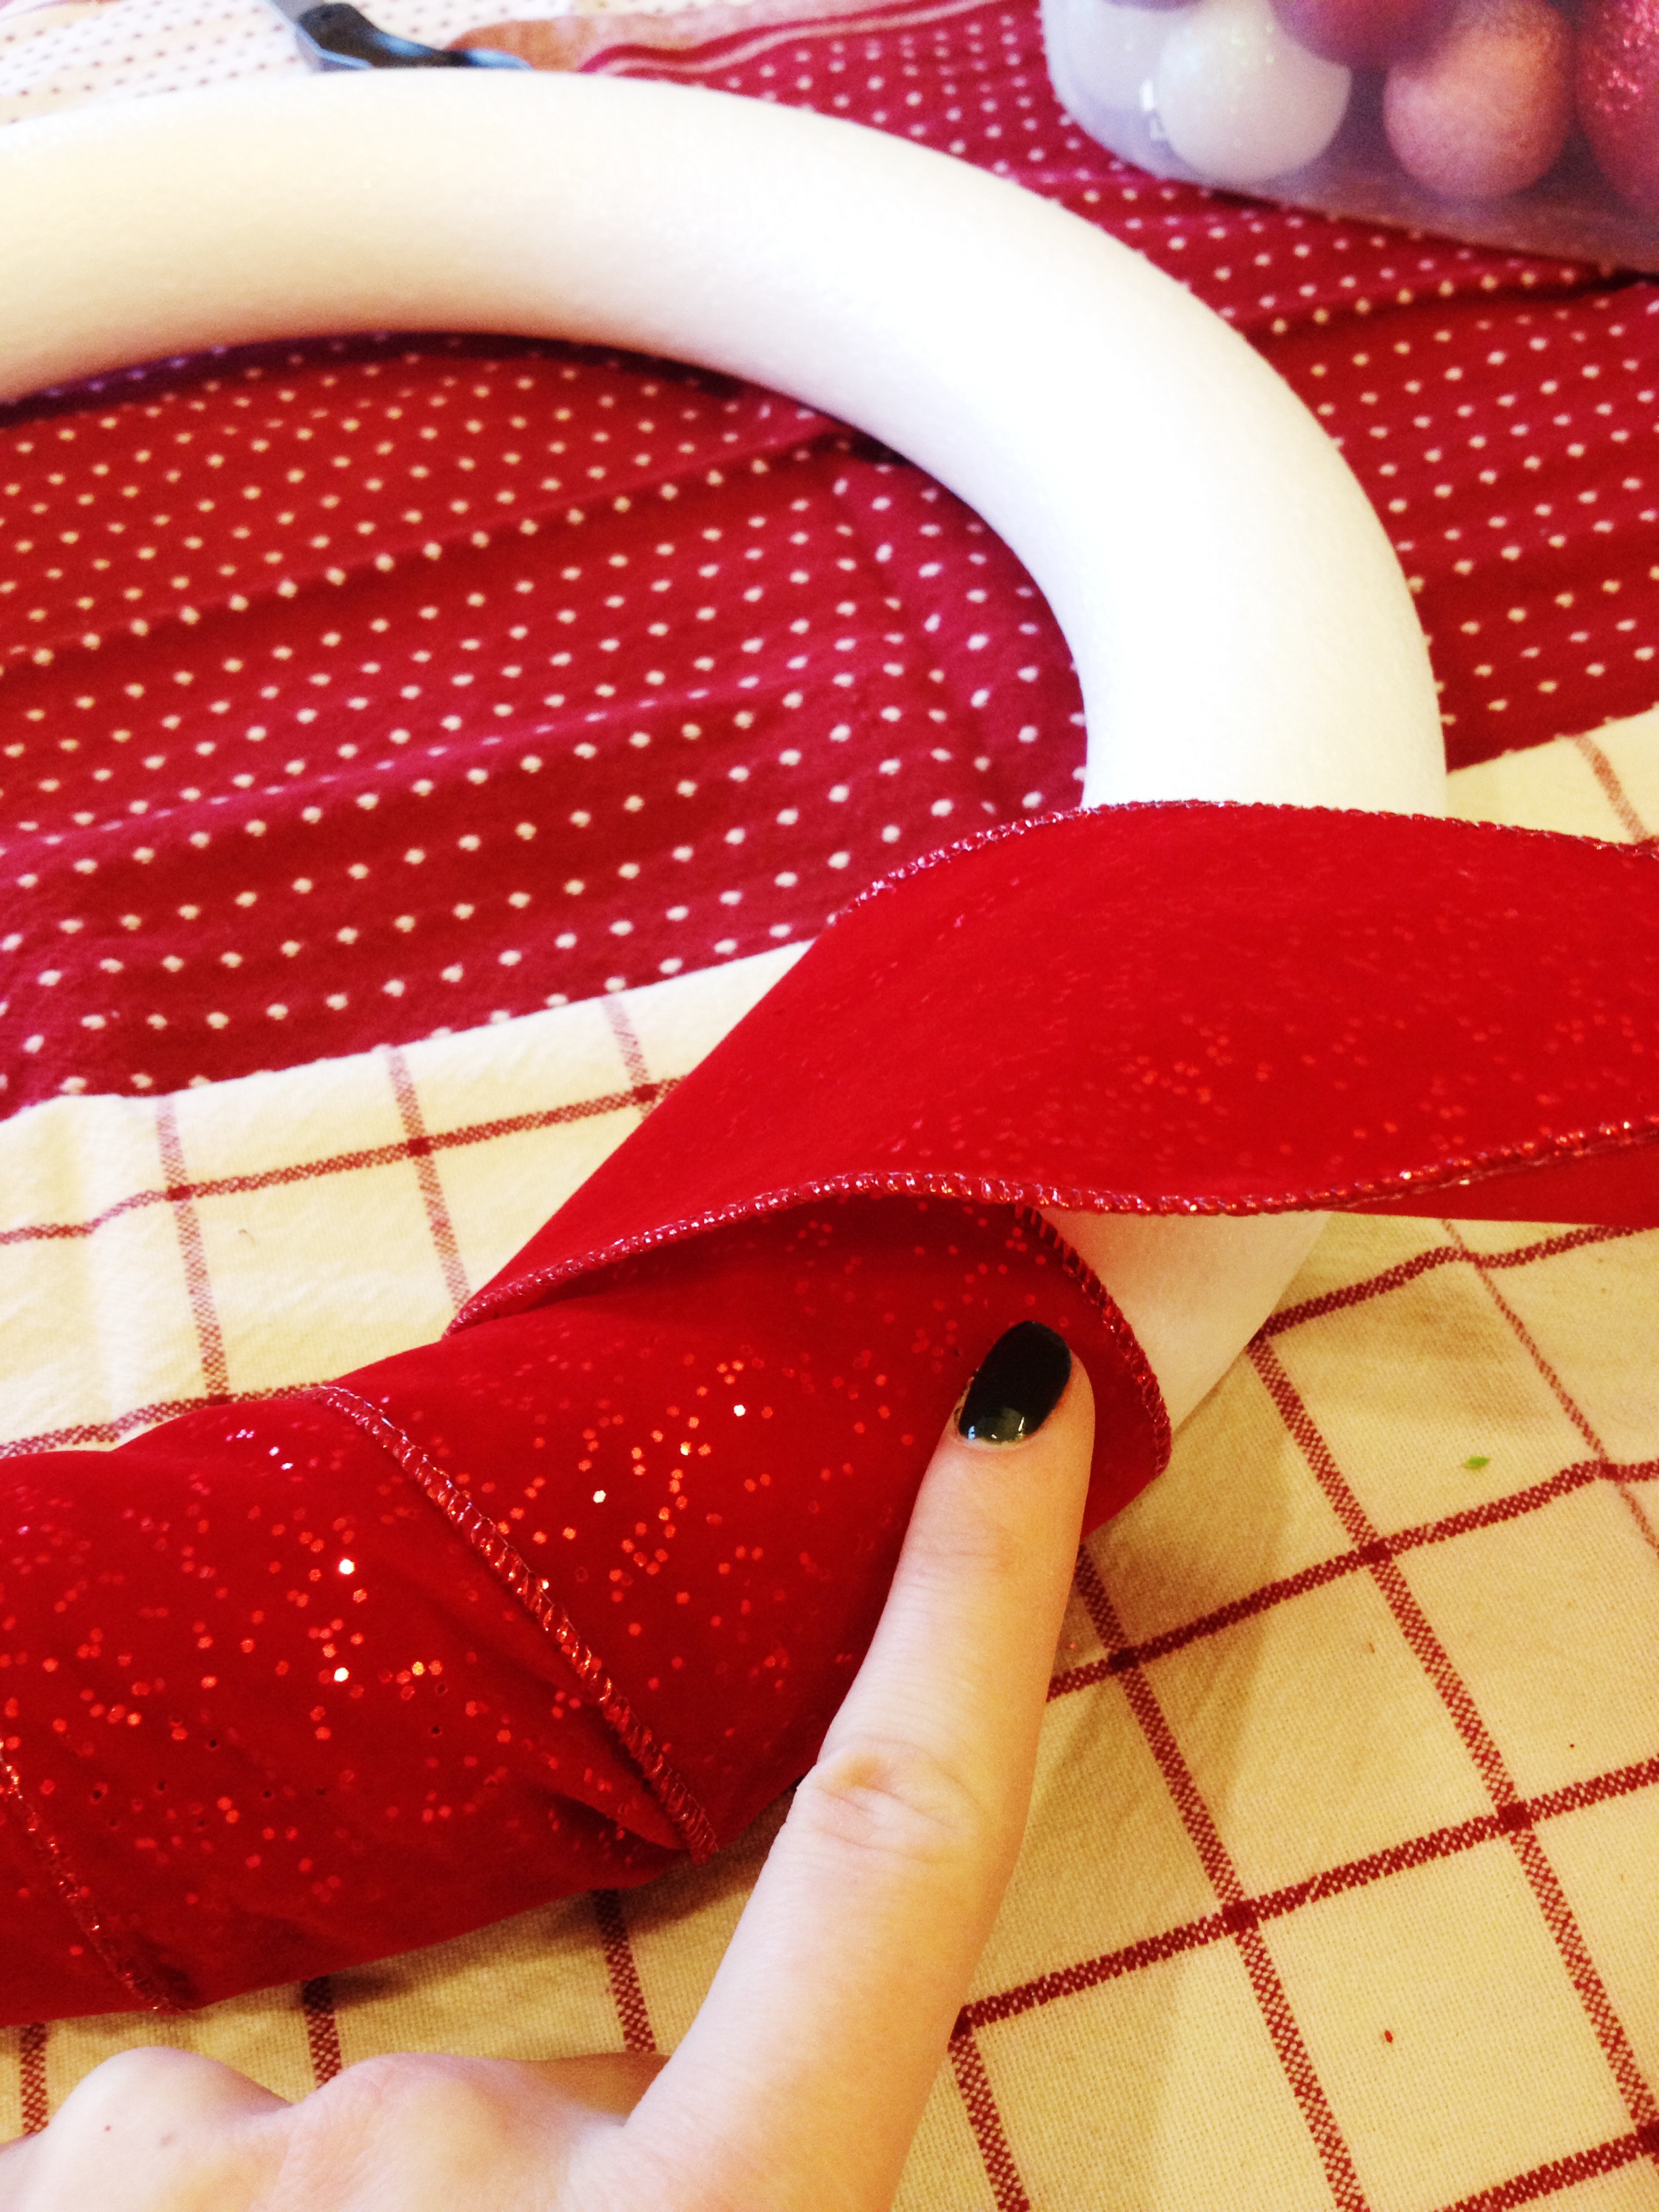
Step 1:
Wrap the ribbon around wreath and secure as you go with hot glue.
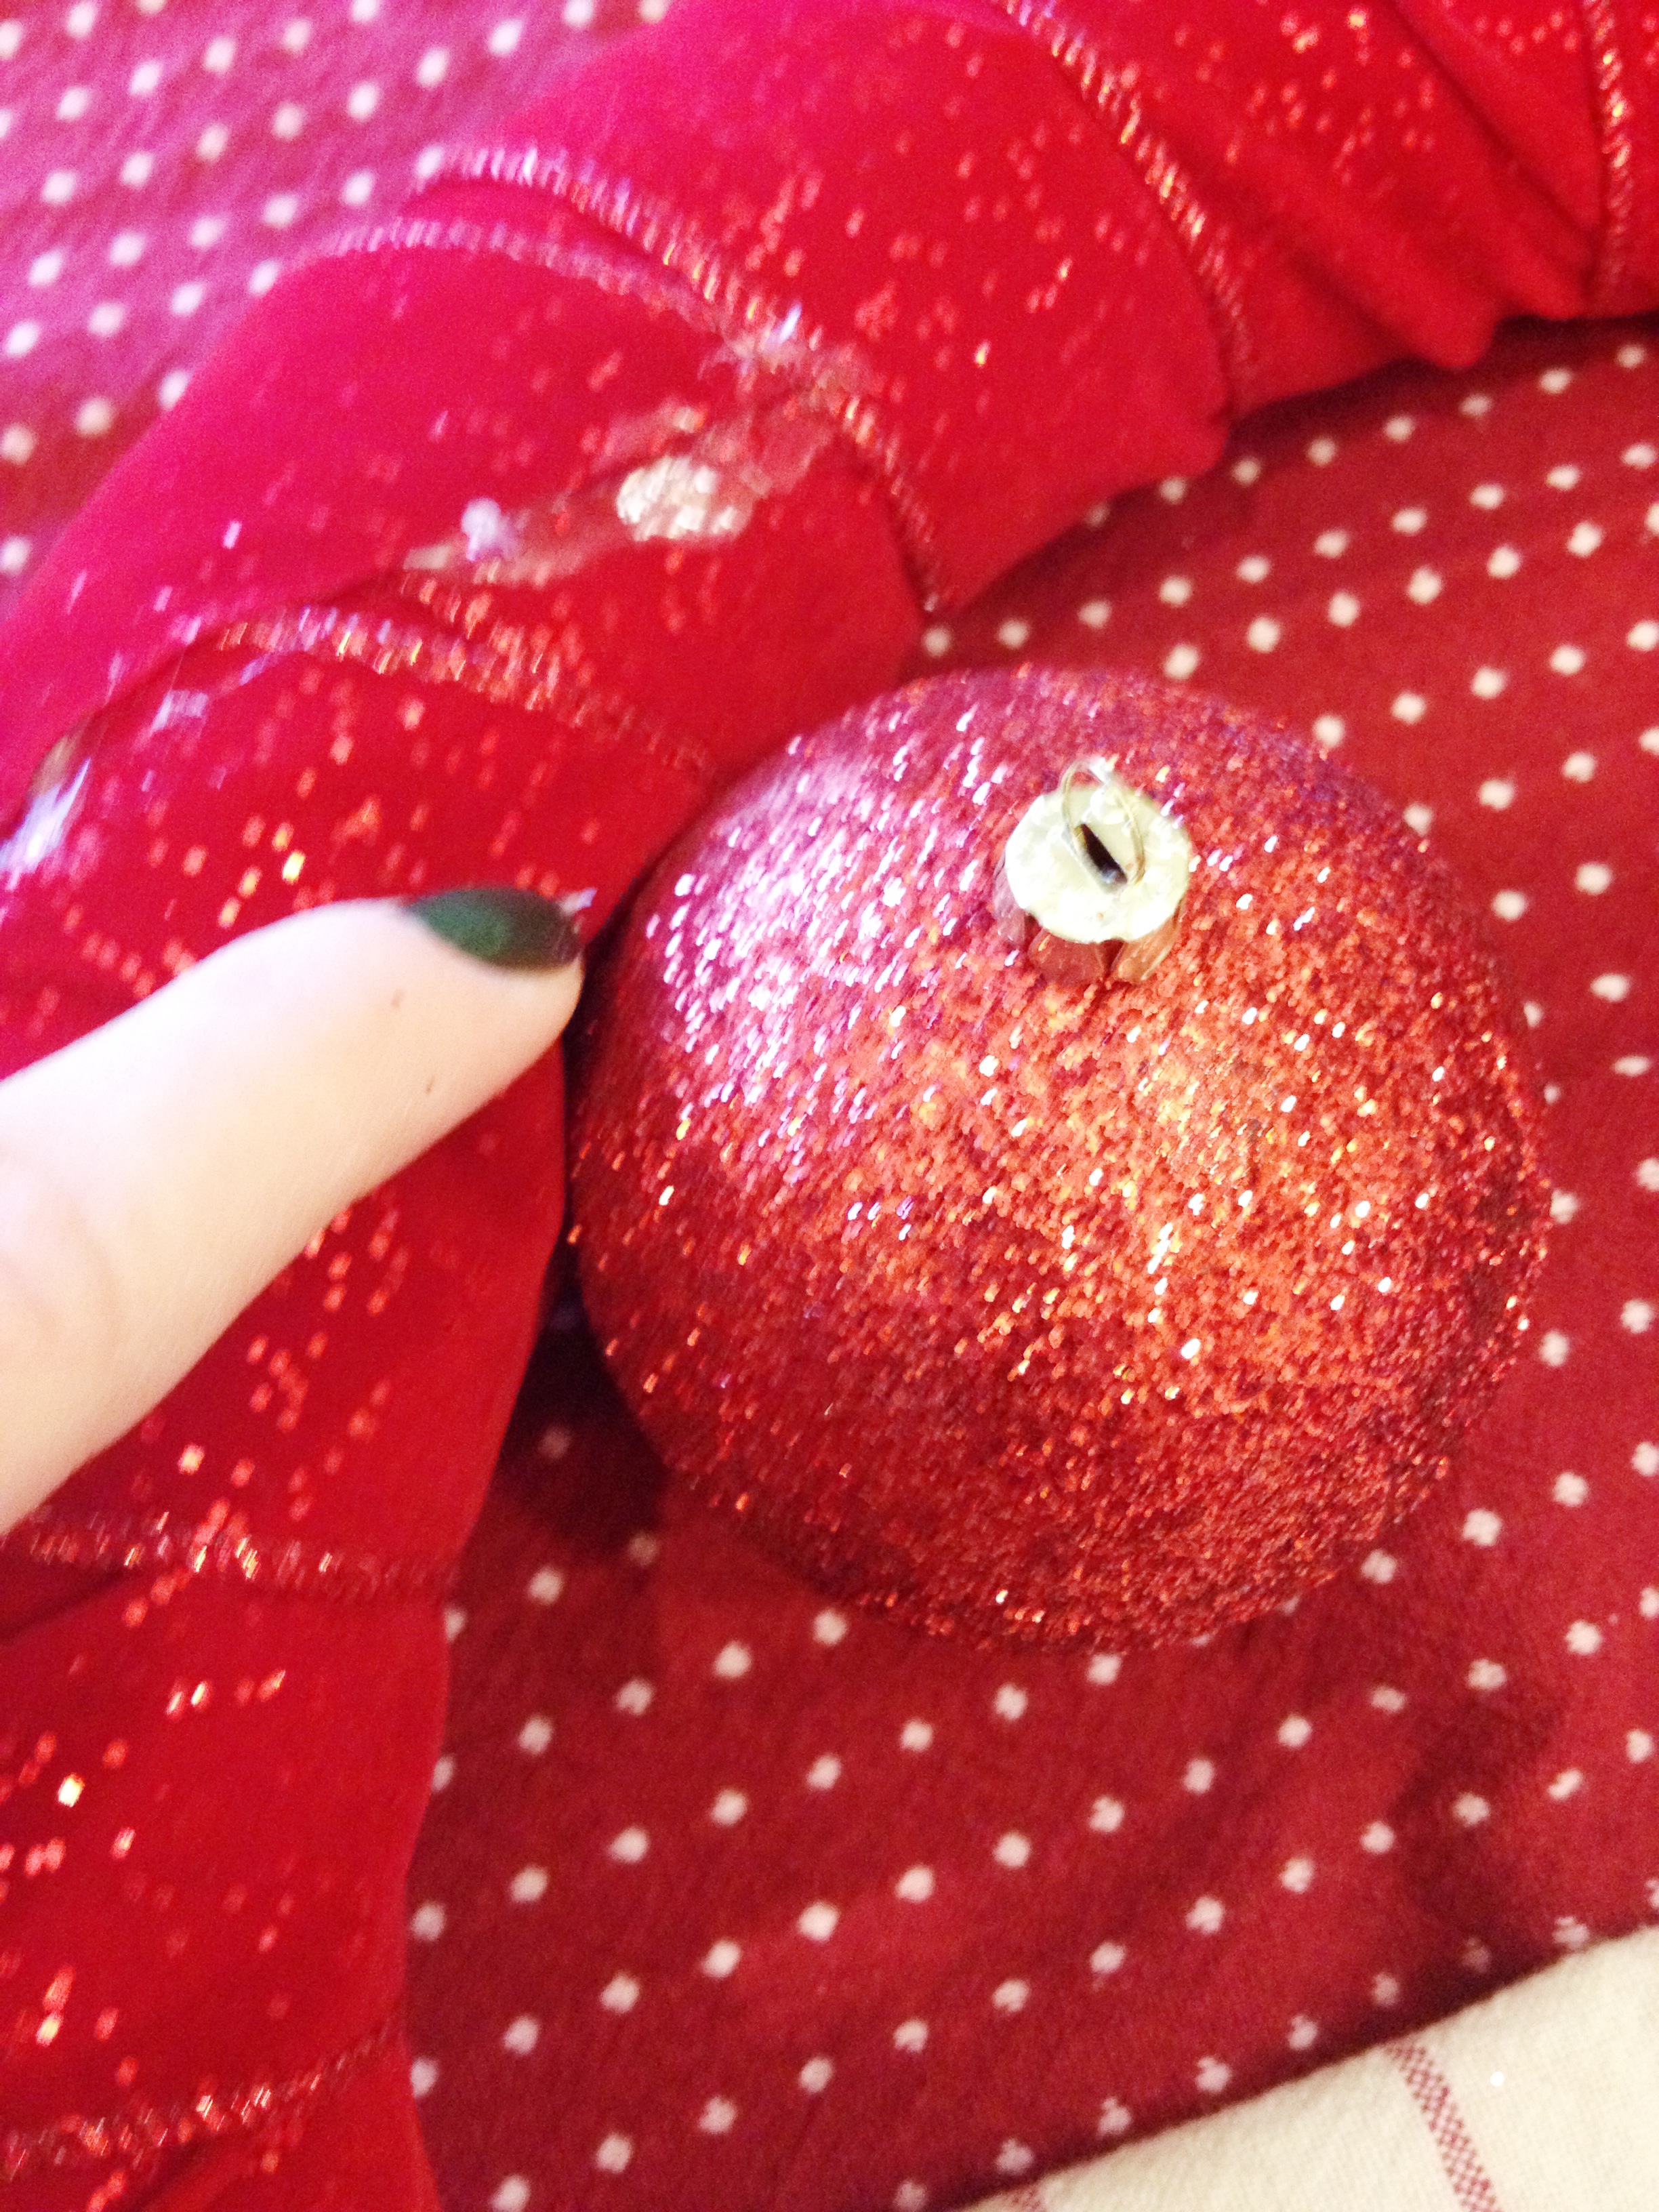
Step 2:
Begin gluing the bulbs with the part that you would use to hang the ornament facing the back of your wreath. Glue the first few bulbs on the inside of the wreath and then the outside. I glued the bulbs to the wreath and also to the bulbs they were next to. I used the largest bulbs for this step.
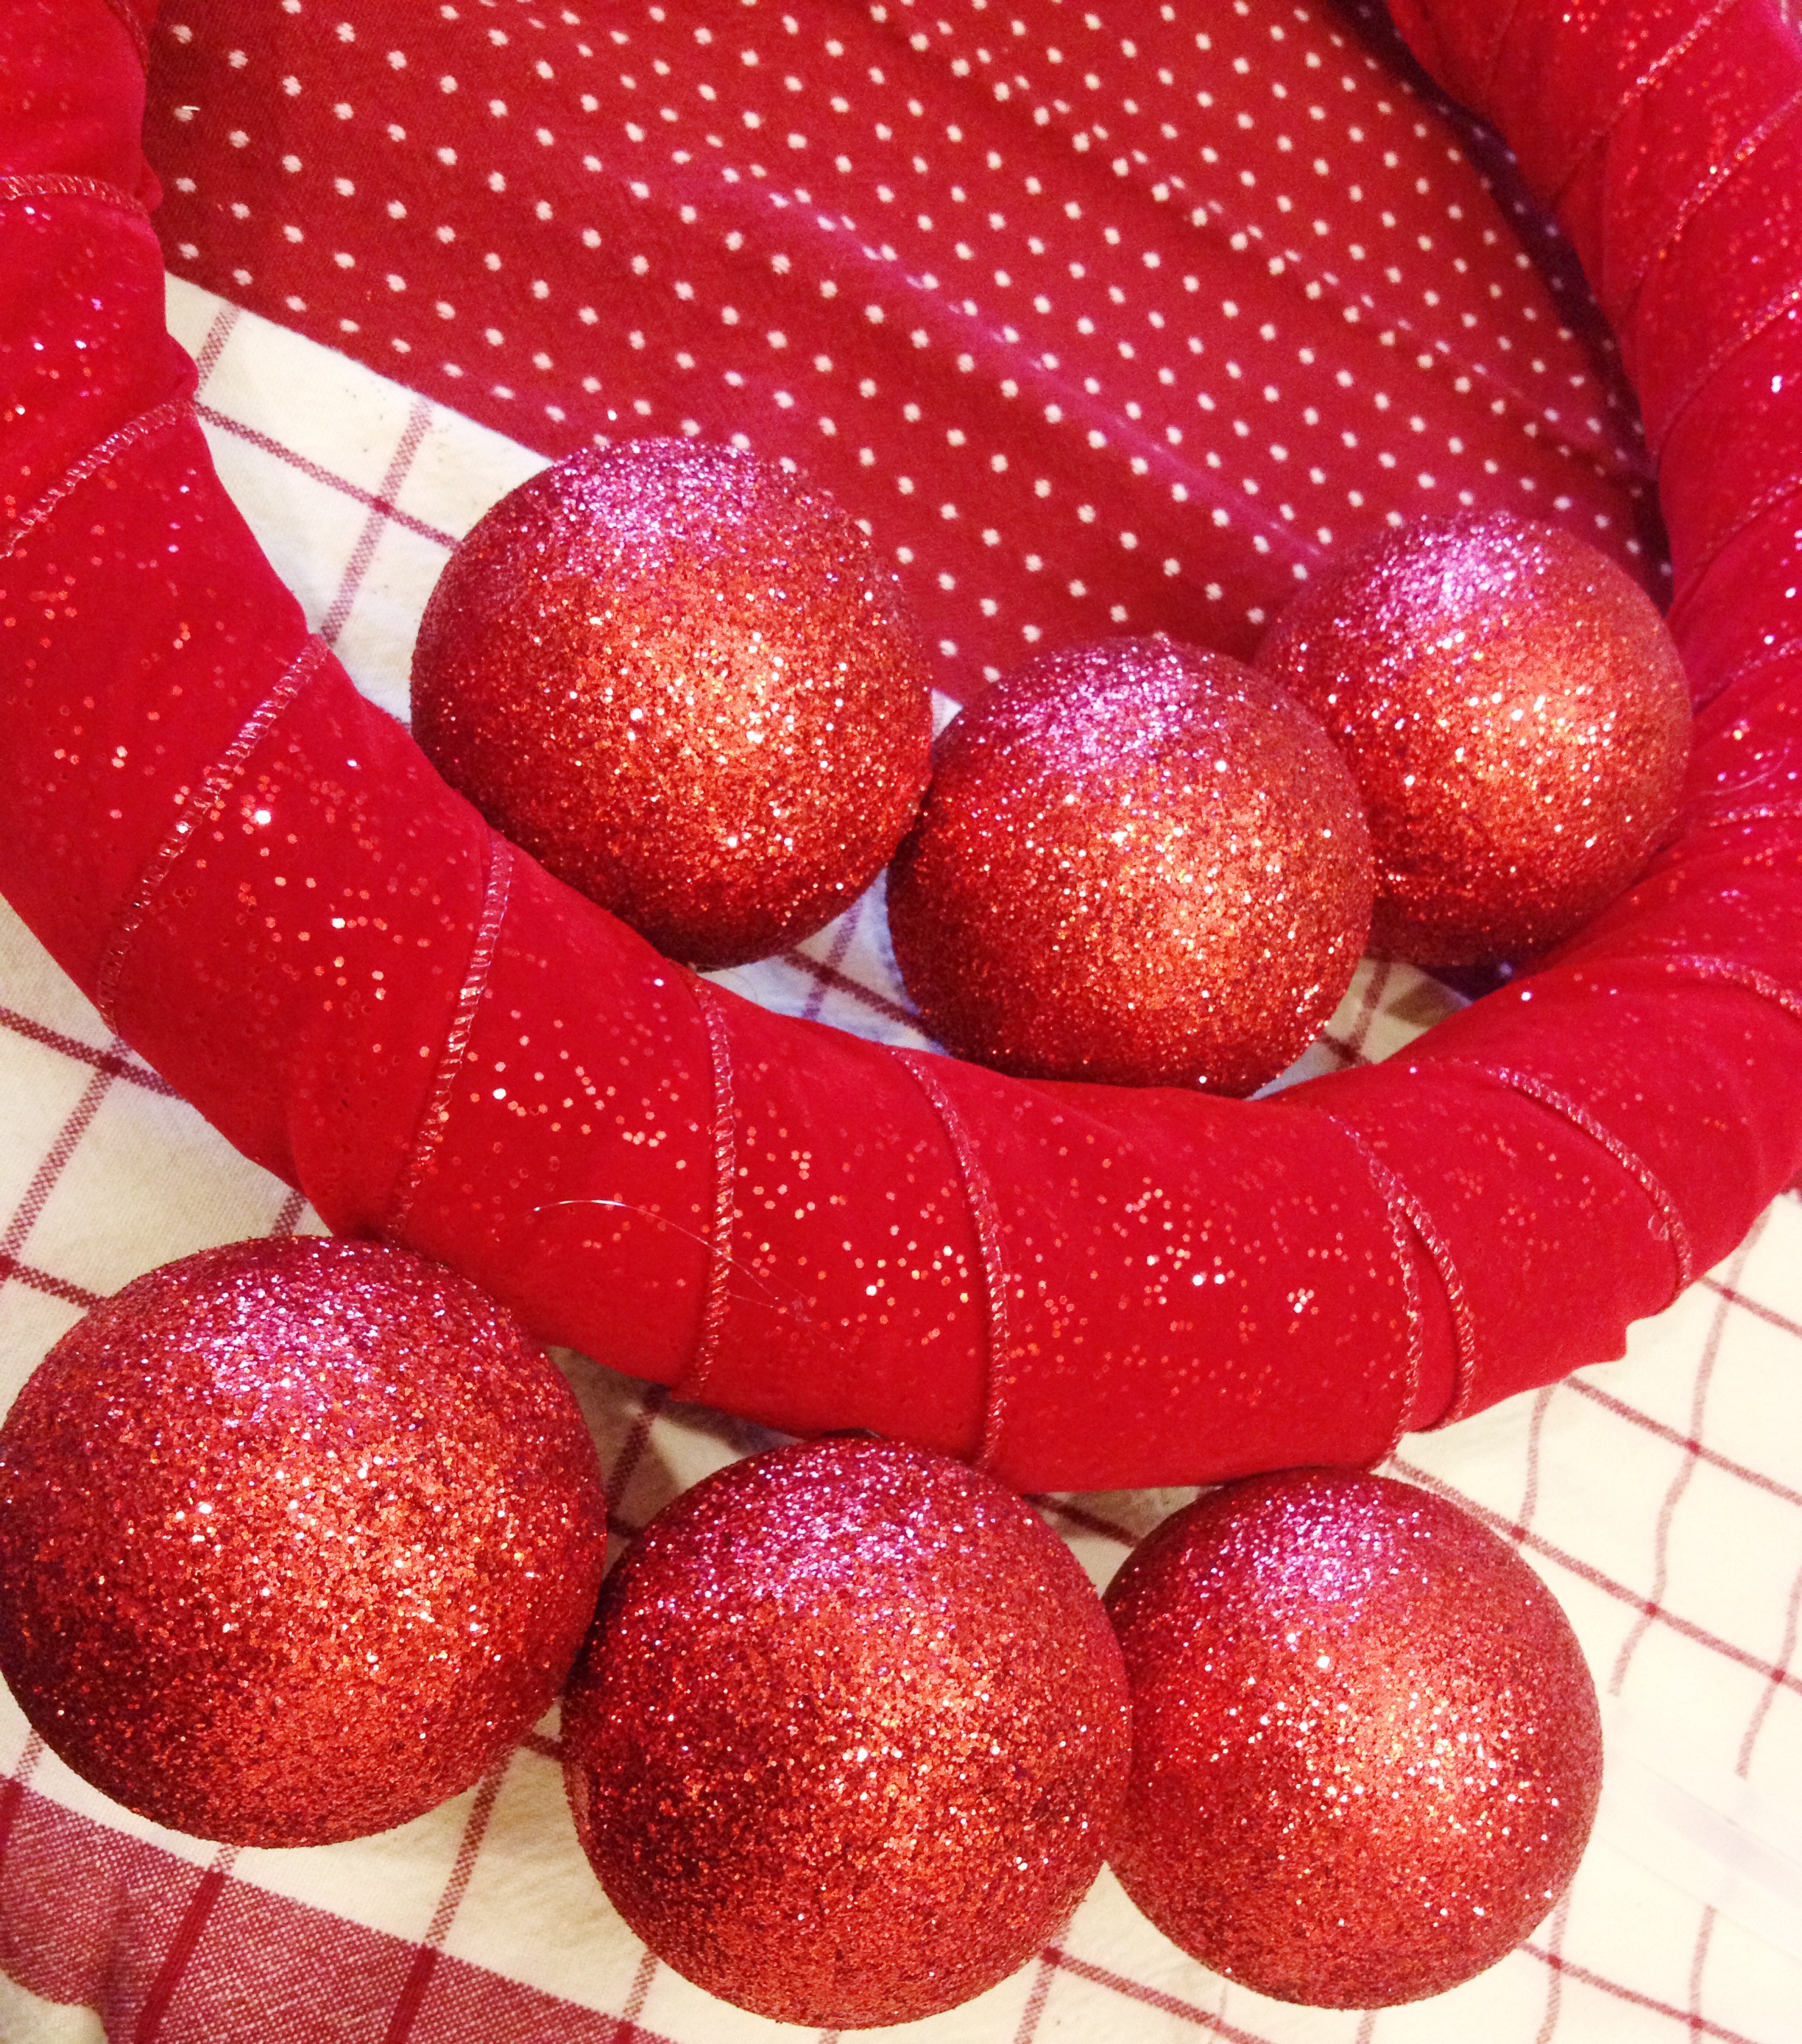
Step 3:
Start fitting more bulbs into the gaps and glue them as you go. Do not panic if it doens’t look great right away, I was really worried about mine but ended up LOVING the end result.
Step 4:
Glue your letter (or whatever other embellishemnt you like!) to the wreath and add your accent pieces. I had to cut my accent pieces with wire cutters before gluing them onto my wreath.
Step 5:
Hang up your gorgeous new holiday wreath!!
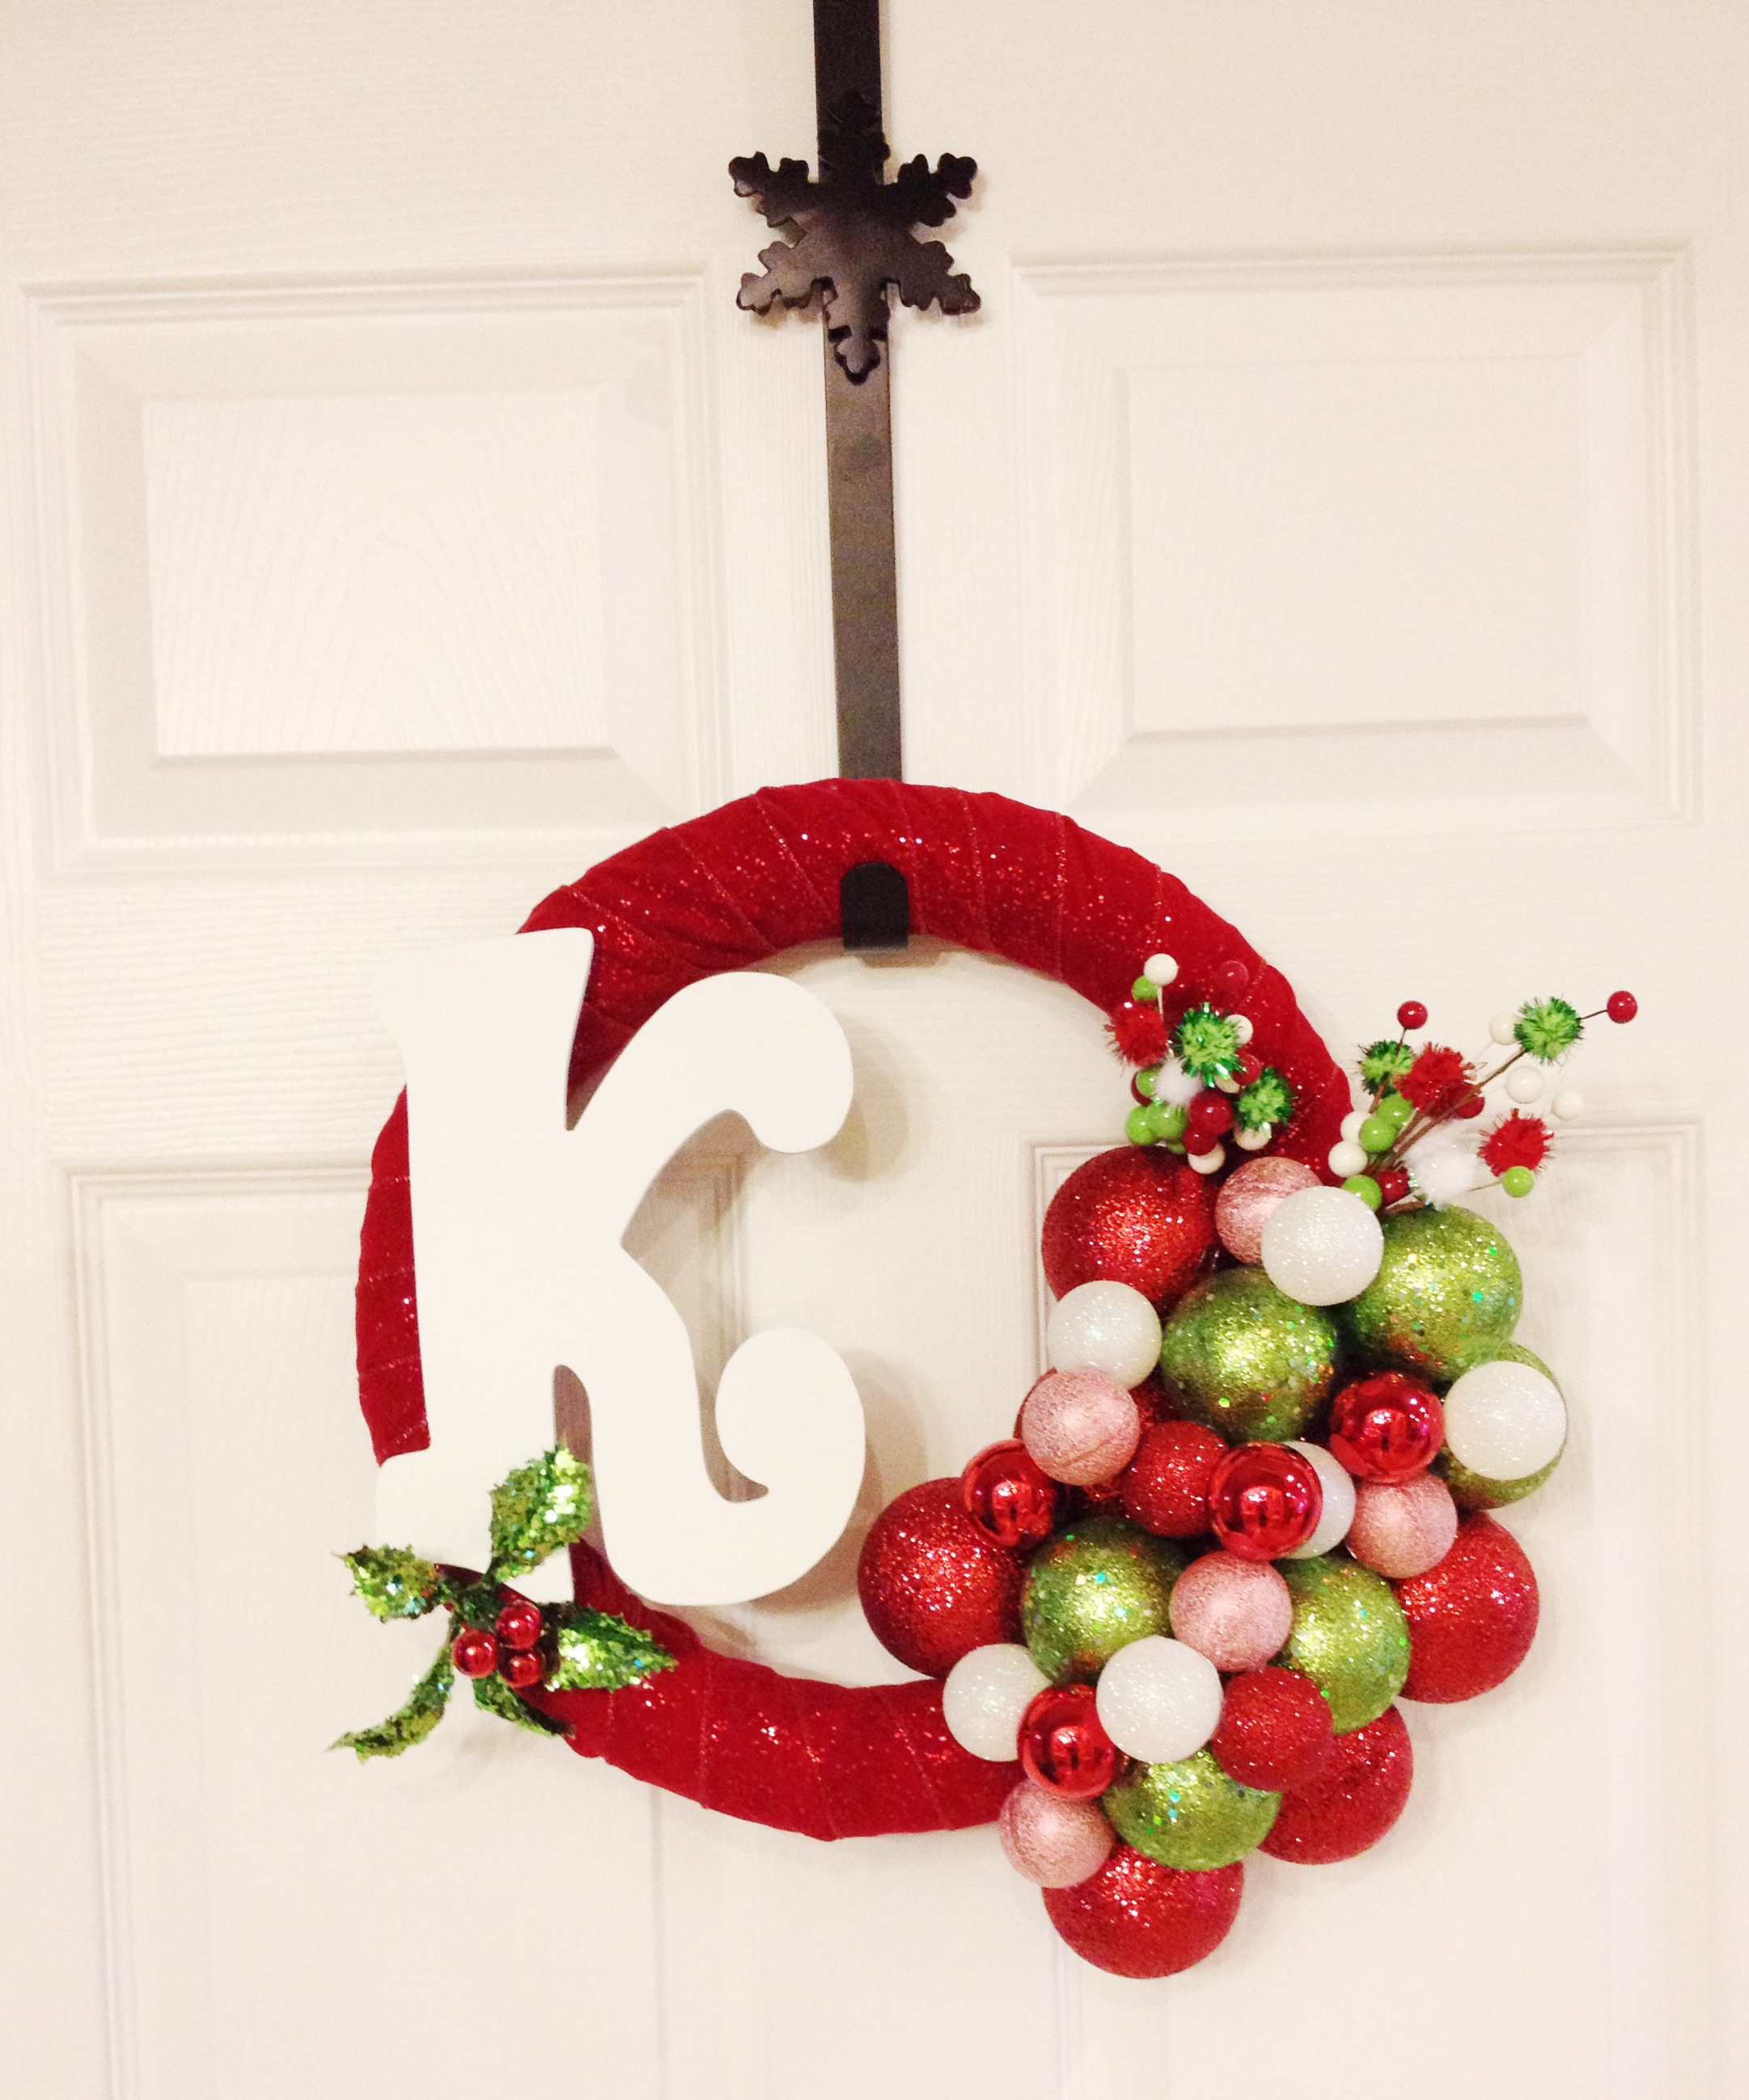
If you make this PLEASE PLEASE post a picture to Instagram with the hashtag #LeahTacklesChristmas or share it on my Facebook! And definitely, pin this post! It would mean a lot to me : ) Have a wonderful week!!


Cara says
Love this and I WILL be making one at some point. Also, another glue that works WONDERS (way better than hot glue) is E6000. It is my go-to glue for most crafts and it holds in the long run much better.
leahtackles@gmail.com says
🙂 Thank you!! Yep, I actually use E6000 already for a few crafts, but a glue gun worked just fine for this one & it’s something I think more people have readily avaliable. E6000 is great though!