


Hi there! Happy Friday!!!
A couple of weeks ago I received a request on Instagram to show how I curl my hair. I love getting comments and thank you so much for asking! I have a few different irons that I use depending on the type of style or curl type I want, but I thought I would start with the style I do most often. I like to do loose, big curls that give you nice volume and soft waves because it’s a quick hairstyle that isn’t too fussy. I know some people are intimidated by curling hair, and I completely understand because I couldn’t curl my hair well until I was 25! NO joke! In college my best friend would always have the most beautifully done curls, and she made it seem so easy! Then I would try and end up with a kink from the iron or curls that just didn’t look right. Finally, I got a new curling iron and practiced a few times and it was like all of a sudden I could curl my hair! And I haven’t looked back….now I curl my hair several times a week and absolutely love it.
ABOUT MY HAIR:
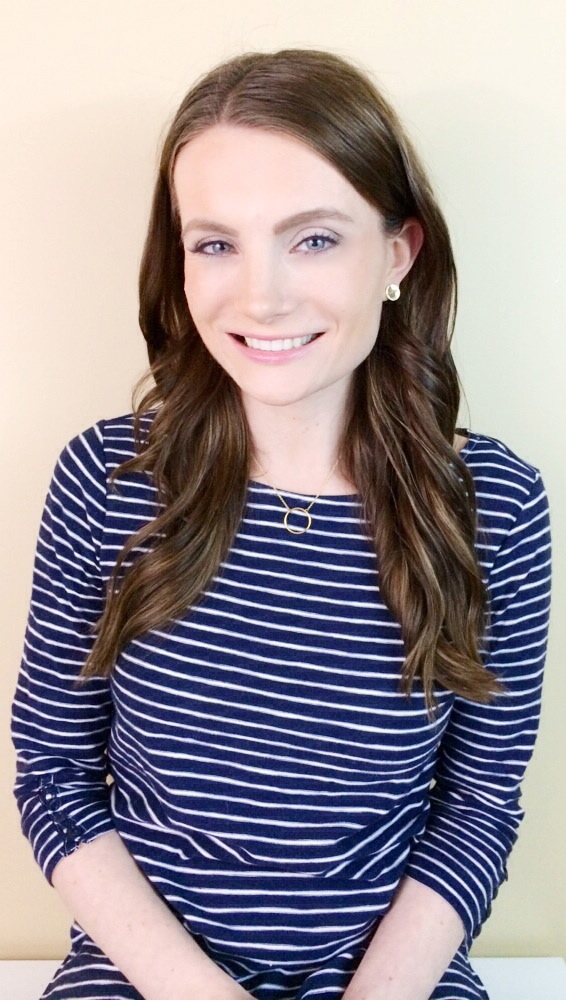
I have naturally straight hair, it doesn’t dry completely stick straight like it did before kids, but it’s still very straight naturally. I have very fine hair, but a lot of it. My hair can sometimes be dry at the ends, and I use dry shampoo in the roots to avoid any greasiness on second day hair.
PRODUCTS I USED:
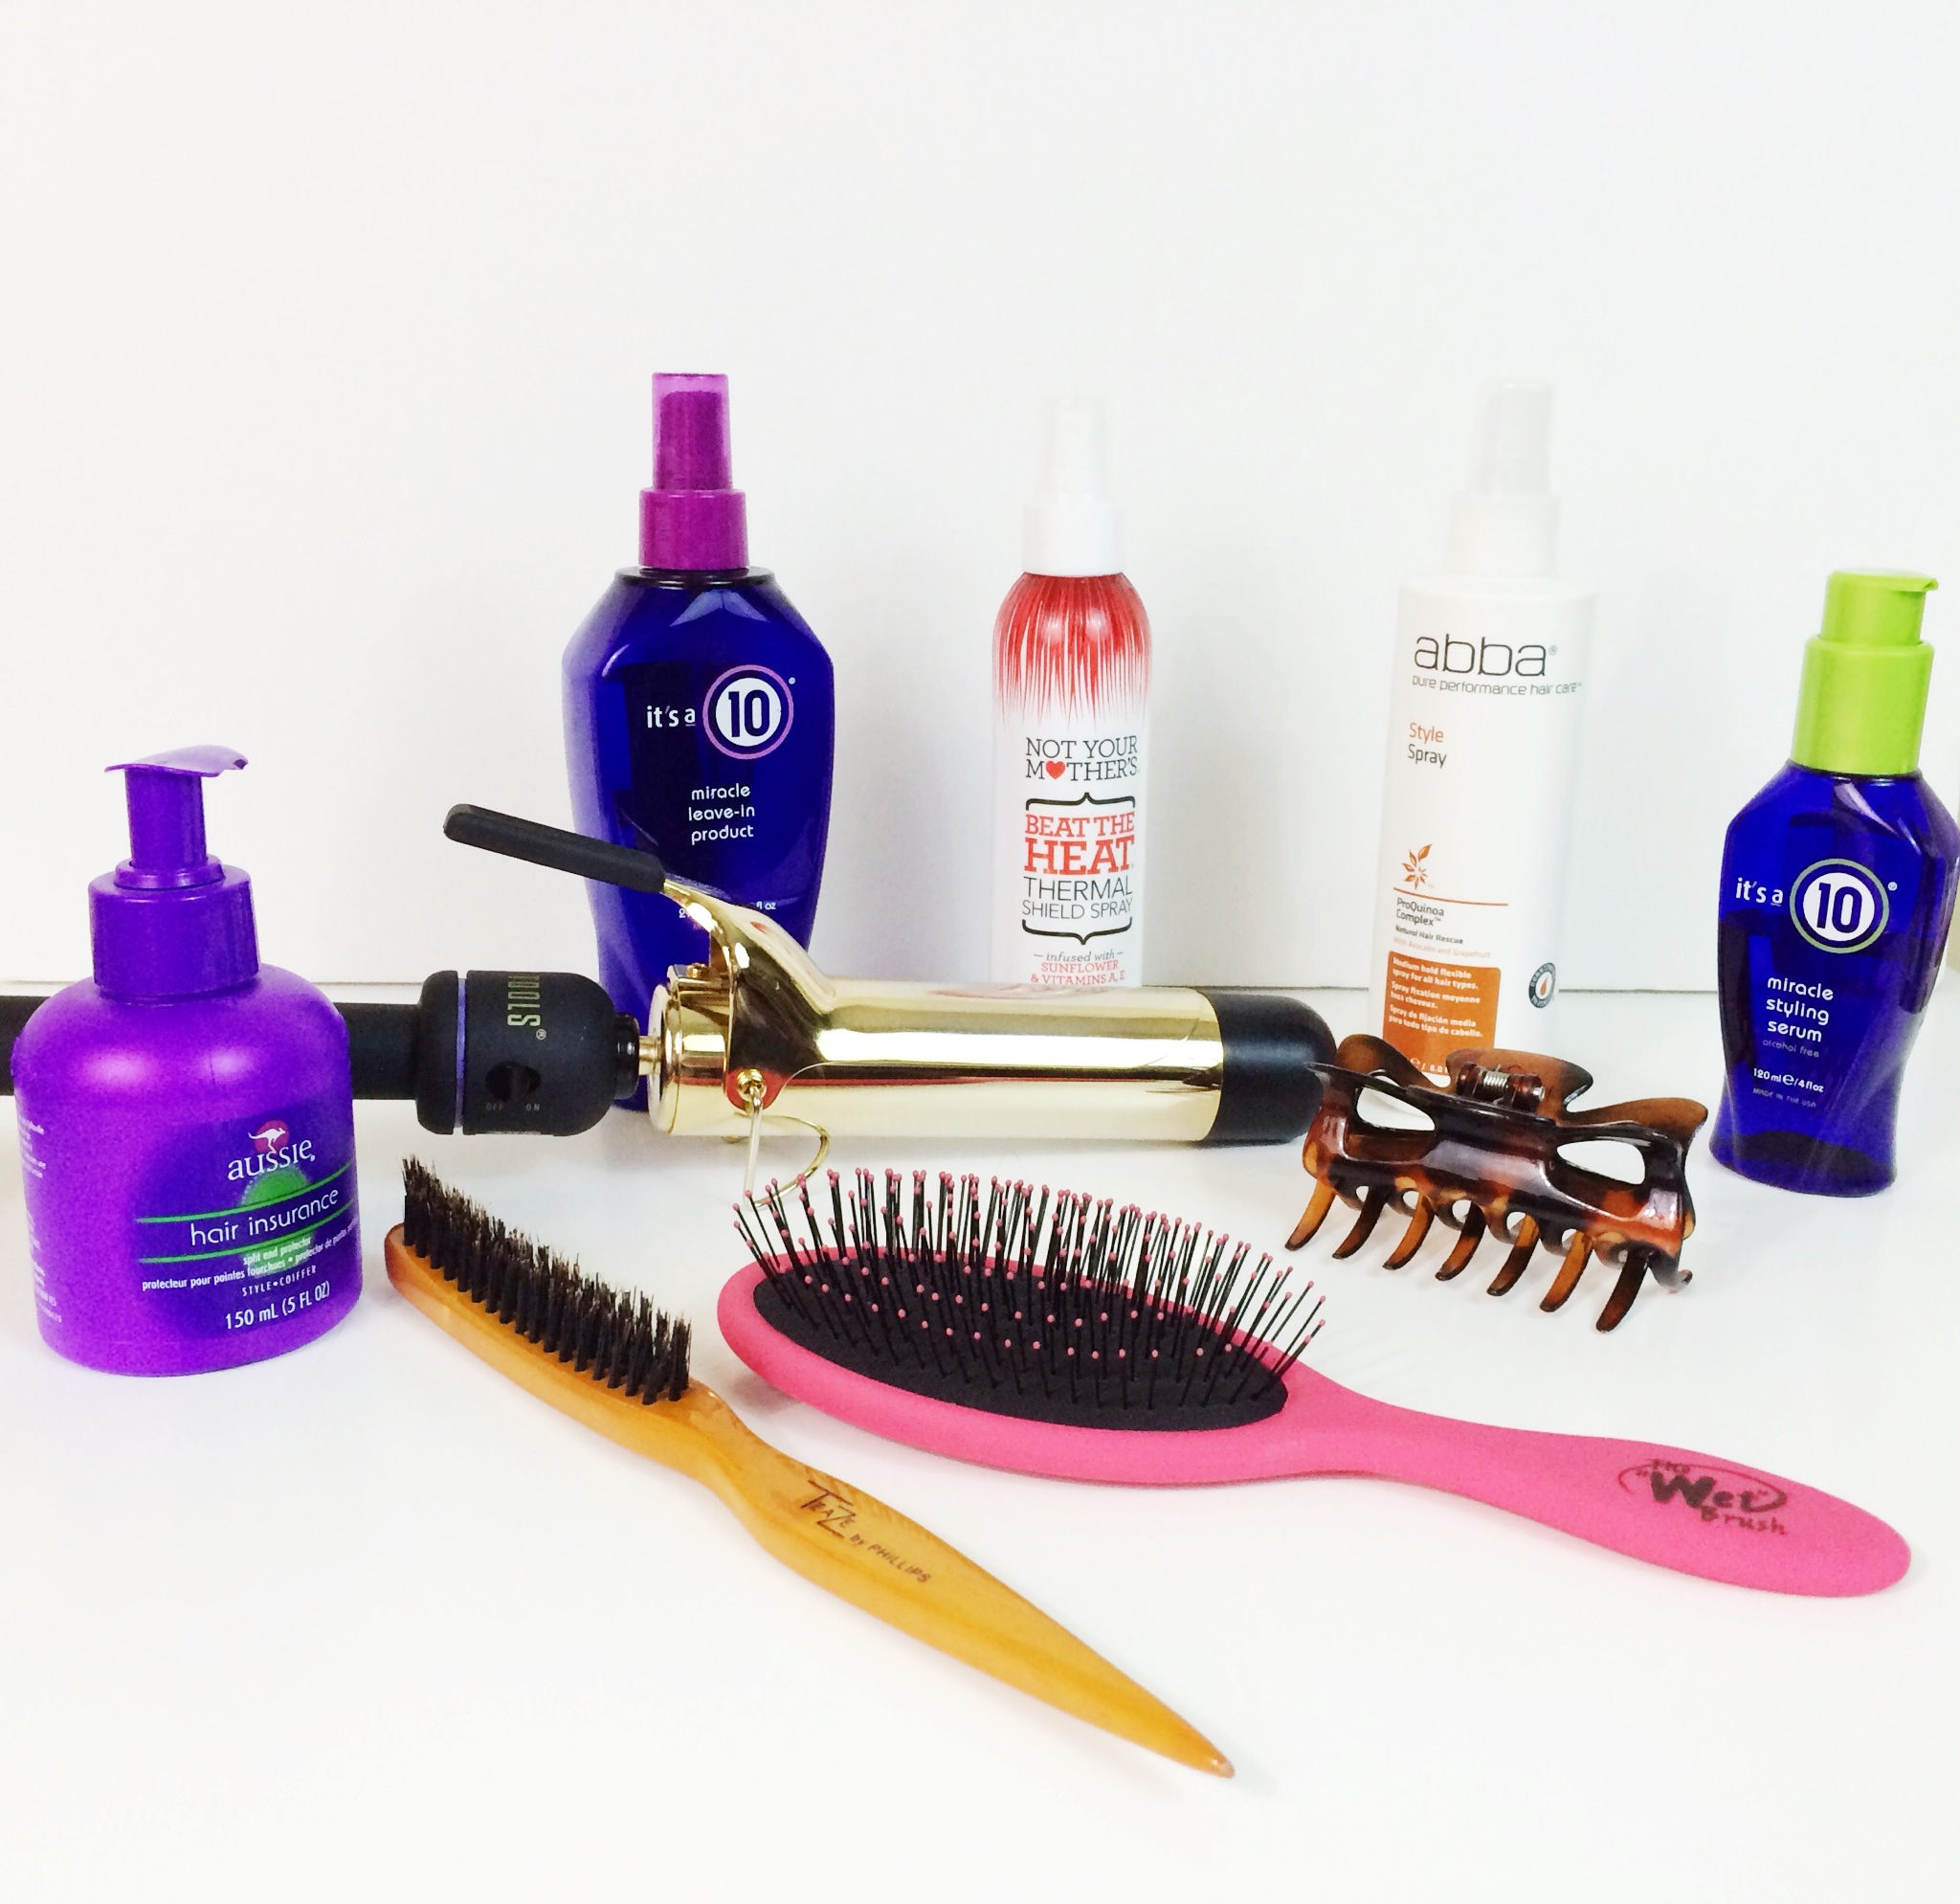
It’s a 10 Miracle Leave-In Product
Aussie Hair Insurance Split End Protector
Not Your Mother’s Beat The Heat Thermal Shield Spray
TeaZe by Phillips Rat Tail Comb
Hot Tools 1 1/5 Inch Curling Iron (these are my favorite less expensive curling irons!)
Abba Pure Performance Hair Care Style Spray
It’s a 10 Miracle Styling Serum
STEP 1:
Apply leave-in conditioner and split end protector. Let hair air dry if possible (sometimes I do this overnight!) or blow dry. This is also a great time to put in a volumizing product, but I skip this step most days.
STEP 2:
Spray you hair with a heat protector and then section your hair using a teasing combs pointed end and clip it up with a large hair claw. TIP: If you have very thick hair you can section it into more sections using sectioning clips like these, which is what I prefer to do when I have more time, but for a quick style, this works!

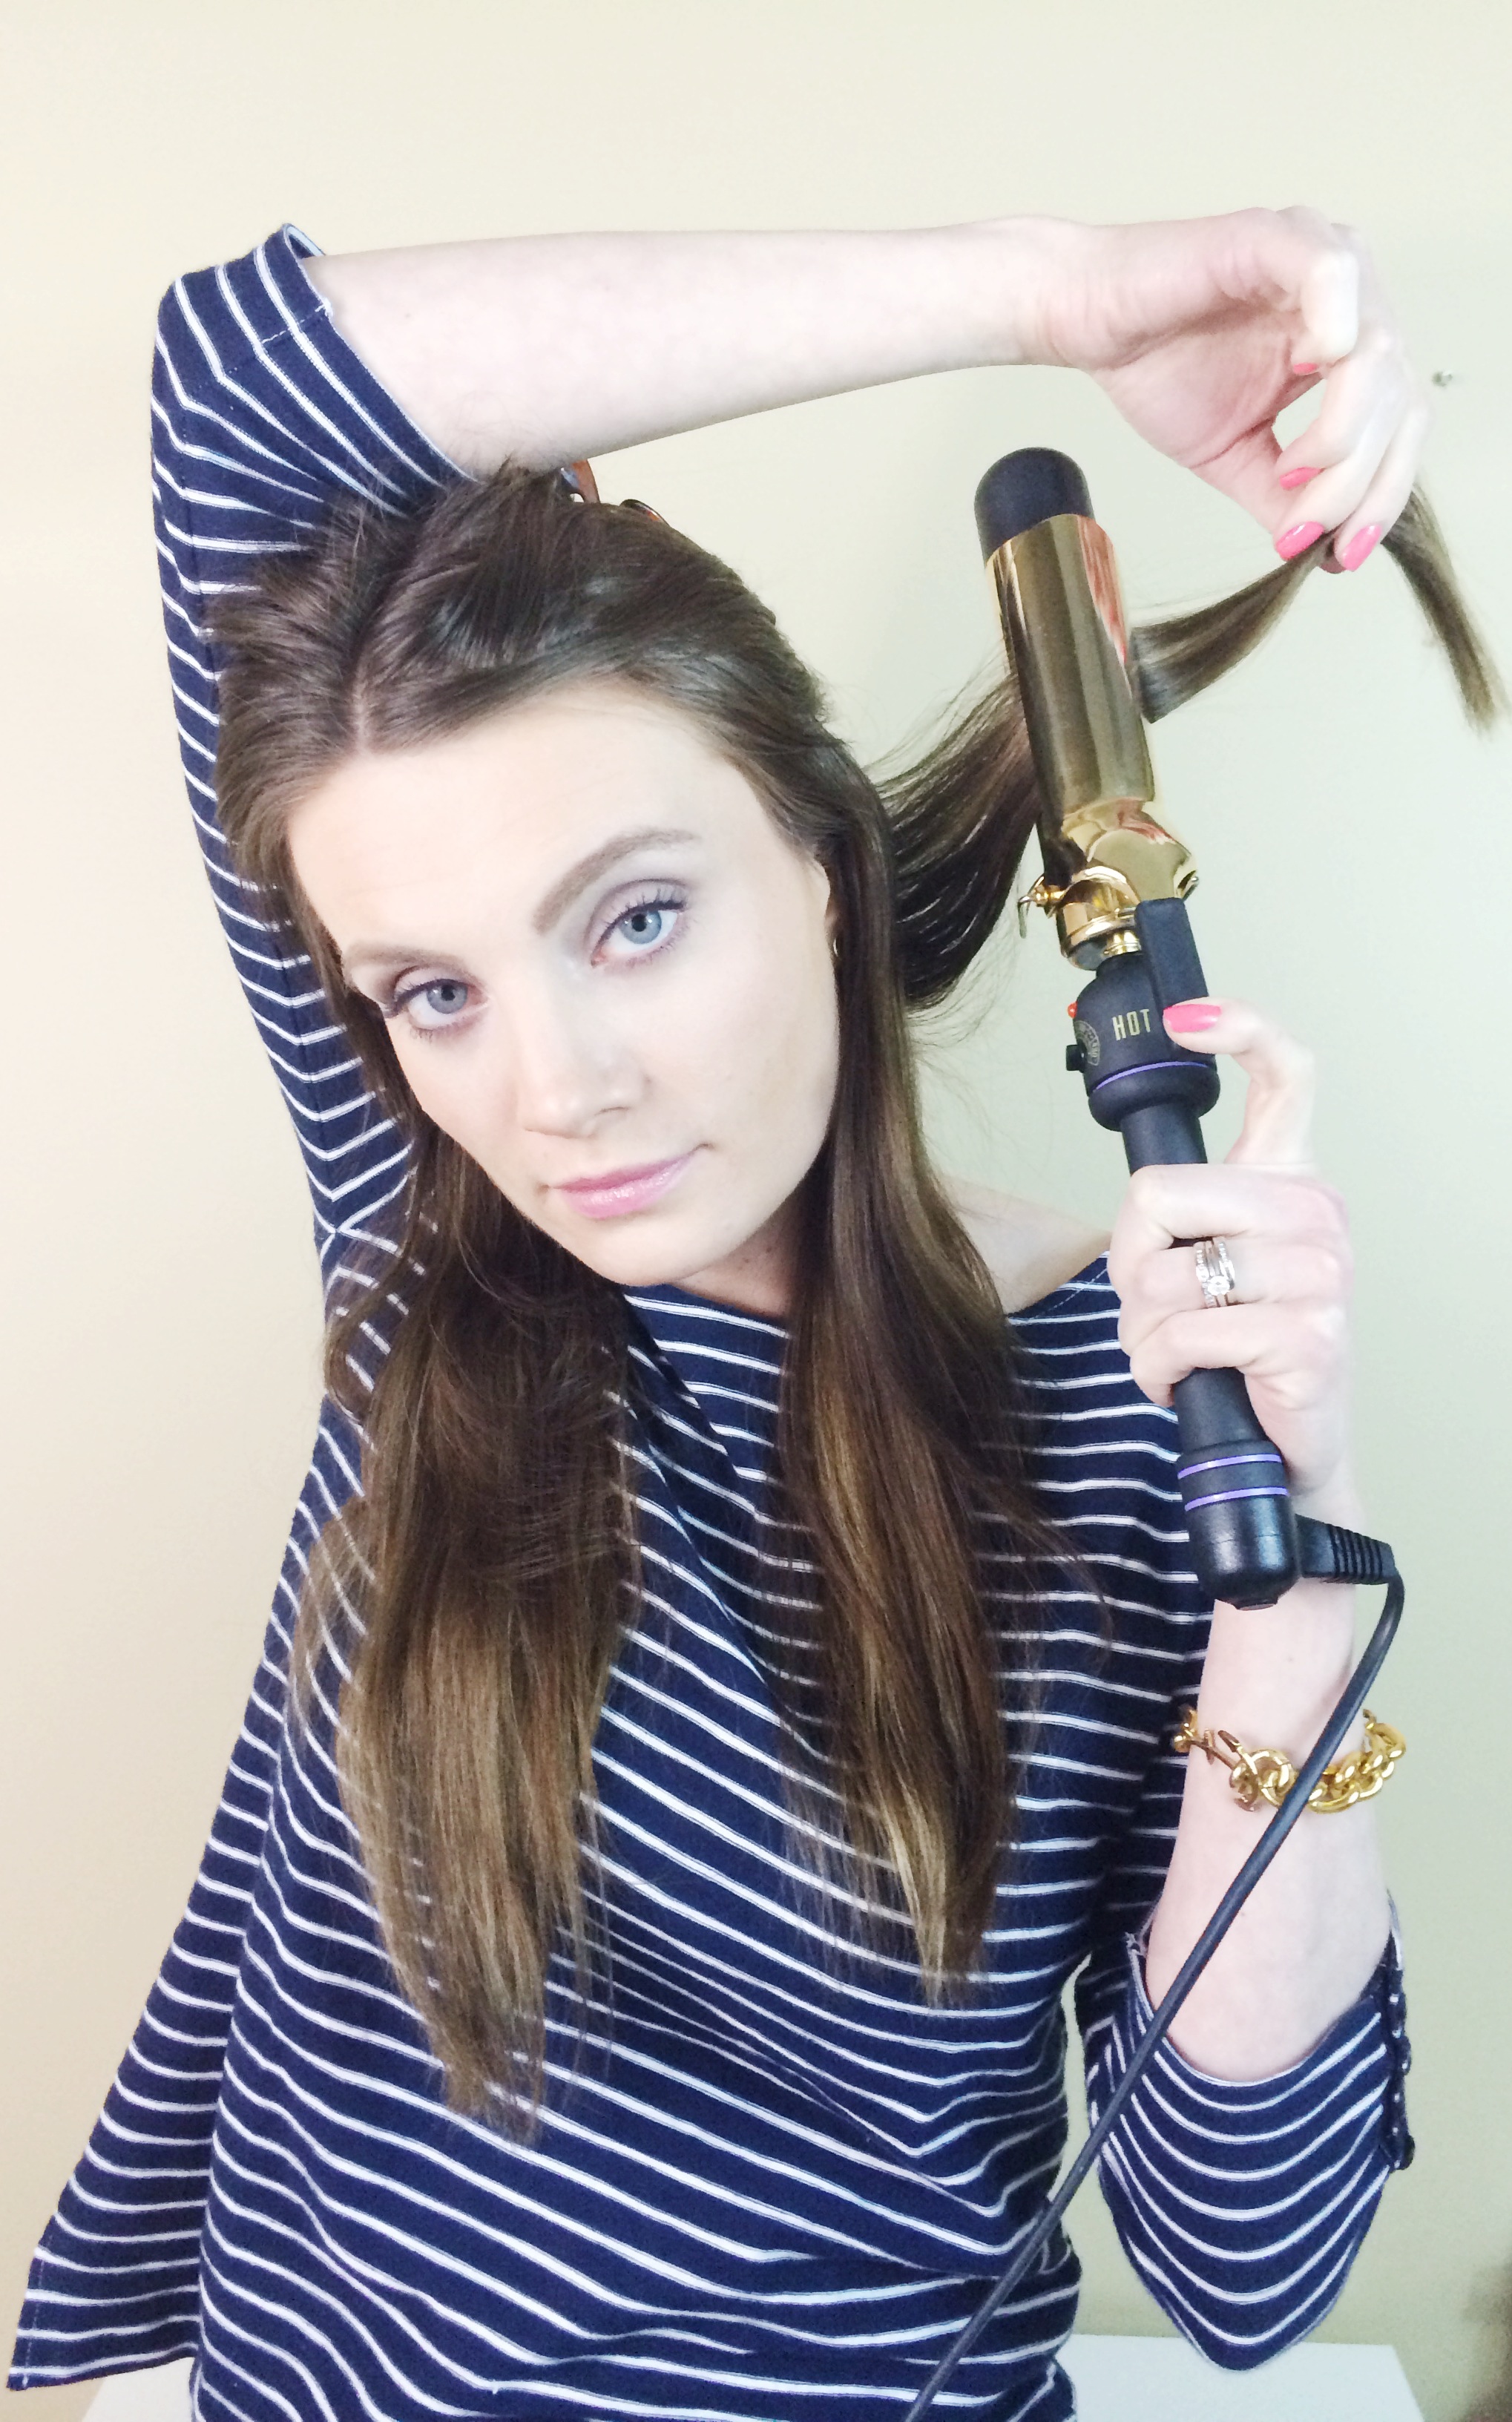
STEP 3:
Take the bottom section of your hair and split it so that half over your shoulder on one side and the other half over the other shoulder. Then, take a 1 or 1 1/2 inch piece of hair from the back and hold it with the opposite sides hand (so your hand is up and over your head)and then open the curling iron and put the clamp so it faces front and the barrel faces back. Run the iron down to the bottom of your hair, leaving out a little bit at the ends, and turn the iron away from your face. Hold the iron for about 15 seconds and then release the curl. Be careful with your heat settings on the curling iron (if your iron has adjustable heat settings), especially if you have fine or thin hair. I like to catch the curl with my hand and hold it for a few seconds to get the curl to set.

STEP 4:
Repeat this all the way until the front of the first side of your face and then continue to the next side starting again in the back working your way front. Be sure to switch hands and curl with the same hand as side that you are curling. It was very hard for me to get used to the idea of curling with my left hand when curling the left side of my head, I’m a righty, but it makes such a difference! (Thanks to my patient friend for teaching me that! Sorry it took me so long to “get” it! ; ) )
STEP 5:
Let down the top section of your hair and you’re done! JUST KIDDING!! Do NOT leave the house like this!! ; ) Do the same thing as STEP 4. You may find a few missed pieces, so feel free to curl or re-curl those (I almost always have at least one, right in the back of my head, of course!). Don’t worry if some curls are bigger than others, this is supposed to be casual and un-done.
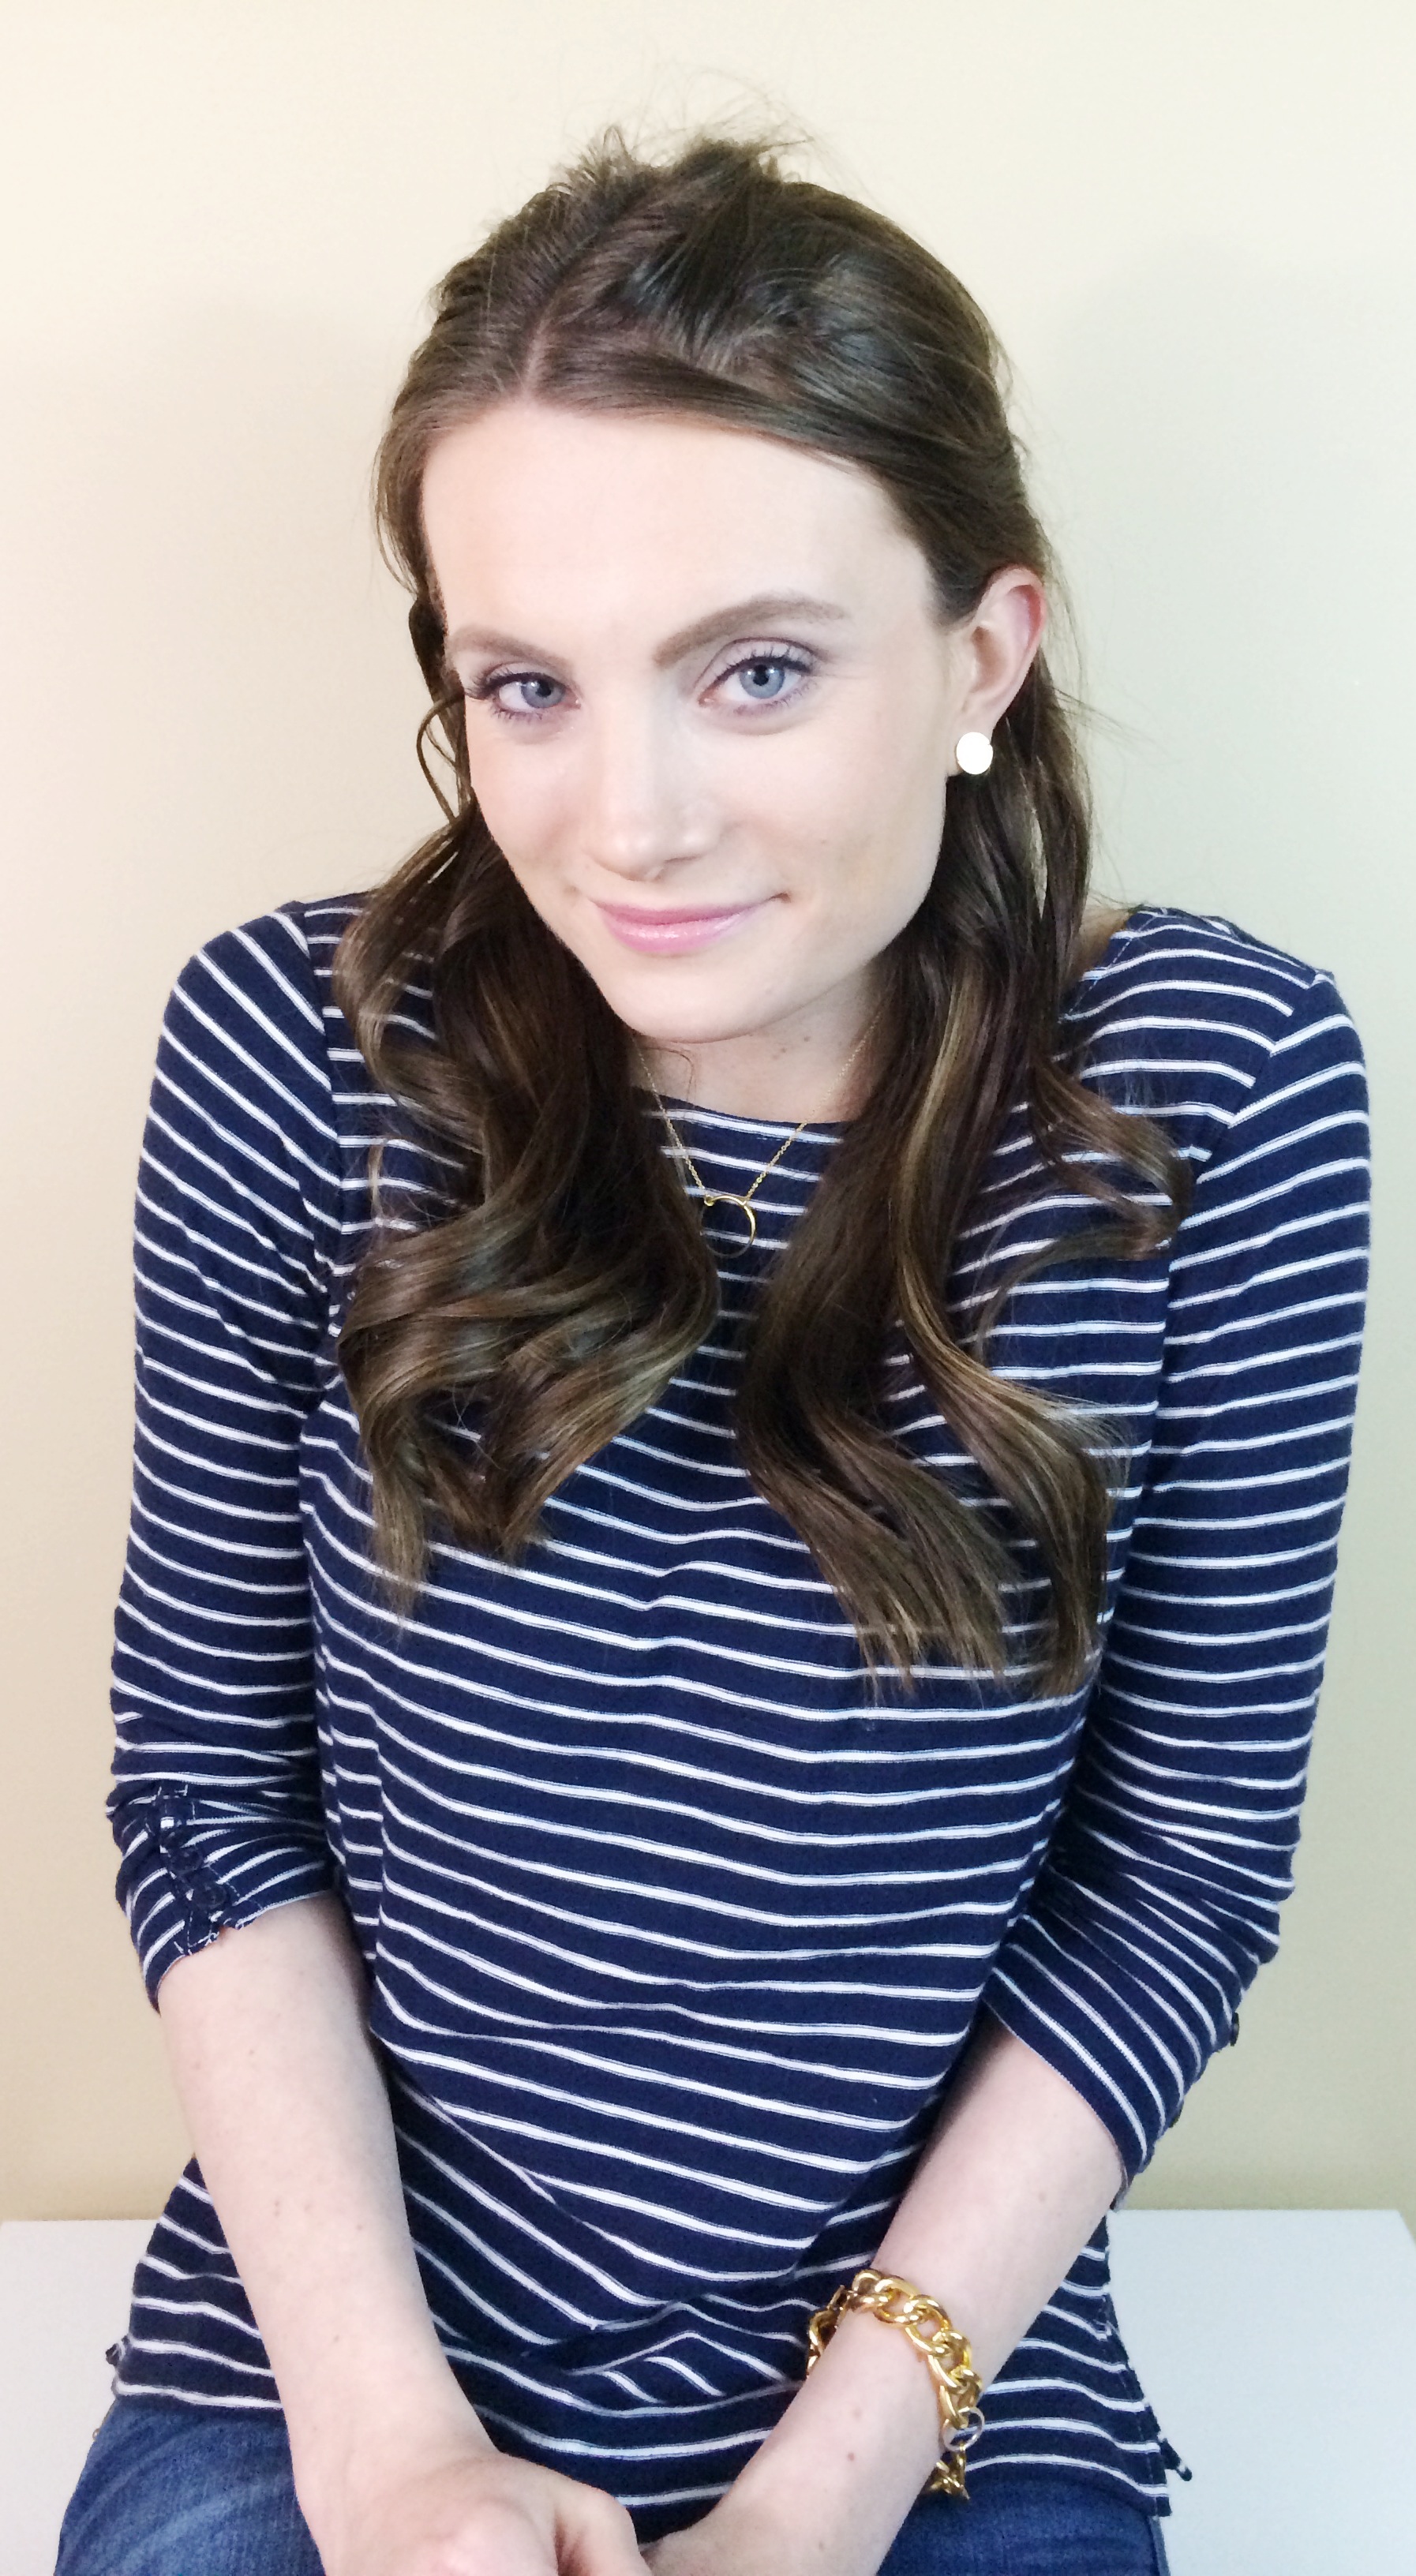
STEP 6:
I like to finger comb through some of the curls (again, to make the style a little more un-done and casual), but be careful not to do it too much so you undo your pretty curls! I then finish it off with some hair spray and a little bit of oil or serum on the ends of my hair.
That’s it!! It really is a simple hairstyle, and with a little practice I promise anyone can do it! If you enjoyed this hairstyle, please subscribe to my blog (enter your email in the subscription box on the right and you’ll only get emails when I post something new!) or hover over a picture and click the “Pin” button to pin it on your Pinterest account. I will be wearing this type of hairstyle tomorrow for my daughters 3rd (!!!!!) birthday party, and if you rock a similar hairstyle please let me know by commenting or finding me on Facebook, Twitter, or Instagram! I would LOVE to hear from you! I hope you have a great weekend : )


Heather says
Gorgeous!
leahtackles@gmail.com says
Thank you SO much for your sweet comment!! Muah!
Lorraine Cook says
You are beautiful! So proud of you!!!
leahtackles@gmail.com says
🙂 🙂 Thank you so much!! So sweet!!! <3