Hi there! Happy Monday!
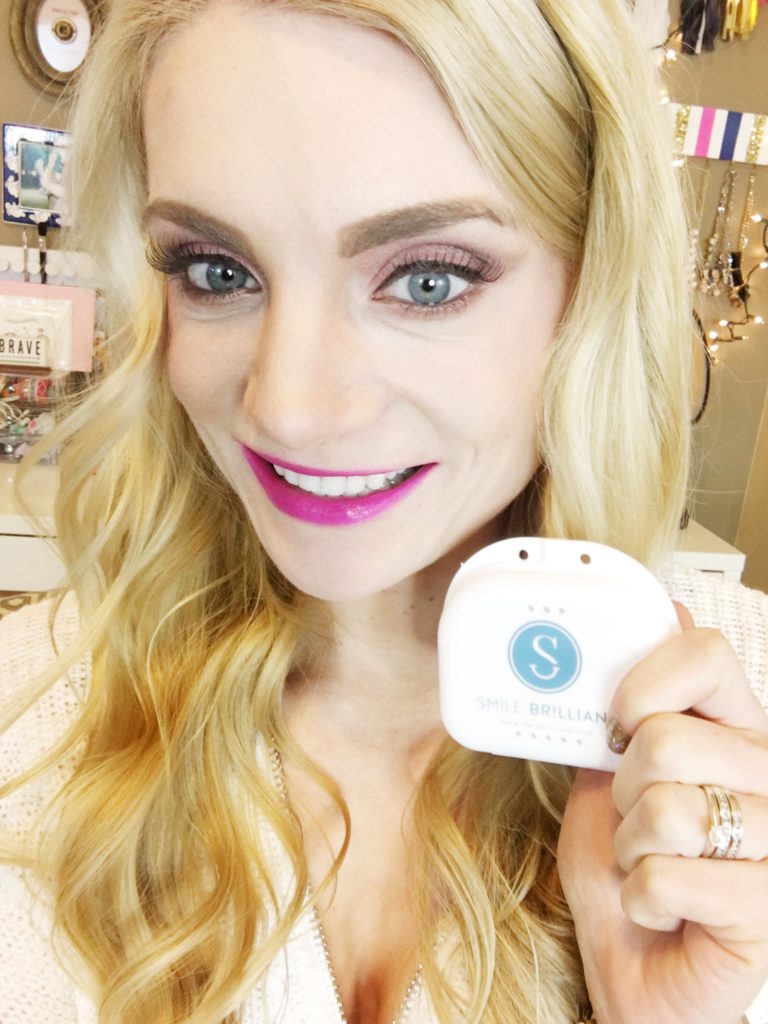
I hope that you had a wonderful weekend! I am so excited to share with you how I whitened my sensitive teeth at home with Smile Brilliant. Smile Brilliant did reach out to me, provided this kit to me for consideration for review, and are hosting my giveaway. As always, all opinions are my own and I would never accept money in exchange for a positive review. If you have any questions please let me know in the comments or reach out on any of my social media, which is linked at the top of my blog and at the bottom of each post! Smile Brilliant also has a fantastic live chat on their website.
About Smile Brilliant
Smile Brilliant offers six different kits, three kits for teeth that are not sensitive and three kits for sensitive teeth. I was sent the T9 Sensitive Teeth kit. Kits from Smile Brilliant start at $129 and go up to $179 which is a fantastic value compared to professional teeth whitening at the dentist office! I do have a coupon code “leahtackles5” which will save you 5% off.
http://www.smilebrilliant.com/product/teeth-whitening-trays#leahtackles
How It Works
You receive a box in the mail from Smile Brilliant with instructions to make the molds for your custom whitening trays. I was intimidated to make the molds and send them back in the mail, but as you can see in my video demo below it is not as hard as I anticipated at all. About a week after you send in your molds you will get your custom whitening trays. The molds fit my teeth perfect and are very flexible and comfortable. The kit comes with great directions, but basically all you do is put a thin a line of the whitening gel into the molds and then wear them for anywhere from 30 minutes to 3 hours. If you have sensitive teeth like me and purchase a sensitive teeth kit, you will also get desensitizing gel which I did use when I would whiten my teeth for longer than an hour. The desensitizing gel is used for about 20 minutes after whitening to help with sensitivity and also prevent re-staining the teeth.
Enter My Giveaway
Watch My Video Demo and Review
https://www.smilebrilliant.com/g/leahtackles
Before and After

My Results After 7 Applications


7 Things To Know BEFORE Whitening Teeth
Tooth Sensitivity Causes and Solutions
I am THRILLED with my results! This kit was easy to use and came with plenty of syringes to use every few months to maintain the results. My husband, Stephan, wants to try the kit now too! If he does, I will definitely share his results as well. If you try the kit, PLEASE let me know or tag me on social media!! xx


