Leah Tackles

  • Home
  • About
  • Policy
  • Beauty
  • Fashion
  • Cooking
  • Exercise
  • DIY Projects
  • Decor
  • Book Club
  • Family

EASY WINE GLASS DECORATING DIY

May 7, 2014 & Leave a Comment

Hi there! Happy Wednesday!


wine-glass-decorating-DIY.jpeg


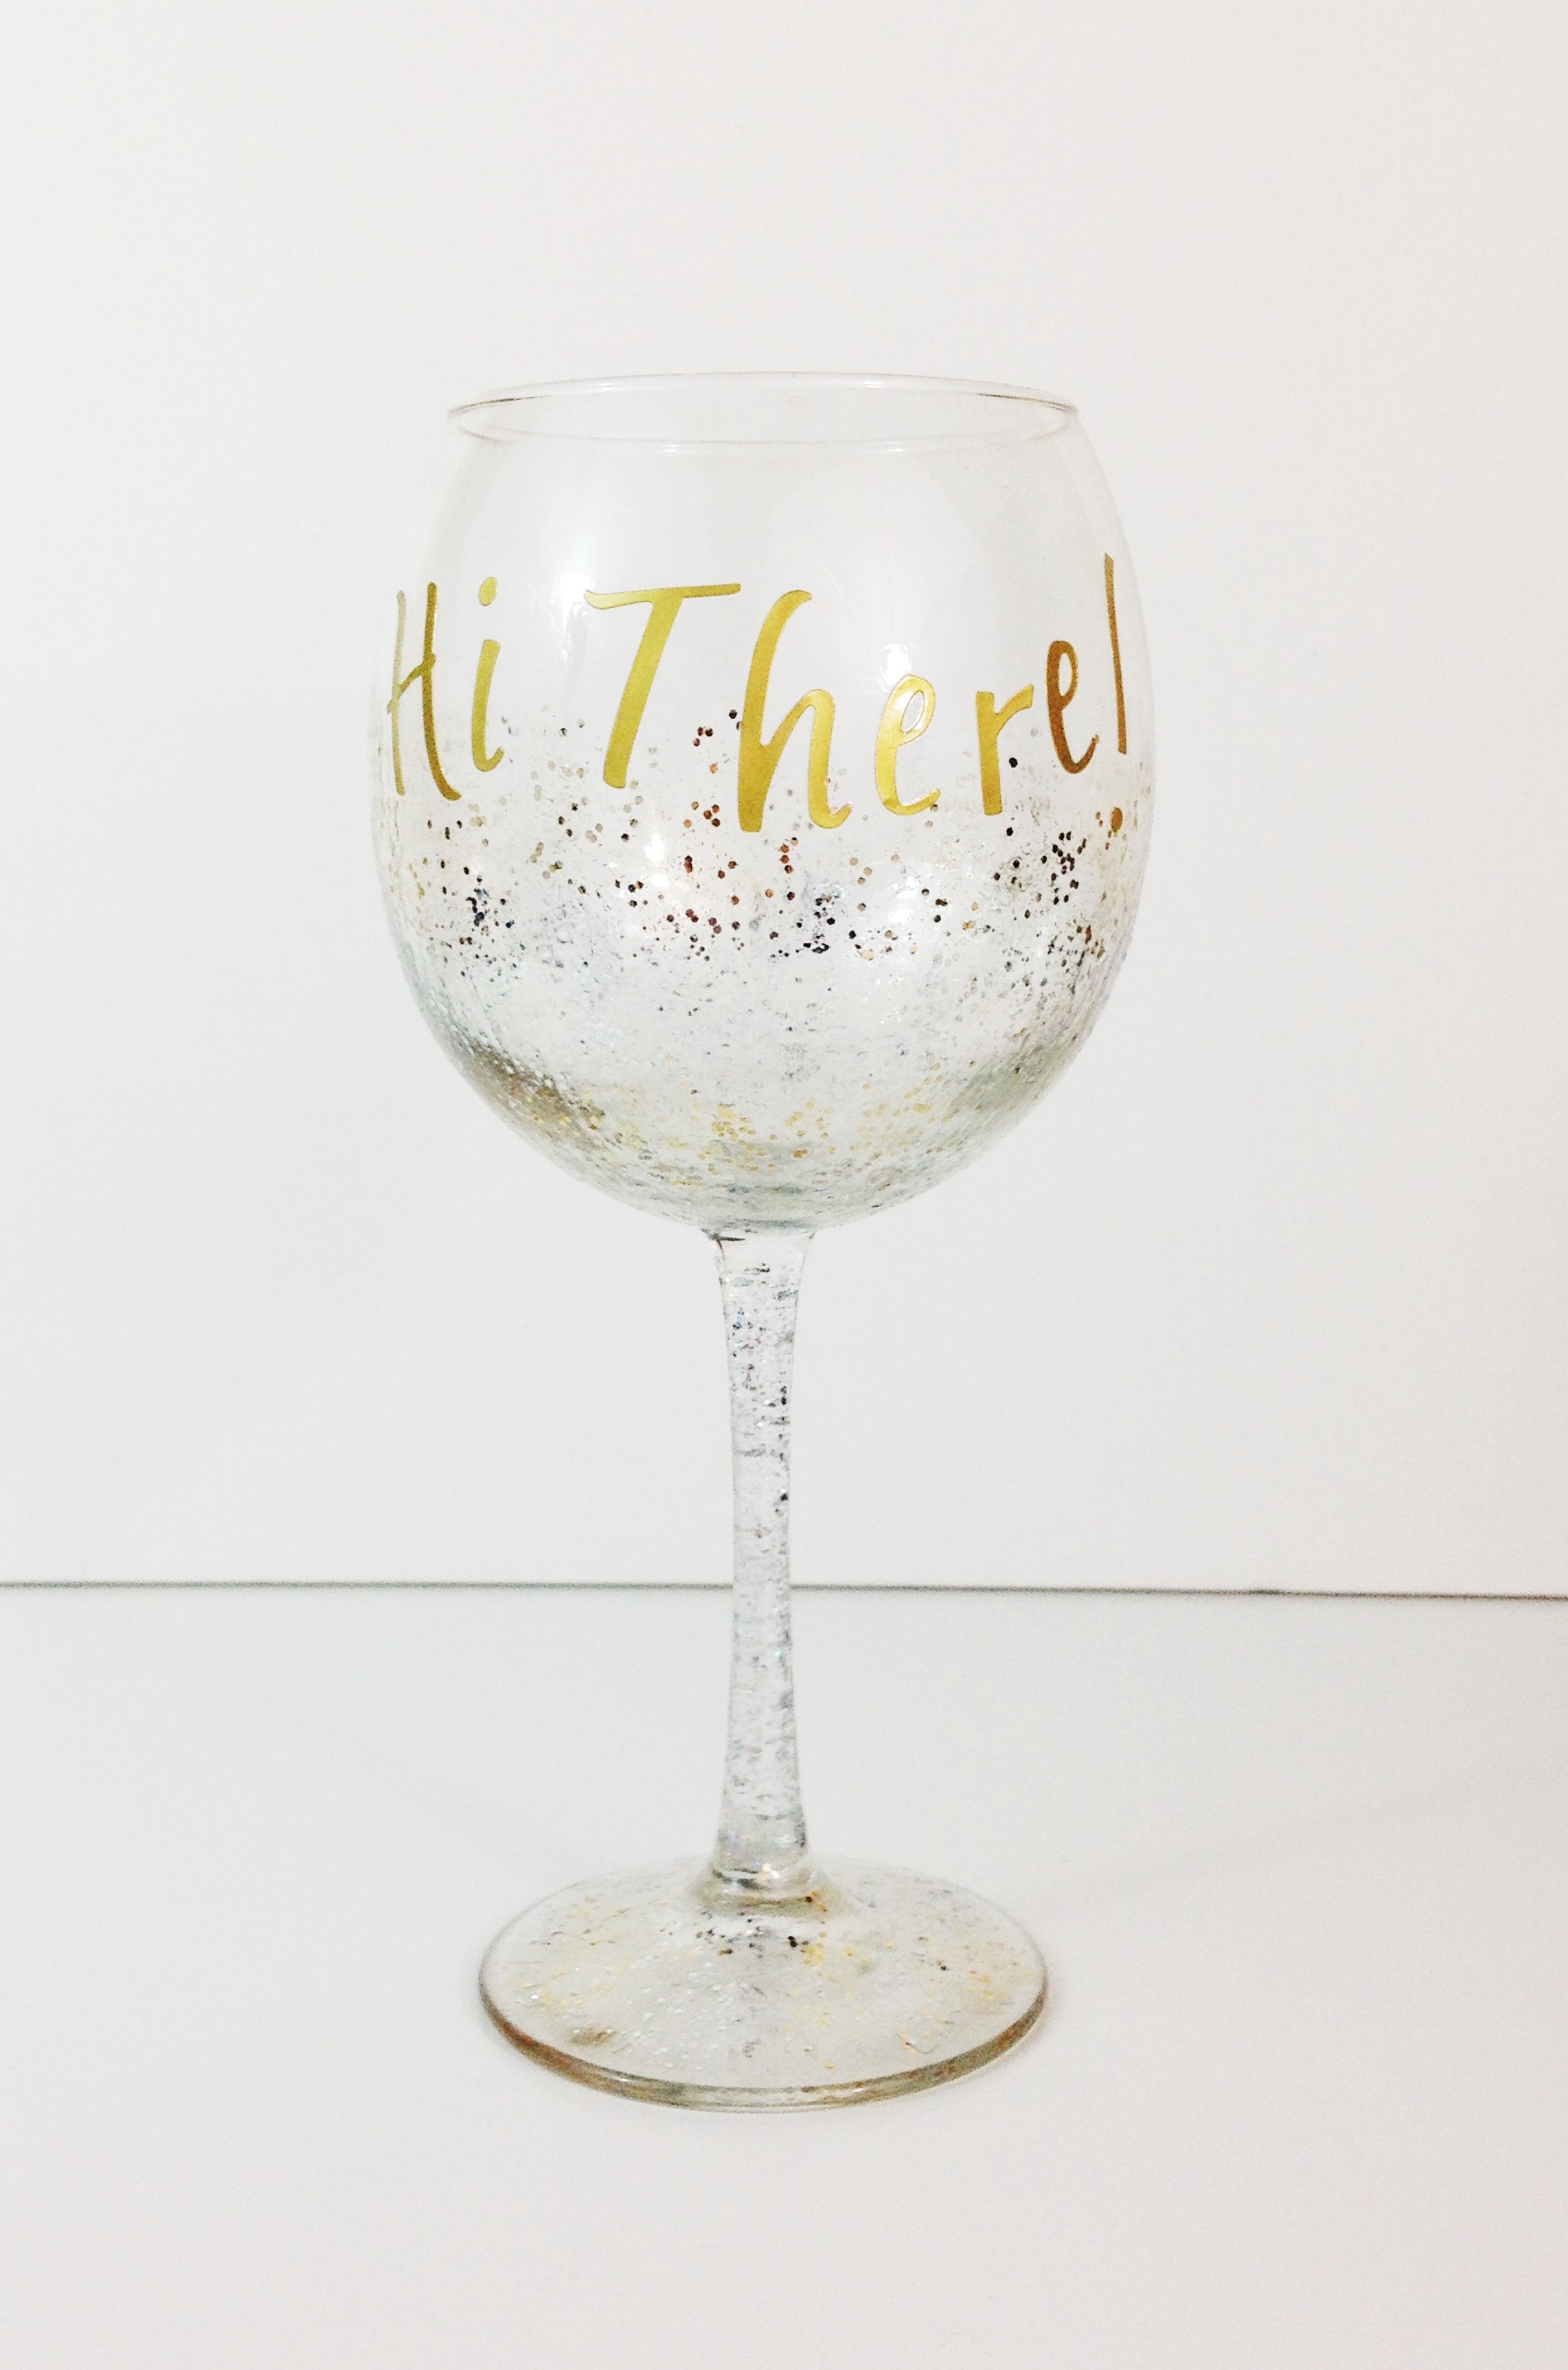
I hope that you’re having a great week so far! Today I have a really easy DIY project for you, and there is a good chance you have all of the materials at your house already. When my husband and I got married, we received lots of glassware, and so we have no shortage of wine glasses! I decided to make a couple of fun ones and I think they’ll be so cute when my girlfriends come to visit. I kept these ones pretty basic, but now I am itching to get out some stencils, rhinstones, and glitter for my next set (if I make more complex ones I will share them:) ) These make such cute gifts for bachlorette parties, birthdays, sorority events, or for a girls night ! You could also easily change this into a kid-friendly gift by switching to regular glass cups from the dollar store. NOTE: The top picture I made using glitter nail polish and stickers!


WINE GLASS DIY:


What You’ll Need:


wine-glass-DIY.jpeg


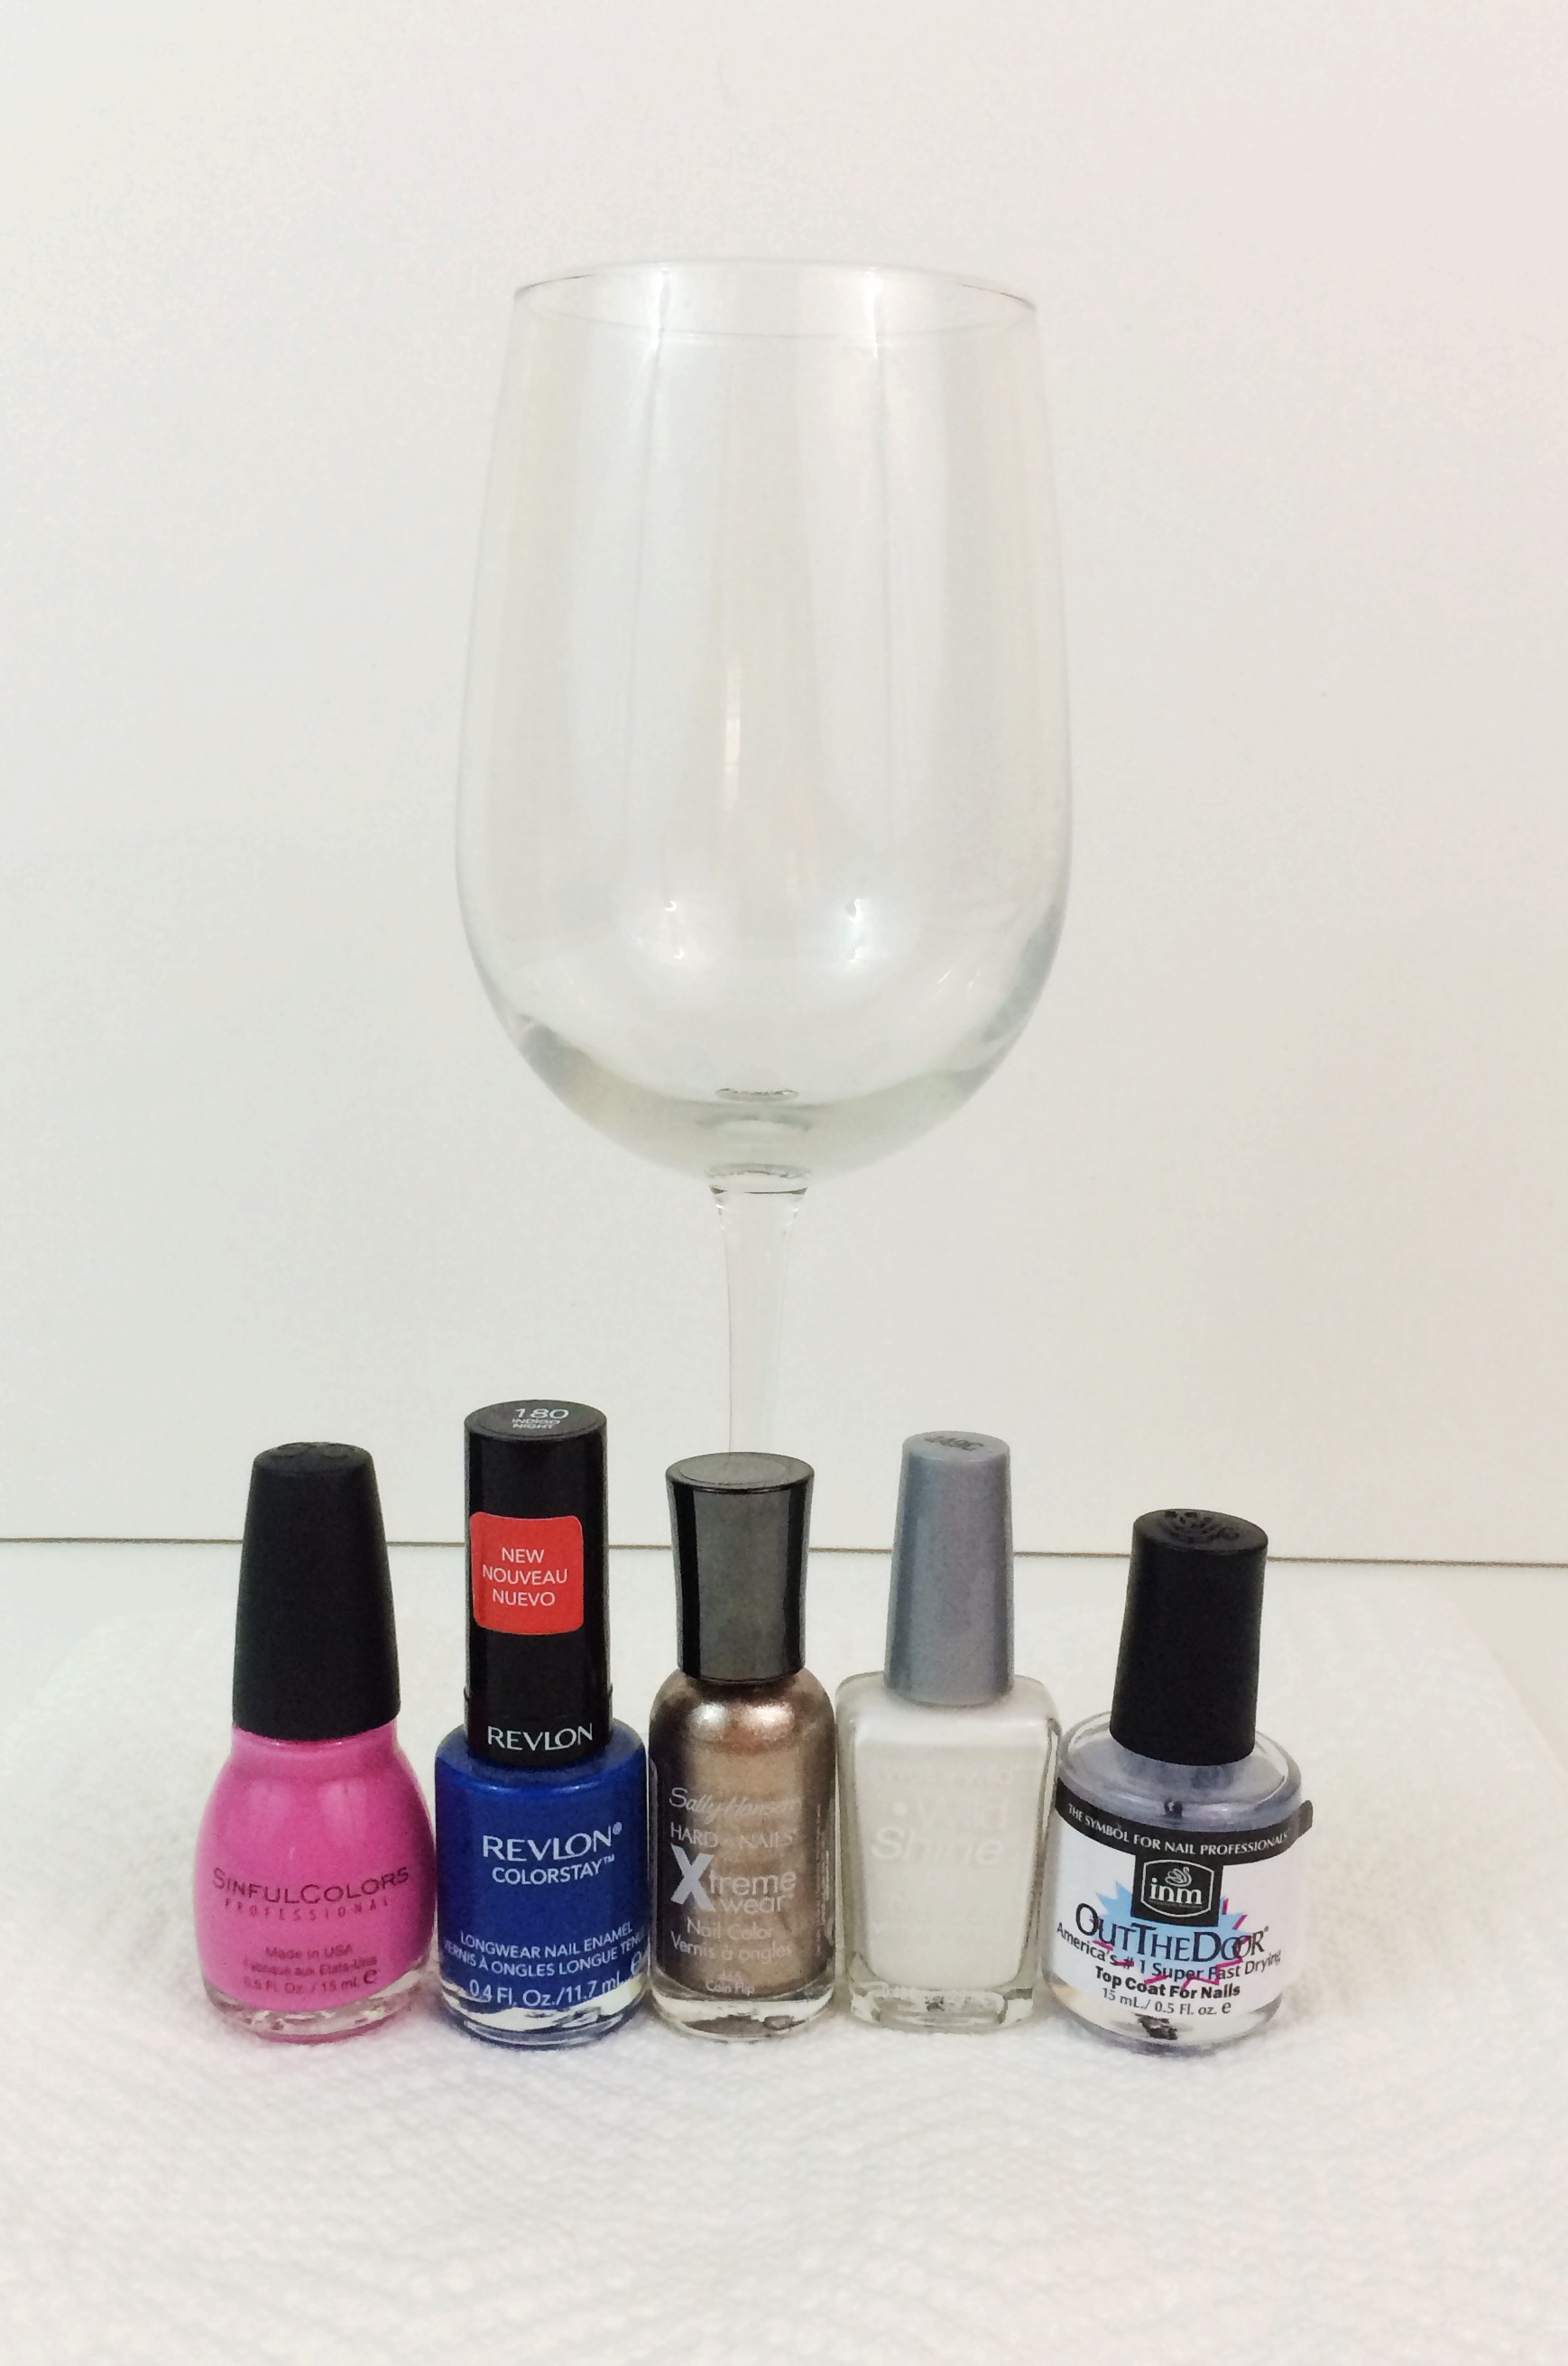
Wine glasses (or other glassware!)

Nail polish in colors of your choice (TIP: if you don’t want to use your expensive brands or favorites, pick up a few cheapie polishes! I have a crazy amount of nail polish, so I didn’t mind using some from my regular stash)

Clear nail polish top coat

Optional: Stickers


Step 1:

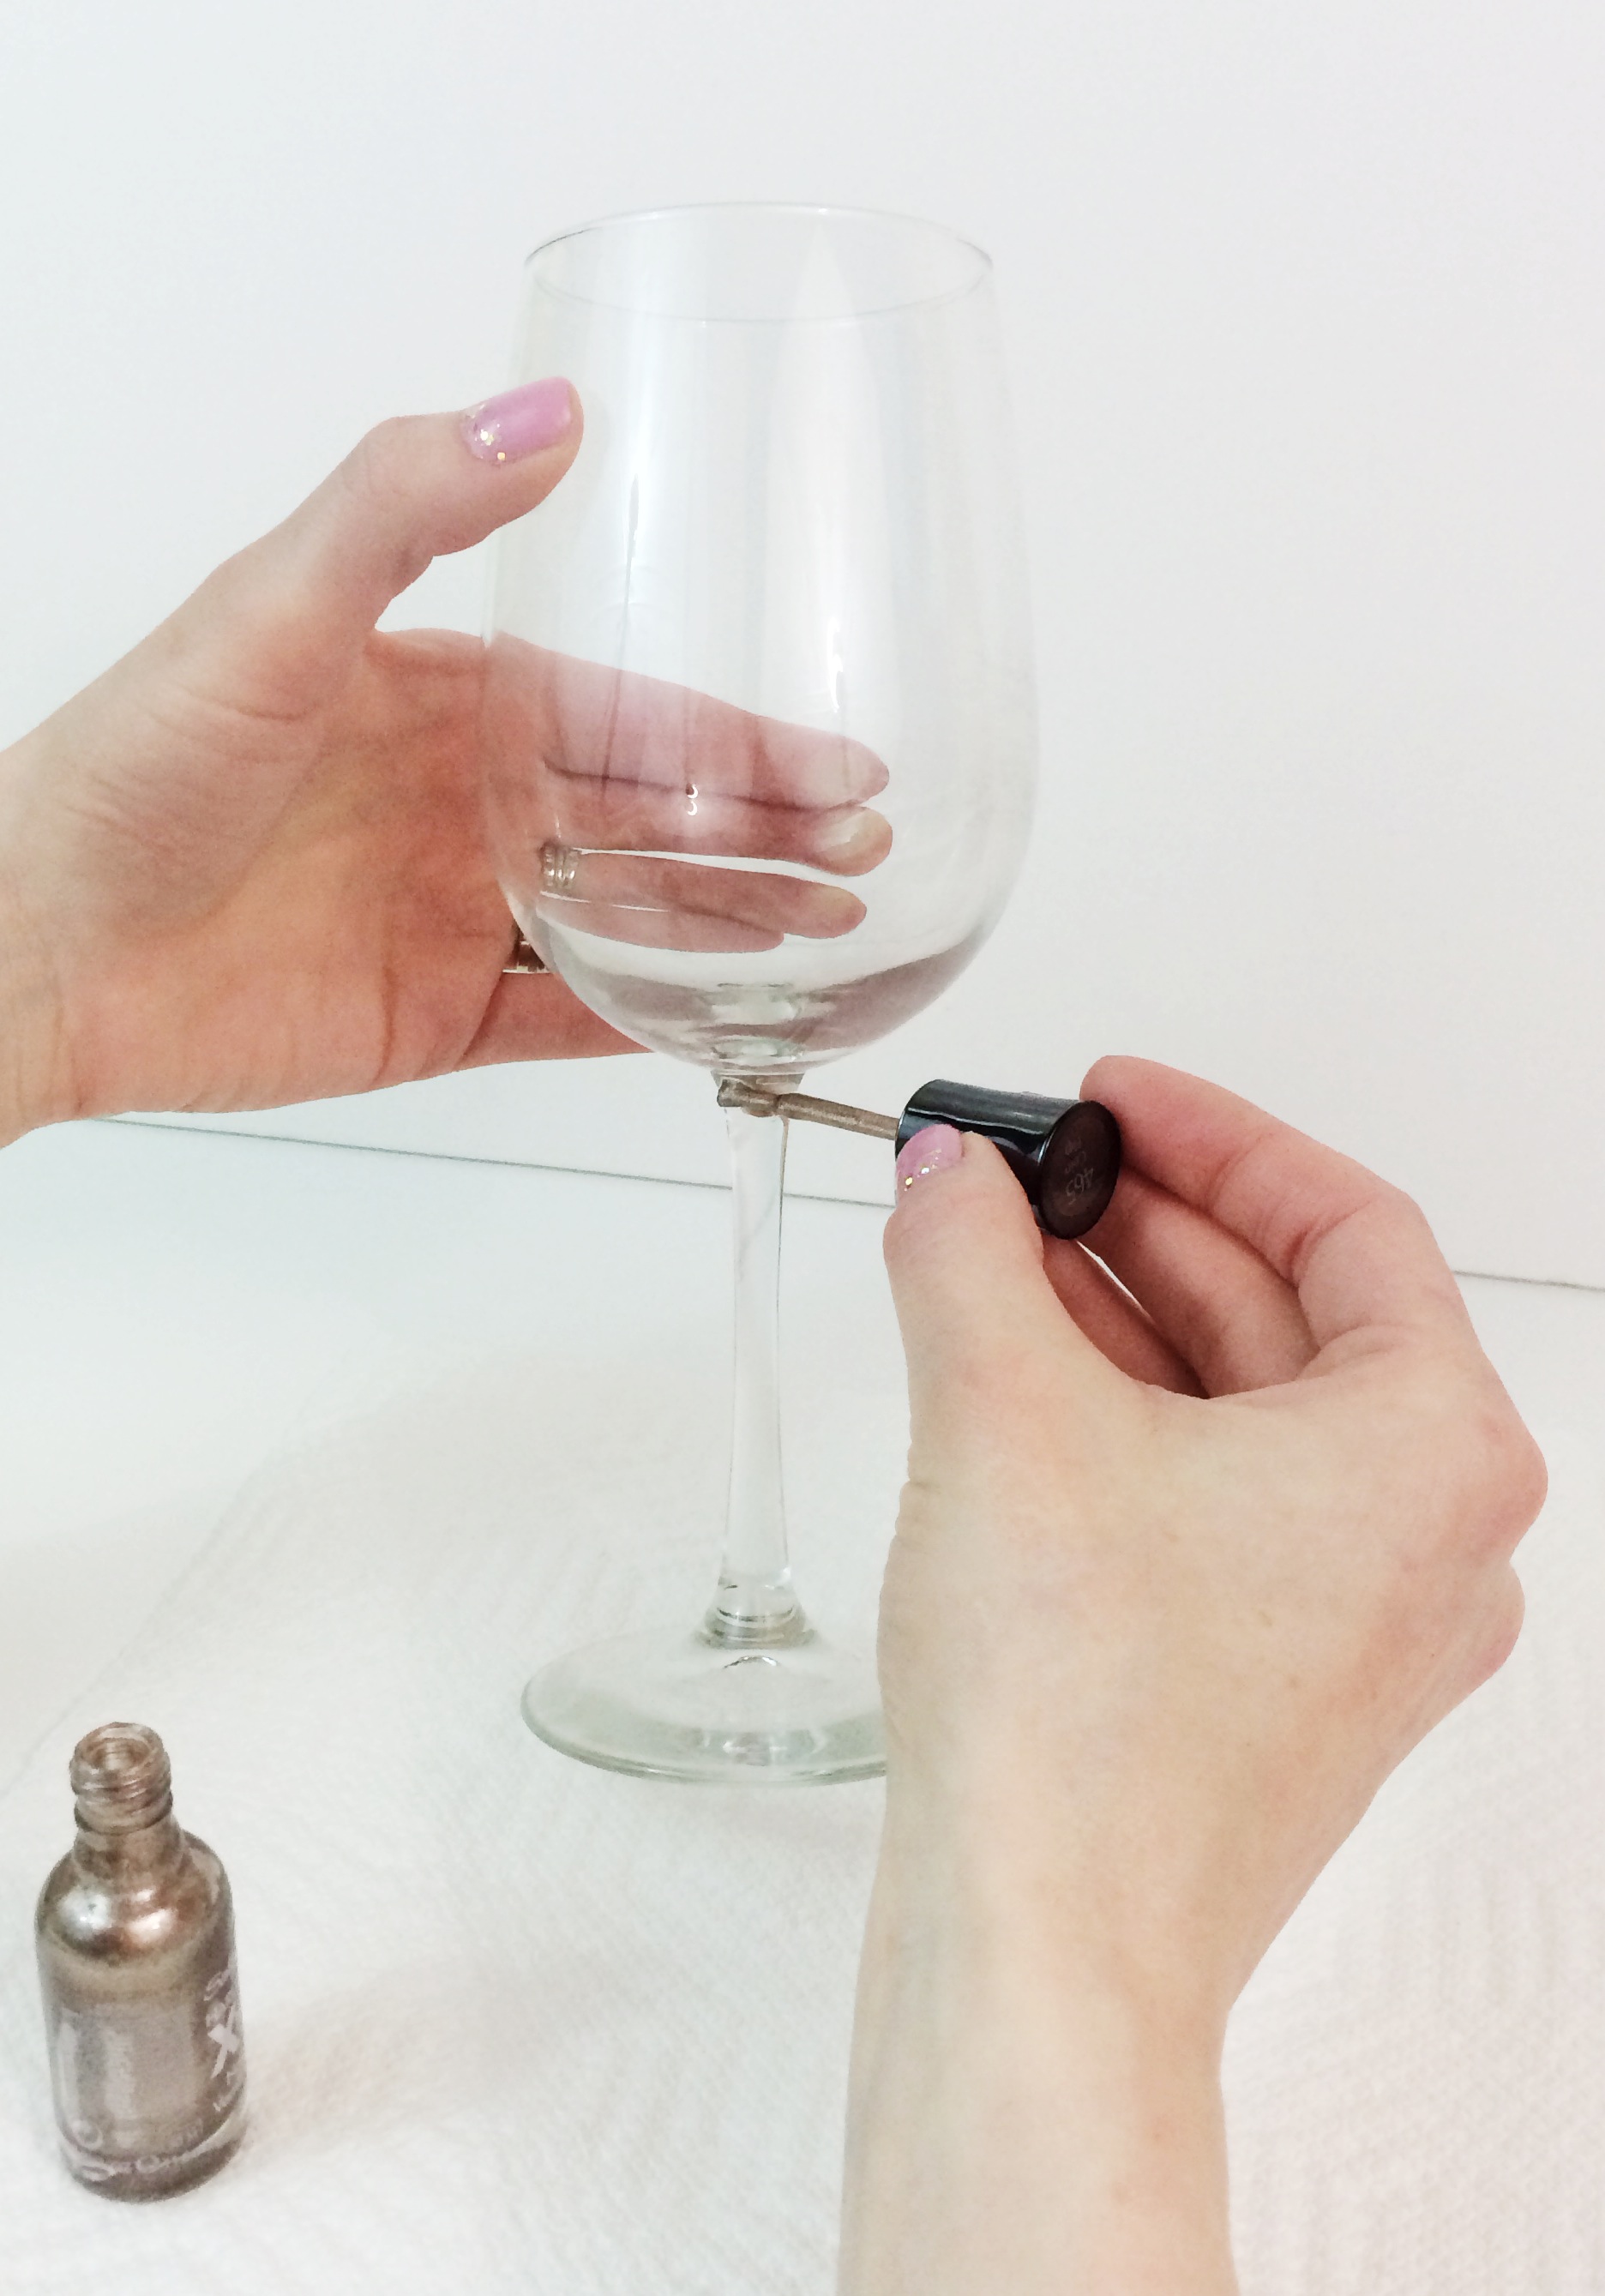
Wash and dry your glasses.


Step 2:

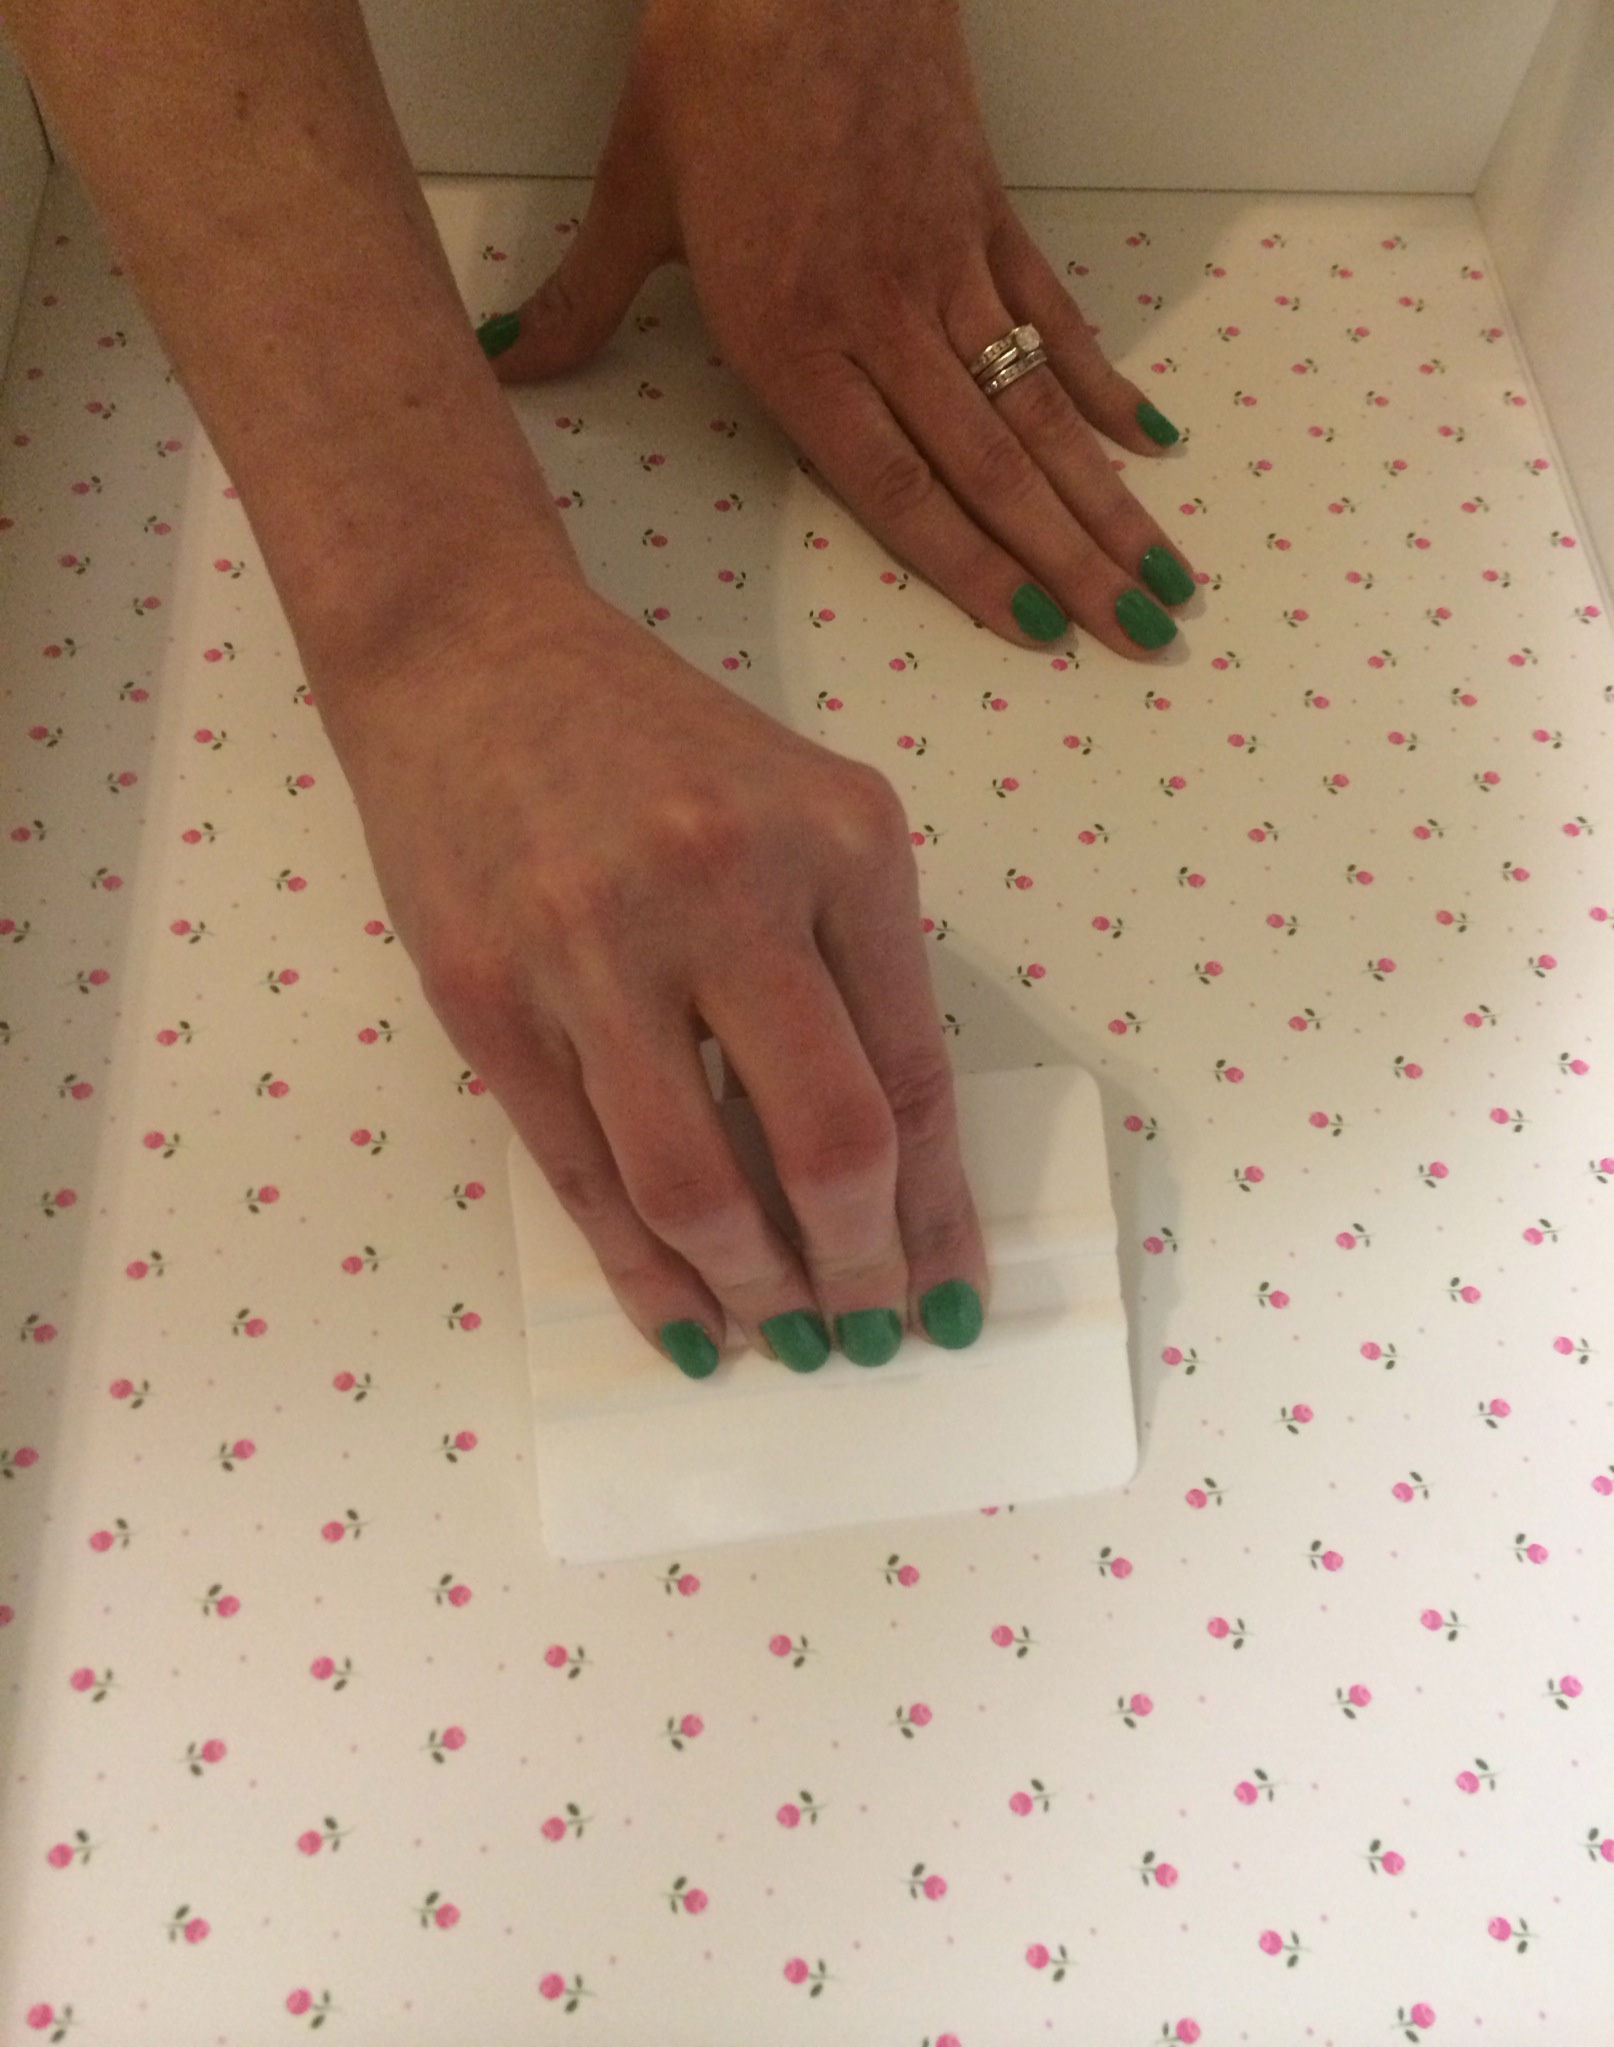
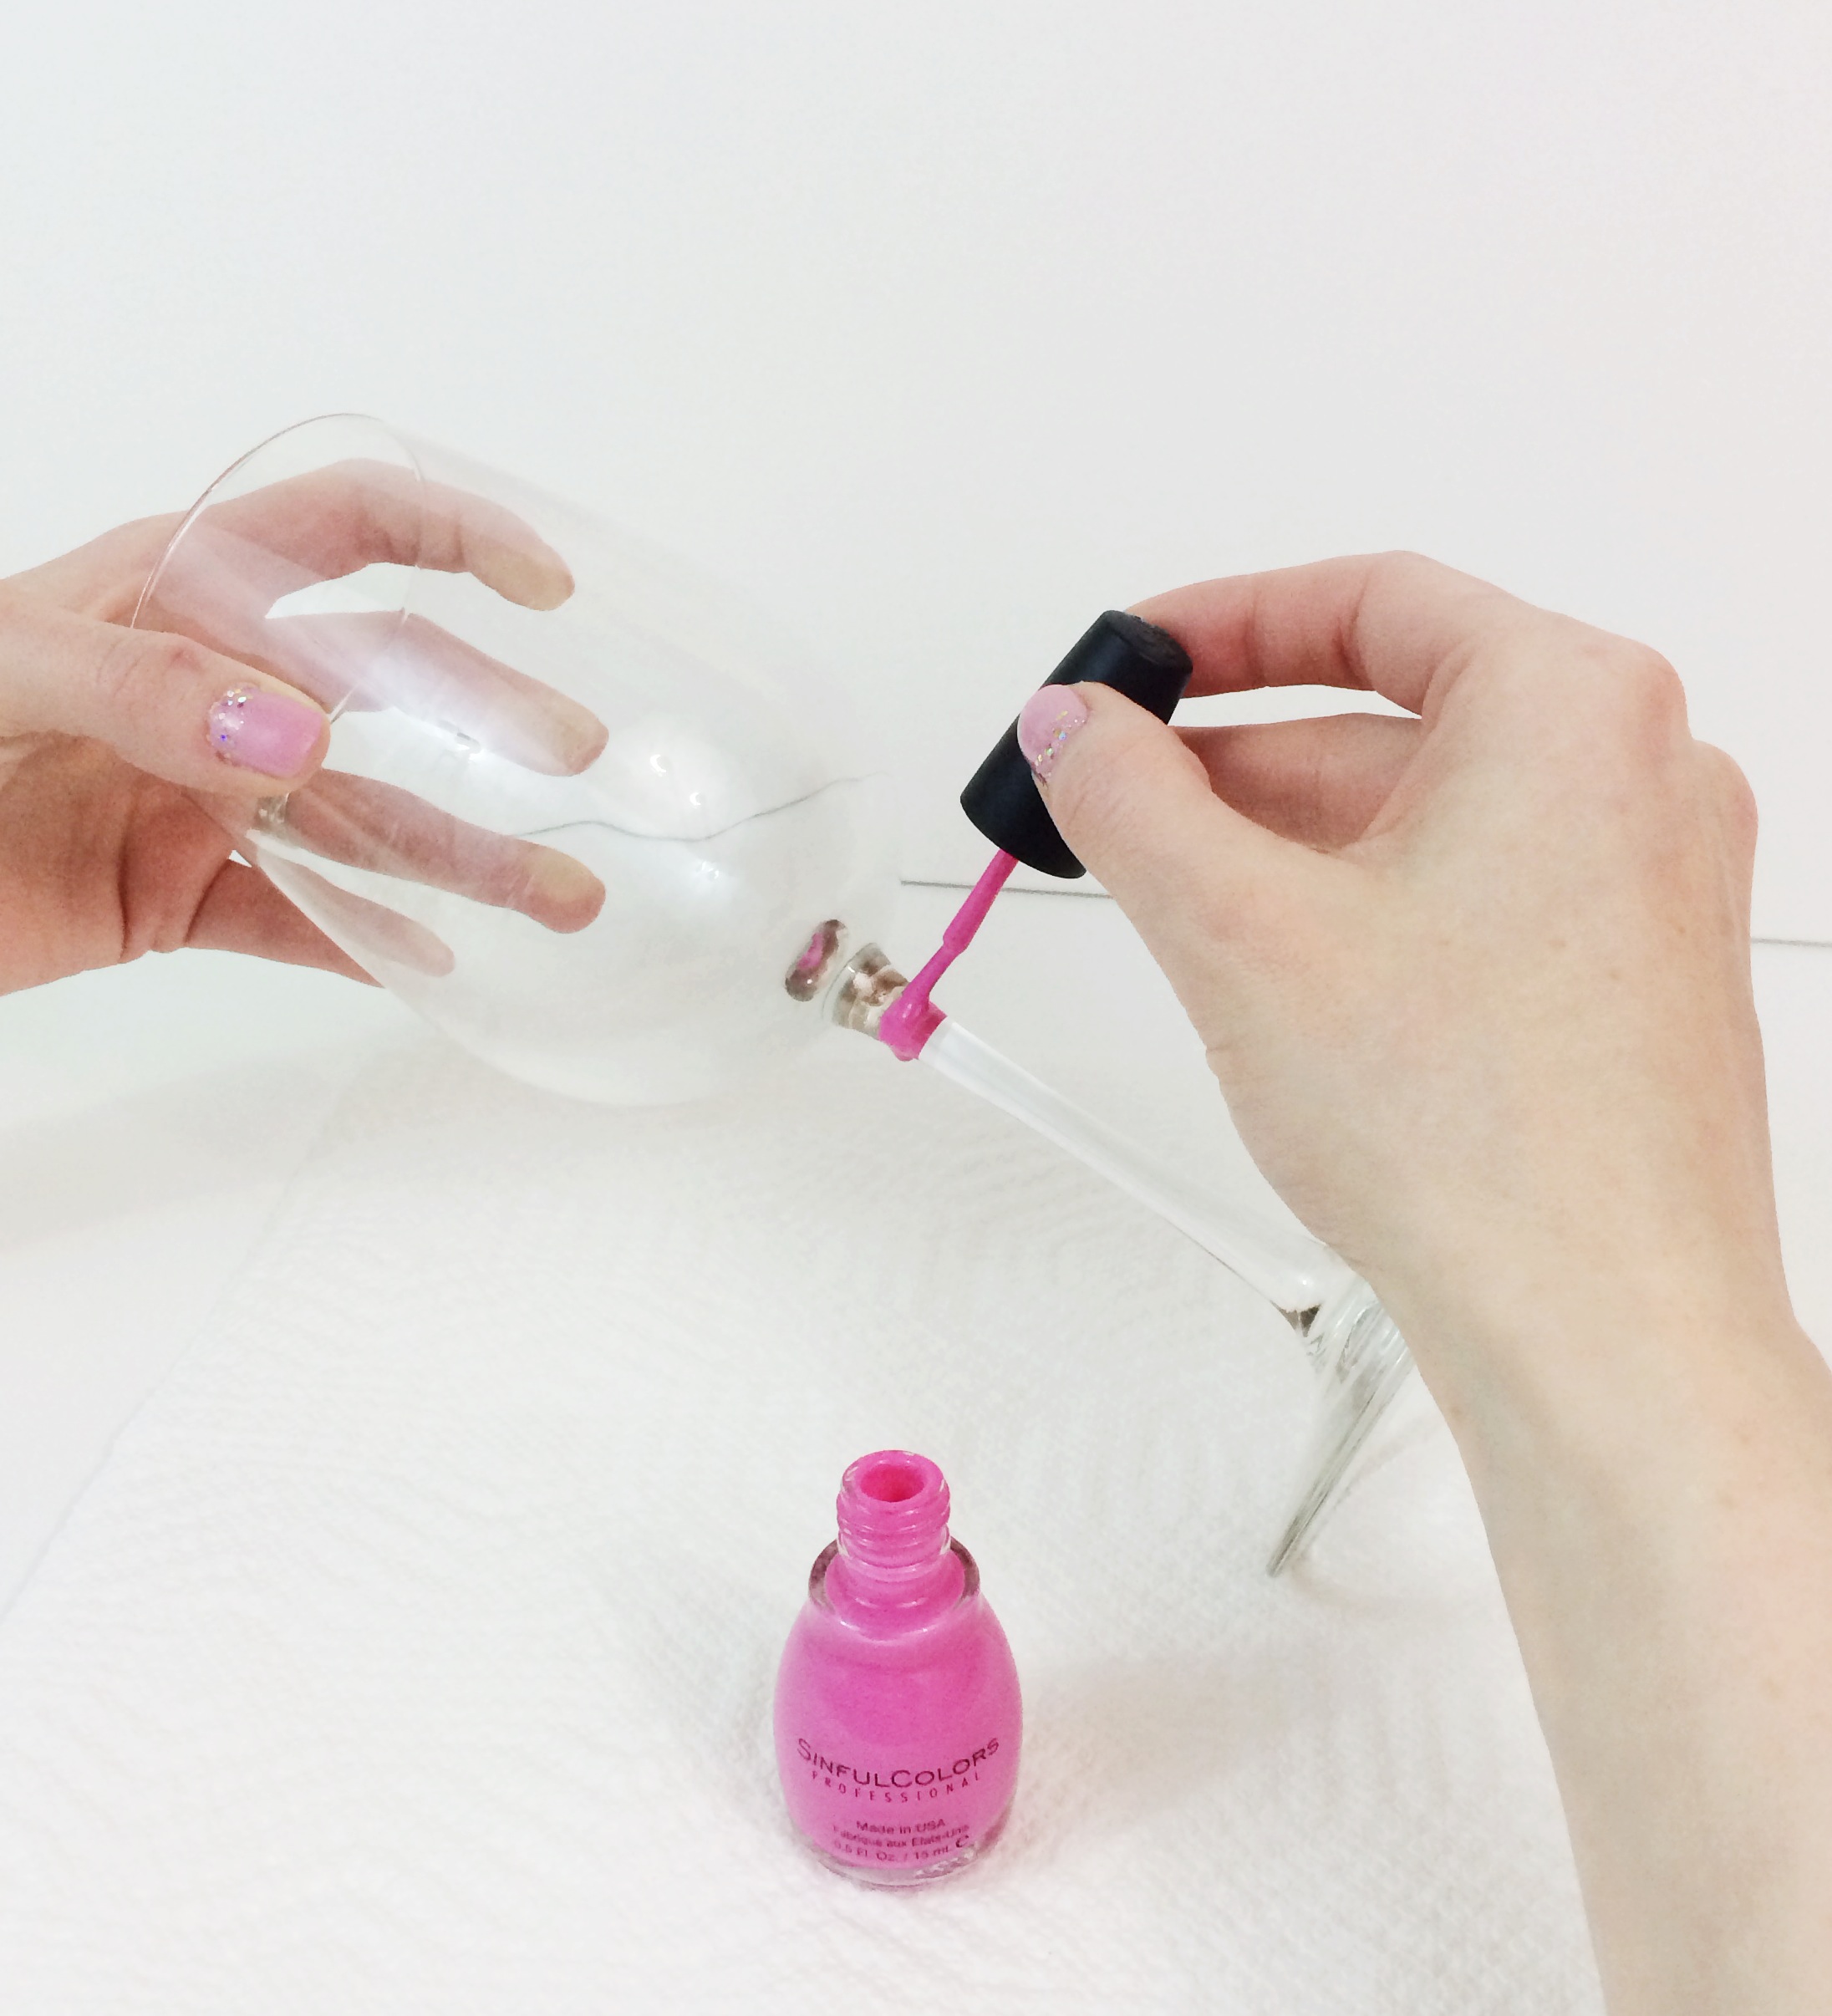
Paint your wine glasses however you choose. Be sure to not do very thick coats because it will cause the polish to run! It is better to go back over it with a second coat to build the color. If you are doing a complicated design, wait a little bit as each part dries. When you have the design how you like it, let it dry completely! Add stickers too if you’d like!


wine-glass-diy.jpeg


 wine-glass-decorating-easy-diy.jpeg


Step 3:

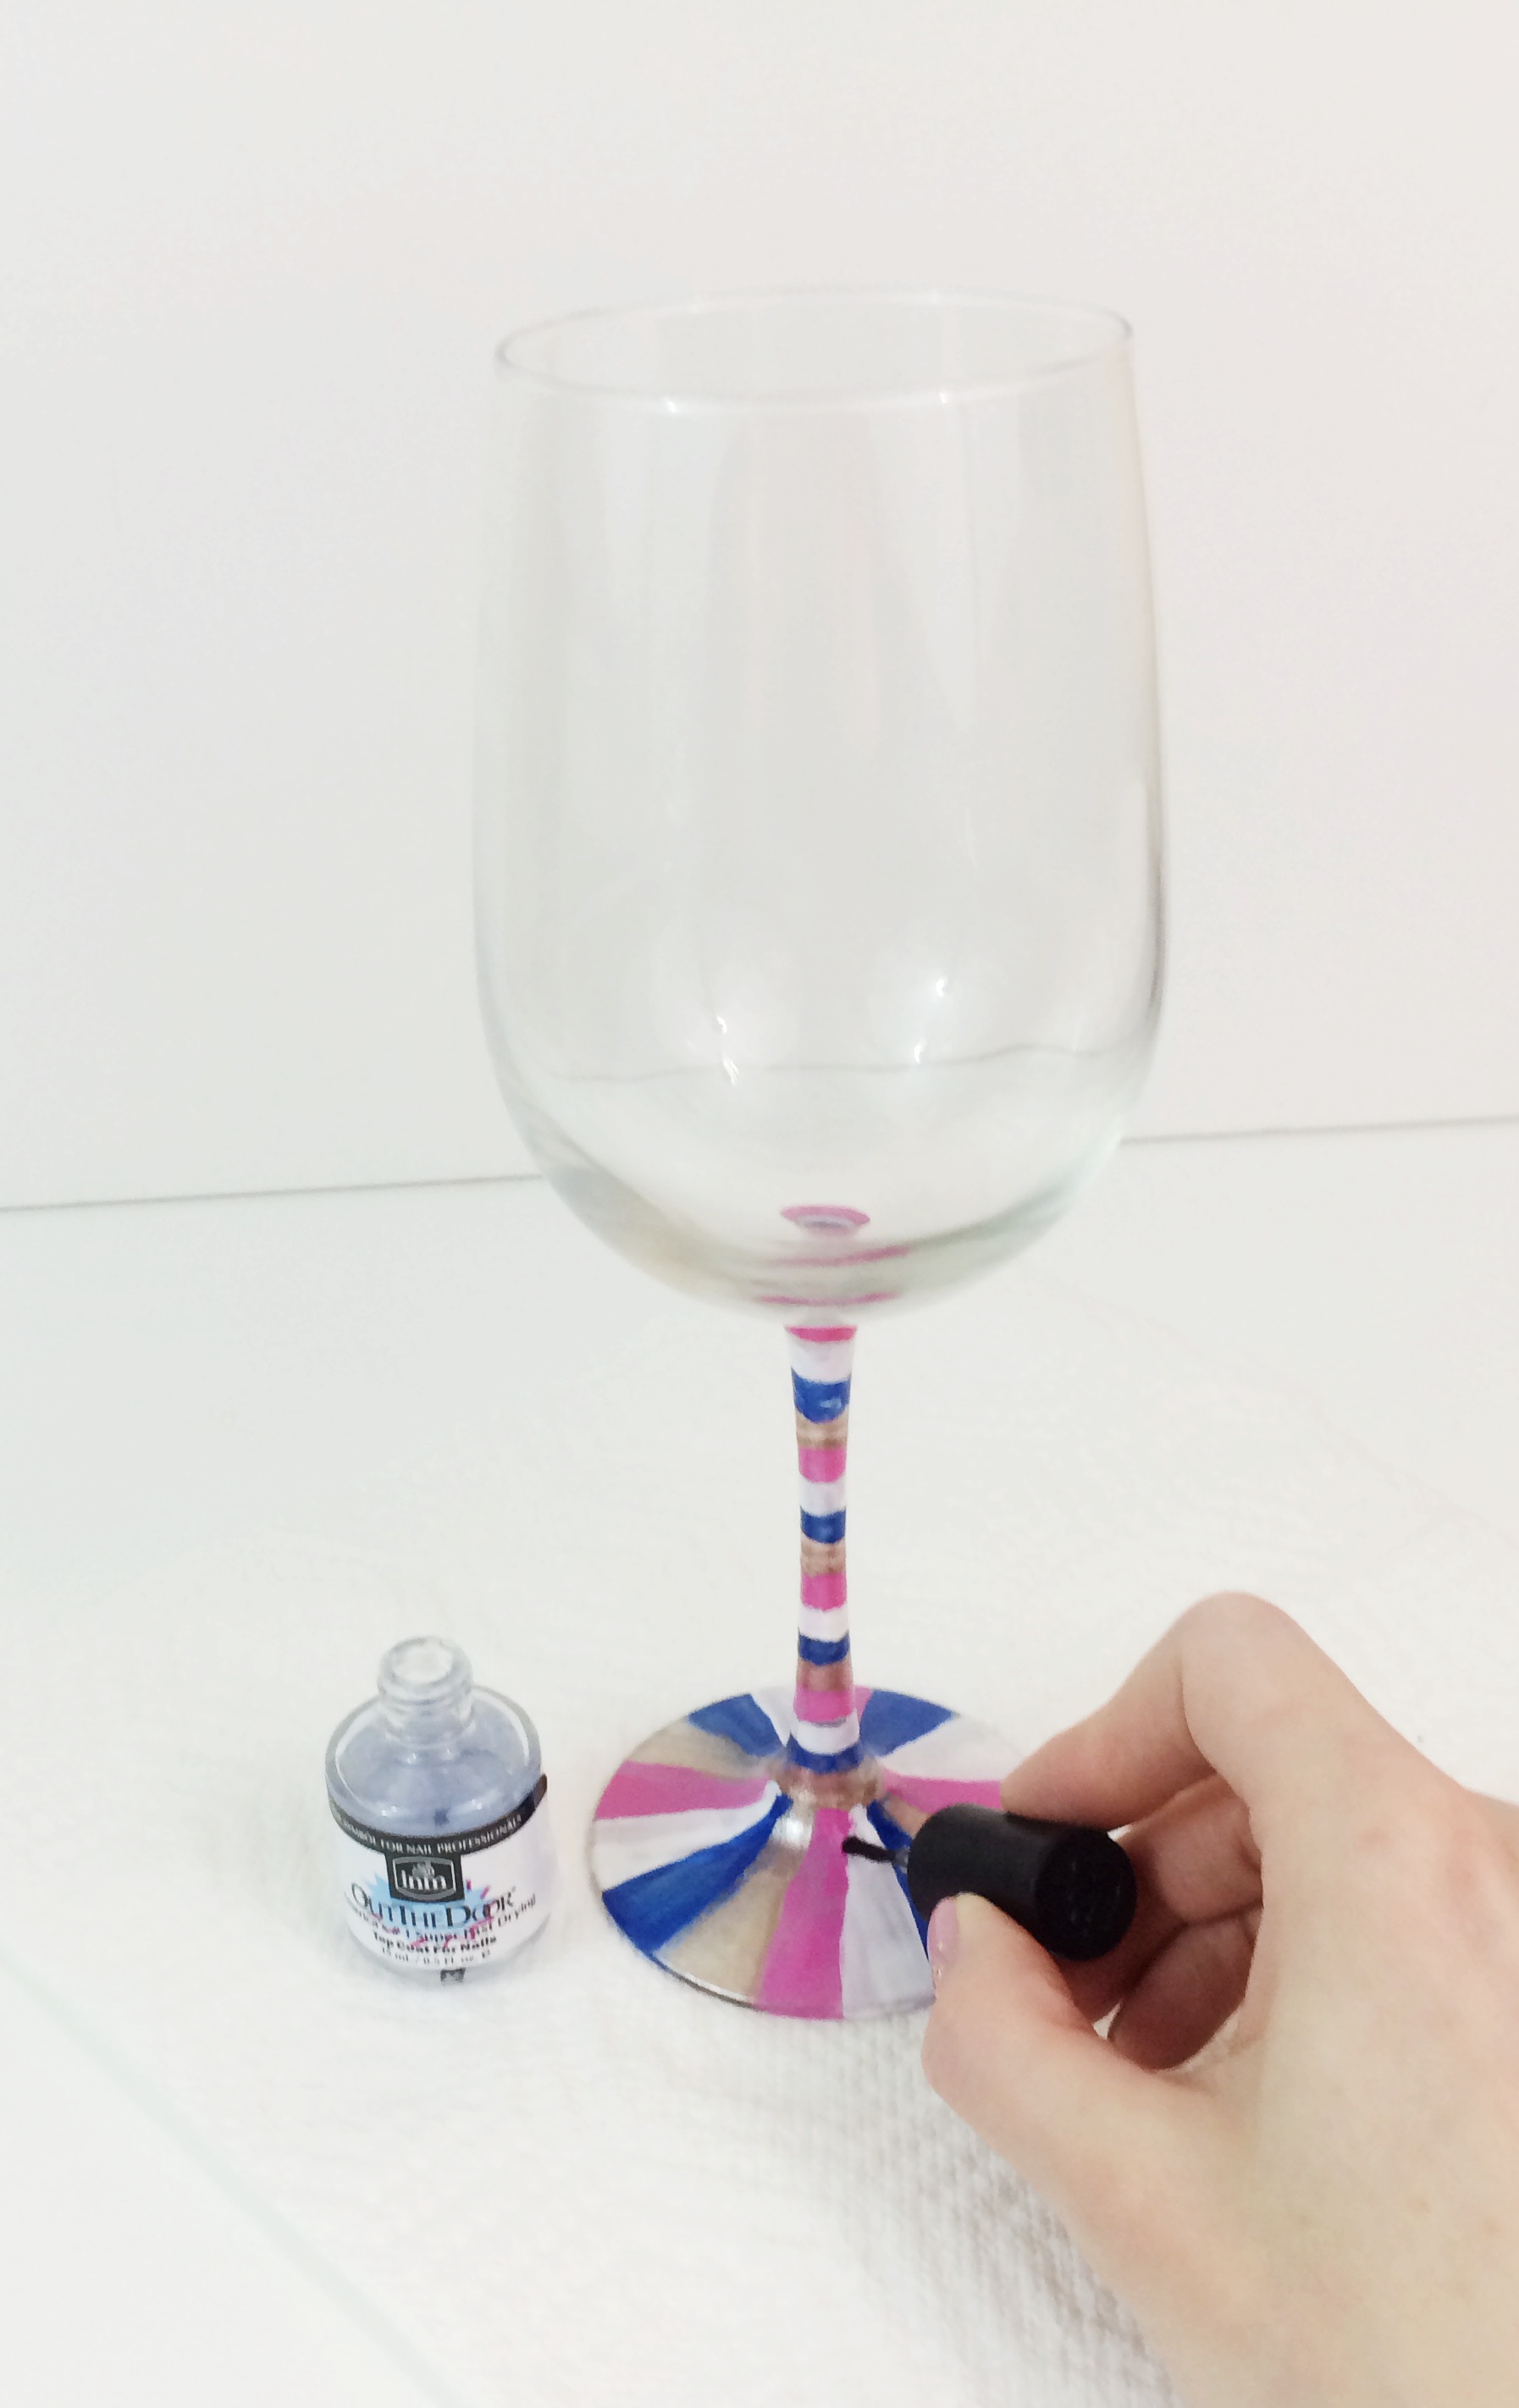
Paint over any part of the glass you painted or put stickers on with a coat of clear nail polish top coat.


wine-glass-tutorial.jpeg


Step 4:

Dry COMPLETELY, and then enjoy a nice glass of wine ; ) NOTE: Be sure to HAND WASH these glasses!


easy-DIY-wine-glasses.jpeg


I hope that you enjoyed this tutorial! If you liked it, please pin it onto your Pinterest account by hovering over any of the pictures and clicking the “pin” button. Thank you so much for taking the time to read this! It means so much to me! Don’t forget to subscribe (it’s easy!!! just enter your email into the subscribe box on the right of this page)! Have a wonderful day!! : )


FacebookTwitterEmailPinterestShare

Filed Under: DIY Projects Tagged With: bachlorette, birthday, crafty, diy, easy diy, girls night, leah tackles, leahtackles, pinterest, simple craft, sorority, sorority DIY, wine, wine glass decorating DIY, wine glass DIY

Easy Contact Paper DIY Project!!

March 17, 2014 & Leave a Comment

Hi there! Happy Saint Patrick’s Day!!

Today I want to show you a super simple diy project using contact paper. Contact paper is a thin paper like material that usually has a decorative design on one side and a sticky adhesive on the other side. This weekend was my first experience with contact paper and I want to show you a photo step-by-step how-to. I bought this contact paper several weeks ago, but kept putting off lining my desk drawers because I was intimidated since I had never used contact paper. I was worried I would waste the paper or damage my desk, but I was making it out to be scary and it really isn’t.

I lined my desk drawers, but I have seen some amazing projects on Pinterest doing all sorts of things with contact paper. I really want to do a bookcase next!

SUPPLIES:

Contact paper (I got mine from www.interiorplace.com)

Scissors or a paper cutter

A ruler (a clear one really makes it easy)

A pen or pencil

A small plastic squeegee (*optional but it REALLY helps!)

STEP 1:

Measure the size of the item you want to decorate with contact paper

contact paper diy

STEP 2:

Use your ruler and pen or pencil to mark how much contact paper you will need.

diy contact paper

STEP 3:

Carefully cut your paper out.

diy contact paper

STEP 4 (the most tricky and important step!):

Peel off the first couple inches of the backing on the roll of contact paper and put the corners into the corners of your drawer or whatever you are decorating.  Slowly unroll the contact paper and smooth it down as you unroll.

STEP 5:

Use the squeegee to smooth over the paper…this helps with any bubbles or wrinkles that may have happened while unrolling the contact paper.

diy contact paper


STEP 6:

Enjoy your masterpiece! How adorable is that?!

diy contact paper final

COST:

This project only cost me the price of the contact paper (around $12) because I had all of the other items on hand at home.

What diy projects have you tried recently? Are there any projects that you are intimidated by and still want to attempt?  If you have any questions or if there is a project you’d like to see on  leahtackles.com; Tweet me, find me on Facebook, Instagram or comment at the top of this post! If you enjoyed this post, please subscribe.

FacebookTwitterEmailPinterestShare

Filed Under: Decor, DIY Projects Tagged With: contact paper, diy, do it yourself, doityourself, drawer, drawer liner, easy, girly, home, home decor, interior place, office, pinterest, project, rosebud print, update


SUBSCRIBE

Leave your email to subscribe!

SEARCH

SPONSORS

ARCHIVES

GRAB MY BUTTON


copy & paste code

site design by The Kinch Life Design & development by Olive & Ivy Design

Catch The Webinar Replay! Boundary Setting For Entrepreneurs

Go to leahtacklessocial.com and sign-up for the link!