Hi there! Happy Monday!!
I received a request to talk about the correct way to apply liquid foundation and today I am going to share my top 3 ways to apply it. I want to also say that I am not a professinal makeup artist…but I do play around a lot with different makeup, make up brushes and applicators, read blogs and watch videos on makeup a lot…so there is that ; ) If you have any questions or requests, please never hestitate to reach out to me! I would LOVE some more participation from my readers!!
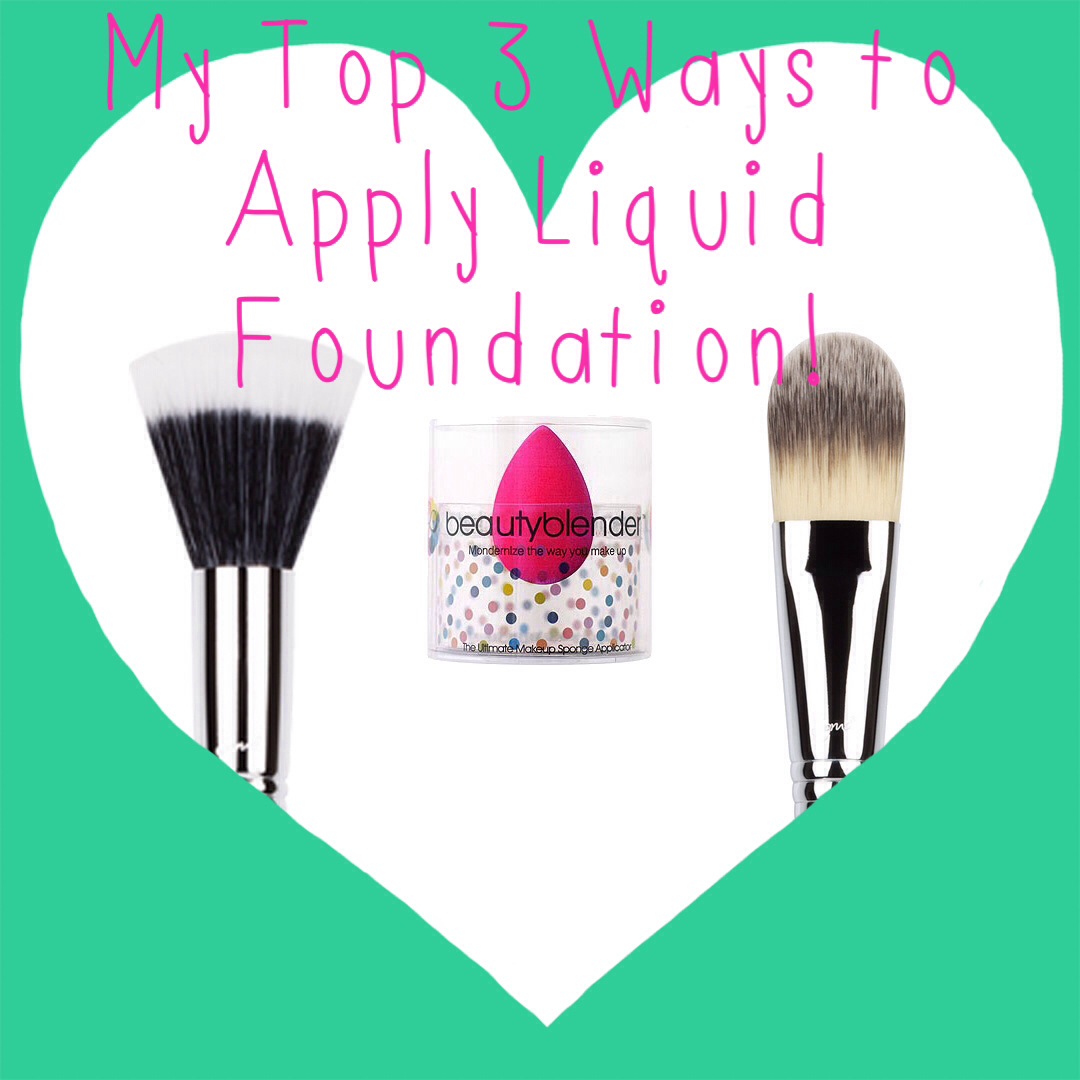
#1 Stipple It On!
I LOVE LOVE LOVE to stipple on my foundation!! To stipple means to dot and that is exactly what you do with this technique! You dot on the foundation instead of brushing the foundation on. Stippling on your foundation gives a beautiful diffused finish because the foundation doesn’t go into lines or scars as easily, but rather brushes over them for a beautiful flawless appearance.
What I Do:
I put a little bit of foundation on the top of the hand that I won’t be holding the brush with (so in my case my left hand) between my thumb and pointer finger. I use the pointer finger of my right hand to dot foundation on the area of my face I want to start with because I like to work in sections. I work in sections because if I dotted foundation all over my face some of it may begin to set before I’ve gotten to it. I stipple the foundation onto my skin by making quick dotting motions up and down to get the perfect finish.
What I Use:
My absolute favorite stippling brush is the F50 Duo Fiber from Sigma Beauty. This brush is sold individually as well as in sets. I use this brush so often that I have two so that it’s in constant rotation even when I’m washing some of my brushes. This brush can also be used to apply cream or liquid blush and bronzer.
#2 Traditional Foundation Brush
When I first started out this is the technique I used, and it’s still a great option. I think that this is a great way when you are first starting out with makeup or with liquid foundations. Using a traditional foundation brush can cause streaking, which nobody wants, but as long as you make small strokes it can be fairly easily avoided.
What I Do:
I put the foundation onto my hand just like I described above, but this time I use the brush to brush on my foundation as if I was painting. I am careful to use very short strokes, and change the direction of the brush as I go. Changing direction when using a foundation brush like this helps so that it isn’t all strokes going the same way which can look streaky.
What I Use:
The foundation brush I use the most frequently is my F60 Foundation Brush from Sigma Beauty, but I also have had great luck with foundation brushes similar to this from Real Techniques, Tarte, and Sephora’s brush line.
#3 Beauty Blender Sponge
I am sure by now almost all of you have tried this sponge, and if not you have probably at least heard about it! This is a GAME CHANGER for me!! It is completely worth the price! This allows me to build up the coverage as needed and you can never see the foundation (a big no-no!)…all you see is beautiful skin that looks airbrushed.
What I Do:
I like to lightly dampen the sponge before using it. I use the round end to apply foundation to my chin, cheeks, nose and forehead. I use the pointy end to apply foundation to harder to reach places like my under eye area and around my nose. I both dot and blend the sponge to get the perfect seamless look.
What I Use:
I have only used The Original Beauty Blender but I know there are lots of other imitators flooding the market now! I have read and watched lots of reviews, and the only sponge that seems to stand up to Beauty Blender is the Miracle Complextion Sponge by Real Techniques. The Real Techniques sponge is about 1/4 of the price of the Beauty Blender, so that might be a great option for some people. If you would like to see me do a comparision sponge on any of these sponges, let me know! Also, if you have tried any that you love (or don’t love!!) let me know in the comments!!
I hope that this post was helpful! Please take a minute to subscribe if you haven’t already! Just enter your email into the box on the right side of this page and you’ll get an email to confirm your subscription!! It will make my day : ) : ) If you have ANY questions please let me know and have a fabulous day!!