Leah Tackles

  • Home
  • About
  • Policy
  • Beauty
  • Fashion
  • Cooking
  • Exercise
  • DIY Projects
  • Decor
  • Book Club
  • Family

WHAT IS ROOT SHADING? FALL READY HAIR COLOR

July 31, 2017 & Leave a Comment

Hi there! Happy Monday!

I hope that you had a wonderful weekend spent in the sun with those you love!

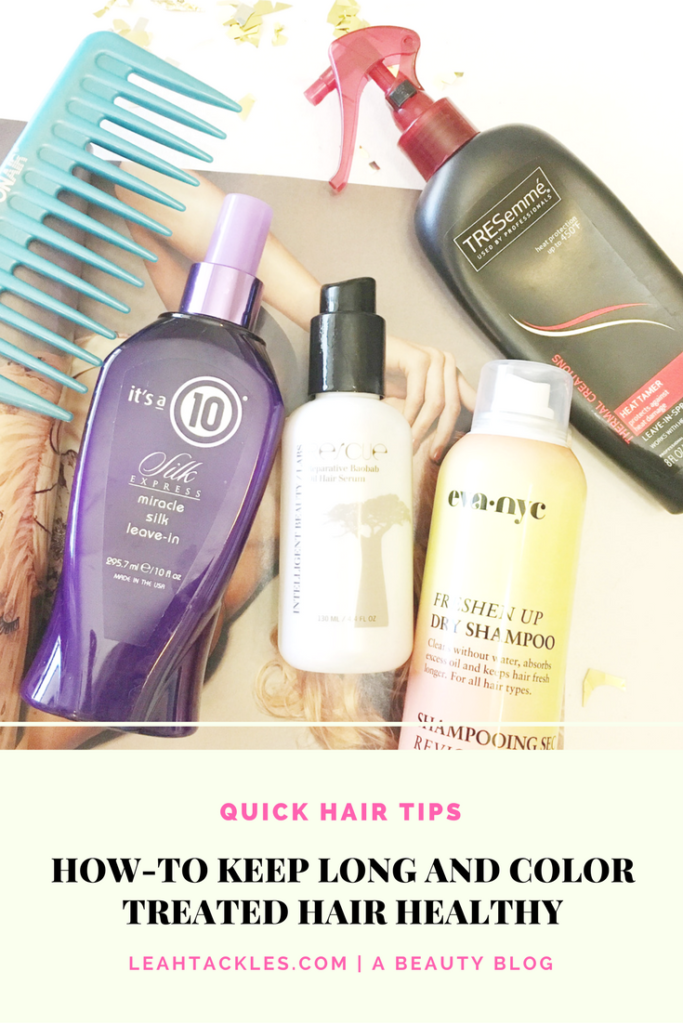
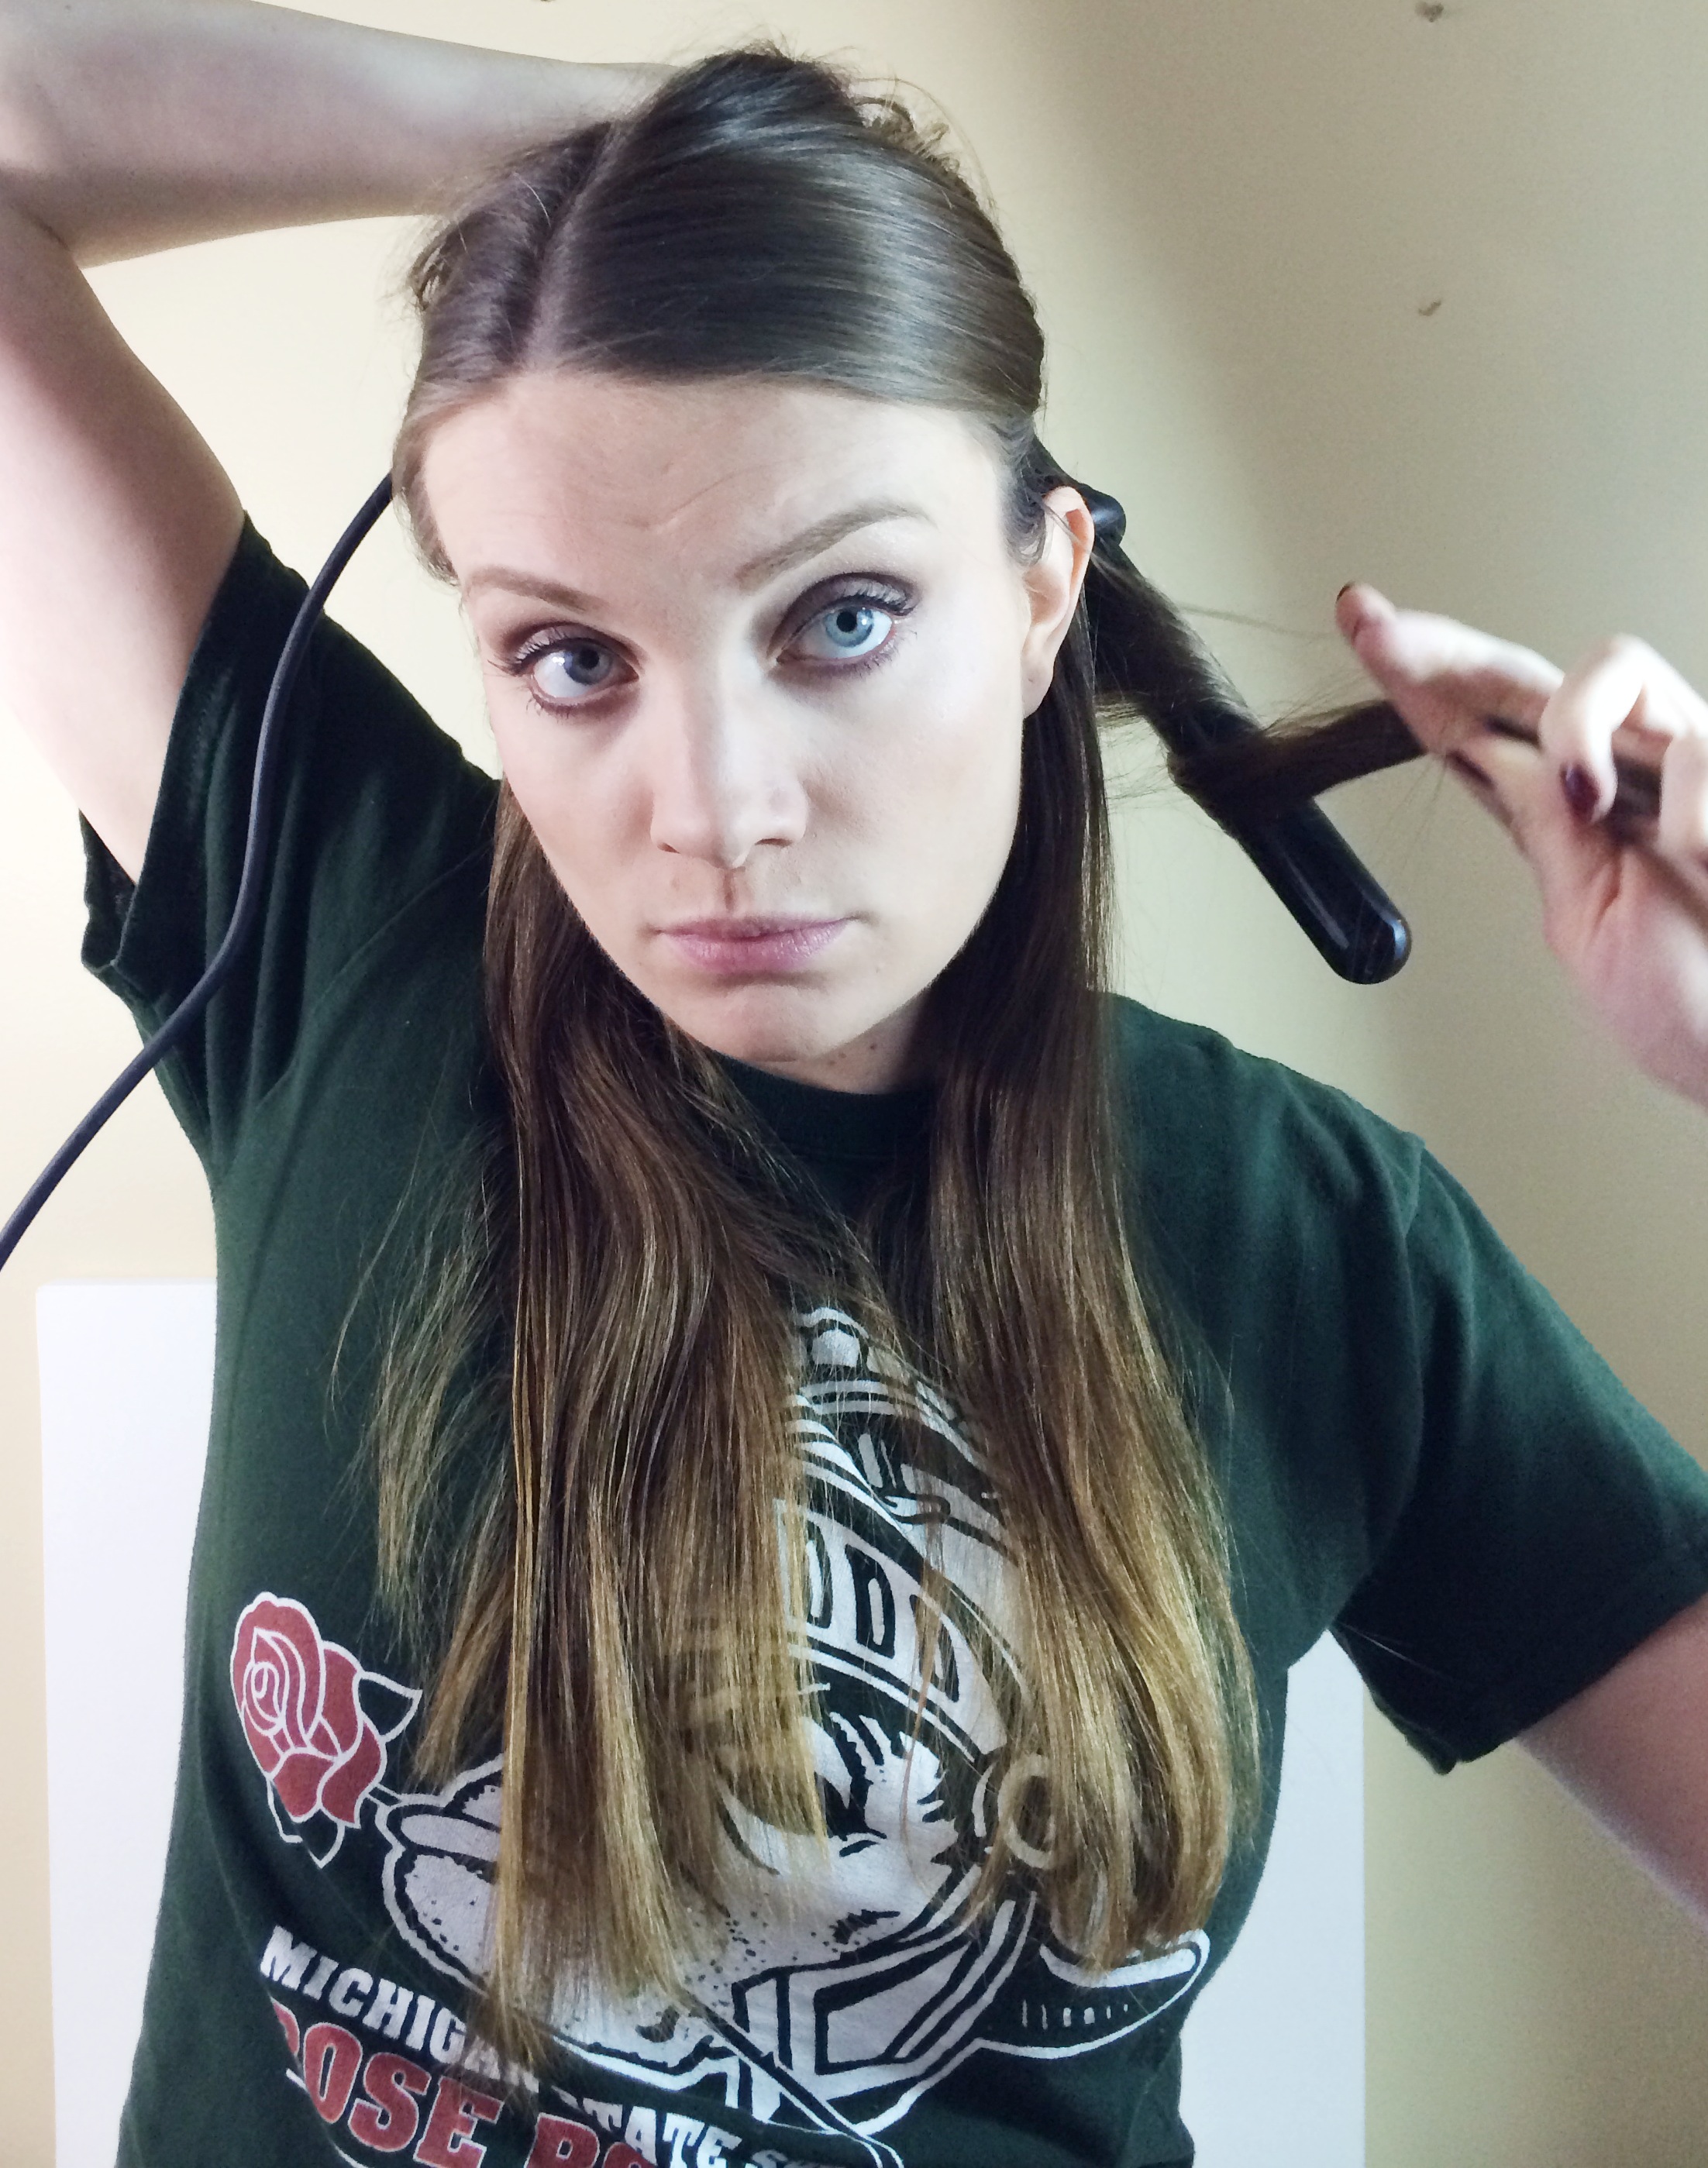
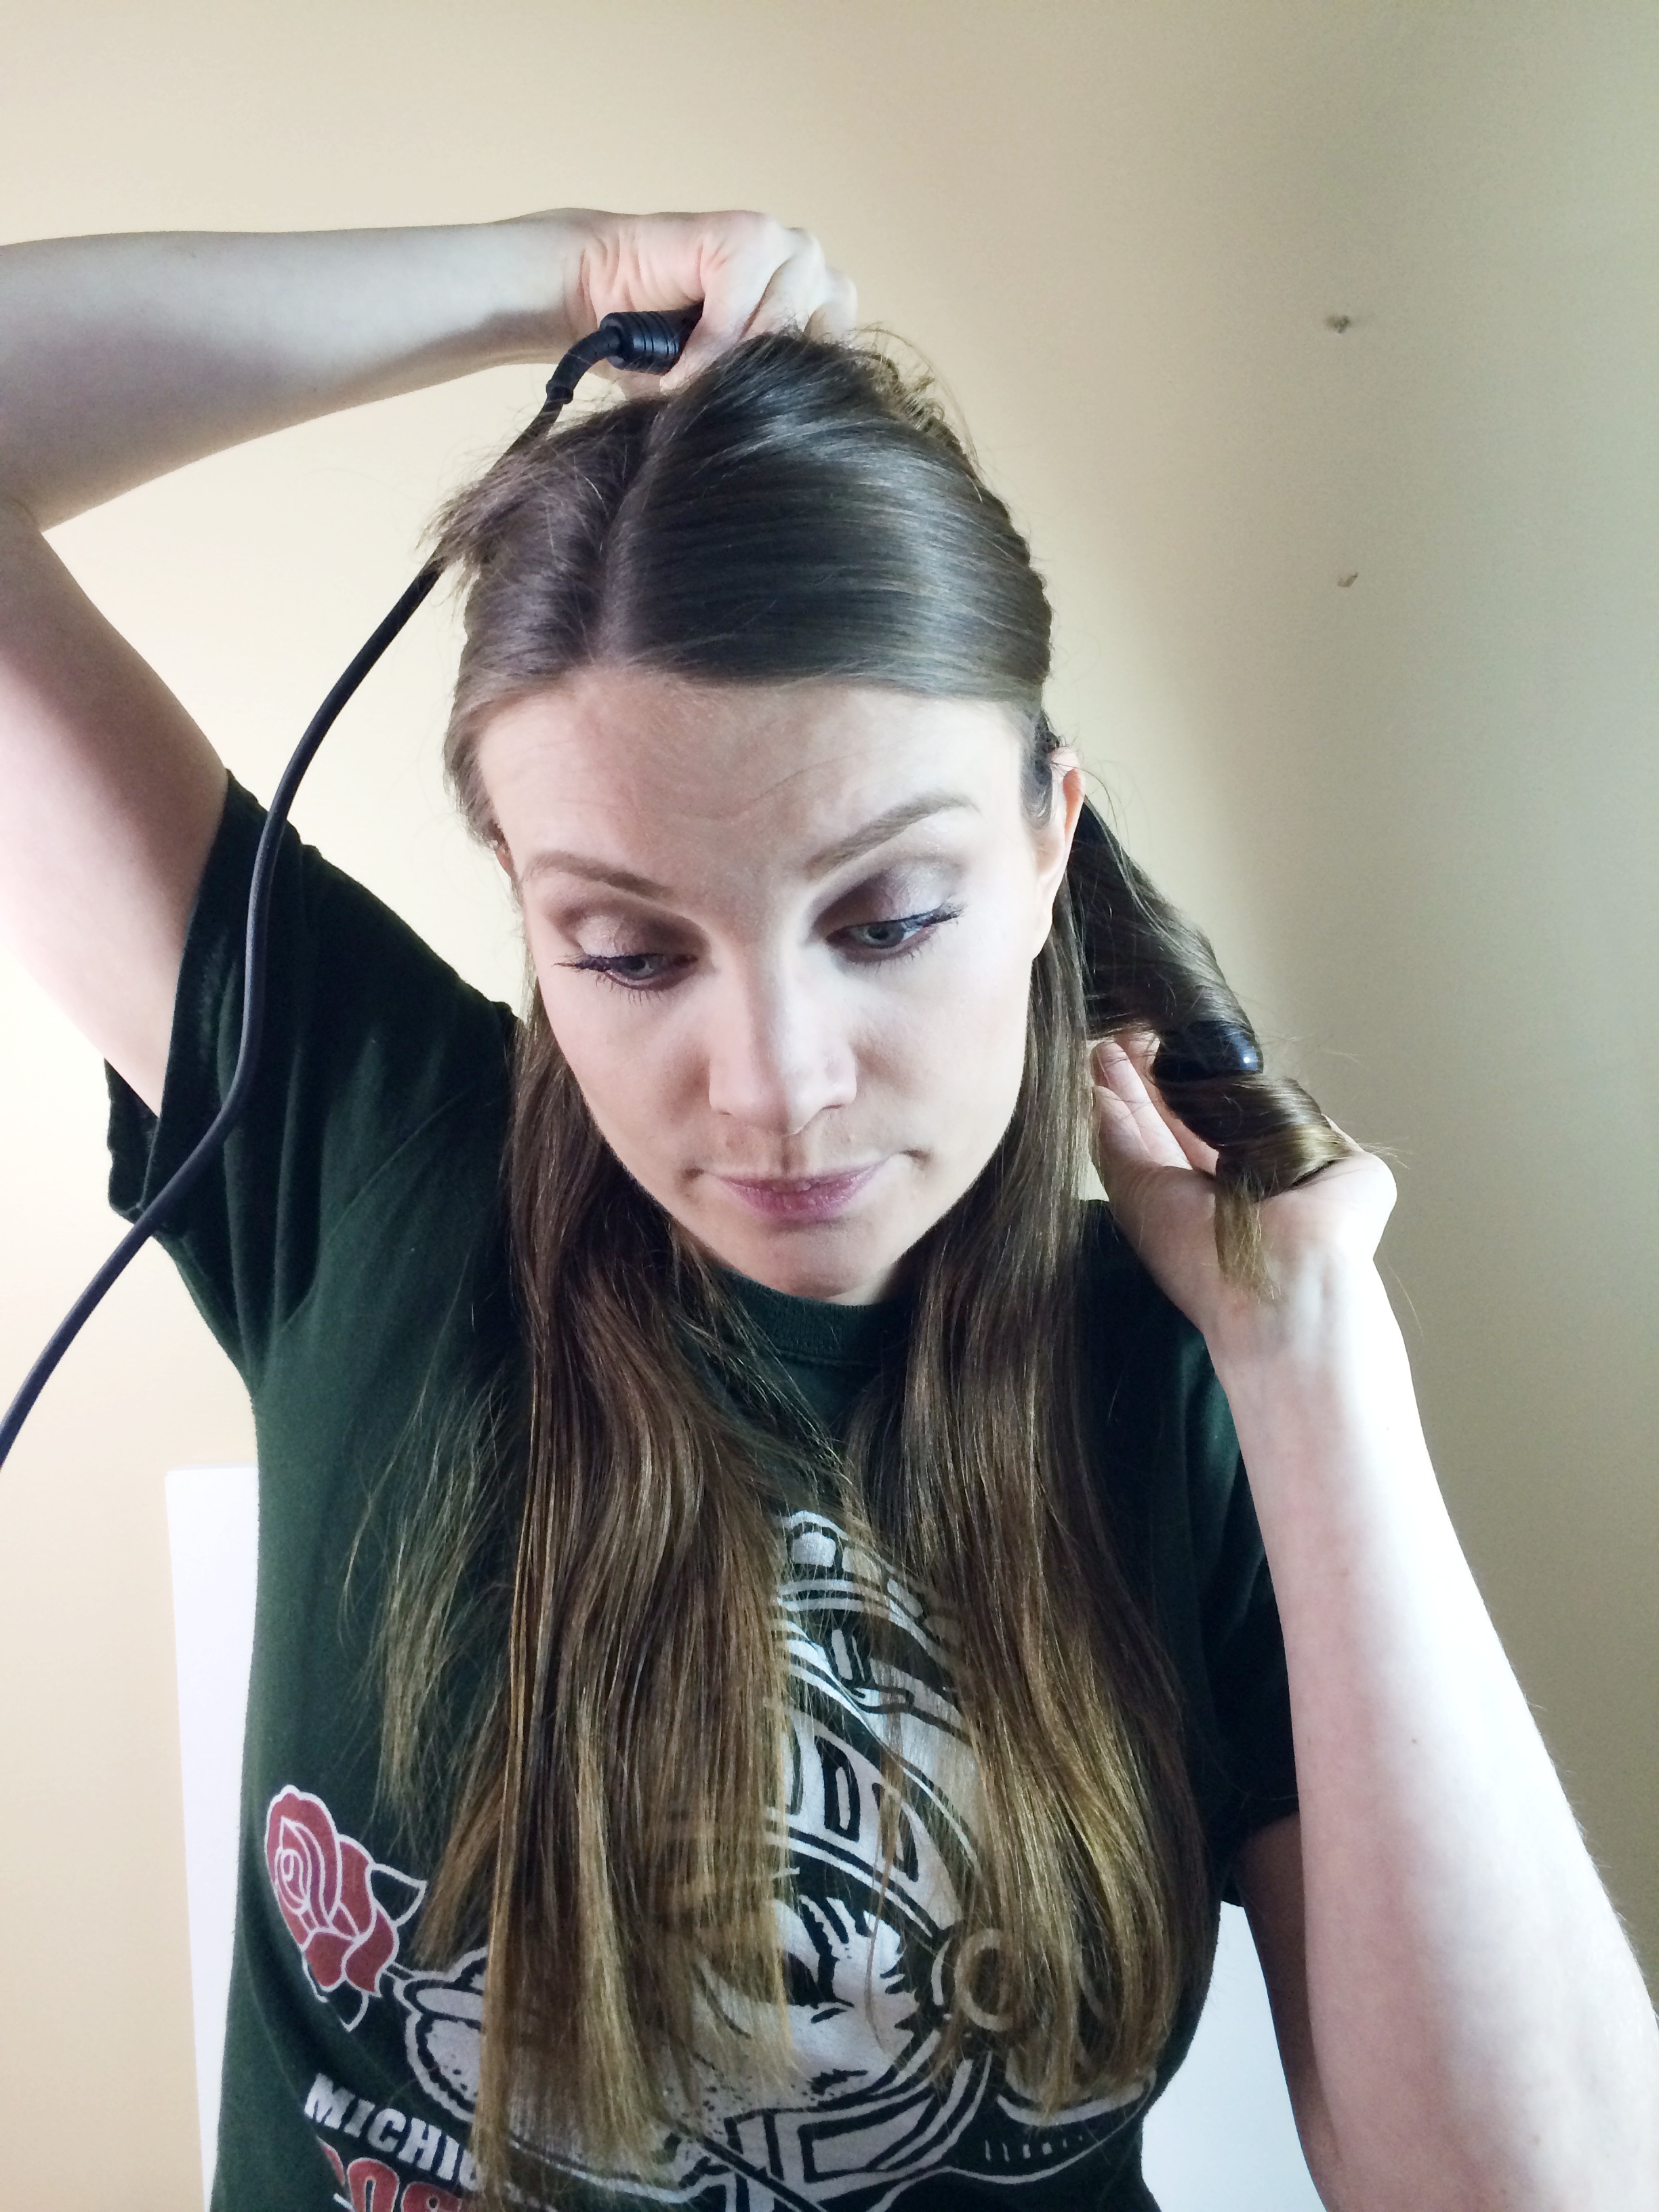
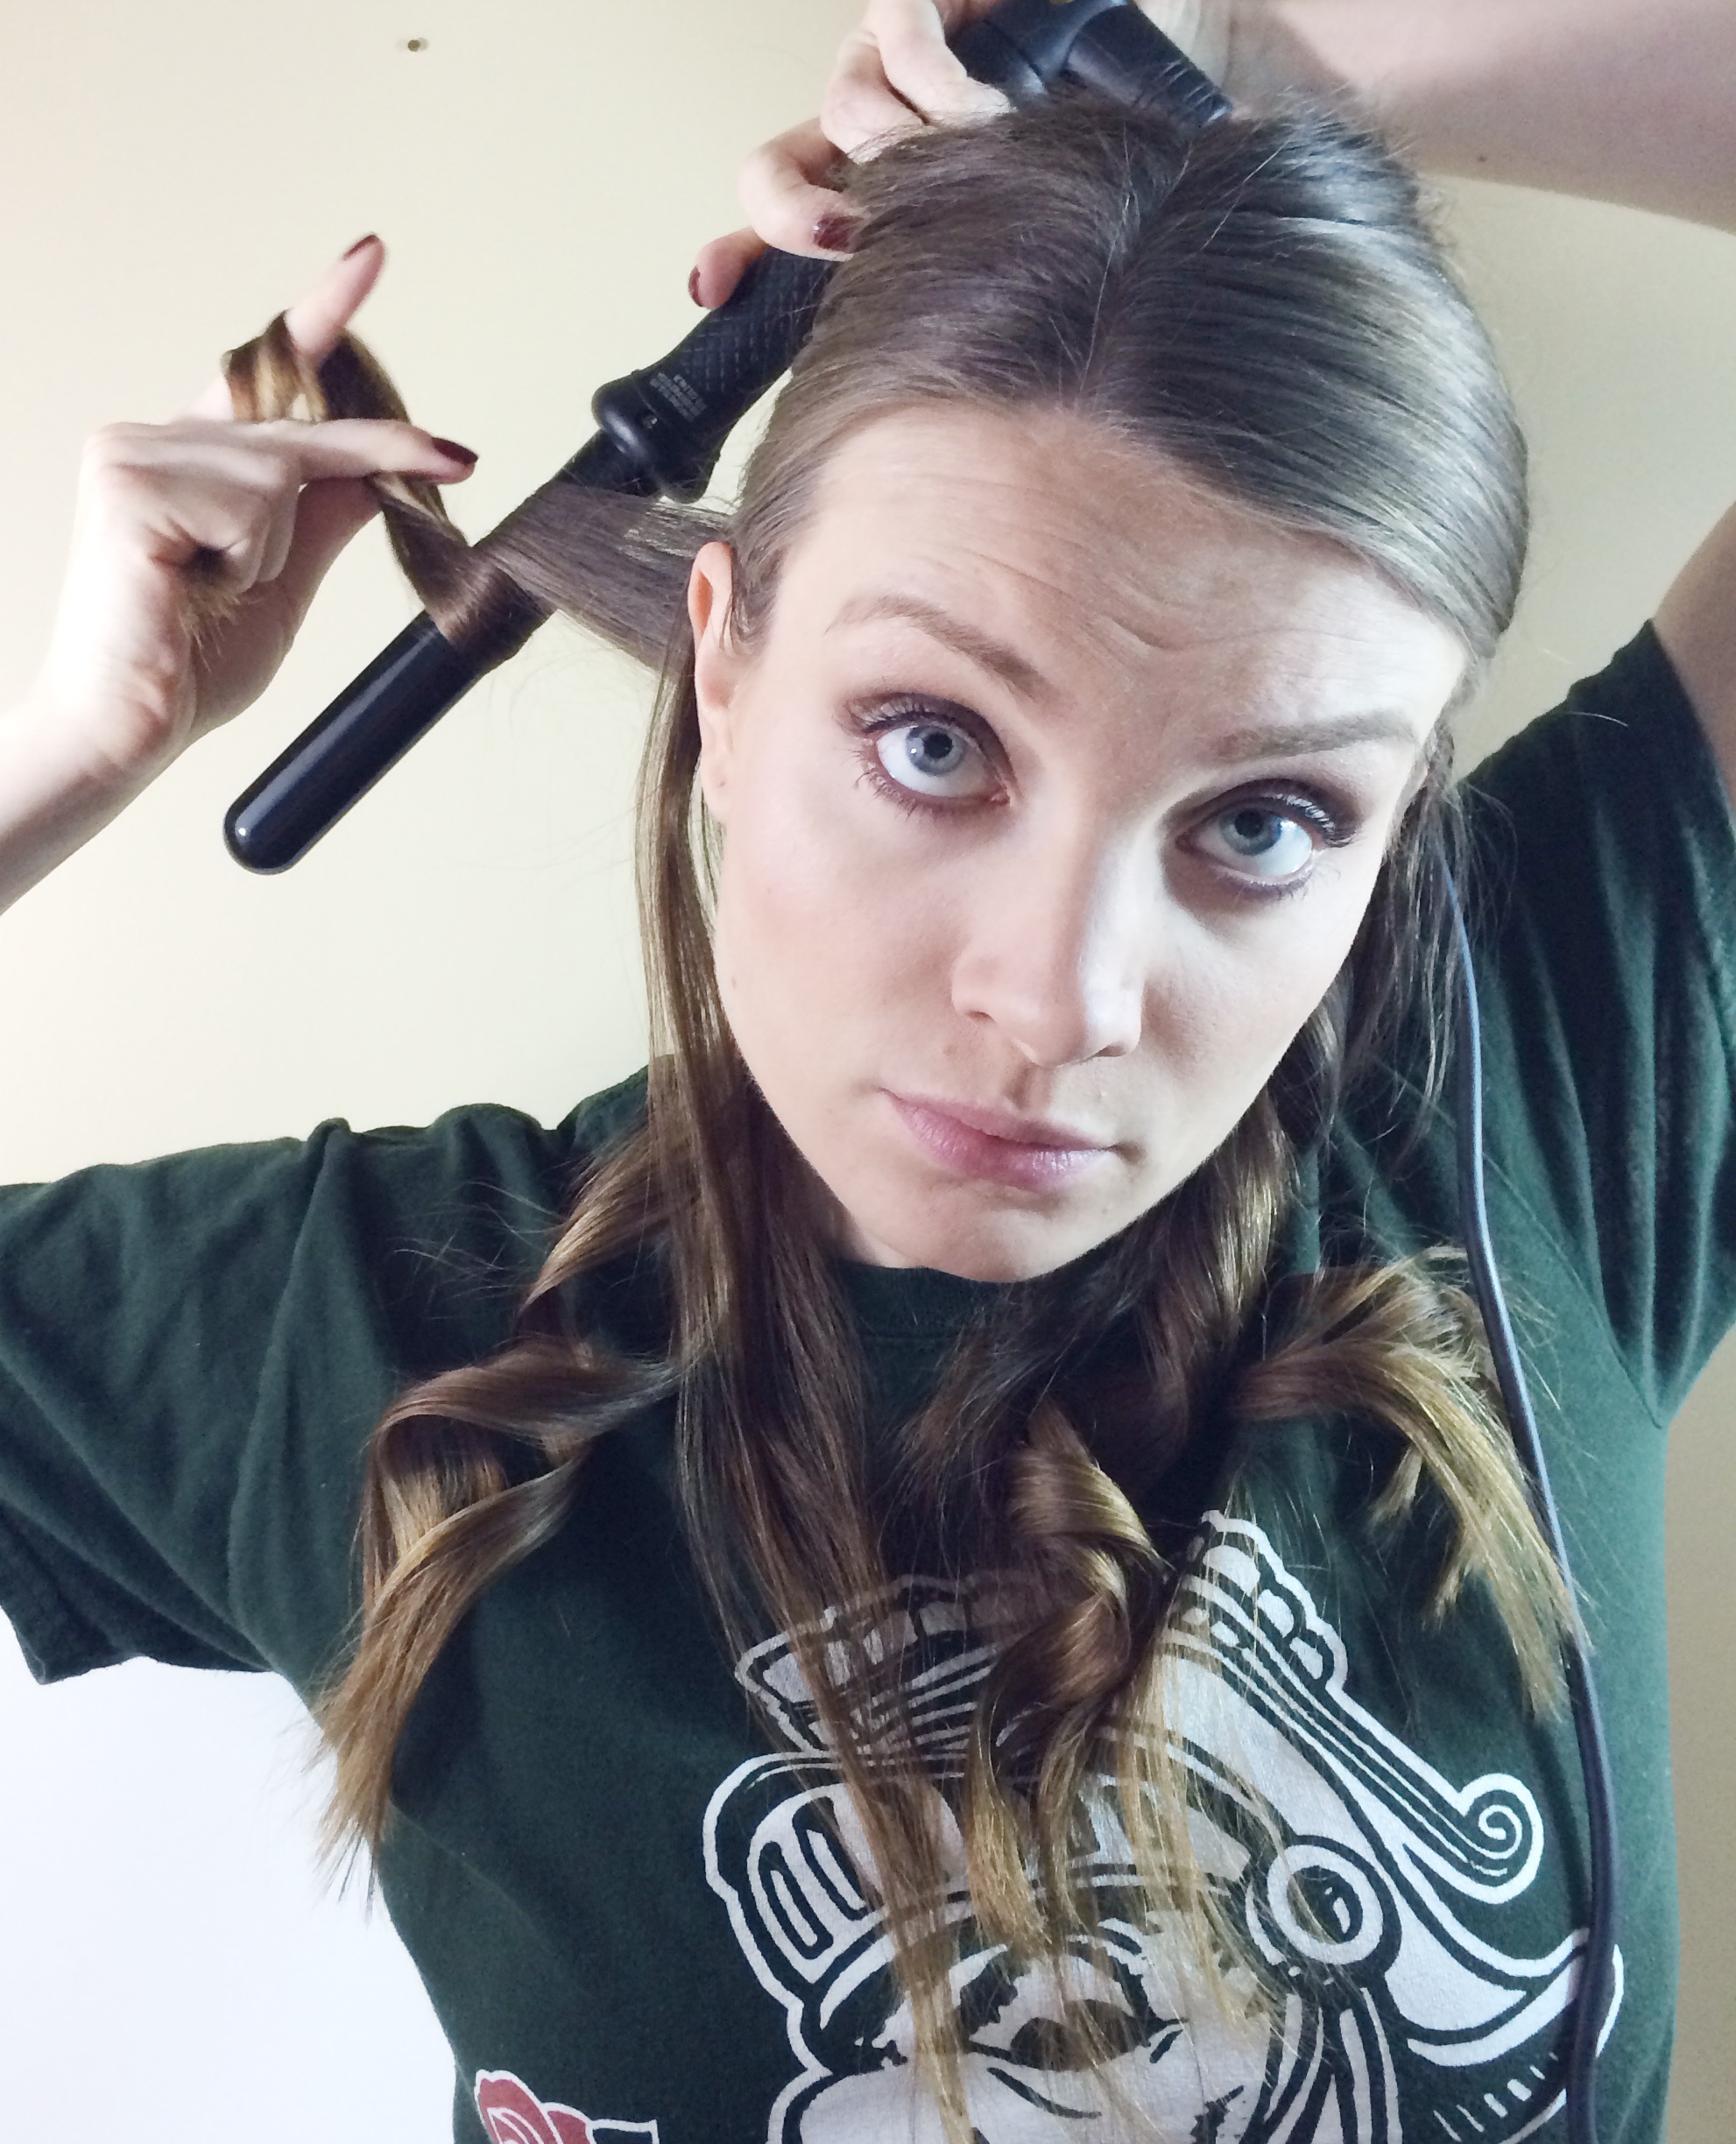
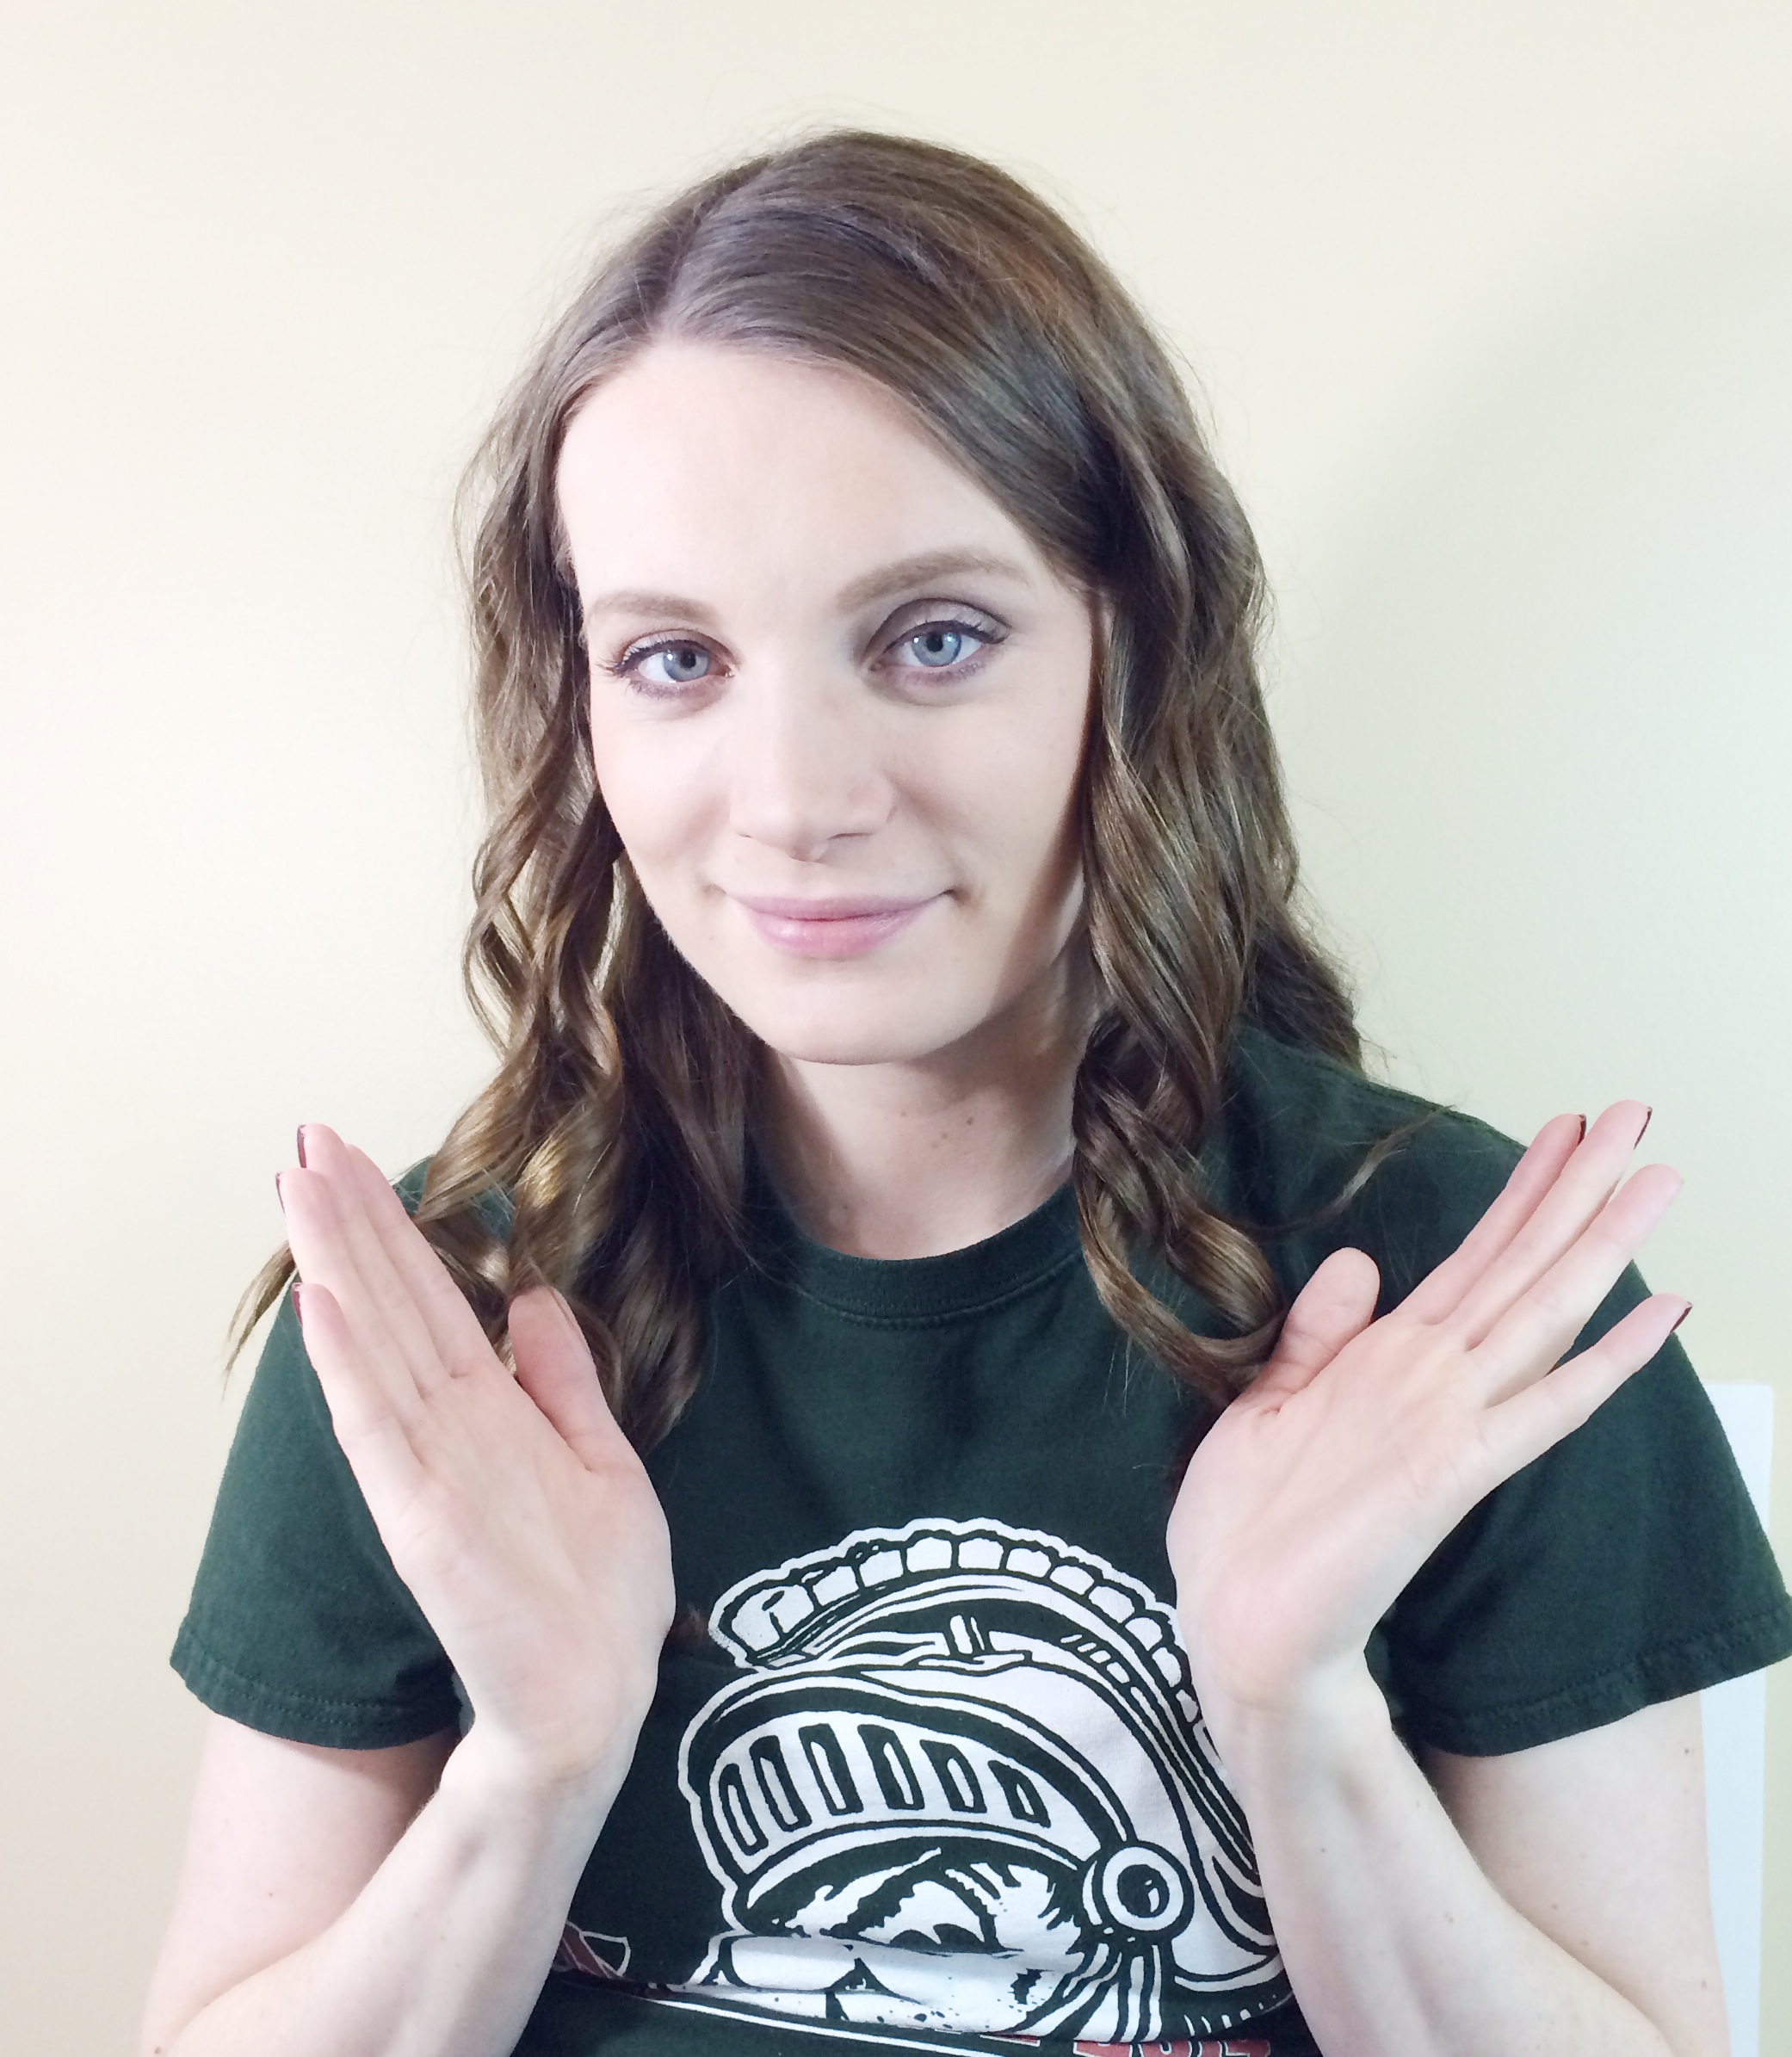
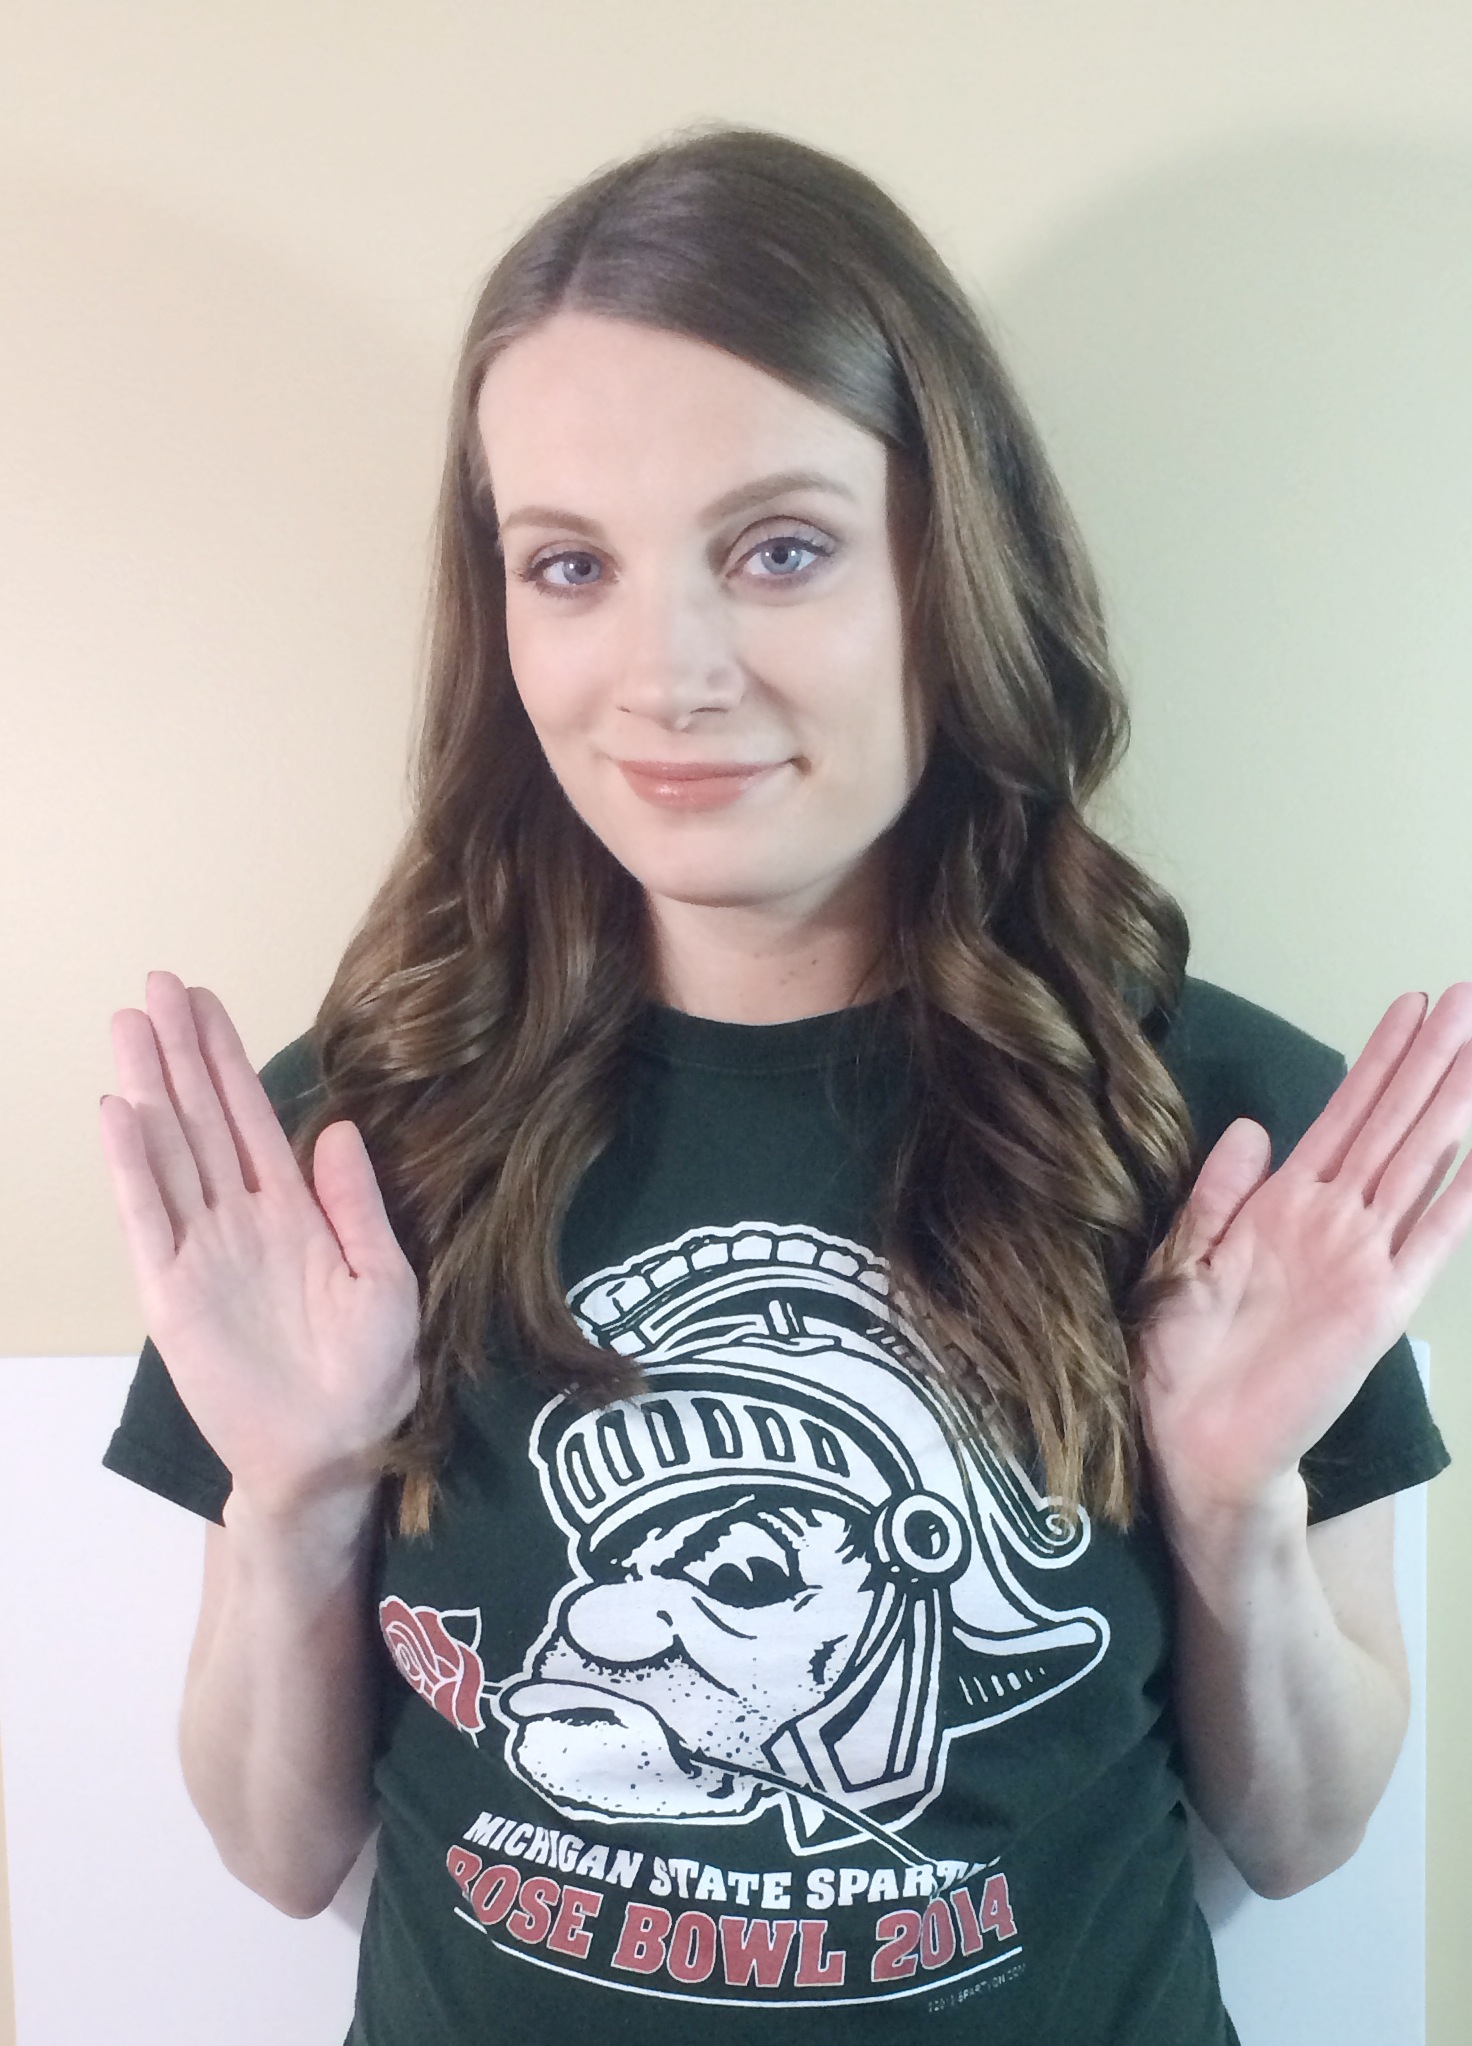
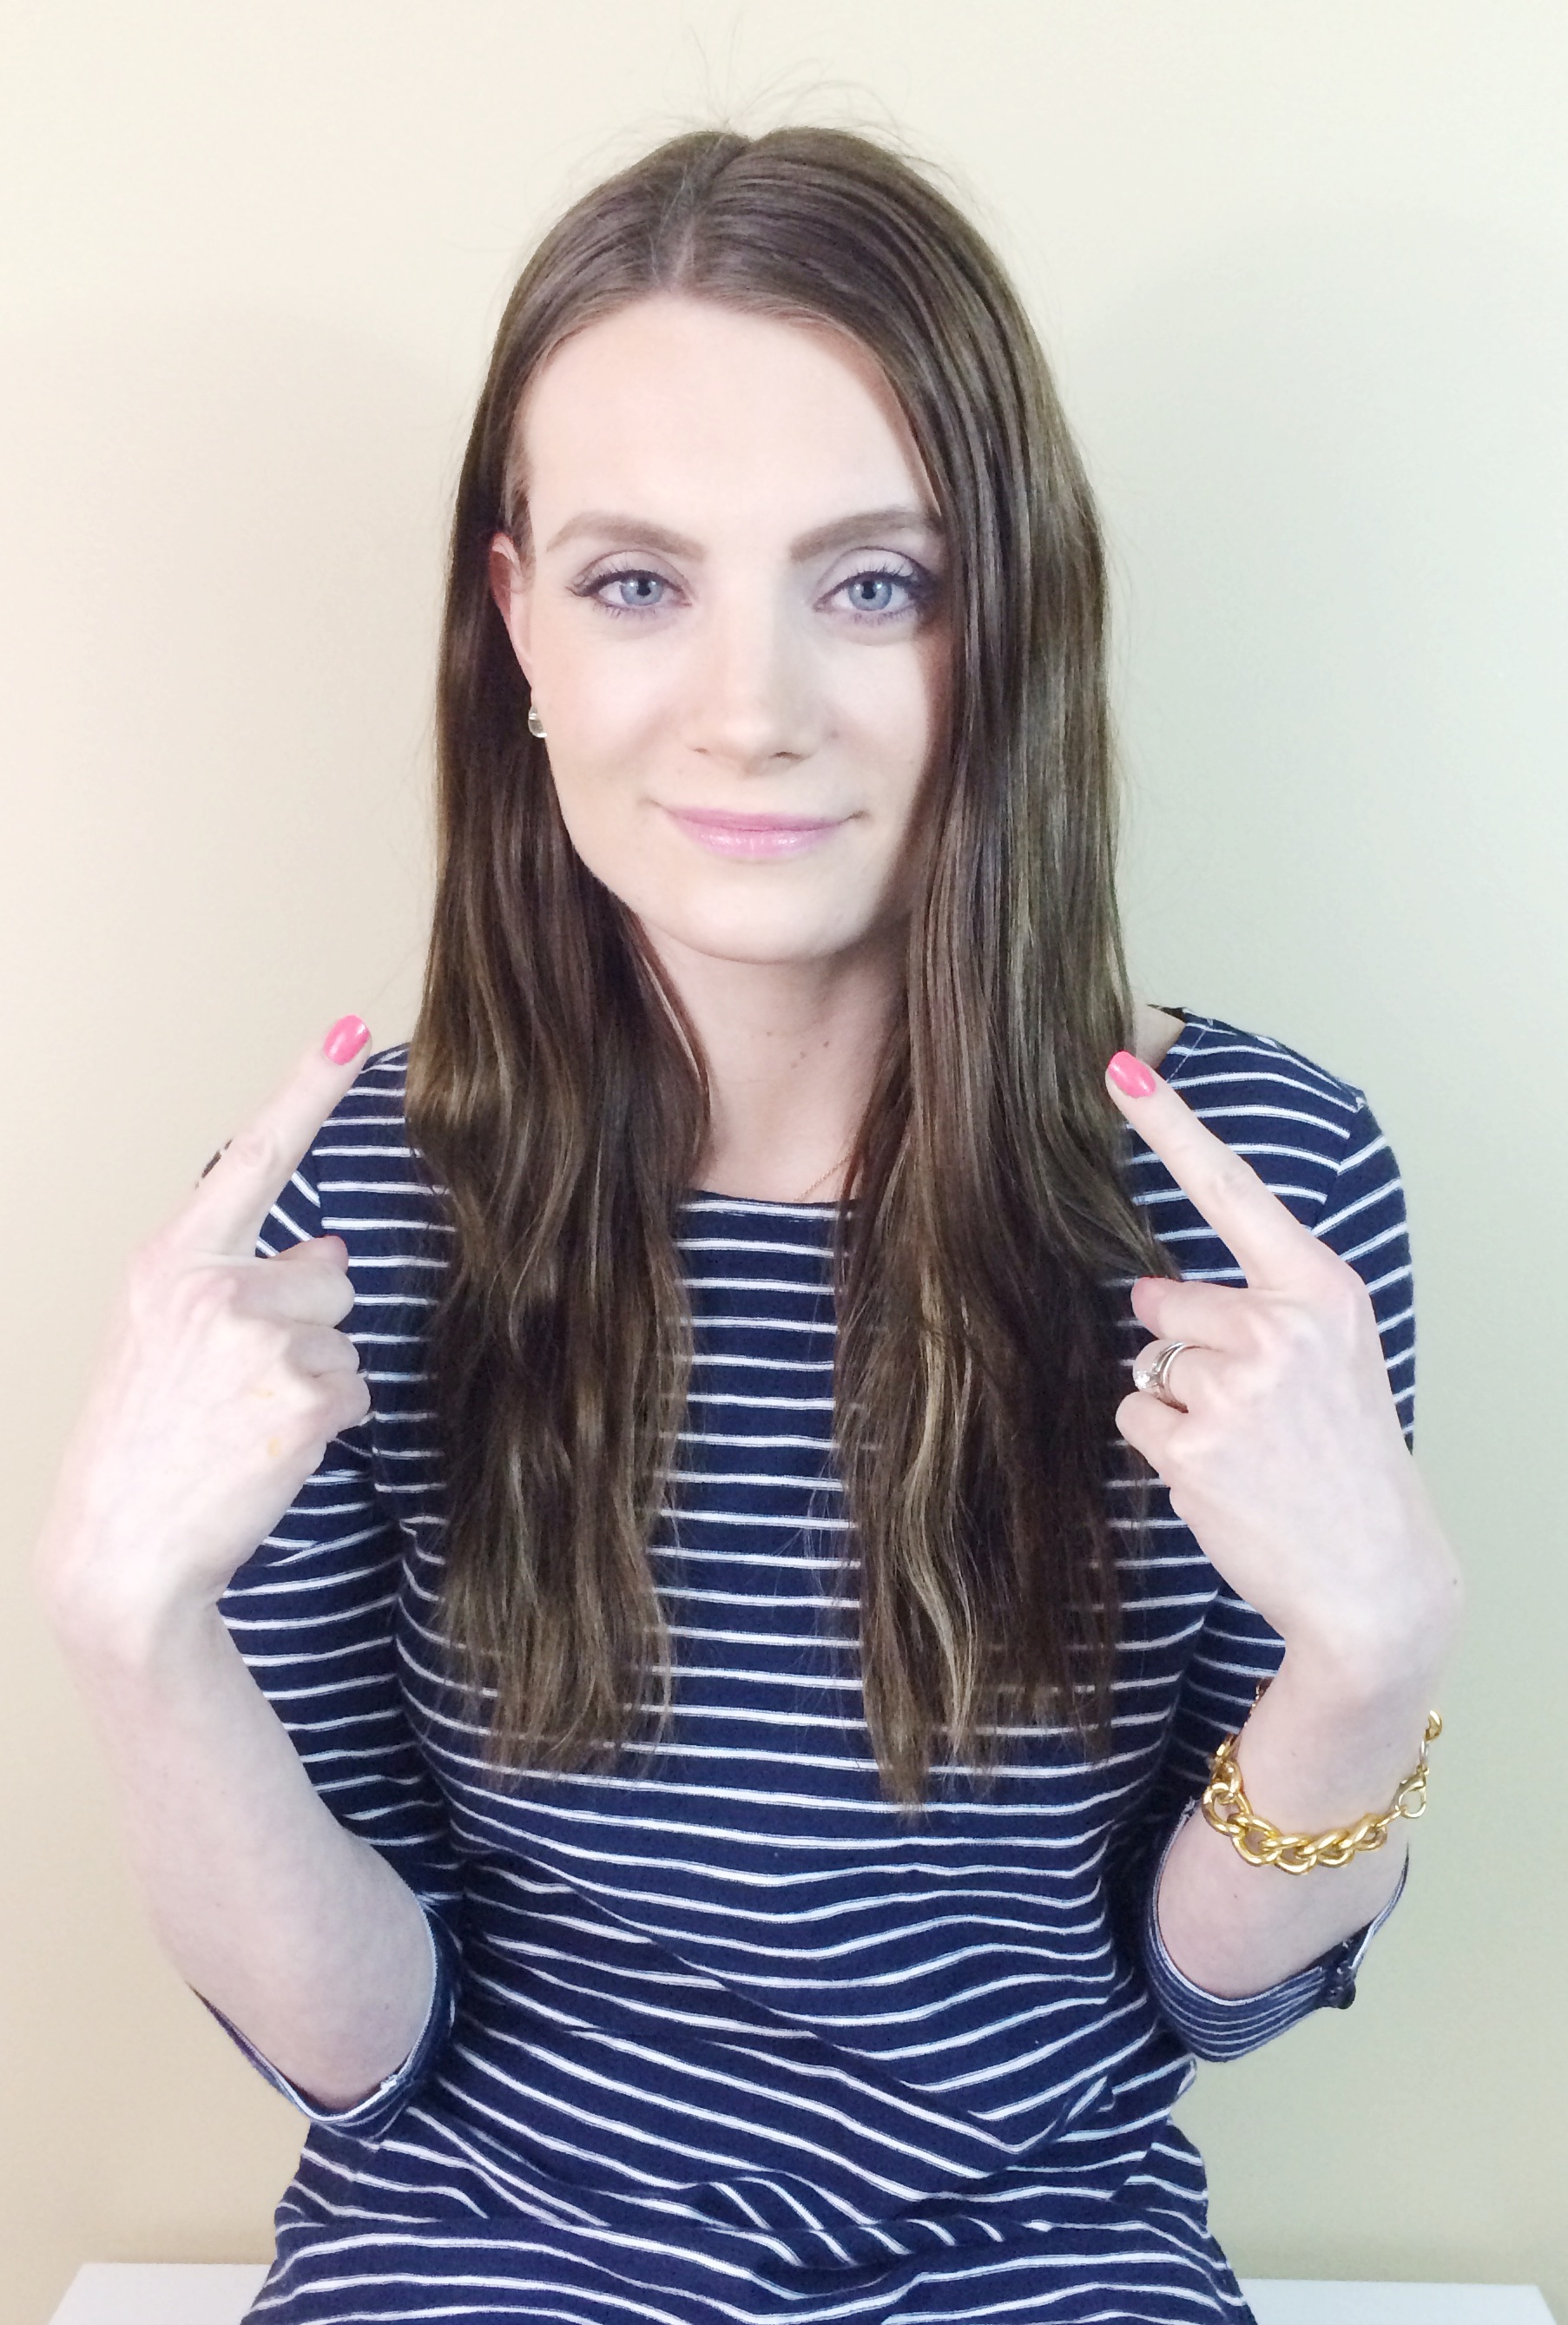
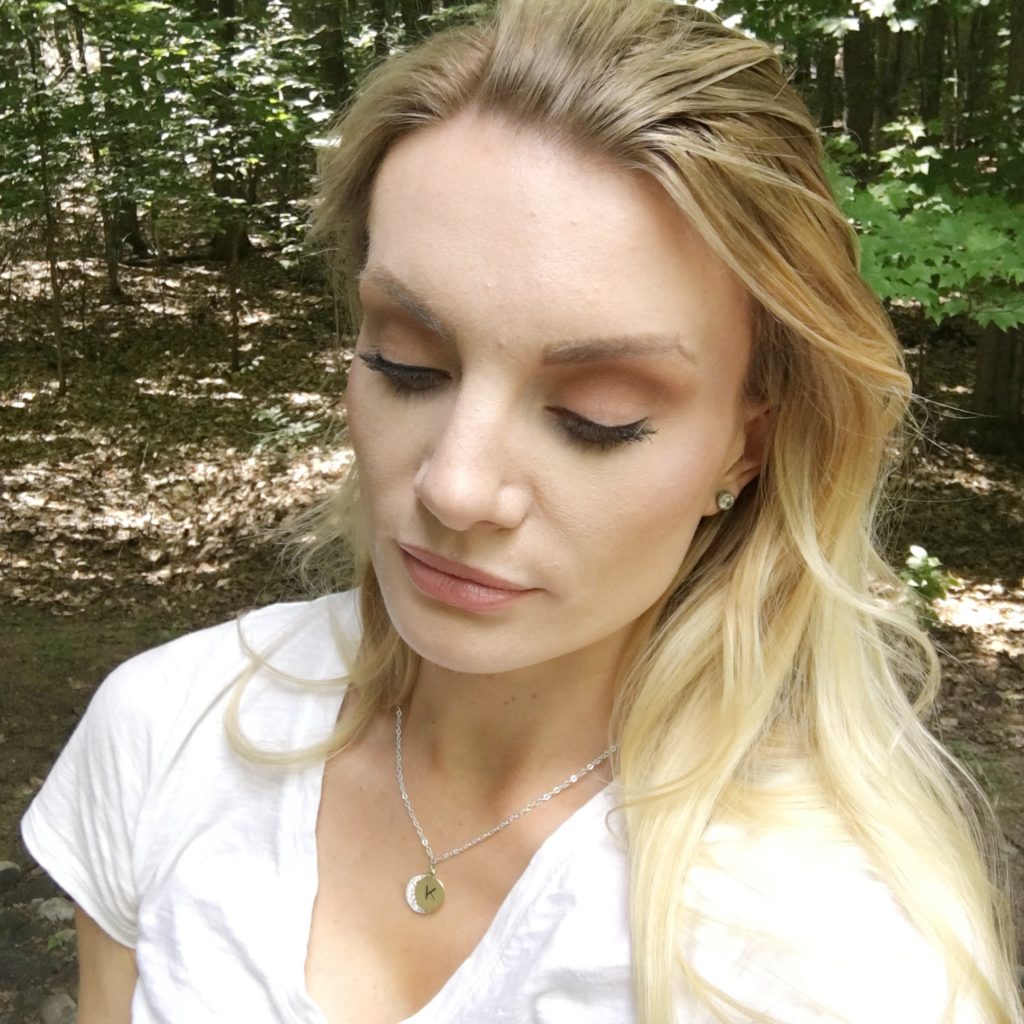
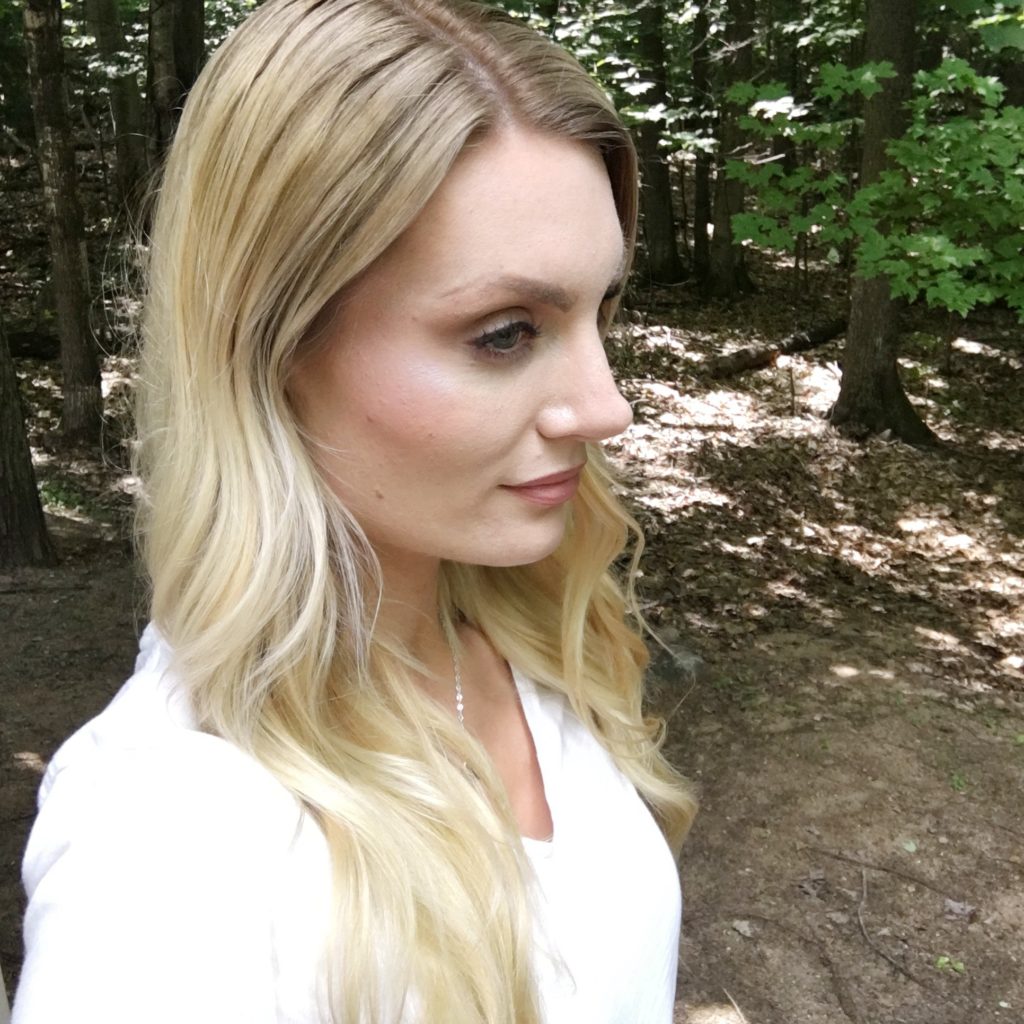
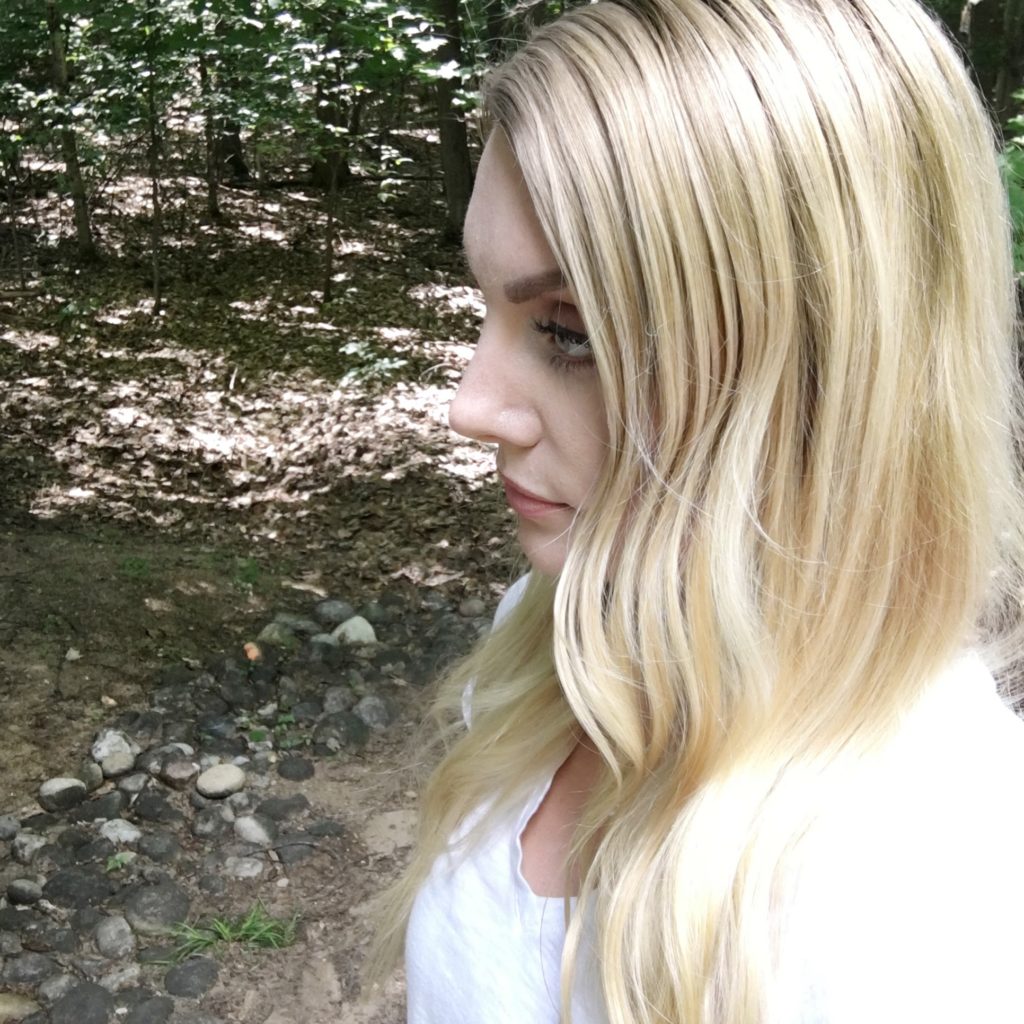
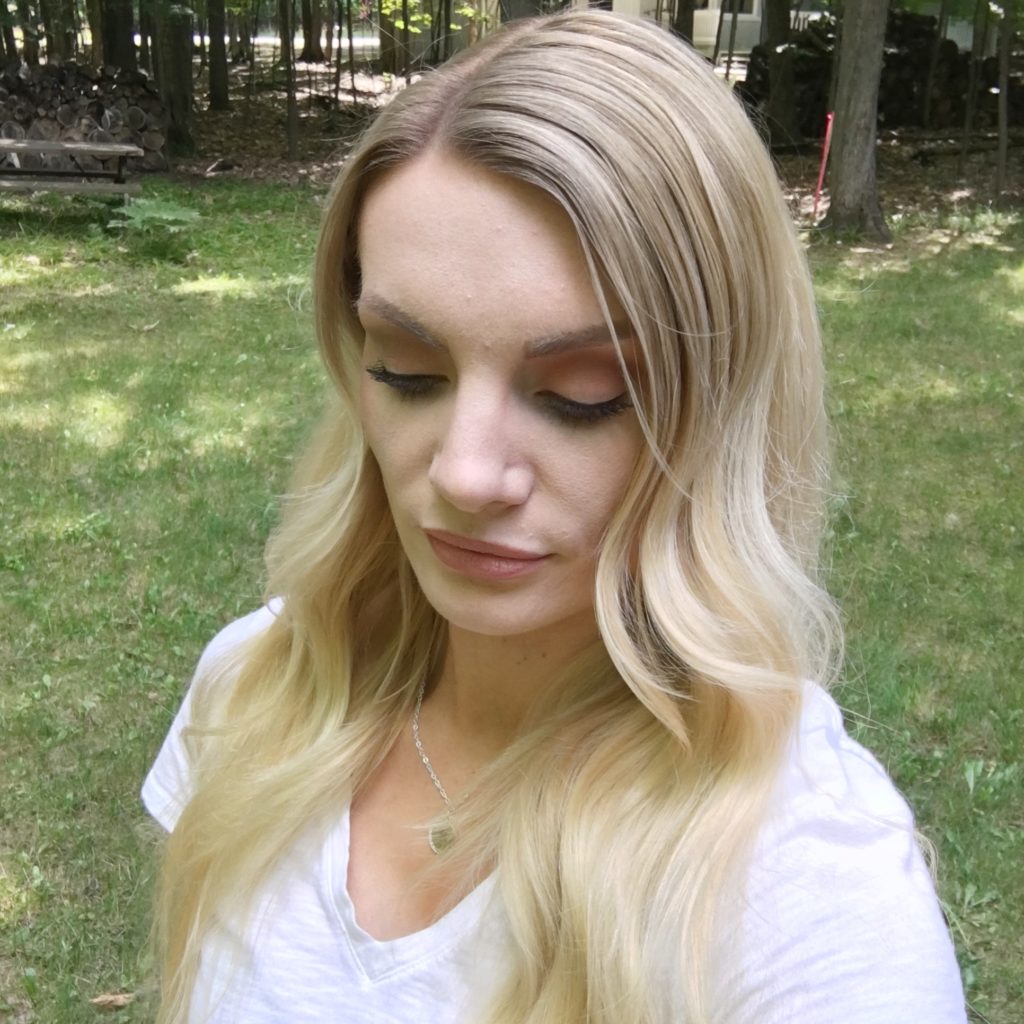
I got my hair color touched up at the end of last week, and decided to change up my color a bit for fall. I love the ombré look, and chatted to my stylist who suggested taking my roots a shade darker, a.k.a doing a little root shading. If you want to see my beauty content first, be sure to follow My Beauty Instgram account!


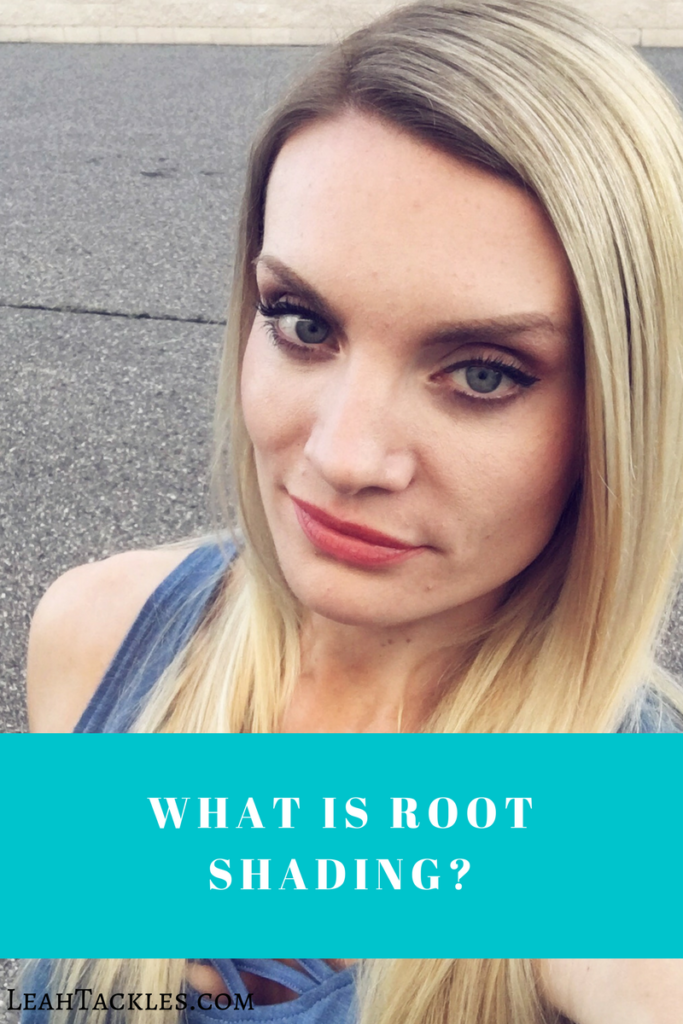
Root Shading vs. Ombre

Ombre and Root Shading are definitely similar. Root shading is the technique of adding darker color to the root area of the hair.

Ombre is a technique where highlights are put underneath in the ends the ends of the hair.

Why I Love Root Shading

I love that this will help soften the stark contrast as my roots grow in, and I love having super blonde ends but a bit darker, ashy blonde on the top.

Regrets?

I am a bit nervous for the next time I get it touched up because it will bring the darker color down further, but so far I am having no real regrets and am loving the look!
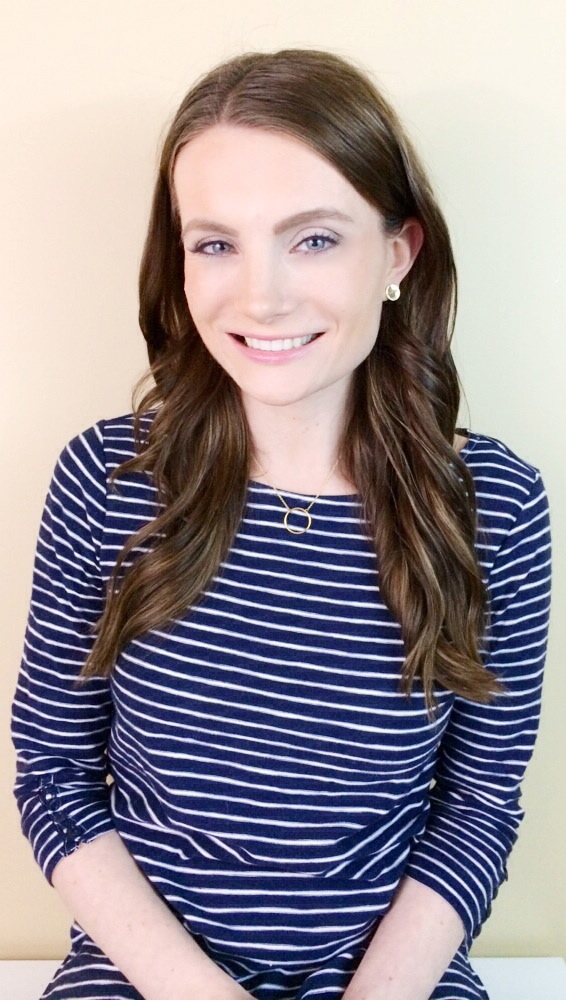
My Results

Have you heard of root shading? Have you tried ombre hair? Do you get your hair colored at the salon? What is your favorite hair trend? Let us know in the comments! Thank you for reading and please consider subscribing if you liked this post : )

FacebookTwitterEmailPinterestShare

Filed Under: Beauty Tagged With: beauty blog, beauty blogger, grown out roots, hair trends fall 2017, hair tutorial, Haircare, how to grow out your roots, leahtackles, LeahTackles Beauty, leahtackles haircare, low maintenance blonde hair, low maintenance hair color, natural roots, Ombre hair, ombre hair vs root shading, What Is Root Shading, What Is root Shadowing

HOW-TO KEEP LONG AND COLOR TREATED HAIR HEALTHY

May 17, 2017 & Leave a Comment

Hi there! Happy Wednesday!

I have very long and color treated hair, and I get a lot of questions about how I keep my hair healthy, so today I want to share a few simple tips with you.


Don’t Wash Your Hair Every Day

This was a hard one for me years ago, but now I wash every other day or every couple of days. If you get greasy in the roots, or if you are an every single day hair washer, it can take time to get yourself AND your hair trained to skip a day, but it *will* even out! Skipping a day or two between shampooing will actually slow down the oil production and leave you with  healthier hair.

Befriend the Braid, Messy Bun, or Top Knot

I like to wear my hair in a braid or bun when I want to give my hair a day off from heat styling, or if I’m in a rush. I have been LOVING wearing my hair in a french crown braid that is perfect for summer and the gym! I got a lot of requests on Snapchat (@LeahTackles), which surprised me because it takes less than 5 minutes and isn’t fancy, but I ended up filming a talk-through style tutorial so you can copy the look.


My Hair Product Essentials


If you have any more specific questions about my hair or haircare routine, please ask! Thank you for reading and please subscribe!

FacebookTwitterEmailPinterestShare

Filed Under: Beauty Tagged With: drugstore haircare, dry shampoo, easy summer hairstyle, eva nyc, french crown braid, greasy hair help, hair oil, Hair TIps, hair tutorial, how to wash your hair less, how-to easy summer braid, how-to grow long hair, how-to have long color treated hair, how-to keep color treated hair healthy, How-To Keep Long Hair Healthy, it's a 10, it's a 10 silk express miracle silk leave-in, leahtackles, LeahTackles Beauty, leahtackles hair, products for healthy hair, summer braid, Tresemme Heat Protectant, wet brush, wide tooth comb

Hair Curling Tutorial with NUME 25 MM Wand

November 17, 2014 & 2 Comments

Hi there! Happy Monday!!

Today’s blog post goes out to my sweet friend and subscriber, Tammy, who just welcomed a sweet baby girl (congrats again girl!!) because she asked me for my Hair Tutorial-Easy Everyday Curls for Beginners. That tutorial is great for quick, everyday curls, but today I want to share my faaaavorite curls that take a little longer, but I can also get two days wear out of them.

BEFORE WE GET STARTED:

1) I took these pictures about a month ago and almost didn’t upload them because I’m in a lounge top, but hey this is real life!! : )

2) I do NOT show myself using a glove but these curling irons are EXTREMELY hot and when I first used mine I would wear the glove, and sometimes still do. BE CAREFUL!


ABOUT MY HAIR:

I have naturally straight hair, it doesn’t dry completely stick straight like it did before kids, but it’s still very straight naturally. I have very fine hair, but a lot of it. My hair can sometimes be dry at the ends, and I use dry shampoo in the roots to avoid any greasiness on second day hair.


PRODUCTS I USED:

Nume Classic 25 MM Curling Wand (this is AMAZING! I absolutely adore Nume products, they are worth the hype!! Never pay full price for these though, google coupon codes because you can get them for way less!!)

The “Wet” Brush This is the most amazing brush EVER! It puts my old stand-by, a large tooth comb, to shame.

It’s a 10 Miracle Leave-In Product Amazon has the best prices for this!!!

Got2B Gaurdian Angel Heat Protector

Sectioning Clips (I don’t like mine and can’t find my good ones, but the ones I linked are great!)

It’s a 10 Miracle Styling Serum 


STEP 1:

Spray your hair with a heat protectant and then begin sectioning your hair. I try not to worry too much where exactly I section, but do the sides and middle in 2-3 sections each. If you would like to see exactly how I section, let me know in the comments and I would be more than happy to do a post on that as well.

STEP 2:

Choose one of the bottom sections and take a 1 inch section from the back. Hold the curling wand upside down with the OPPOSITE hand as the side you are curling and curl the section around the wand. I like to keep the hair flat to the iron and wrap the hair away from my face. To wrap away from your face start with the hair up and over the wand. Continue doing this around your head letting section by section down as you go.


haircurlingtutorial-numewand-leahtackles.jpeg

curlingwand-curlinghowto-leahtackles.jpeg

hairwandcurlingtutorial-leahtackles.jpeg


STEP 3:

I let my hair set for a few minutes & spray it with a little hairspray. I then put my head upside down, shake it around and spray it with a little more hair spray. I like to finger comb through some of the curls, but be careful not to do it too much so you undo your pretty curls! I then put a little oil on the ends of my hair.


leahtackles-numewand-haircurlingtutorial.jpeg

haircurlingwandtutorial-leahtackles.jpeg


I know this may seem intimidating, so *pleasepleaseplease* feel free to ask any questions in the comments or on any of my social media. I seriously didn’t know how to curl my hair well until I turned 25!! This may take a little practice, but it is a great style to be able to do! I love this because I can wear it on the first day, sleep on it, and then comb through the curls a little for loose, big volume second day curls.

Have a WONDERFUL week : )

FacebookTwitterEmailPinterestShare

Filed Under: Beauty Tagged With: beauty, beauty blog, beauty blogger, curling wand, hair curling tutorial, hair style, hair tutorial, leah tackles, nume 25 mm wand, nume wand

HAIR TUTORIAL-EASY EVERYDAY CURLS FOR BEGINNERS!!

April 25, 2014 & 5 Comments

Hi there! Happy Friday!!!

A couple of weeks ago I received a request on Instagram to show how I curl my hair. I love getting comments and thank you so much for asking! I have a few different irons that I use depending on the type of style or curl type I want, but I thought I would start with the style I do most often. I like to do loose, big curls that give you nice volume and soft waves because it’s a quick hairstyle that isn’t too fussy. I know some people are intimidated by curling hair, and I completely understand because I couldn’t curl my hair well until I was 25! NO joke!  In college my best friend would always have the most beautifully done curls, and she made it seem so easy! Then I would try and end up with a kink from the iron or curls that just didn’t look right. Finally, I got a new curling iron and practiced a few times and it was like all of a sudden I could curl my hair! And I haven’t looked back….now I curl my hair several times a week and absolutely love it.

ABOUT MY HAIR:

I have naturally straight hair, it doesn’t dry completely stick straight like it did before kids, but it’s still very straight naturally. I have very fine hair, but a lot of it. My hair can sometimes be dry at the ends, and I use dry shampoo in the roots to avoid any greasiness on second day hair.

PRODUCTS I USED:


curl-tutorial.jpeg


The “Wet” Brush

It’s a 10 Miracle Leave-In Product

Aussie Hair Insurance Split End Protector

Not Your Mother’s Beat The Heat Thermal Shield Spray

TeaZe by Phillips Rat Tail Comb

Large Hair Claw

Hot Tools 1 1/5 Inch Curling Iron (these are my favorite less expensive curling irons!)

Abba Pure Performance Hair Care Style Spray

It’s a 10 Miracle Styling Serum


STEP 1:

Apply leave-in conditioner and split end protector. Let hair air dry if possible (sometimes I do this overnight!) or blow dry. This is also a great time to put in a volumizing product, but I skip this step most days.


air-dry-hair.jpeg


STEP 2:

Spray you hair with a heat protector and then section your hair using a teasing combs pointed end and clip it up with a large hair claw. TIP: If you have very thick hair you can section it into more sections using sectioning clips like these, which is what I prefer to do when I have more time, but for a quick style, this works!


leahtackles-hair-tutorial.jpeg


STEP 3:

Take the bottom section of your hair and split it so that half over your shoulder on one side and the other half over the other shoulder. Then, take a 1 or 1 1/2 inch piece of hair from the back and hold it with the opposite sides hand (so your hand is up and over your head)and then open the curling iron and put the clamp so it faces front and the barrel faces back. Run the iron down to the bottom of your hair, leaving out a little bit at the ends, and turn the iron away from your face. Hold the iron for about 15 seconds and then release the curl. Be careful with your heat settings on the curling iron (if your iron has adjustable heat settings), especially if you have fine or thin hair.  I like to catch the curl with my hand and hold it for a few seconds to get the curl to set.


curling-hair-leahtackles.jpeg

curl-tip.jpeg


STEP 4:

Repeat this all the way until the front of the first side of your face and then continue to the next side starting again in the back working your way front. Be sure to switch hands and curl with the same hand as side that you are curling. It was very hard for me to get used to the idea of curling with my left hand when curling the left side of my head, I’m a righty, but it makes such a difference! (Thanks to my patient friend for teaching me that! Sorry it took me so long to “get” it! ; ) )


STEP 5:

Let down the top section of your hair and you’re done! JUST KIDDING!! Do NOT leave the house like this!! ; ) Do the same thing as STEP 4. You may find a few missed pieces, so feel free to curl or re-curl those (I almost always have at least one, right in the back of my head, of course!). Don’t worry if some curls are bigger than others, this is supposed to be casual and un-done.


easy-curls-tutorial.jpeg


STEP 6:

I like to finger comb through some of the curls (again, to make the style a little more un-done and casual), but be careful not to do it too much so you undo your pretty curls! I then finish it off with some hair spray and a little bit of oil or serum on the ends of my hair.


loosecurltutorial.jpeg


That’s it!! It really is a simple hairstyle, and with a little practice I promise anyone can do it! If you enjoyed this hairstyle, please subscribe to my blog (enter your email in the subscription box on the right and you’ll only get emails when I post something new!) or hover over a picture and click the “Pin” button to pin it on your Pinterest account. I will be wearing this type of hairstyle tomorrow for my daughters 3rd (!!!!!) birthday party, and if you rock a similar hairstyle please let me know by commenting or finding me on Facebook, Twitter, or Instagram! I would LOVE to hear from you!  I hope you have a great weekend : )

FacebookTwitterEmailPinterestShare

Filed Under: Beauty Tagged With: anyone can curl hair, big curls, curly, curly hair for beginners, curly hair help, curly hair tutorial, easy hair, easy hairstyle, hair, hair tutorial, happy friday, hot tools, leah tackles, loose curls, loose waves, with love and thanks


SUBSCRIBE

Leave your email to subscribe!

SEARCH

SPONSORS

ARCHIVES

GRAB MY BUTTON


copy & paste code

site design by The Kinch Life Design & development by Olive & Ivy Design

Catch The Webinar Replay! Boundary Setting For Entrepreneurs

Go to leahtacklessocial.com and sign-up for the link!