Hi There!! Happy Monday!
Today I have a super simple DIY project to share with you using apothecary jars. If you’re not familiar with the name, apothecary jars were originally used to mix medicines by an apothecary (a person who mixed medicine), but today are used as decorative displays that you would probably recognize if you saw them. I first started seeing all of the fun decor ideas out there using apothecary jars back when I was planning my wedding about 5 years ago. I loved them so much that I asked if they could be used at one of my bridal showers for a candy buffet. I know that lots of people use them for showers, weddings, or parties, so you may have some yourself or know somebody who has a bunch lying around. If not, they are available at Michael’s, Hobby Lobby, or other craft stores.
I am a lover of glittery, sparkly, beautiful things done in a grown up way! This can be hard to achieve and somebody who inspires me and does this so well is Lauren, the owner of Pearls and Pastries. Once I finish the gallery wall above my desk, I will talk more about her and her fabulous style. I have a cheap faux pearl necklace from Forever 21 that I don’t reach for anymore and that is what started the wheels turning for this DIY. I put the pearls in a mason jar on my desk and loved it! So I went out and bought a few supplies and created the newest edition to my desk. I also pinned other ideas that I love for apothecary jar displays on my Pinterest! If you like this post, please hover over any of the pictures and click the pink “pin” button to put it on your own Pinterest page.
SUPPLIES:
An apothecary jar (or a de-potted candle or mason jar would work as well. If you’d like a tutorial on de-potting your candles, please comment (click on the link by the title of this post) or ask me on Facebook, Twitter, or Instagram!
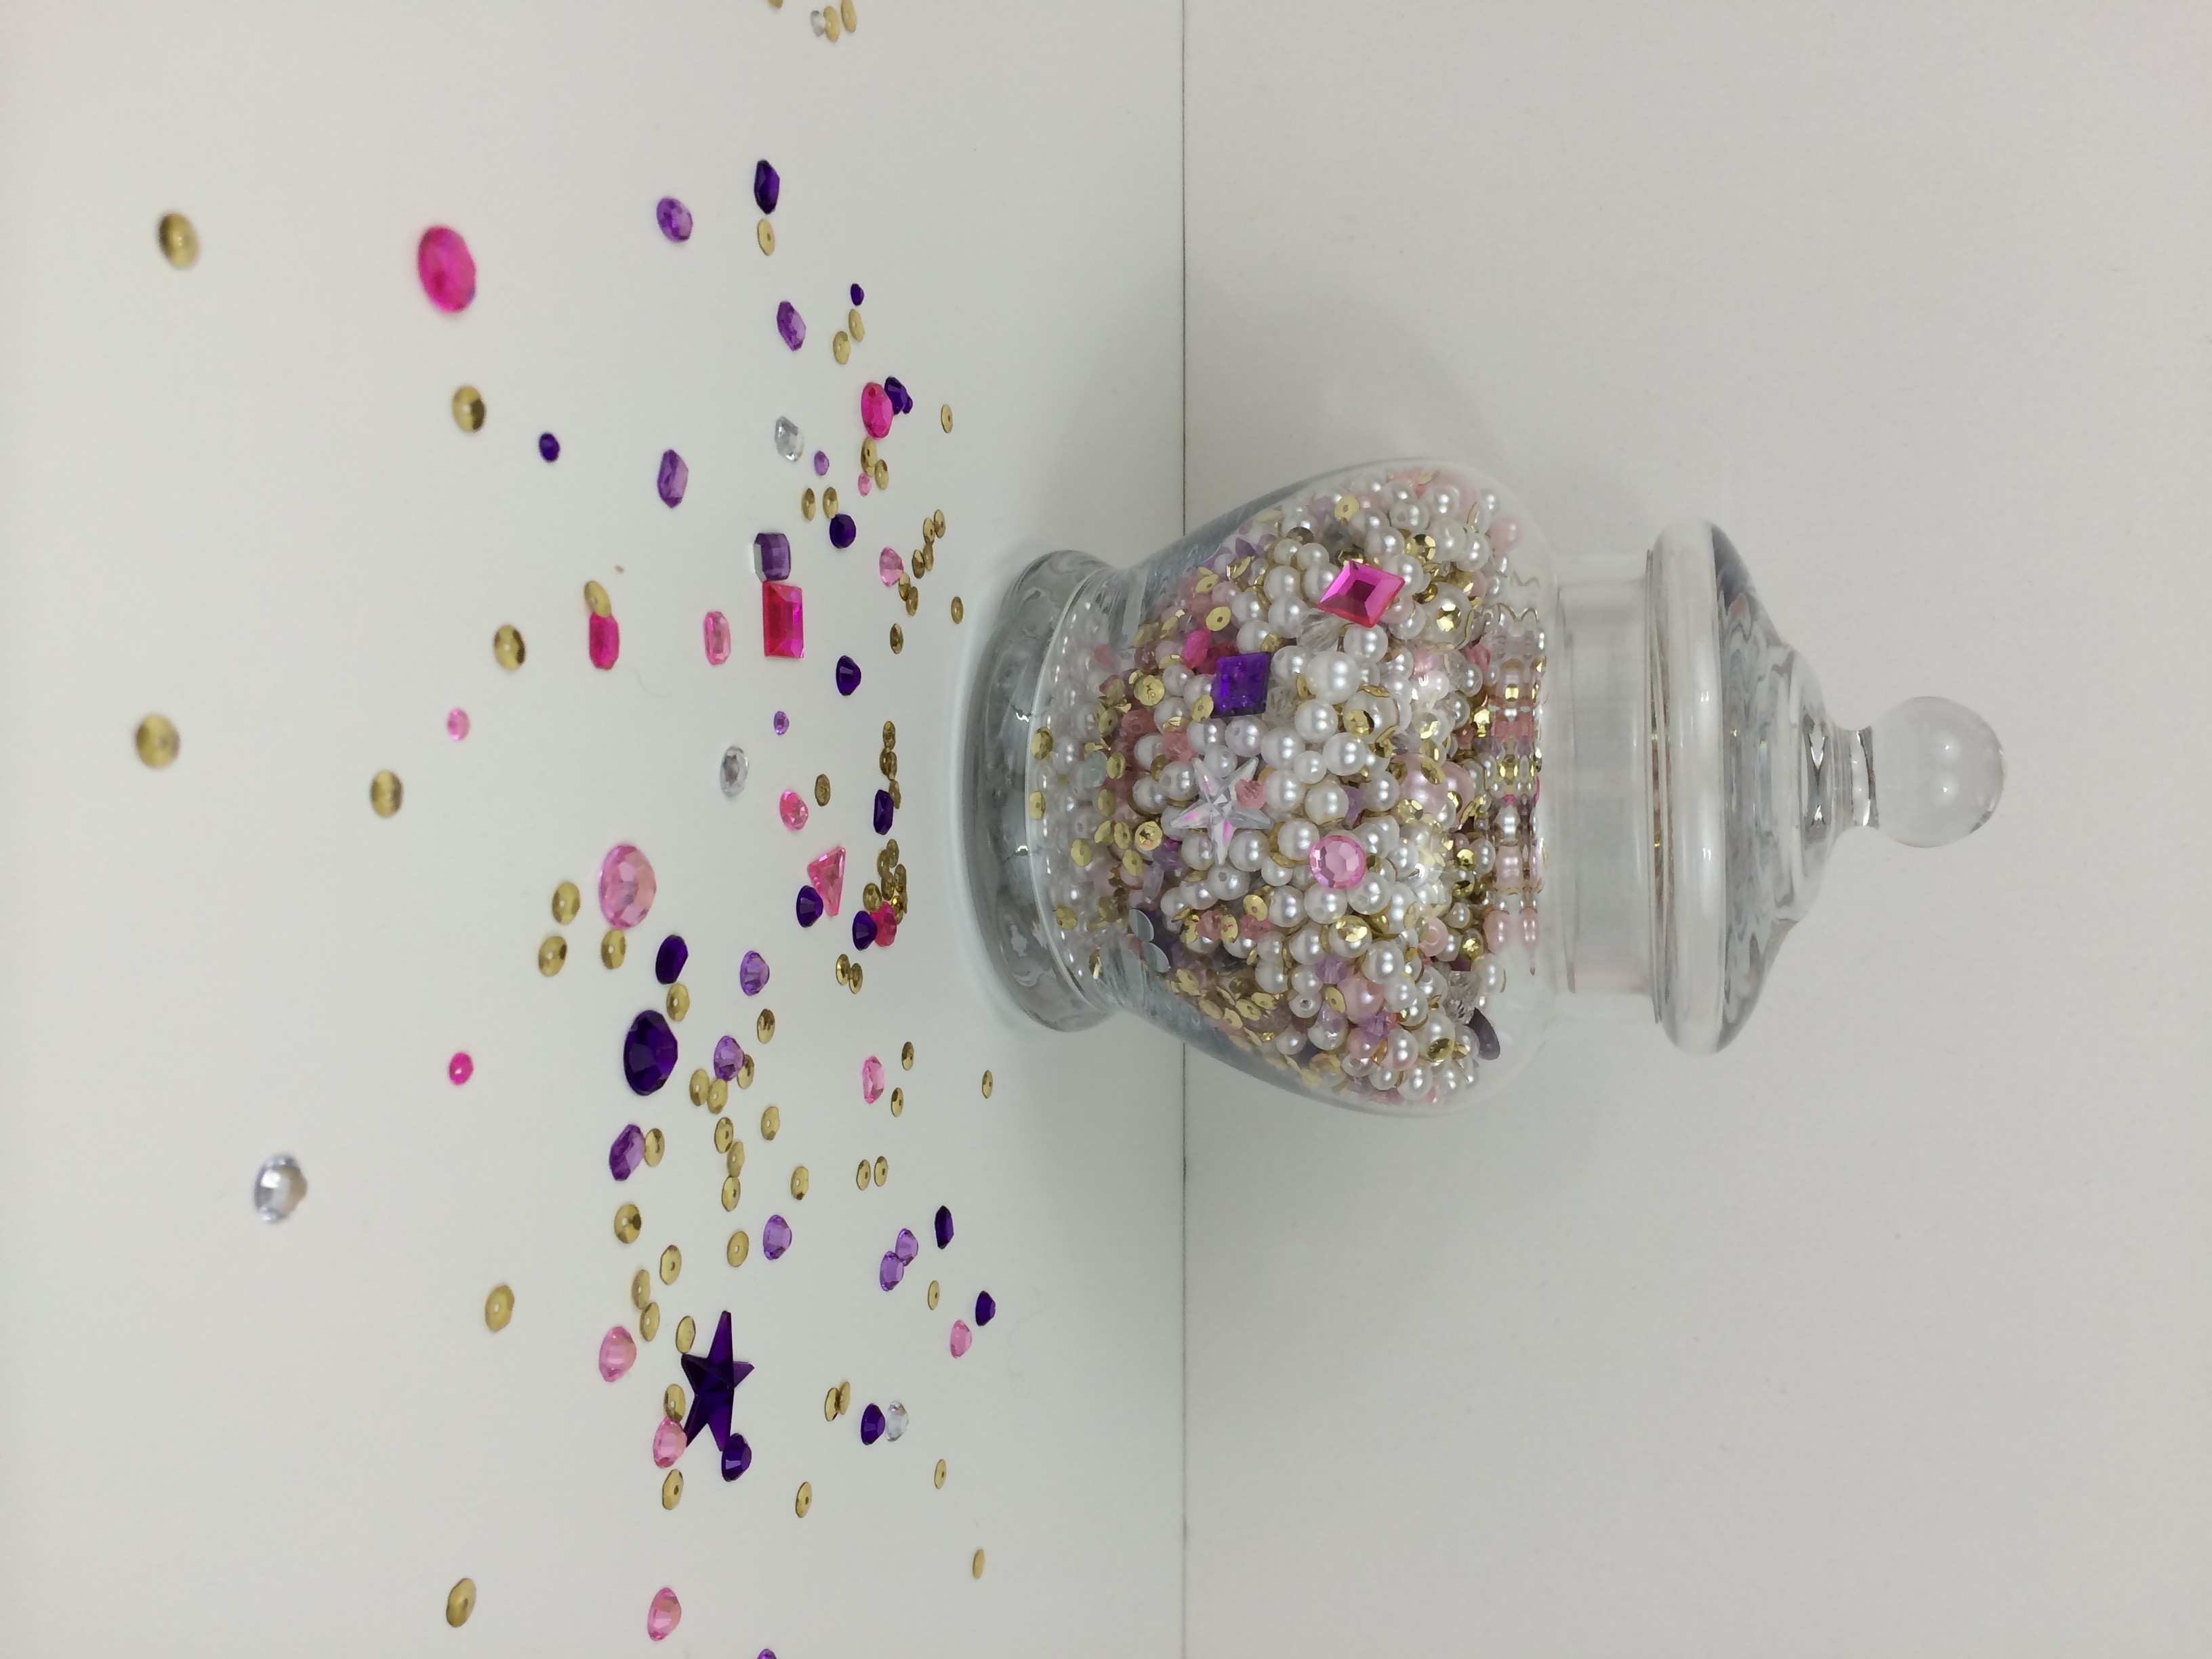
Pearls, beads, rhinestones, and sequins
WHAT I PURCHASED:
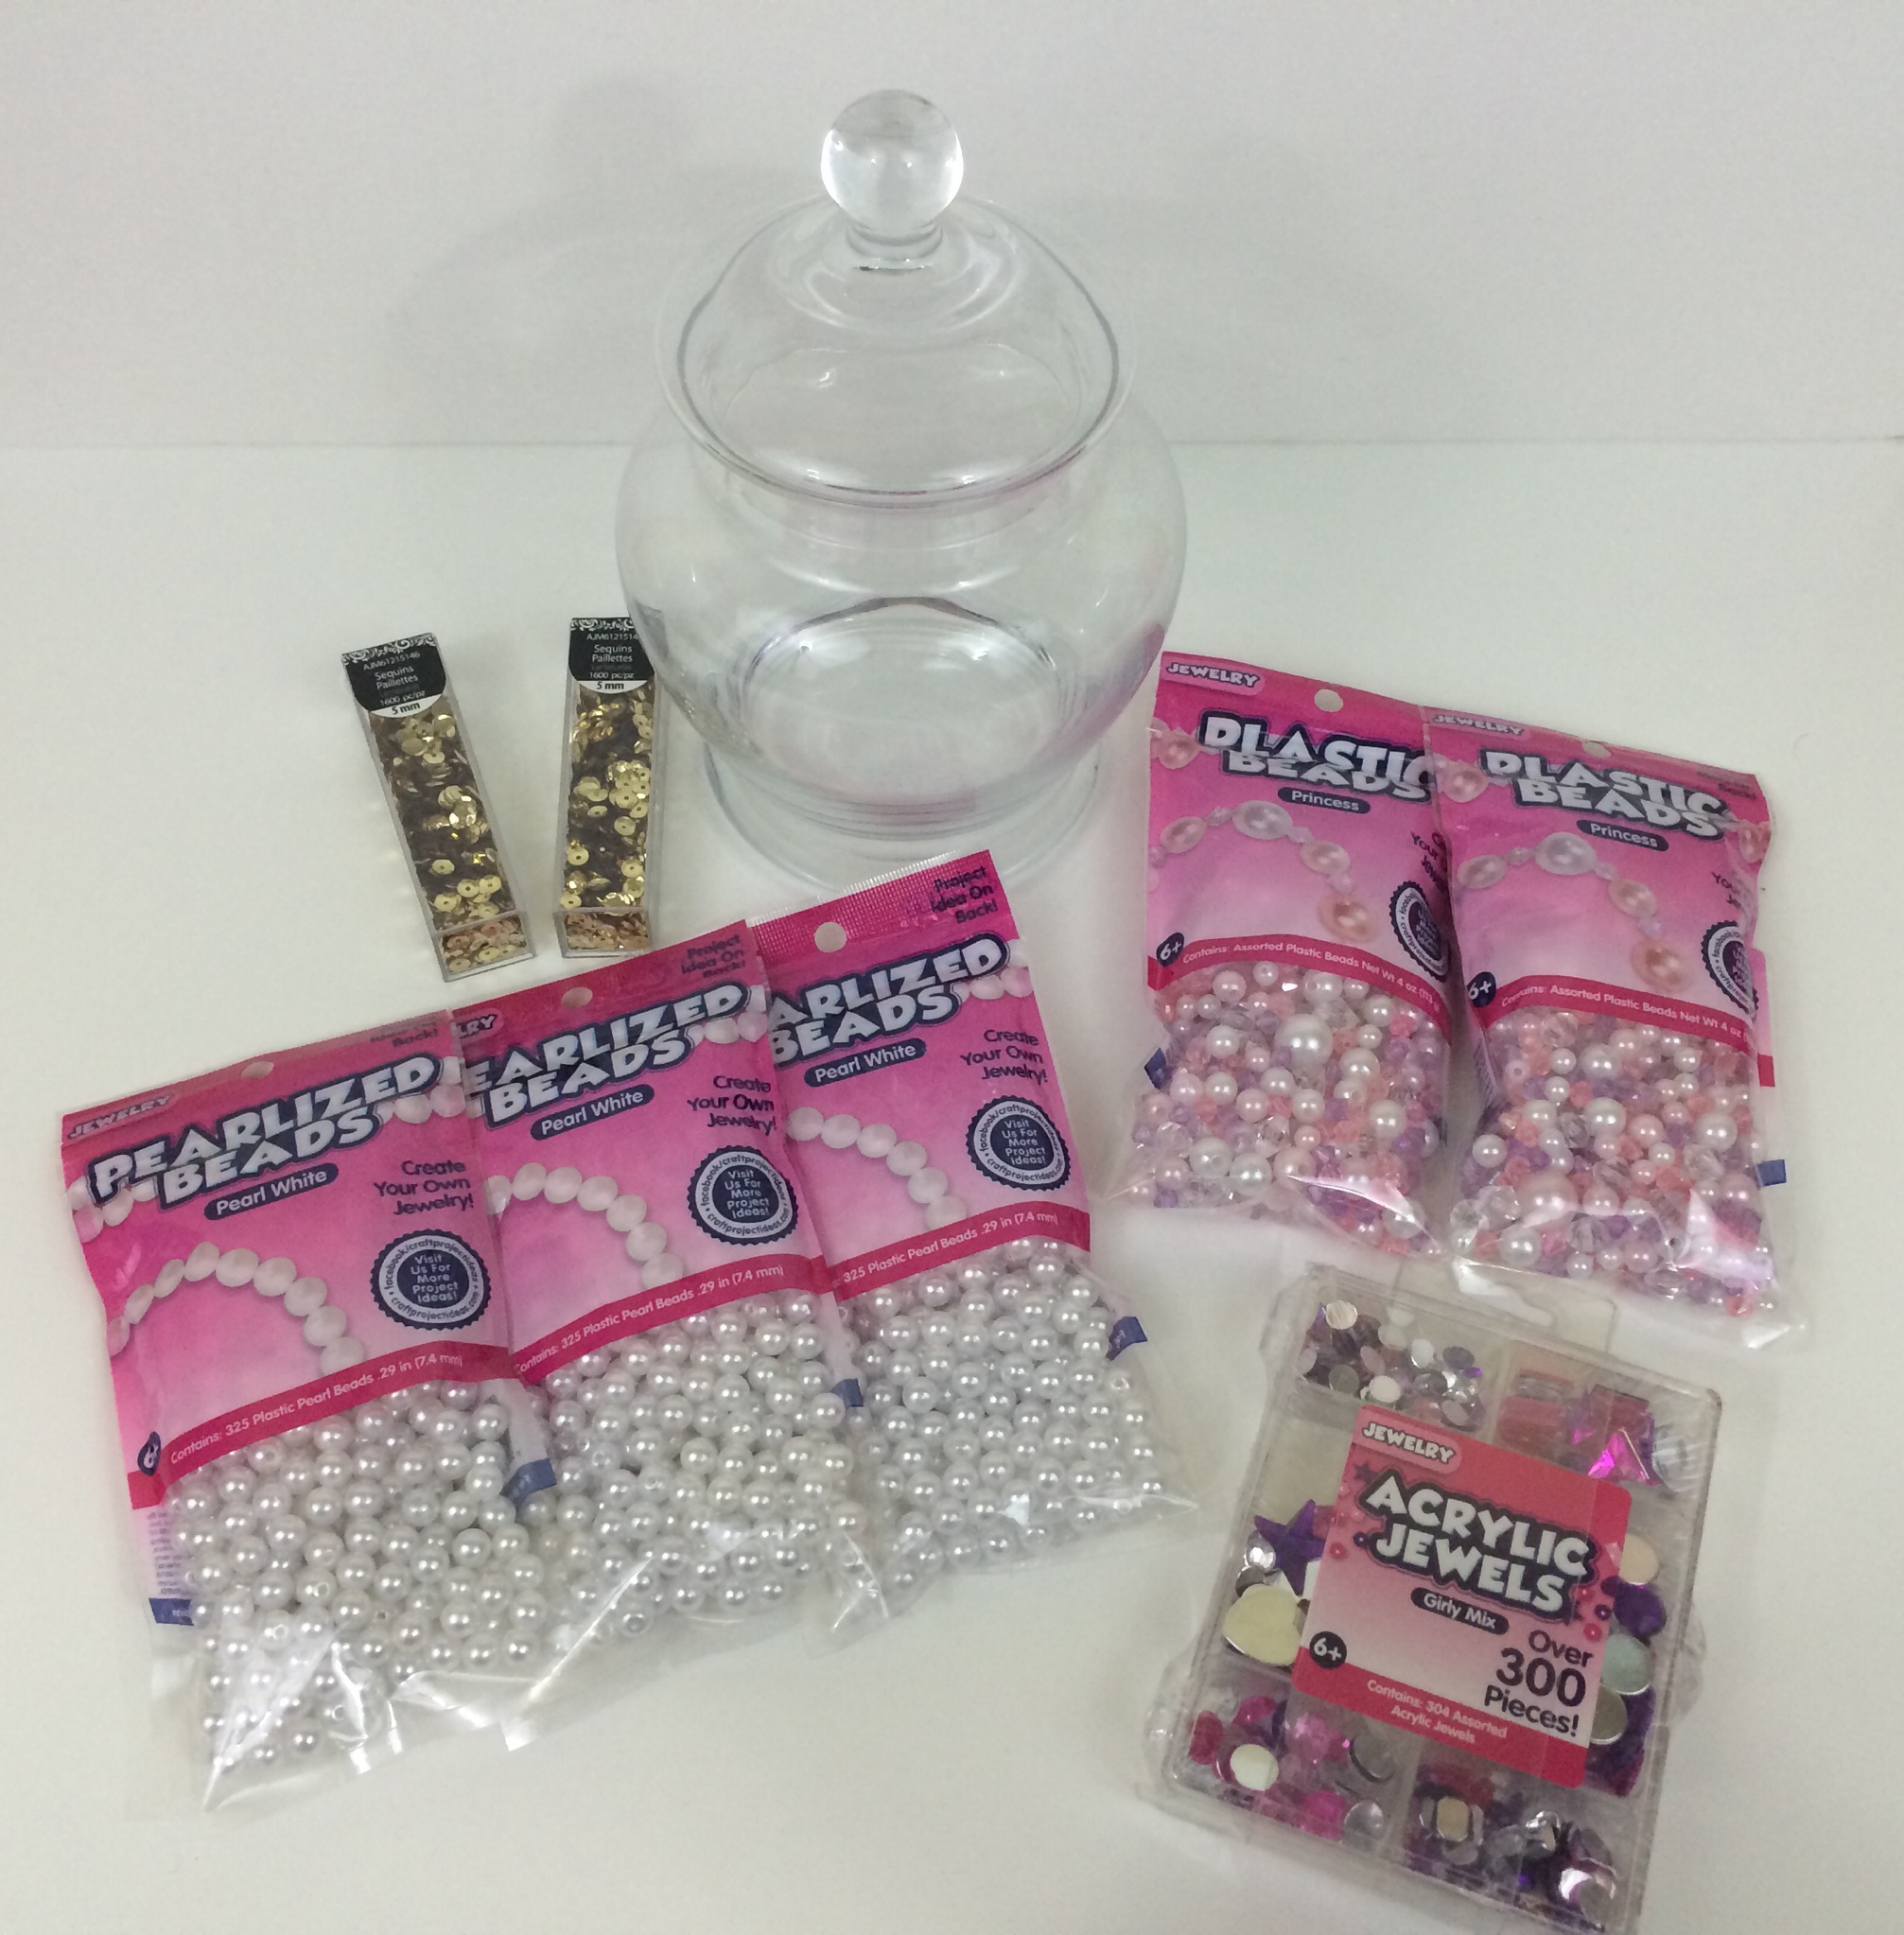
Note: I purchased all of these at Walmart in the crafting section if you’re looking for the same items, but next time I plan to check out a speciality bead shop that is nearby for more choices. Any craft store or big box store would most likely have all of these types of items.
2 small tubes of gold sequins for $1.50 each
3 packs of pearl beads (975 beads) for $3.97 each
2 packs of plastic “princess” beads (approximately 450 beads) for $3.97 each
1 box of acrylic jewels (approximately 300 rhinestones) for about $6
1 apothecary jar that I already had (about $10-30 at Hobby Lobby depending on size)
STEP 1:
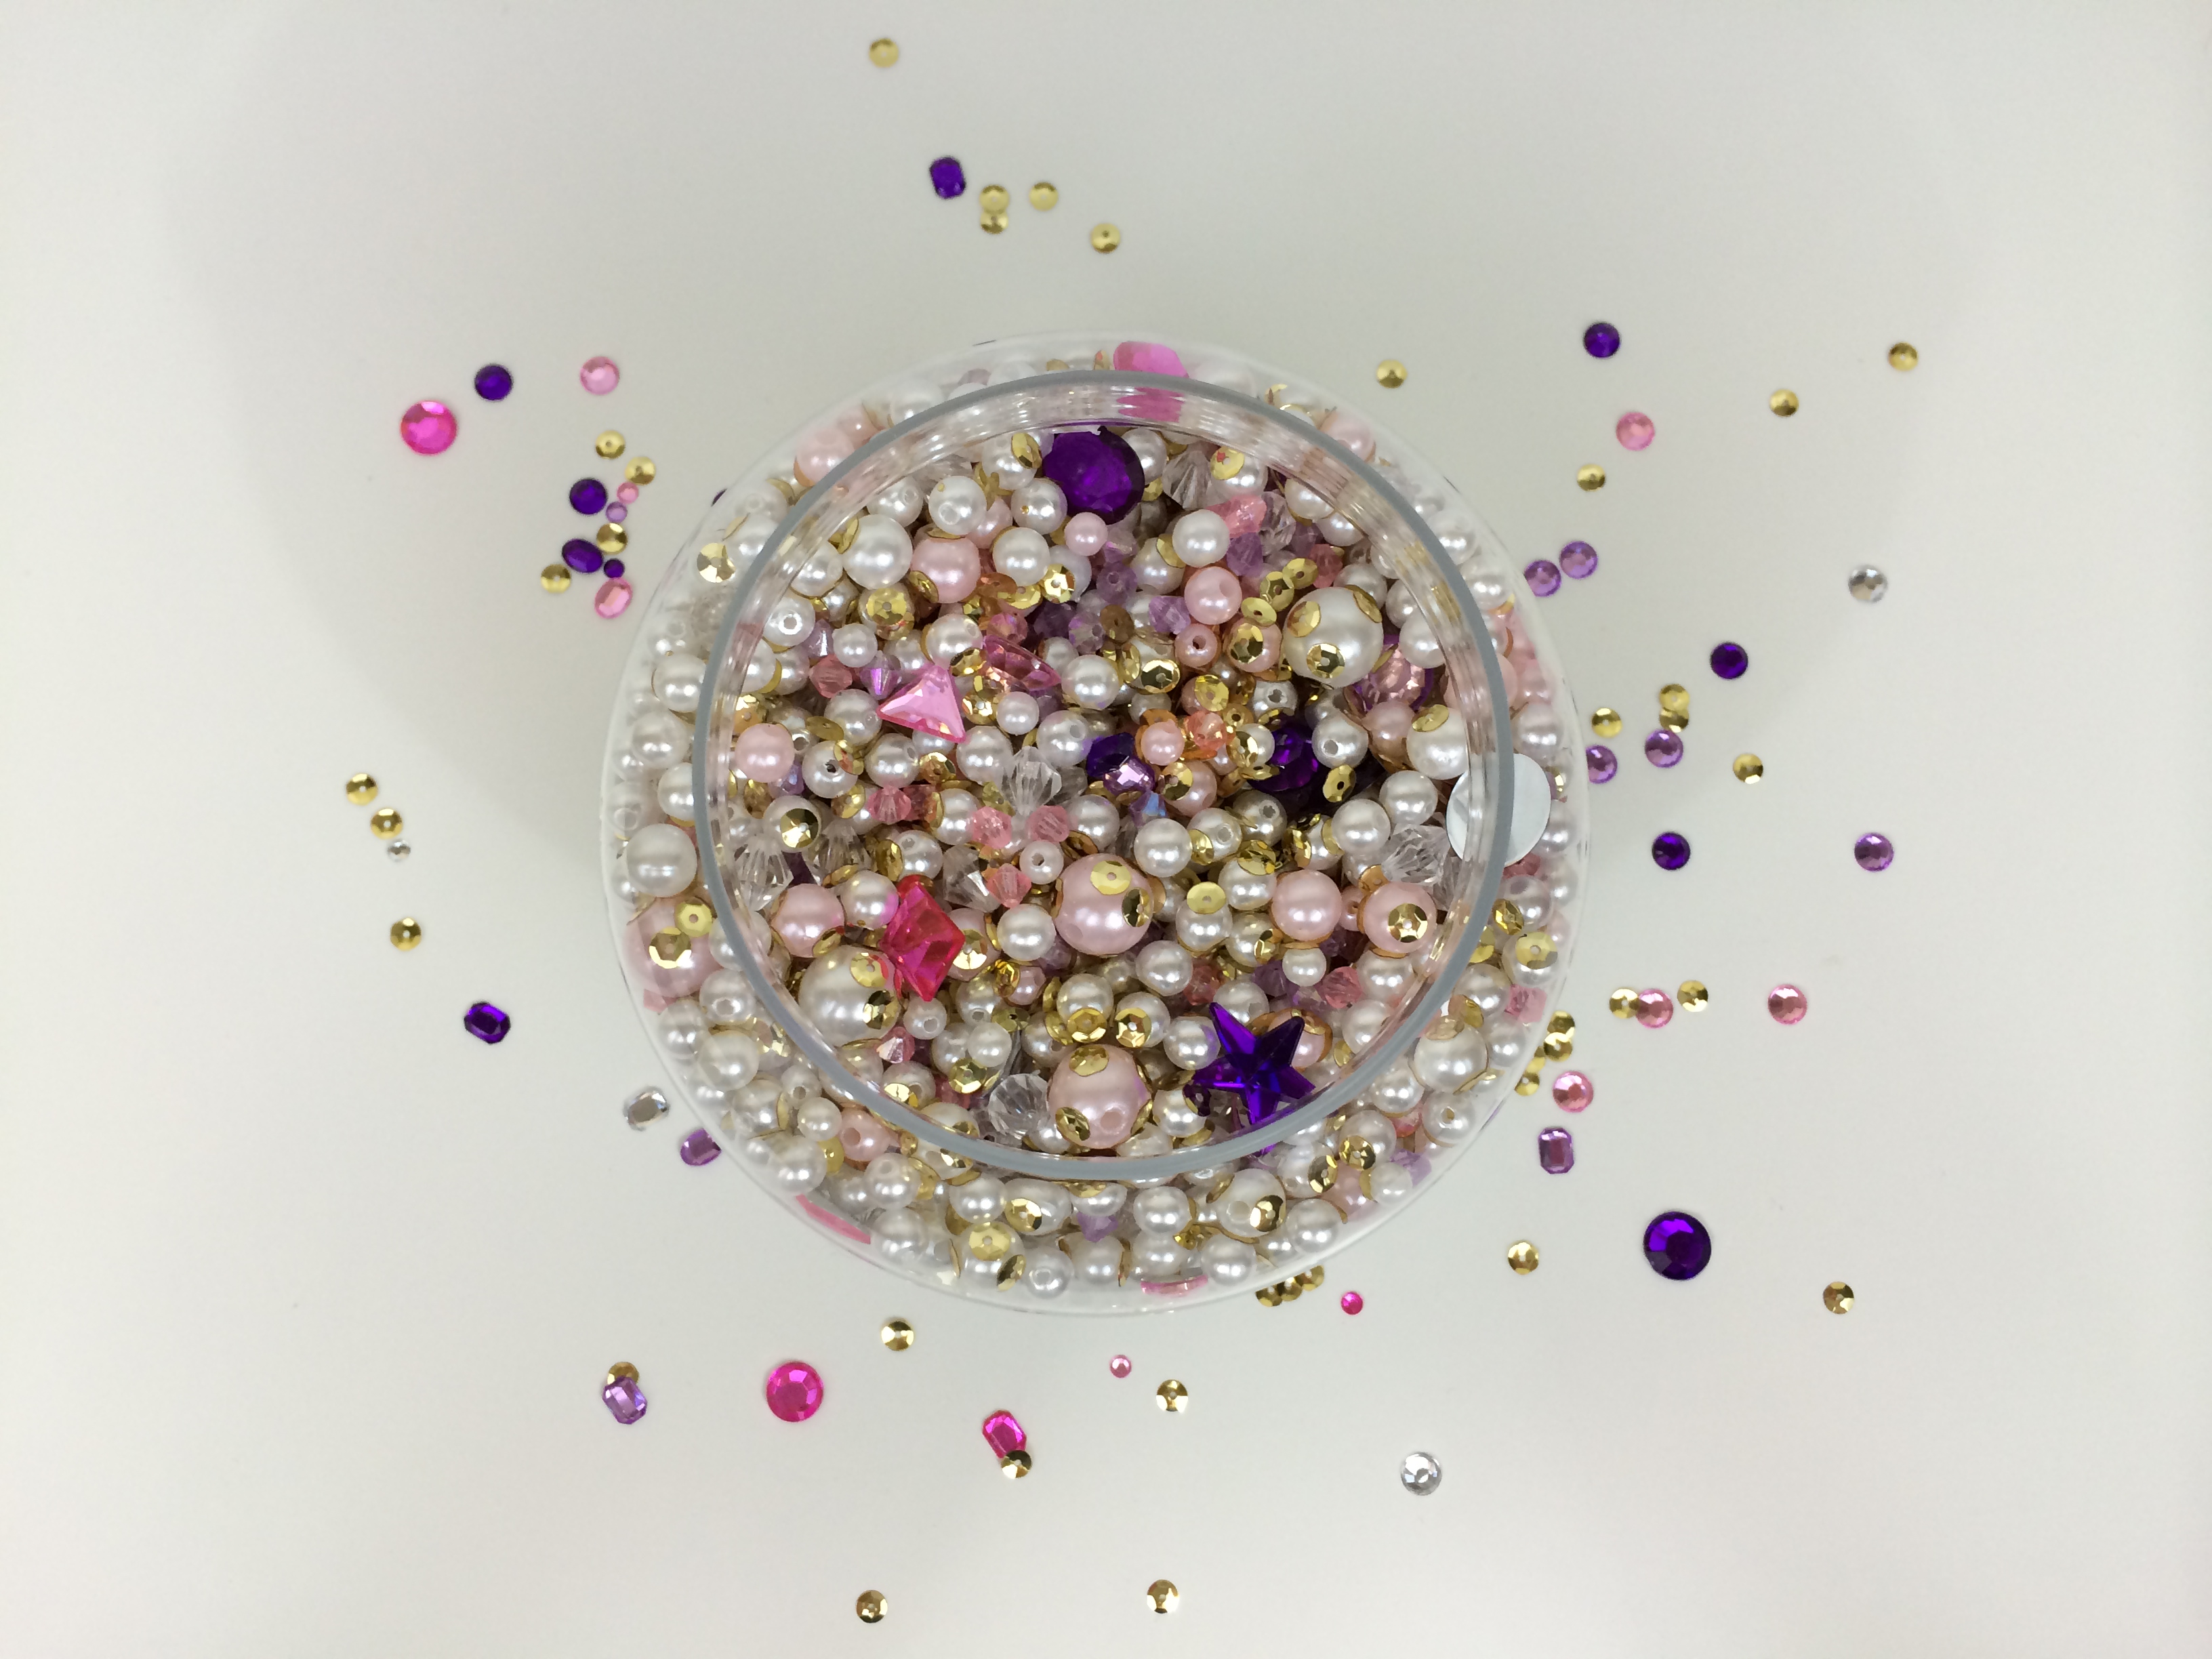
I took my time pouring the different beads and rhinestones into the jar, alternating them carefully so that there was enough of each layer to see them all.
STEP 2:
Once all of the beads and rhinestones were in the jar I used my fingers, a capped pen, and craft tweezers (all worked, but the tweezers helped the most for further down in the jar) to turn around the rhinestones where the bling side wasn’t showing. You could skip this step if you don’t use rhinestones or if it doesn’t bother you.
STEP 3:
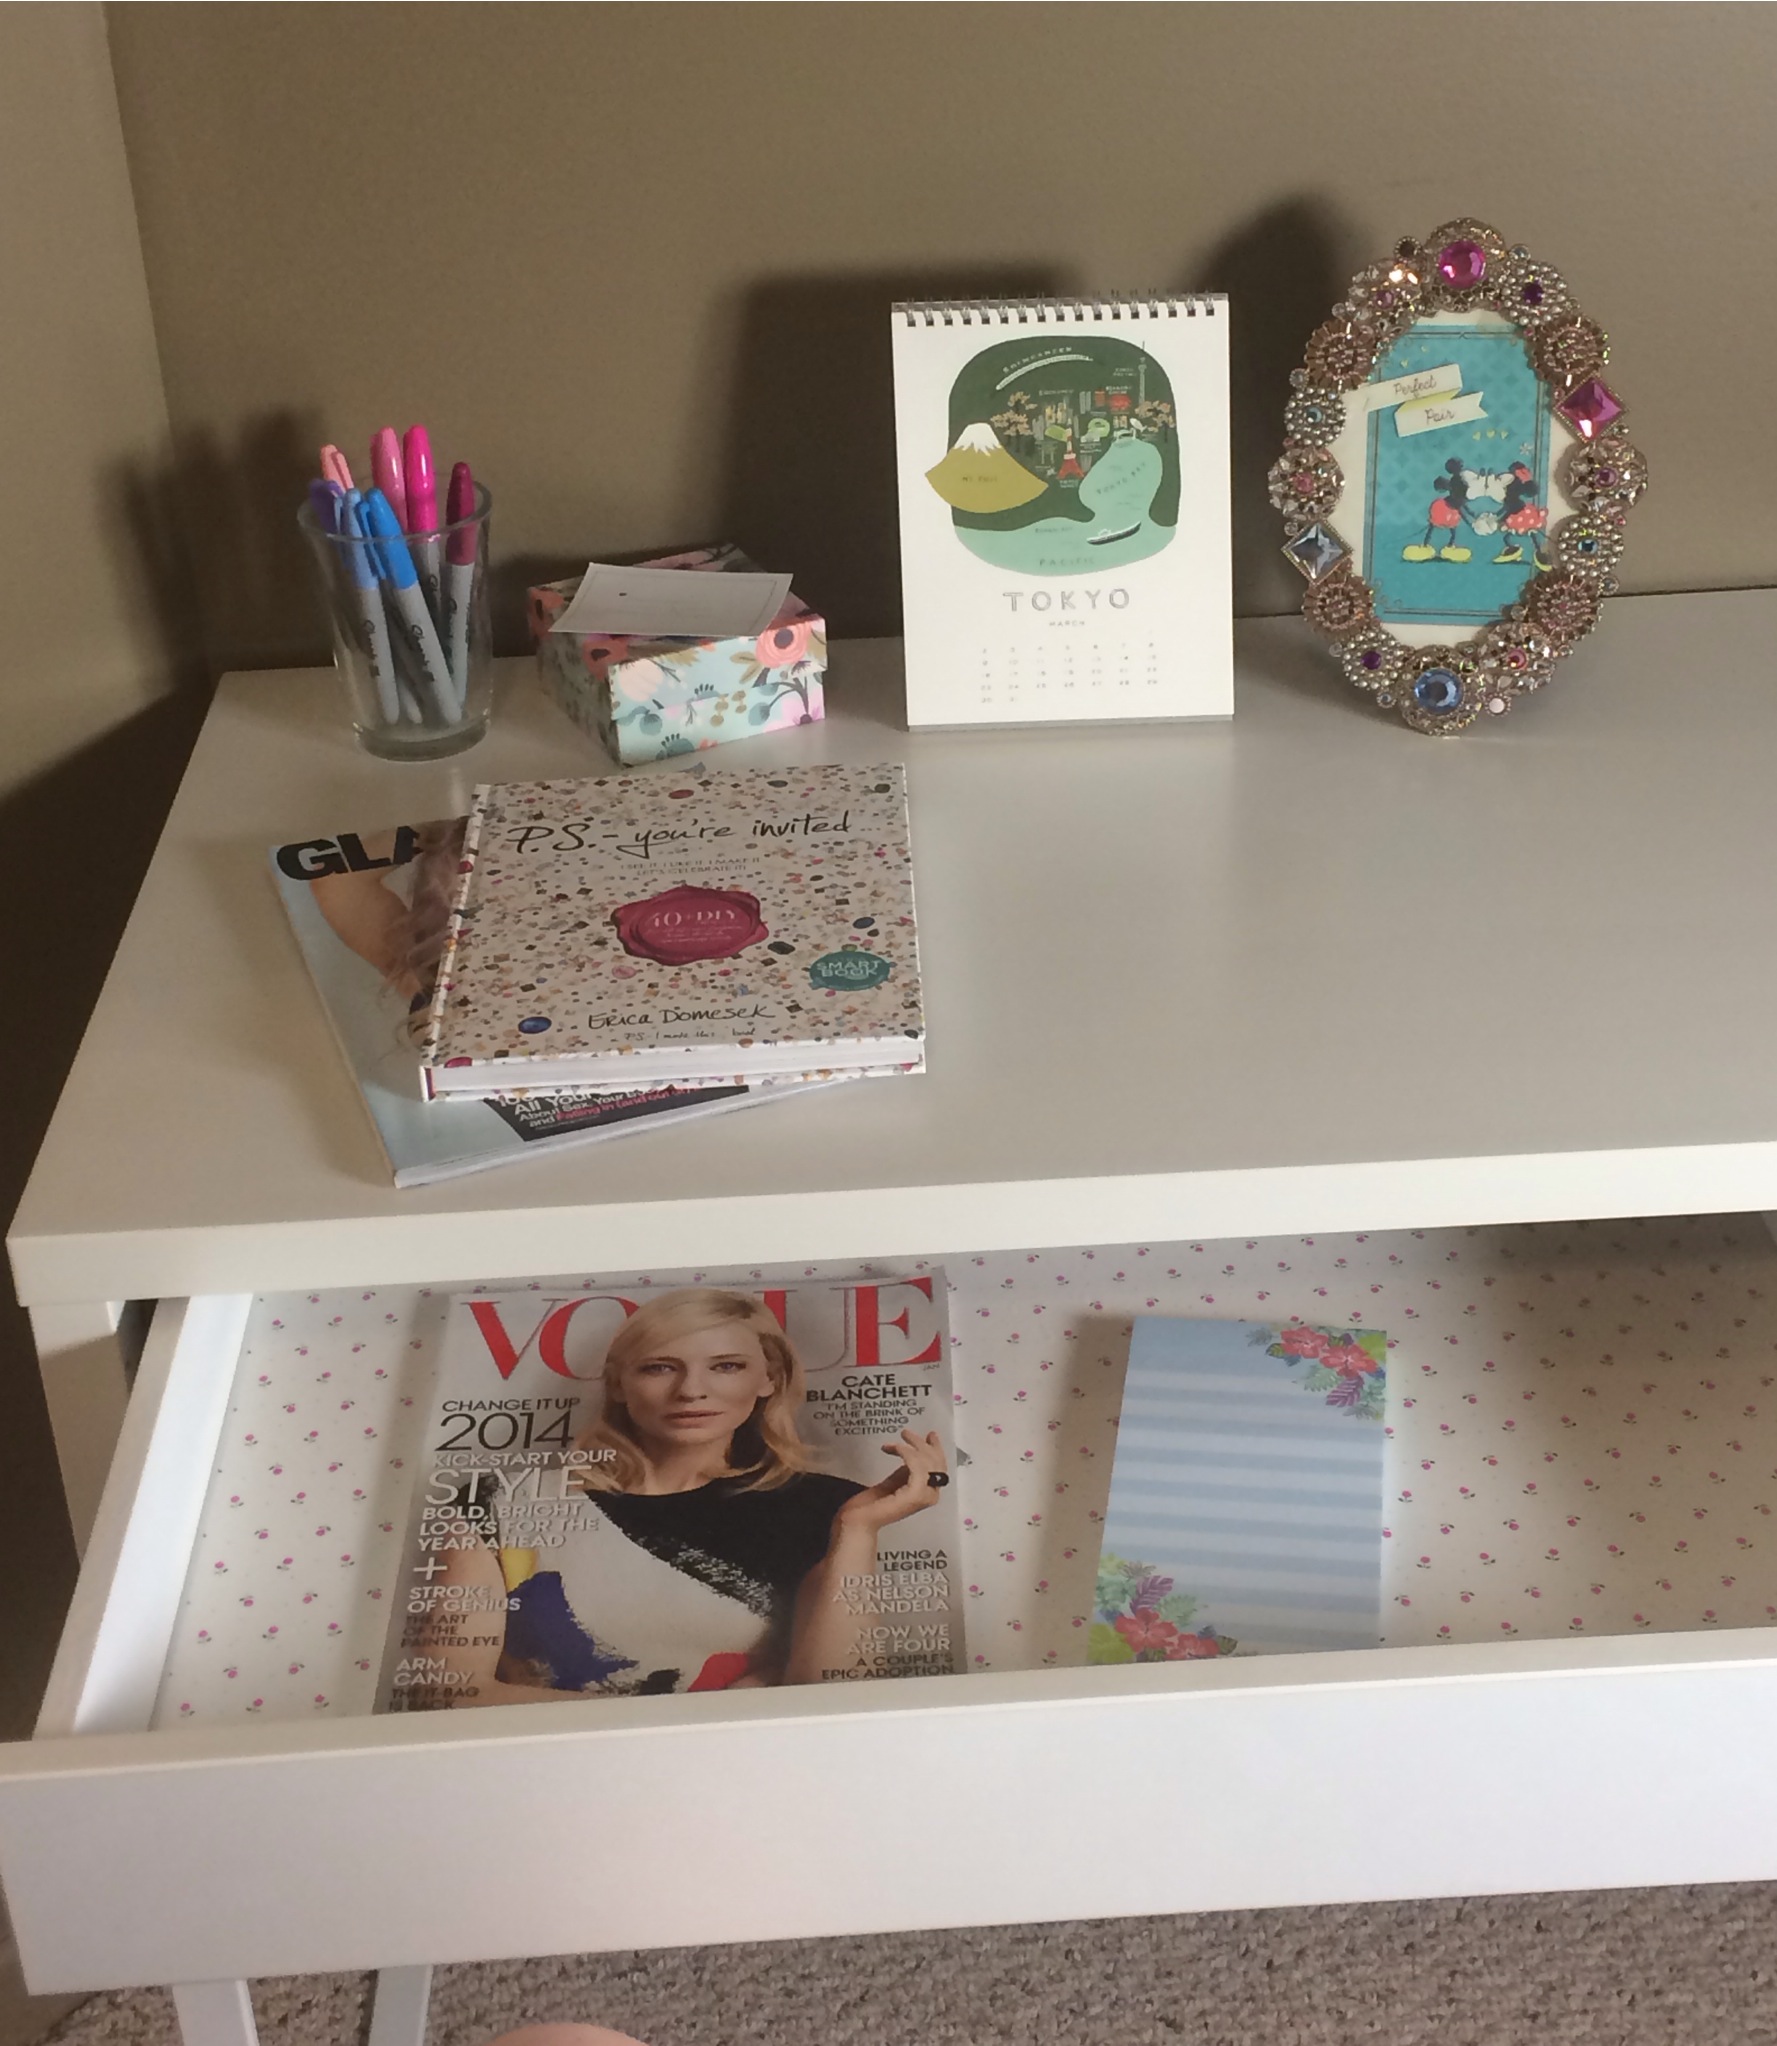
Enjoy your new decoration! I put mine on my desk, with all my other girlie favorites, but this would also look beautiful as a centerpiece, on a shelf, or a bookcase. Please keep in mind if you have pets or small children that this is basically a jar filled with 1000’s of choking hazards, so keep it in a place that is out of reach!
I hope you have enjoyed this short and sweet DIY project! If you try this out, or another projects using apothecary jars I would LOVE to hear about them or see them!! Comment down below (click the link by the title of this post) or find me on Facebook, Twitter, or Instagram! Stay tuned Wednesday this week for a simple Easter/springtime candy that looks as good as it tastes. As always, please share this post on social media if you’ve liked it and subscribe by entering your email in the box on the right side of this page! I hope you have a fantastic week!