Leah Tackles

  • Home
  • About
  • Policy
  • Beauty
  • Fashion
  • Cooking
  • Exercise
  • DIY Projects
  • Decor
  • Book Club
  • Family

EASY WINE GLASS DECORATING DIY

May 7, 2014 & Leave a Comment

Hi there! Happy Wednesday!


wine-glass-decorating-DIY.jpeg


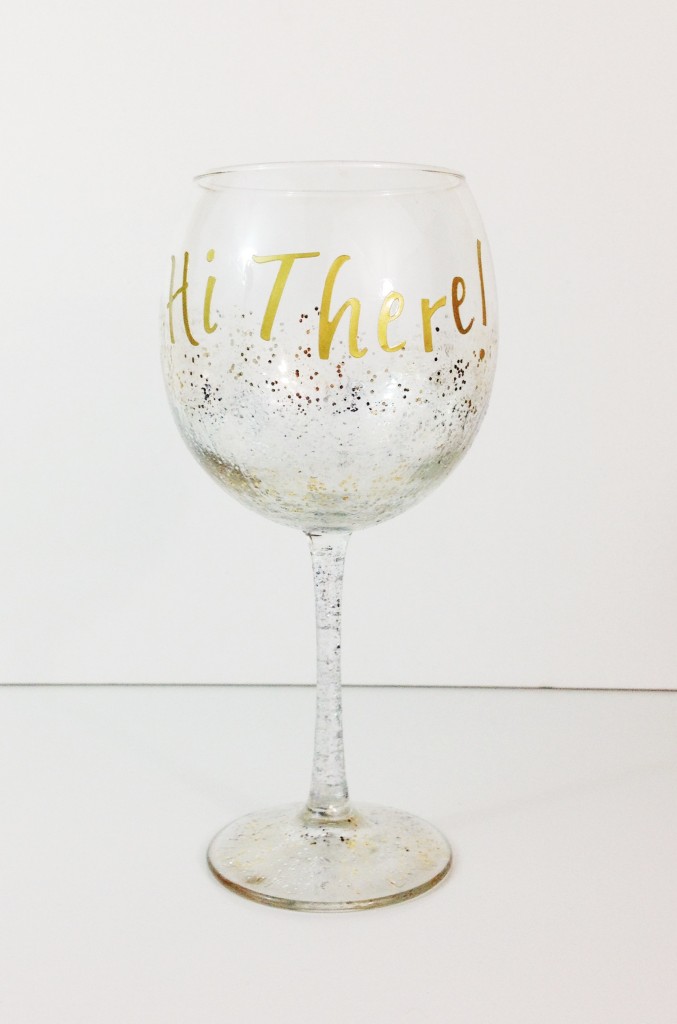
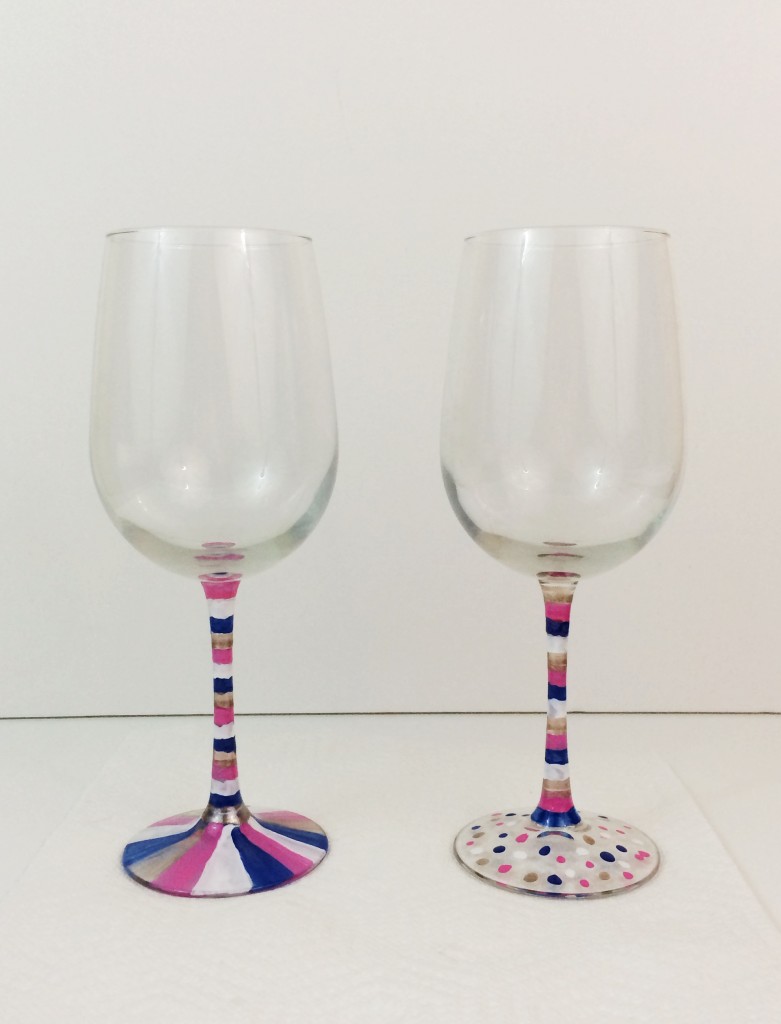
I hope that you’re having a great week so far! Today I have a really easy DIY project for you, and there is a good chance you have all of the materials at your house already. When my husband and I got married, we received lots of glassware, and so we have no shortage of wine glasses! I decided to make a couple of fun ones and I think they’ll be so cute when my girlfriends come to visit. I kept these ones pretty basic, but now I am itching to get out some stencils, rhinstones, and glitter for my next set (if I make more complex ones I will share them:) ) These make such cute gifts for bachlorette parties, birthdays, sorority events, or for a girls night ! You could also easily change this into a kid-friendly gift by switching to regular glass cups from the dollar store. NOTE: The top picture I made using glitter nail polish and stickers!


WINE GLASS DIY:


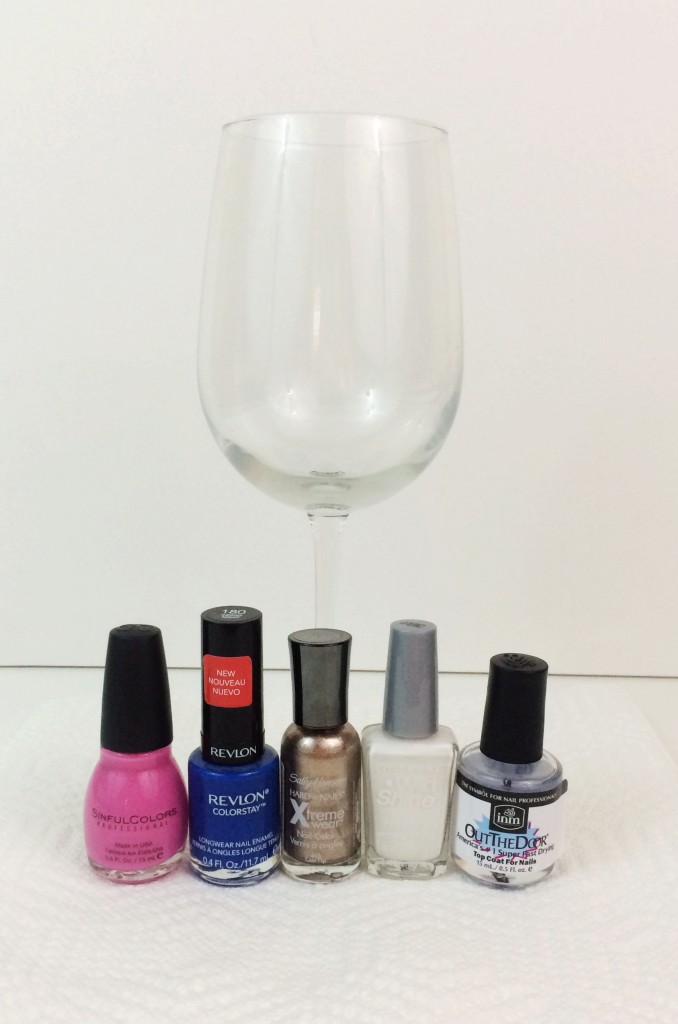
What You’ll Need:


wine-glass-DIY.jpeg


Wine glasses (or other glassware!)

Nail polish in colors of your choice (TIP: if you don’t want to use your expensive brands or favorites, pick up a few cheapie polishes! I have a crazy amount of nail polish, so I didn’t mind using some from my regular stash)

Clear nail polish top coat

Optional: Stickers


Step 1:

Wash and dry your glasses.


Step 2:

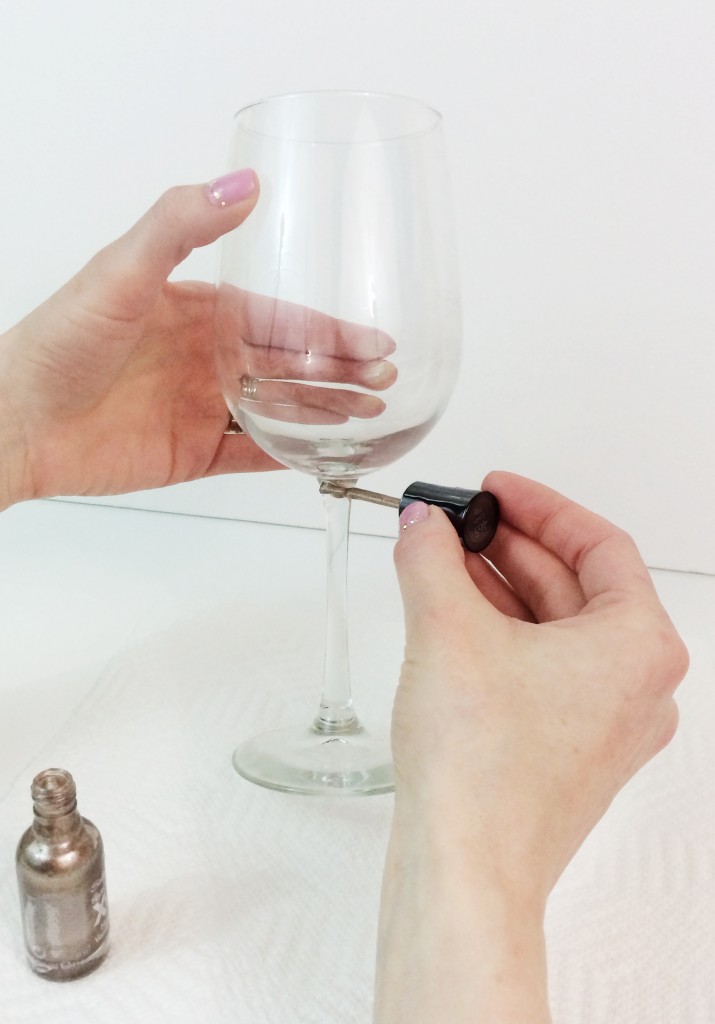
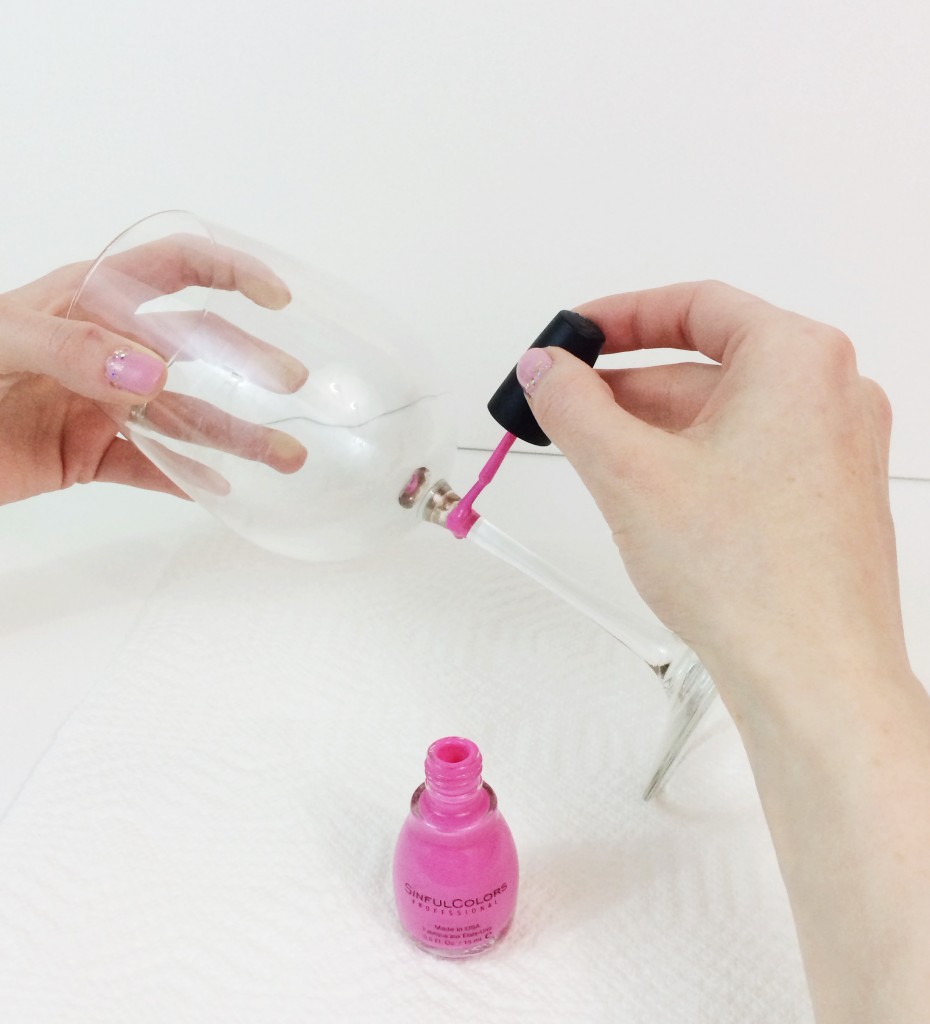
Paint your wine glasses however you choose. Be sure to not do very thick coats because it will cause the polish to run! It is better to go back over it with a second coat to build the color. If you are doing a complicated design, wait a little bit as each part dries. When you have the design how you like it, let it dry completely! Add stickers too if you’d like!


wine-glass-diy.jpeg


 wine-glass-decorating-easy-diy.jpeg


Step 3:

Paint over any part of the glass you painted or put stickers on with a coat of clear nail polish top coat.


wine-glass-tutorial.jpeg


Step 4:

Dry COMPLETELY, and then enjoy a nice glass of wine ; ) NOTE: Be sure to HAND WASH these glasses!


easy-DIY-wine-glasses.jpeg


I hope that you enjoyed this tutorial! If you liked it, please pin it onto your Pinterest account by hovering over any of the pictures and clicking the “pin” button. Thank you so much for taking the time to read this! It means so much to me! Don’t forget to subscribe (it’s easy!!! just enter your email into the subscribe box on the right of this page)! Have a wonderful day!! : )


FacebookTwitterEmailPinterestShare

Filed Under: DIY Projects Tagged With: bachlorette, birthday, crafty, diy, easy diy, girls night, leah tackles, leahtackles, pinterest, simple craft, sorority, sorority DIY, wine, wine glass decorating DIY, wine glass DIY

“Bunny Bait” Treat Bag DIY and Free Gift Tag Template- Hopping Into Spring Series Part 3

April 16, 2014 & Leave a Comment

Hi There! Happy Wednesday!

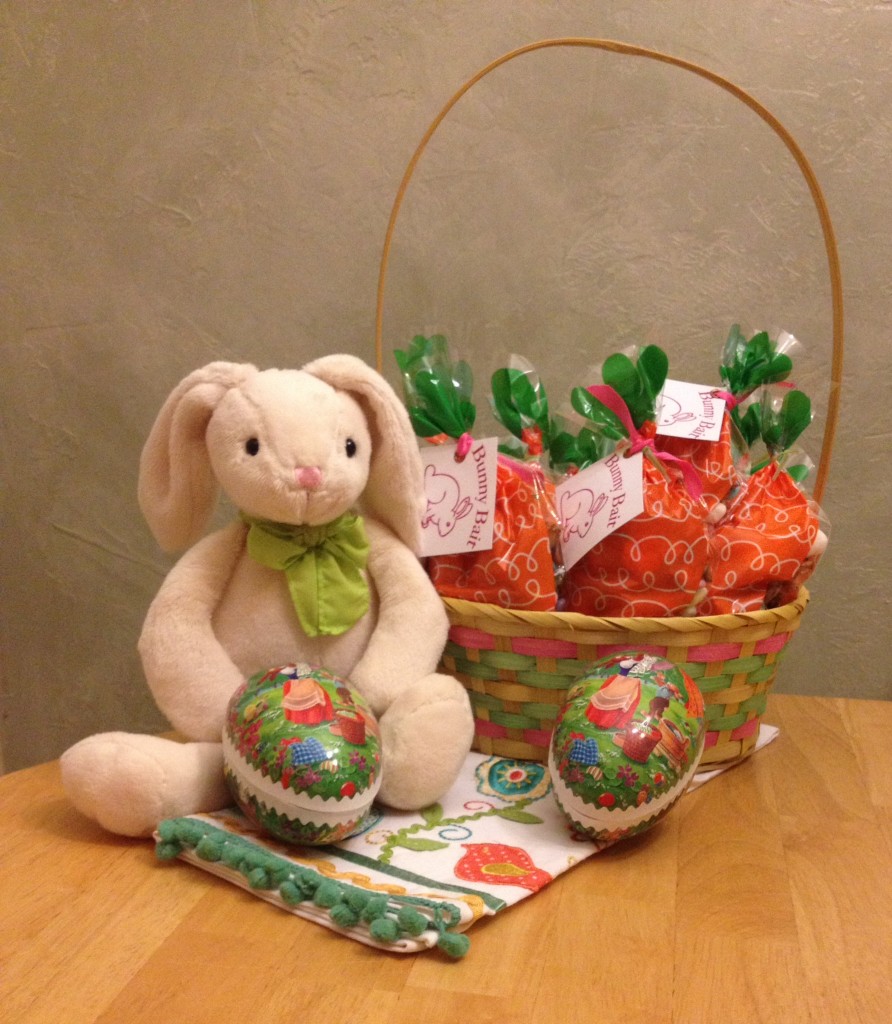
I hope you are having a great week so far! Easter is only a few days away and today I want to share a super simple treat bag DIY for the third and final Hopping Into Spring Series post. I think that is perfect for a last minute basket stuffer, gift for friends, co-workers, church groups, or just to enjoy yourself! I have also included a free template PDF file printable if you’d like to print out gift tags for your treat bags. Please consider “pinning” this post to your Pinterest account by hovering over any picture until a pink “Pin” button appears and clicking on that.


BUNNY BAIT:


bunny-bait-diy.jpeg


Ingredients:

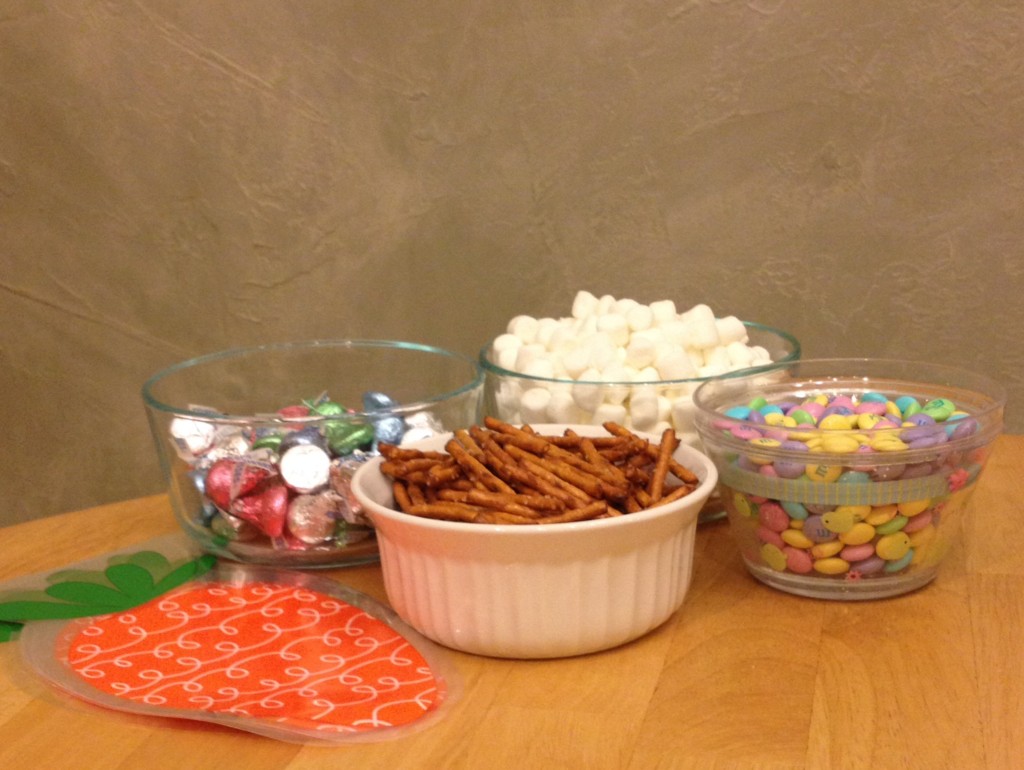
Mini marshmallows

Small pretzel sticks

Easter candy (I used M&M’s and Hershey Kisses)

Treat bags


Directions: Fill your treat bags to your liking with all of the ingredients! I did marshmallows first, then Hershey Kisses, then pretzel sticks and then finally M&M’s just so I didn’t crush the pretzel sticks with the heavier items.


bunny-bait.jpeg


GIFT TAG PRINTABLE:


gift-tag-diy.jpeg


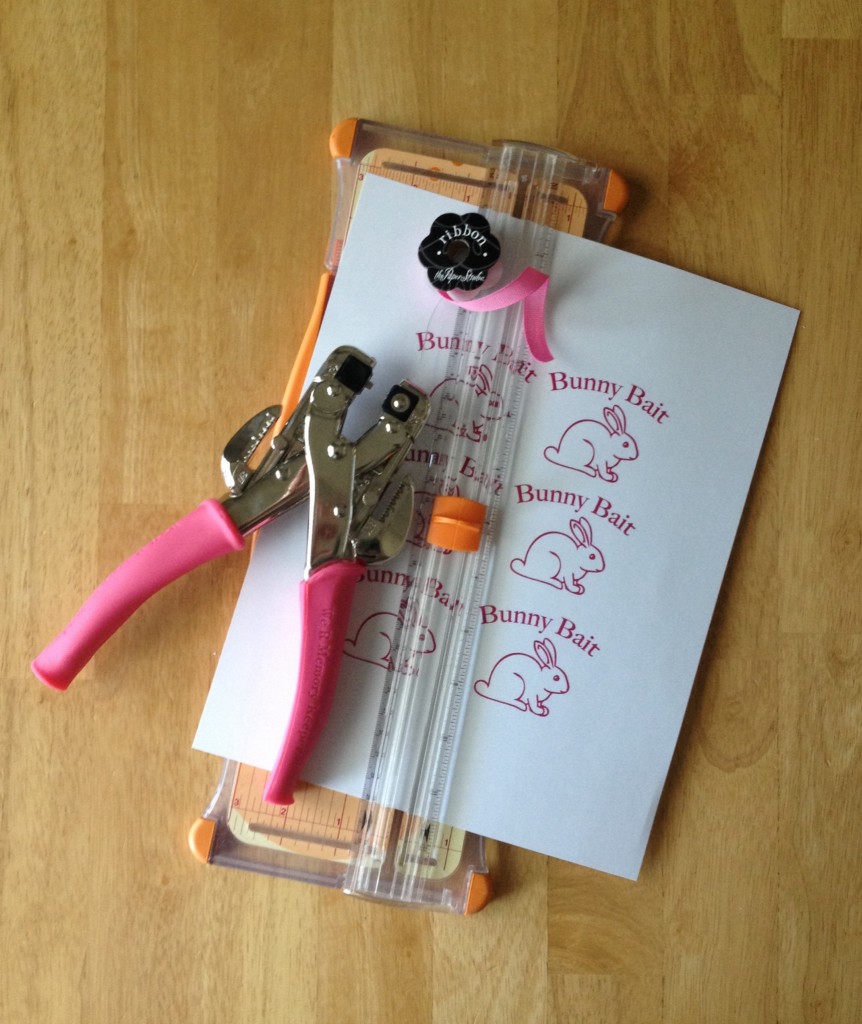
Here is my free gift tag printable that you can simply click and print!


What You’ll Need:


The printed gift tags

Paper cutter or scissors

Ribbon Eyelet punch OR regular hole punch


Step 1: Print out your free gift tag printable and cut the tags out with your paper cutter or scissors.


Step 2: Use your eyelet punch to put a grommet onto your tag OR use a regular hole punch to make a hole for your ribbon.


Step 3: Use the ribbon to attach your gift tags to your treat bags : )


I hope you have enjoyed this post! If you try this out I would love to hear about it or see pictures! If you have anything you’d like to see a post about, or have any questions or comments, let me know by commenting (click the link by the title of this post!) or find me on Facebook, Twitter, or Instagram! As always, thank you so much for taking the time out of your day to read this, and please subscribe!! I will talk to you on Friday!

FacebookTwitterEmailPinterestShare

Filed Under: Cooking, DIY Projects Tagged With: blog, blogger, bunny bait, Easter, Easter bunny, easter diy, easter snack, easter snack mix, easter treat bags, easy diy, family fun, homemade, leahtackles, school treat, snacktime, spring DIY, treats

Easy Apothecary Jar DIY Project!!

April 7, 2014 & 1 Comment

Hi There!! Happy Monday!

Today I have a super simple DIY project to share with you using apothecary jars. If you’re not familiar with the name, apothecary jars were originally used to mix medicines by an apothecary (a person who mixed medicine), but today are used as decorative displays that you would probably recognize if you saw them.  I first started seeing all of the fun decor ideas out there using apothecary jars back when I was planning my wedding about 5 years ago. I loved them so much that I asked if they could be used at one of my bridal showers for a candy buffet. I know that lots of people use them for showers, weddings, or parties, so you may have some yourself or know somebody who has a bunch lying around. If not, they are available at Michael’s, Hobby Lobby, or other craft stores.


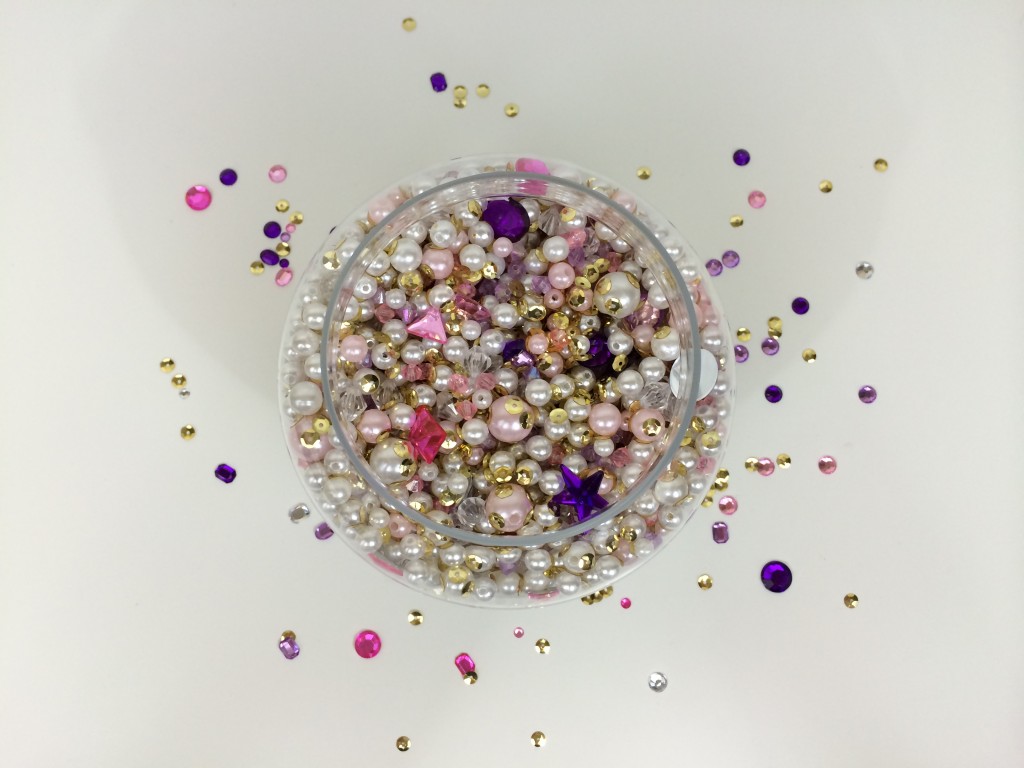
apothecary-diy-glitter.jpeg


I am a lover of glittery, sparkly, beautiful things done in a grown up way! This can be hard to achieve and somebody who inspires me and does this so well is Lauren, the owner of Pearls and Pastries. Once I finish the gallery wall above my desk, I will talk more about her and her fabulous style. I have a cheap faux pearl necklace from Forever 21 that I don’t reach for anymore and that is what started the wheels turning for this DIY. I put the pearls in a mason jar on my desk and loved it! So I went out and bought a few supplies and created the newest edition to my desk. I also pinned other ideas that I love for apothecary jar displays on my Pinterest! If you like this post, please hover over any of the pictures and click the pink “pin” button to put it on your own Pinterest page.


SUPPLIES:

An apothecary jar (or a de-potted candle or mason jar would work as well. If you’d like a tutorial on de-potting your candles, please comment (click on the link by the title of this post) or ask me on Facebook, Twitter, or Instagram!

Pearls, beads, rhinestones, and sequins


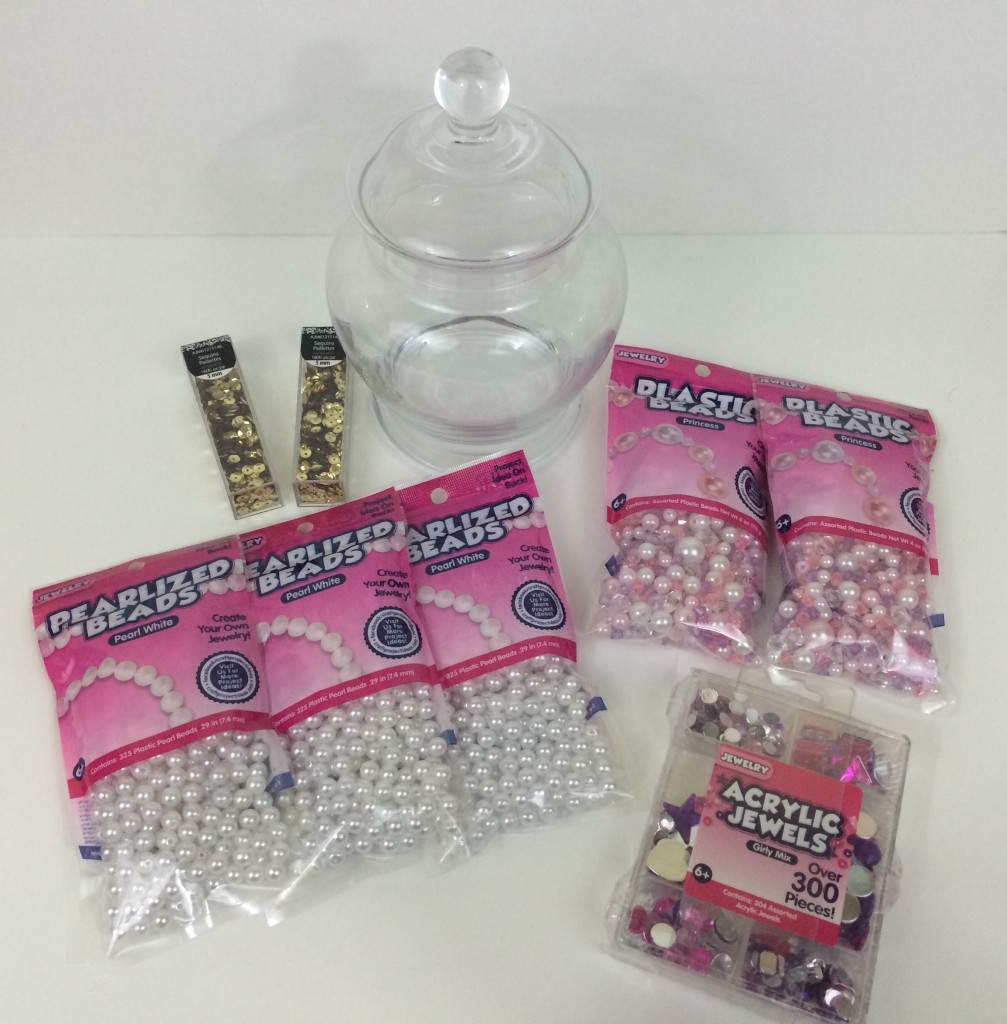
WHAT I PURCHASED:


apothecary-jar-diy.jpeg


Note: I purchased all of these at Walmart in the crafting section if you’re looking for the same items, but next time I plan to check out a speciality bead shop that is nearby for more choices. Any craft store or big box store would most likely have all of these types of items.

2 small tubes of gold sequins for $1.50 each

3 packs of pearl beads (975 beads) for $3.97 each

2 packs of plastic “princess” beads (approximately 450 beads) for $3.97 each

1 box of acrylic jewels (approximately 300 rhinestones) for about $6

1 apothecary jar that I already had (about $10-30 at Hobby Lobby depending on size)

STEP 1:

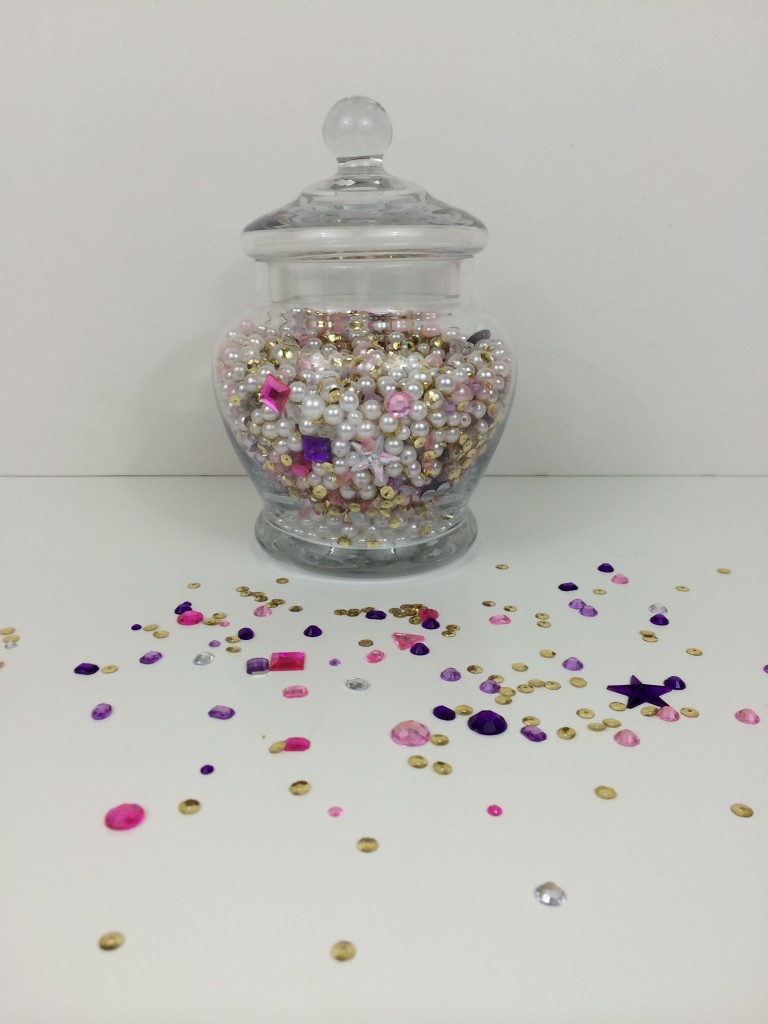
I took my time pouring the different beads and rhinestones into the jar, alternating them carefully so that there was enough of each layer to see them all.

STEP 2:

Once all of the beads and rhinestones were in the jar I used my fingers, a capped pen, and craft tweezers (all worked, but the tweezers helped the most for further down in the jar) to turn around the rhinestones where the bling side wasn’t showing. You could skip this step if you don’t use rhinestones or if it doesn’t bother you.

STEP 3:

Enjoy your new decoration! I put mine on my desk, with all my other girlie favorites, but this would also look beautiful as a centerpiece, on a shelf, or a bookcase. Please keep in mind if you have pets or small children that this is basically a jar filled with 1000’s of choking hazards, so keep it in a place that is out of reach!


photo 3 (10)


I hope you have enjoyed this short and sweet DIY project! If you try this out, or another projects using apothecary jars I would LOVE to hear about them or see them!! Comment down below (click the link by the title of this post) or find me on Facebook, Twitter, or Instagram! Stay tuned Wednesday this week for a simple Easter/springtime candy that looks as good as it tastes. As always, please share this post on social media if you’ve liked it and subscribe by entering your email in the box on the right side of this page! I hope you have a fantastic week!


FacebookTwitterEmailPinterestShare

Filed Under: DIY Projects Tagged With: apothecary diy, apothecary jars, decor, diy, diy project, do it yourself, easy diy, fun diy, girly, glitter, hobby lobby, leah tackles, michaels, pearlized, pearls, rhinestones, sequin


SUBSCRIBE

Leave your email to subscribe!

SEARCH

SPONSORS

ARCHIVES

GRAB MY BUTTON


copy & paste code

site design by The Kinch Life Design & development by Olive & Ivy Design

Catch The Webinar Replay! Boundary Setting For Entrepreneurs

Go to leahtacklessocial.com and sign-up for the link!