Hi there! Happy Monday!!
I hope that all of my American subscribers had a wonderful Thanksgiving with your friends and families! Can you believe it is DECEMBER?! I am having an especially hard time letting that sink in since it means my baby turns 2 this month, we have Christmas of course, and our newest addition is due in early January.
Because we have so much going on this month, I have been trying to get as much Christmas shopping and crafting done early as possible, and today I want to share two simple but adorable Christmas gift DIY projects.
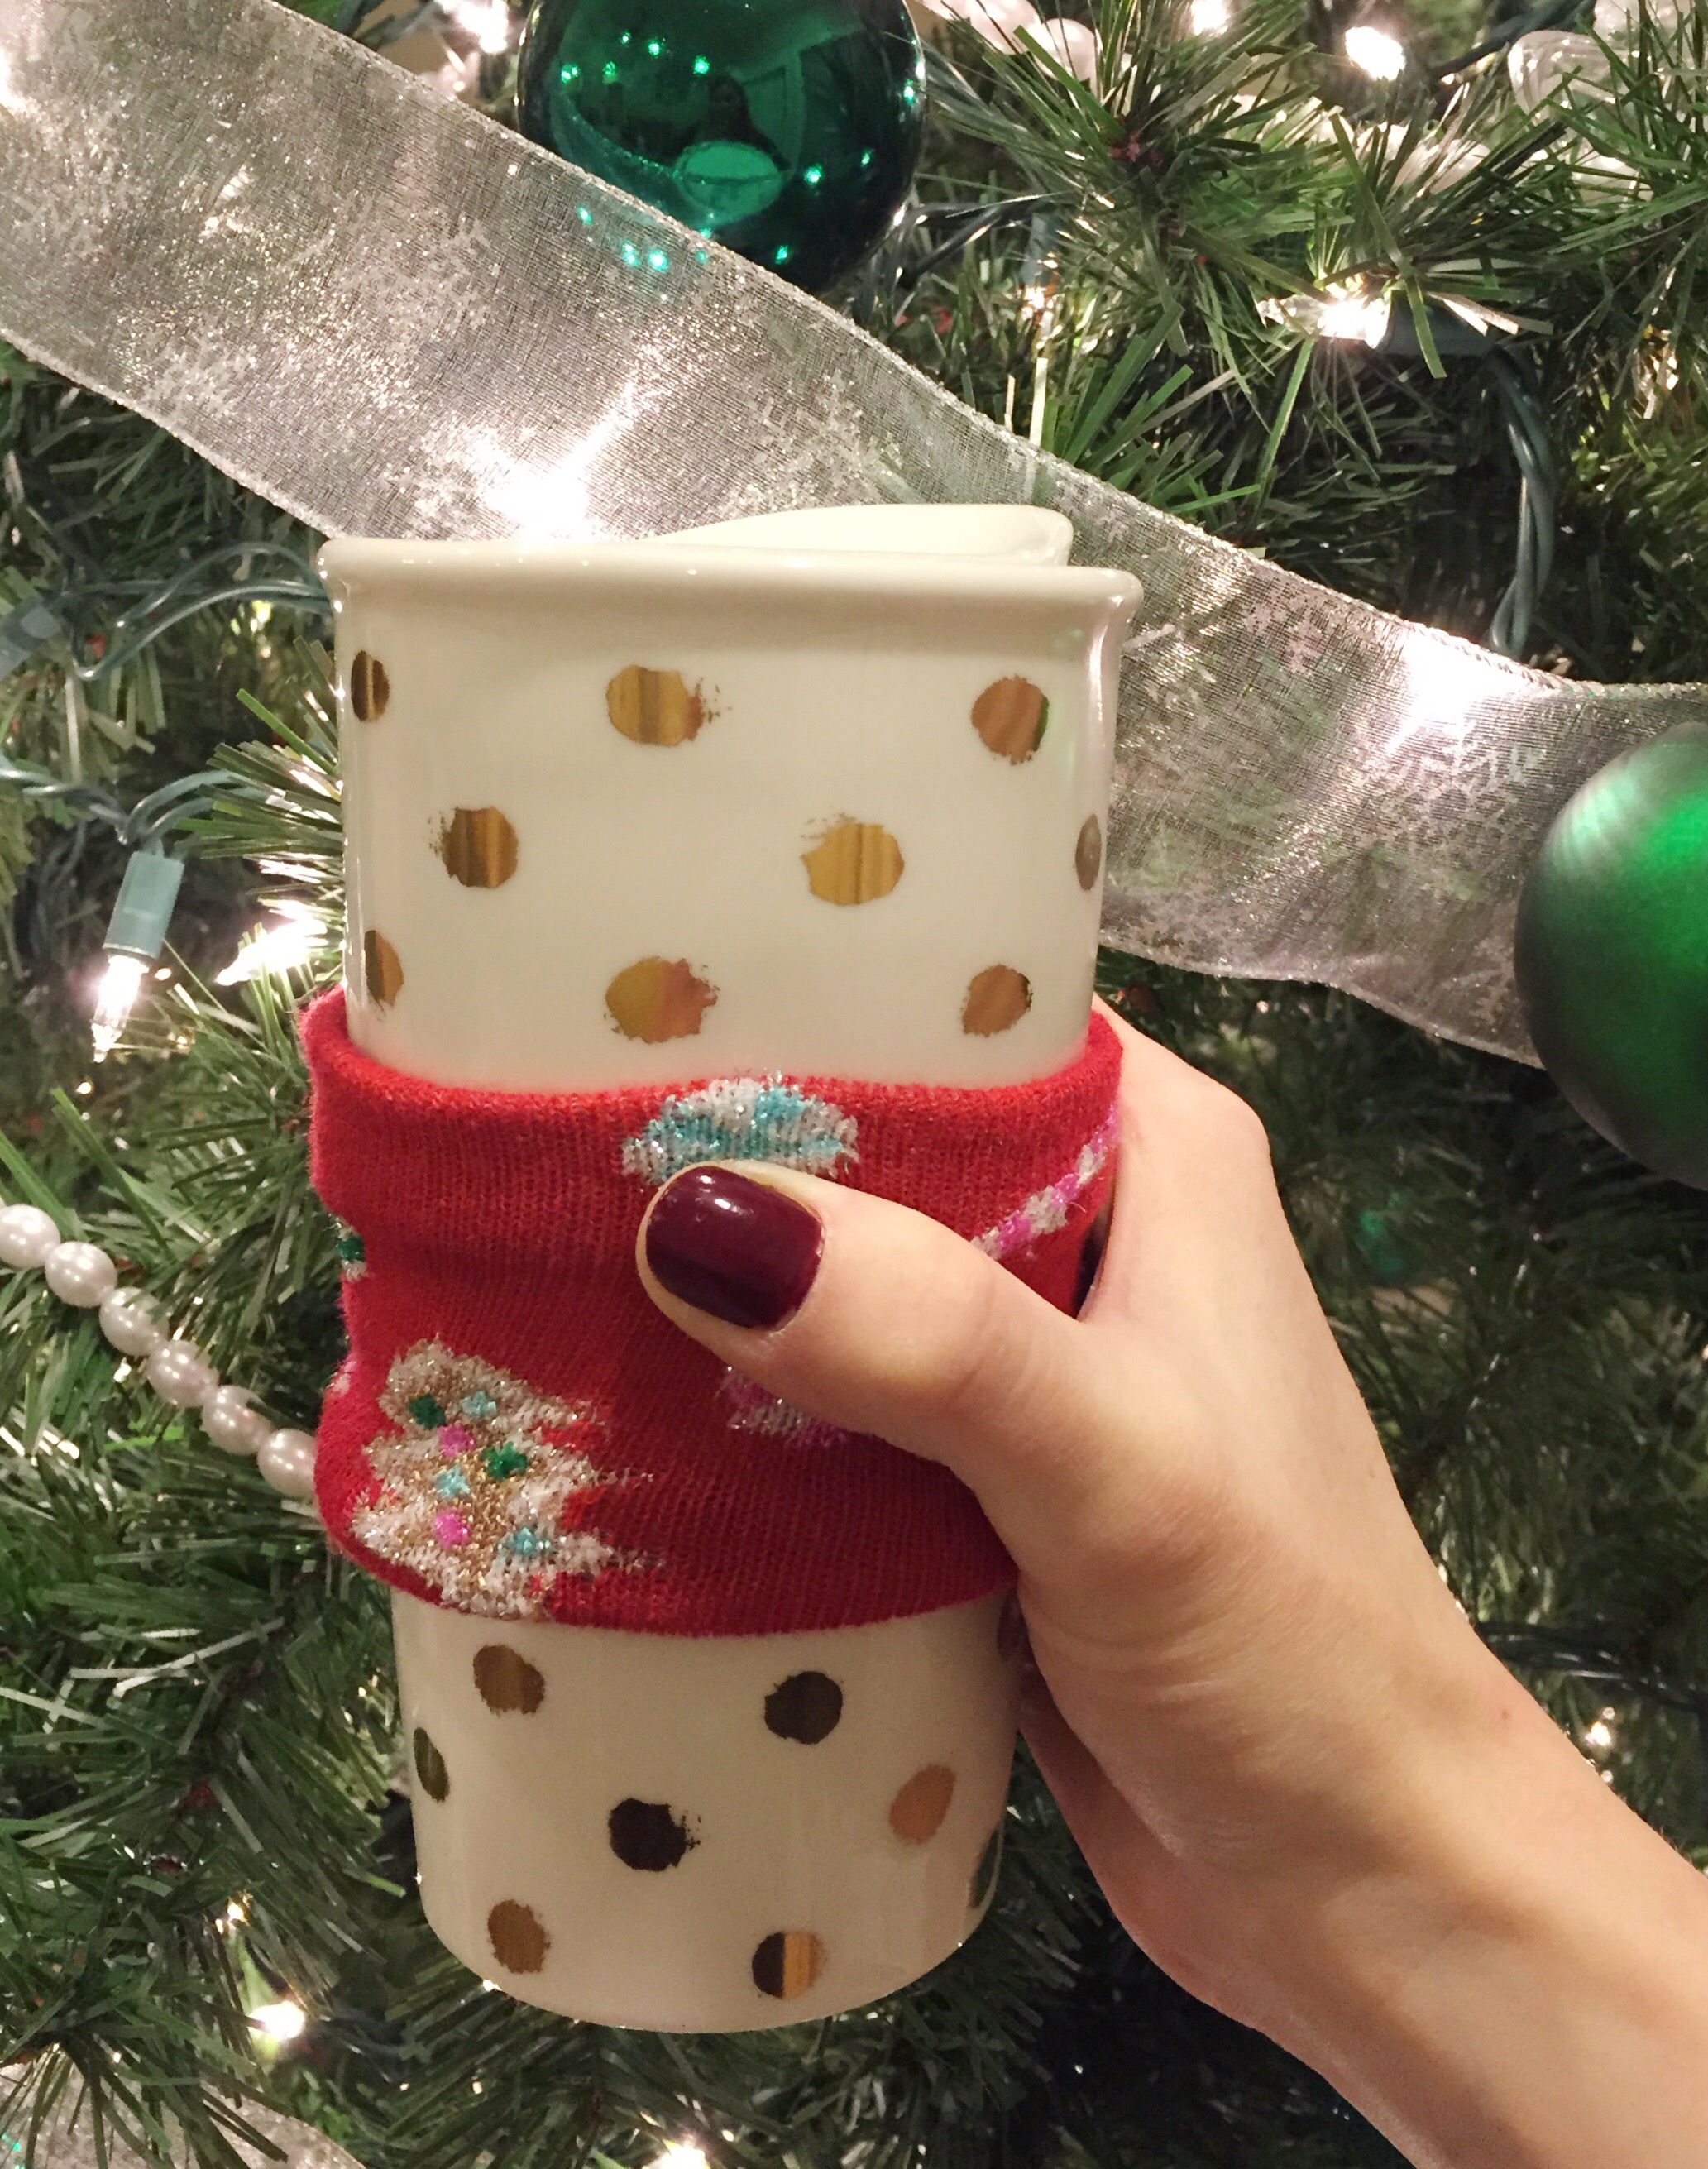
Christmas Sock Coffee Cozy
I love this and am planning to keep one for myself! Too fun : )
What You’ll Need:

A Pair of Christmas Socks
A Travel Coffee Mug (*Tip: Starbucks has the *cutest* holiday mugs this year!)
A glue gun or other strong glue of your choice
Optional: Chocolate to fill the cup with or a giftcard to hide inside : )
Step 1:
Cut the sock so it will be long enough to wrap around the mug (make sure to not use the heel part of the sock).
Step 2:
Glue the two ends of the piece of sock together so that you form a coffee cozy.
Step 3:
Put the cozy on the mug and fill the mug with chocolates, a giftcard, or whatever else you’d like!
Pretty Nail Polish Gift Bag:
I love the way these turned out and plan on making several more!!
What You’ll Need:
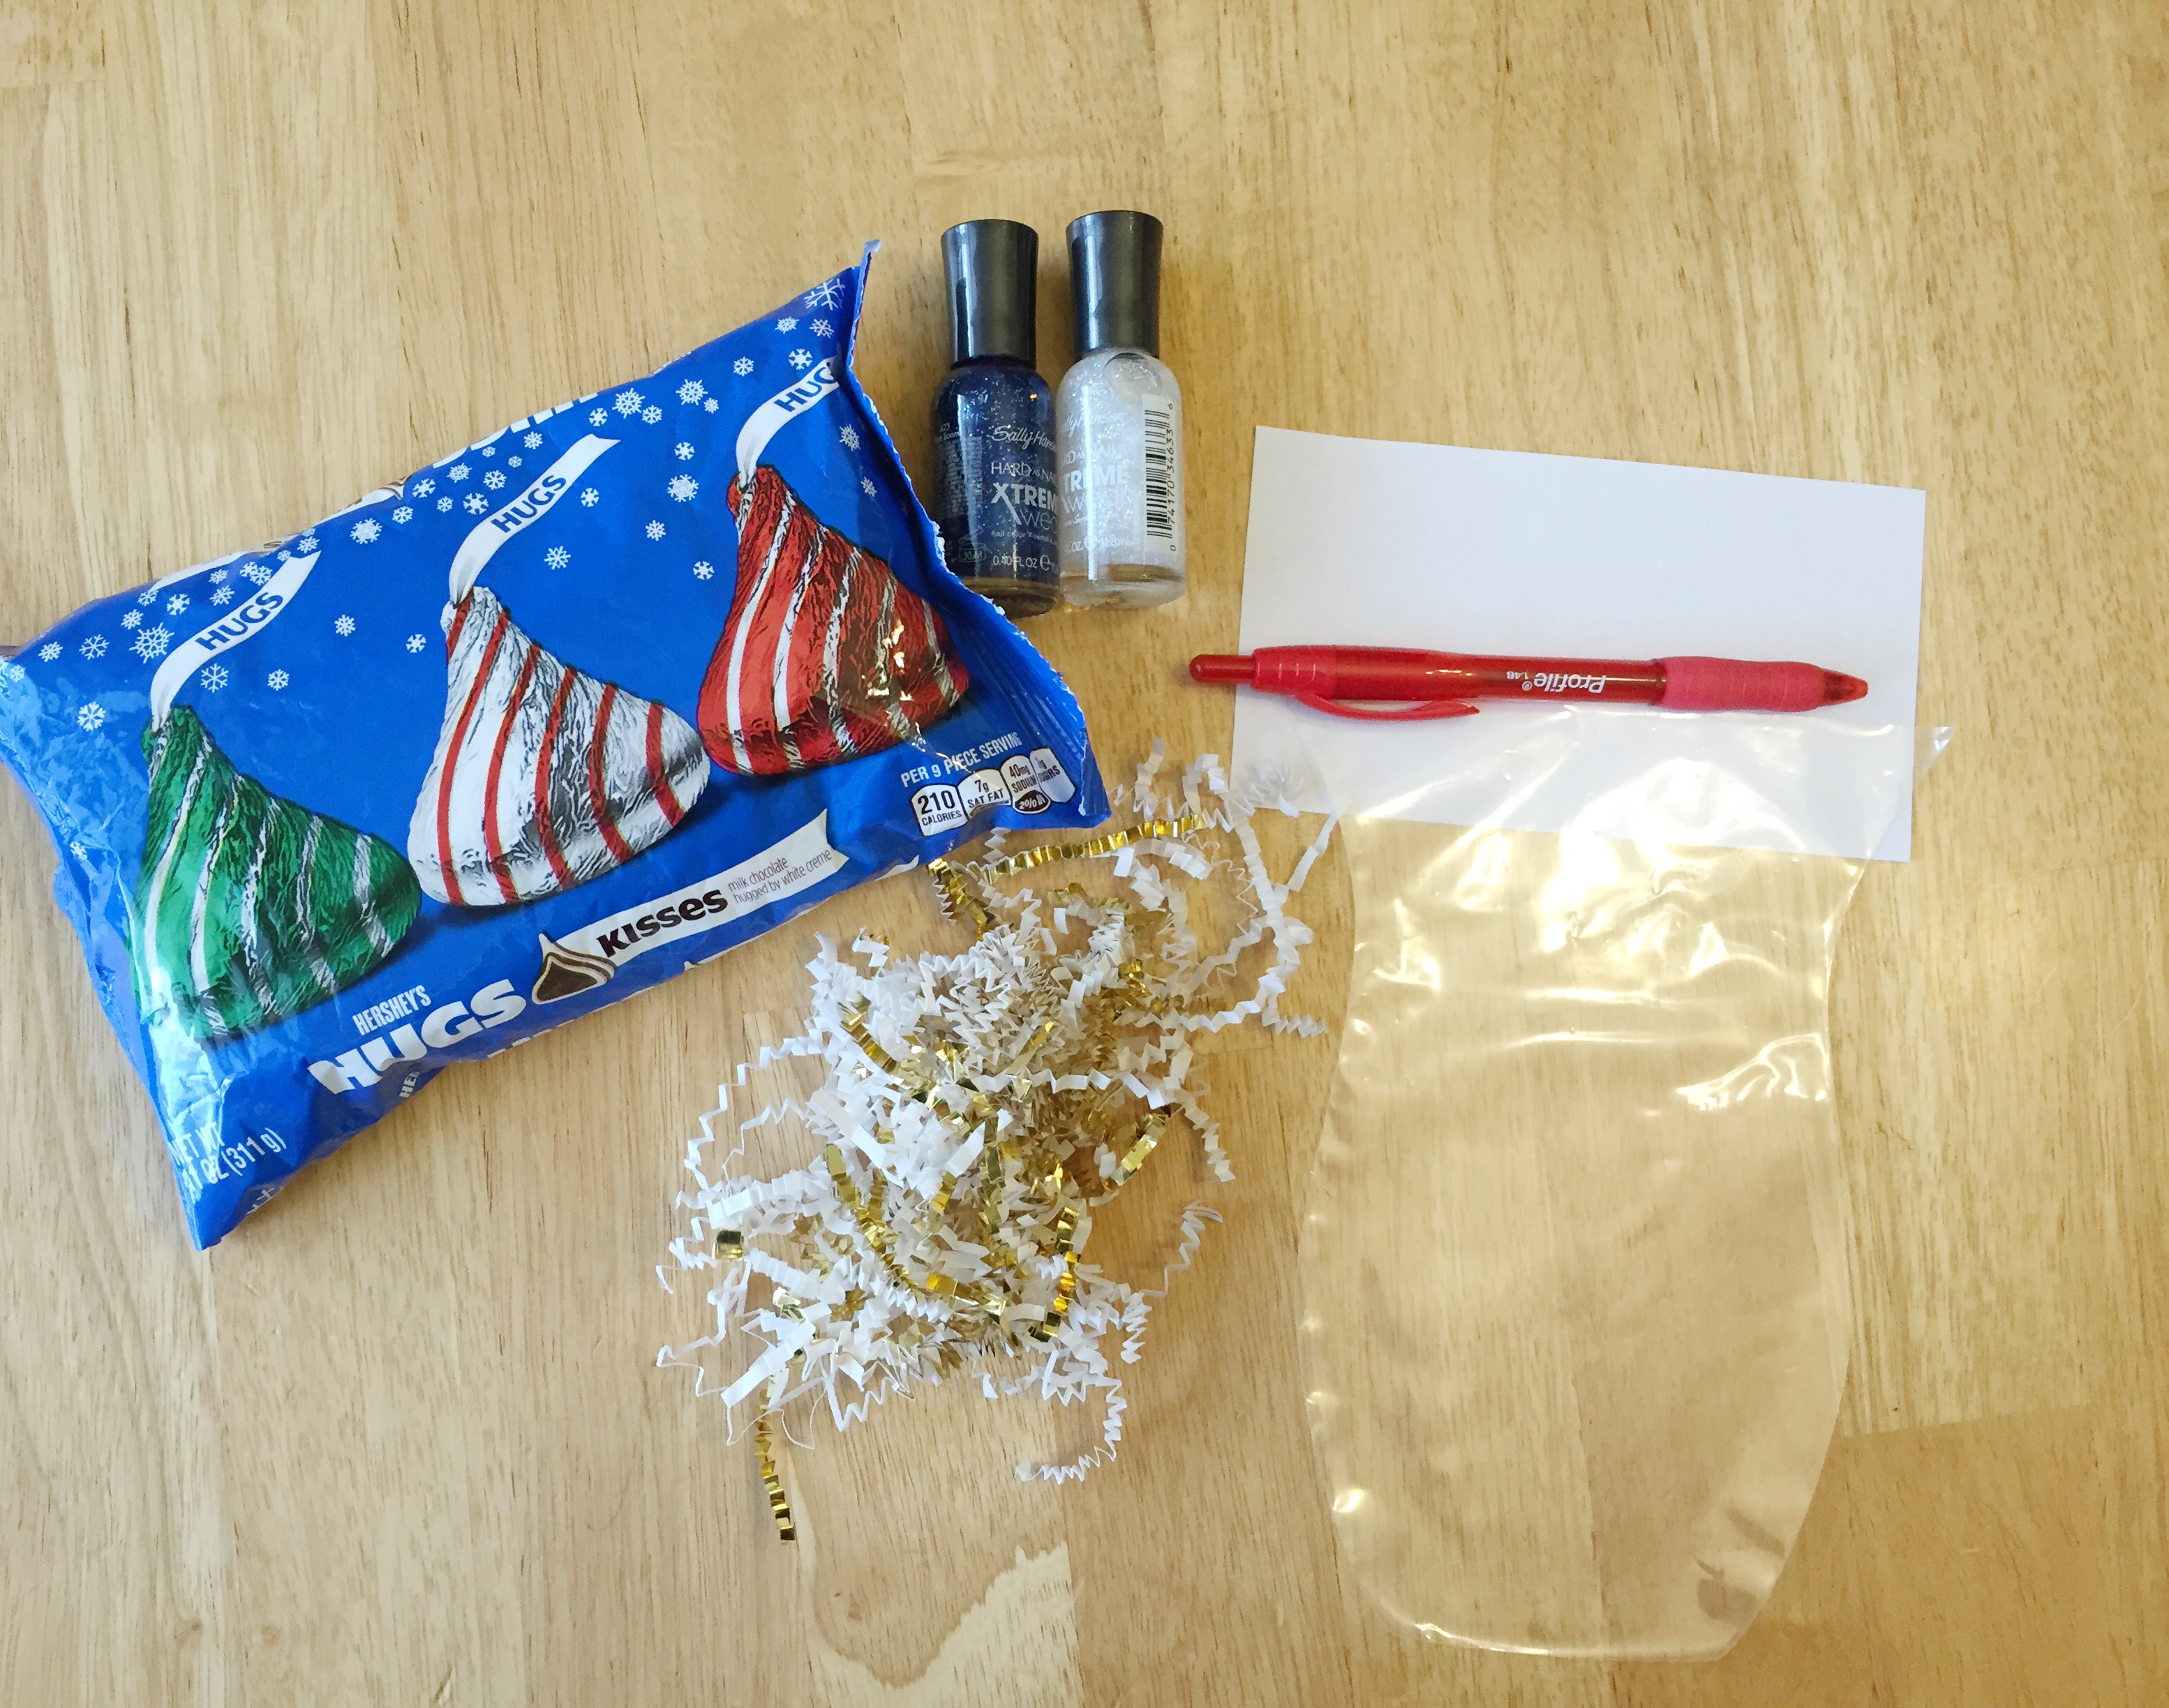
A Small Cellophane Bag
A Stapler
A Piece of Plain Paper or Christmas Scrapbook Paper
A Red Pen
Crinkle Paper or Confetti
Chocolate or Christmas Candy of Your Choice
Nail Polish
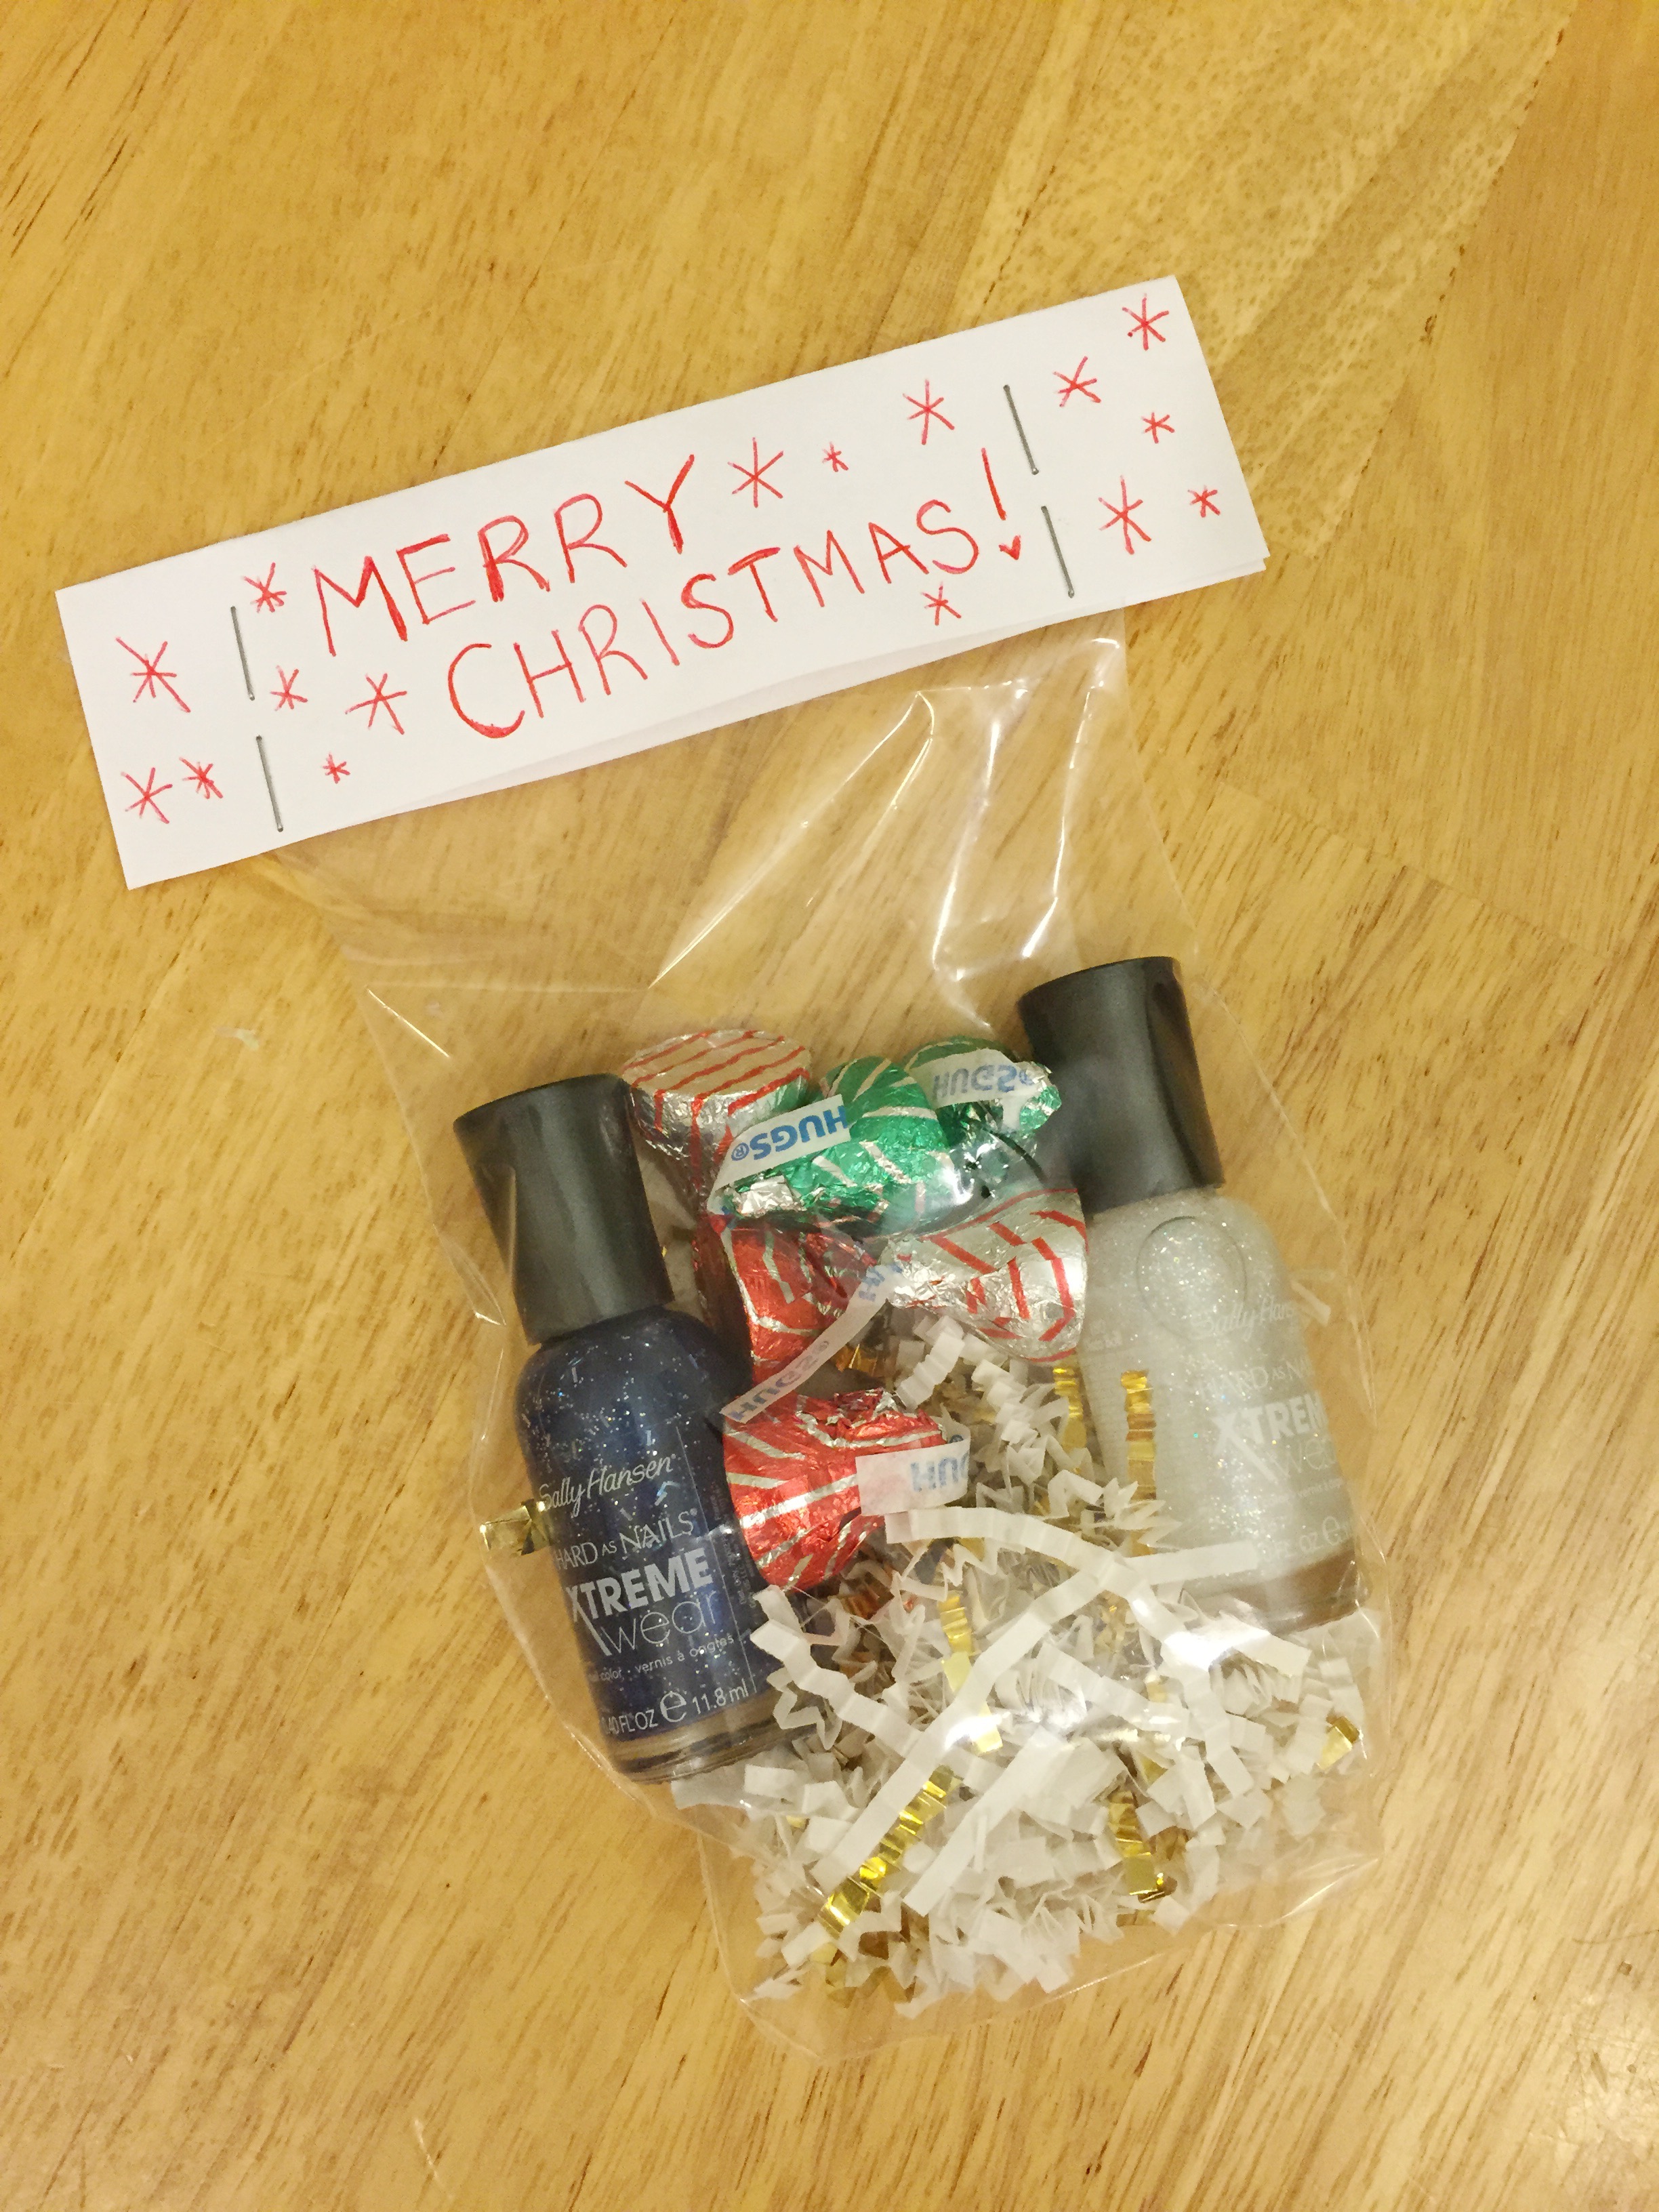
Step 1:
Fill the cellophane bag with the crinkle paper or confetti and then add in your chocolates and nail polish.
Step 2:
Measure the paper so it is the length of the top of the bag and fold it in half lengthwise so it will fit over the top of the bag, and then cut your paper. Write a note or greeting on the paper and then staple it to the top of the bag.
Step 3:
Pass out your cute little bags! These also make great stocking stuffers, and you can put other items like giftcards or lip gloss.
I hope that you have enjoyed this post! Please “Pin” it to your Pinterest account! It’s easy, just scroll over any picture until the pink “Pin” button appears or use the share buttons at the bottom of this post. Have a wonderful start to your week and MONTH! It’s time to get holiday ready!!