Leah Tackles

  • Home
  • About
  • Policy
  • Beauty
  • Fashion
  • Cooking
  • Exercise
  • DIY Projects
  • Decor
  • Book Club
  • Family

HOW-TO FILL IN YOUR BROWS WITH A BROW PENCIL | BENEFIT COSMETICS PRECISELY MY BROW PENCIL

February 14, 2018 & Leave a Comment

Hi there! Happy Wednesday! And, HAPPY VALENTINE’S DAY!

I hope that you are having a wonderful Valentine’s Day! I truly believe that Valentine’s Day is for everyone, parents, kids, romantic partners, and friends. I hope that you are spending this day with people that you love : )

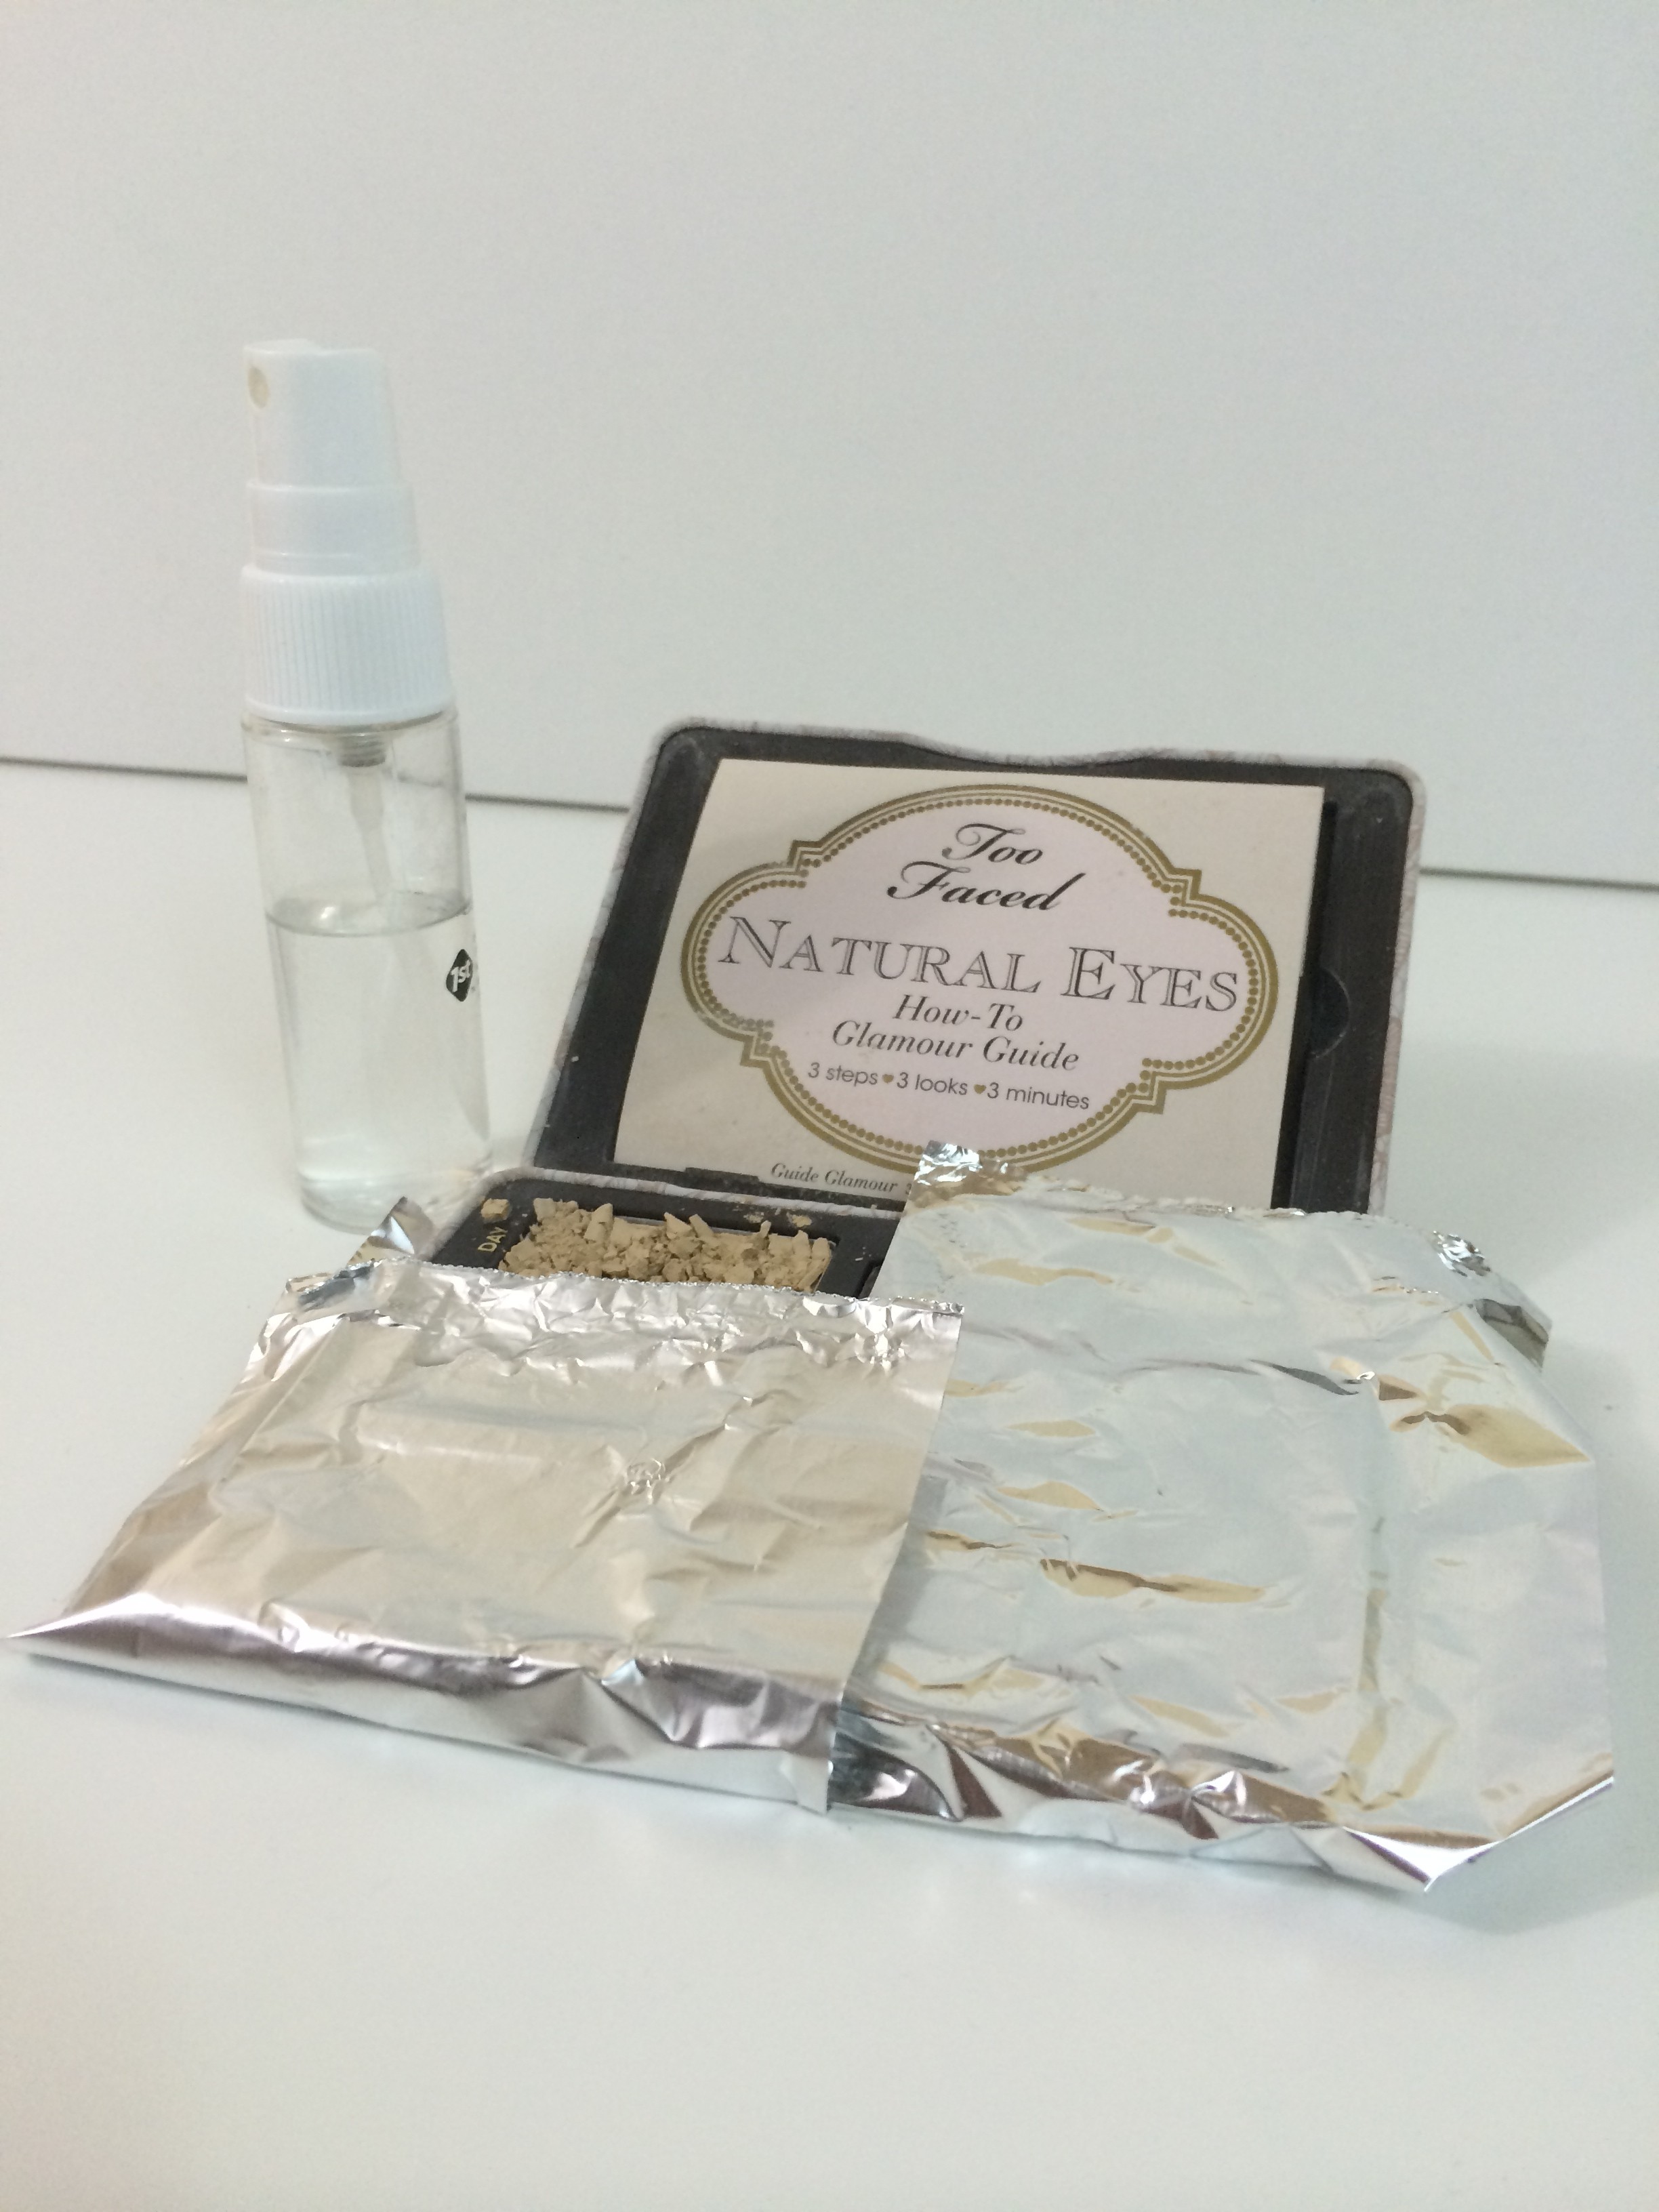
I absolutely love filling in my brows, and do so nearly every day even when I am not wearing other makeup. I use all different brow products, pomades, gels, waxes, powders, and of course pencils. Today I want to share my current go-to pencil from Benefit Cosmetics.


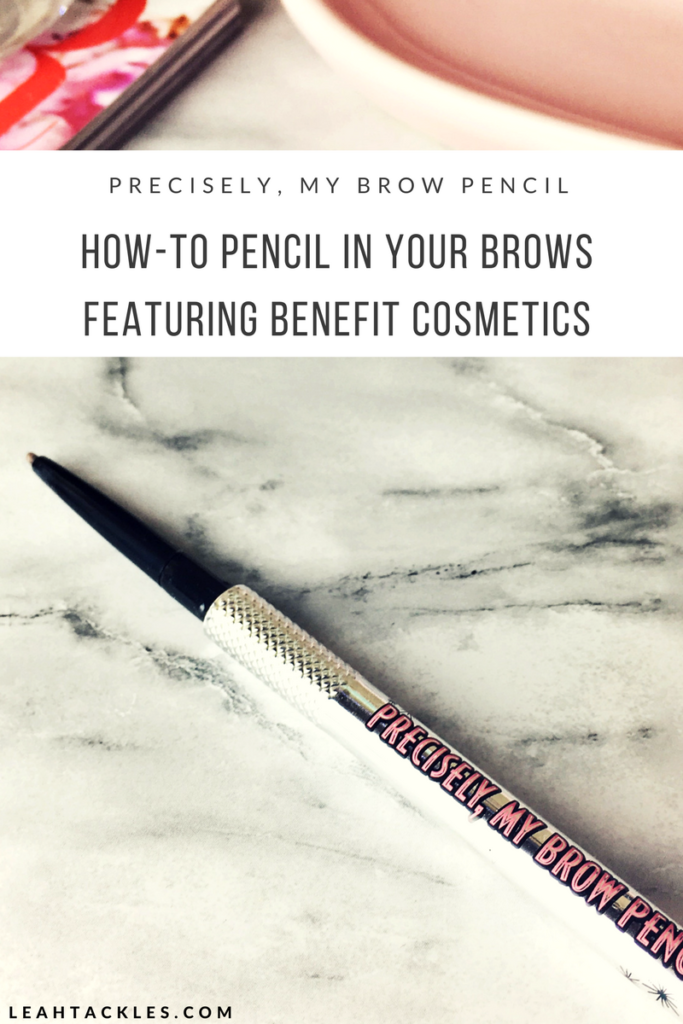
About the Precisely, My Brow Pencil

This ulta-fine pencil pencil claims 12 hour wear, waterproof, smudge-proof color, custom control grip, a twist-up tip that doesn’t need to be sharpened, and a spoolie brush for blending.


My Thoughts

I am a huge fan of the Brow Wiz from Anastasia Beverly Hills, and I decided to give this Benefit Cosmetics Precisely My Brow Pencil a try because it has a very fine point similar to the Brow Wiz. I love Benefit Cosmetics brow products, and this is now my new favorite! I was amazed and how easily I could get hair like strokes and how well the pencil blended with the spoolie brush when I combed through them.

My Routine

My favorite trick with brows is to hold the pencil straight up and down against my nose to see where to start my brows, then against the tip of my nose at an angle to see where my arch should be, and then at the tip of my nose to the edge of my eye to see where the tail of my brow should end. I show this on my Leah Tackles Beauty Instagram, so check that out if that was confusing ; ) I start making strokes upwards on the inner part of my brow, mimicking real brow hairs. I then fill in the rest of my brow following the natural shape of my brows. I like doing my brows darker in the middle and tail of my brow, but lighter on the inside. Once my brows are filled in, I use the spoolie brush to brush my brow hairs up on the inner part of my brows, and then comb any stray hairs in place and blending any harsh lines.

Watch Me Use It


Shop


Watch My Latest YouTube Video

FacebookTwitterEmailPinterestShare

Filed Under: Beauty Tagged With: beauty review, beauty tips, beauty tutorial, Benefit Brow Review, benefit brows, benefit cosmetics precisely my brow pencil, benefit precisely my brow, how to do your brows, how to get perfect brows, how to pencil in your brows, leahtackles, LeahTacklesBeauty, Michigan Beauty Blogger, michigan blogger

BECCA SHIMMERING SKIN PERFECTOR IN PRISMATIC AMETHYST

May 24, 2017 & Leave a Comment

Hi there! Happy Wednesday!

Back in December I did a review on the Kat Von D Alchemist Holographic Palette (read that review here) and so when Becca launched their limited edition pressed shimmering skin perfector in Prismatic Amethyst I was very excited to try it out. Today I want to share swatches of the highlighter as well as my thoughts on this compared to other duo-chrome highlighters on the market.


Becca Shimmering Skin Perfector in Prismastic Amethyst


I think this is a very pretty highlight with pink and lilac iridescent sheen that changes as the light catches it. I found it to swatch more pale pink, but look more purple or blue toned on my cheeks. This highlighter is a lot more subtle than the Kat Von D Alchemist Holographic Palette colors were on me, and I had to actually build it up a bit which surprised me. I do find this to be a very pretty look, and if you’re looking for a more subtle holographic or prismatic look, this may be a great choice. I do think that this can work on any skin tone, but I think it would show up more on a deeper skin tone than mine. I haven’t tried this as an eye shadow topper, but I think it would be beautiful on the lids and plan to try that next.

Shop


Are you into the holographic, duo-chrome highlighter look? Have you tried this one? Let me know in the comments!

FacebookTwitterEmailPinterestShare

Filed Under: Beauty Tagged With: beauty review, beauty tutorial, becca cosmetics review, Becca Shimmering Skin Perfector, Becca Shimmering Skin Perfector In Prismatic Amethyst, duo-chrome highlighter, high end beauty, holographic highlighter, leahtackles, LeahTackles Beauty, pressed shimmering skin perfector, Prismatic amethyst, prismatic highlighter, sephora haul, sephora VIB sale

HOW TO DO A ONE COLOR BOLD EYE SHADOW LOOK IN 2 MINUTES!

January 16, 2017 & Leave a Comment

Hi there! Happy Monday! And Happy Martin Luther King Day!

Lately, on days like today, when I’ve been rushing to get my makeup on before rushing with the kids out the door I’ve been wearing a super easy eye shadow look that I want to show you how to easily recreate today.


The  Look:

leahtackles-easyonecolorboldeyeshadowlook-beautytutorial.jpeg

What You’ll Need:

oneeyeshadowlookintwominutes-quickeyeshadowlook-singleshadowlook-leahtackles.jpeg

-One bright color of your choice! Have fun I’ve been loving pinks, purples, greens, and even blues! (I used Wet n’ Wild I’m Getting Sunburned Trio the top pink/purple shade for my look today)

-A basic shadow brush (I used the Sigma Shader E60)

-A blending brush (I used the Sigma Blending E25)

Optional:

-A cream or ivory eye shadow to blend (I like Bobbi Brown in Bone 2 or Wet n’ Wild Single Shadow in Brulee)

-An eye shadow primer or base (I used Maybelline Color Tattoo in Inked in Pink)

How To Get the Look:

Apply your base or eye shadow primer if you choose to use one. Take any basic eye shadow brush and apply the eye shadow of your choice on your lid all the way up to your crease or just above your crease. I do not use pat it onto the lids to avoid too much fallout with eye shadow falling onto the rest of your skin. If you do get eye shadow on your skin simple brush it off with a brush or makeup sponge. Then take a fluffy eye shadow brush or blending brush to soften any harsh lines and blend the edges of the eye shadow. If you wish, you can use the ivory or cream eye shadow to blend the eye shadow instead of blending only wish a clean brush. I then applied a slight winged liquid eye liner (I used L’Oreal Lineur Intense) and mascara (I used Covergirl Super Sizer in Water Resistant).

I hope you liked this look! If you have any questions, please leave them in the comments below!

FacebookTwitterEmailPinterestShare

Filed Under: Beauty Tagged With: beauty blog, beauty blogger, beauty tips, beauty tutorial, Bobbi Brown Bone 2, Bold Single Color Eye Shadow Look, Easy makeup look, leahtackles, Maybelline Color Tattoo Inked In Pink, simple beauty, simple makeup, Single Eye Shadow Look, Wet n Wild I'm Getting Sunburned, Wet n Wild Single Brulee, winter makeup look

HOW TO FIX BROKEN EYE SHADOW! QUICK TUTORIAL!

April 28, 2014 & Leave a Comment

Hi There! Happy Monday!

I hope that you had a wonderful weekend! Our daughter turned 3 on Saturday, and we celebrated with family and friends! It was a great party, and we were so happy that she had fun : ) In my April PopSugar Must Have Box my Too Faced eye shadow palette arrived with one of the shadows broken, PopSugar replaced it, but I wanted to repair my broken one too. Today I thought that I would show you a quick tutorial on how to repair broken eye shadow, blush, bronzer, or most powder makeup products. There are several ways to do this, and I have pinned several different techniques on my Pinterest, but I am going to show you my favorite method.


WHAT YOU’LL NEED:


How-to-fix-broke-eye-shadow.jpeg


Broken eye shadow or other powder product ; )

A pen

Aluminum foil

Scissors

Rubbing alcohol in a small spray bottle

Paper towel

Chapstick tube


STEP 1:

This step is only needed if your eye shadow is in a palette with other shadows. Use the aluminum foil to cover up the shadows that are not broken.


STEP 2:

Use the pen to smash the broken pieces powder until it looks like a finely milled loose powder.


how-to-fix-eye-shadow.jpeg


STEP 3:

Spray fairly heavily with rubbing alcohol.


how-to-fix-eye-shadow-tutorial-leahtackles.jpeg


STEP 4:

Wrap your chapstick tube in paper towel and press down onto the broken powder.


broken-eye-shadow-leahtackles.jpeg


STEP 5:

Allow to dry for several hours and Ta-Da! Your powder may not be as pretty as before it broke, but it should work just as well and be all in one piece!


tutorial-leahtackles.jpeg


I hope that this was helpful for you! Please feel free to pin this onto your Pinterest account by clicking the pink “pin” button that shows up when you scroll over any of the pictures. If you have any questions or comments, let me know by commenting (click on the link by the title of this post) or find me on Facebook, Twitter, or Instagram! Thank you so much for taking the time out of your day to read this, and I hope you have a wonderful week! Don’t forget to subscribe! : )

FacebookTwitterEmailPinterestShare

Filed Under: Beauty, DIY Projects Tagged With: beauty blog, beauty tips, beauty tutorial, eye shadow, fix eye shadow, how to fix makeup, how-to fix broken eye shadow, leah tackles, leahtackles, make up, makeup, makeup tips, makeup tutorial, Pop Sugar Must Have, quick makeup tip, too faced, tutorial


SUBSCRIBE

Leave your email to subscribe!

SEARCH

SPONSORS

ARCHIVES

GRAB MY BUTTON


copy & paste code

site design by The Kinch Life Design & development by Olive & Ivy Design

Catch The Webinar Replay! Boundary Setting For Entrepreneurs

Go to leahtacklessocial.com and sign-up for the link!