Leah Tackles

  • Home
  • About
  • Policy
  • Beauty
  • Fashion
  • Cooking
  • Exercise
  • DIY Projects
  • Decor
  • Book Club
  • Family

The Best Affordable Makeup Sponge? | EcoTools Blending Sponge Review

January 8, 2018 & Leave a Comment

Hi there! Happy Monday!

It is the second Monday of 2018 and I can already tell that this year is going to fly by! This past weekend I got to have some much needed girl time with one of my best friends and that included, of course, a trip to Target. We chatted skincare and makeup, and she suggested that I try the EcoTools Blending Sponge, and with a $5 price-point I was happy to test it out.


About the EcoTools Blending Sponge

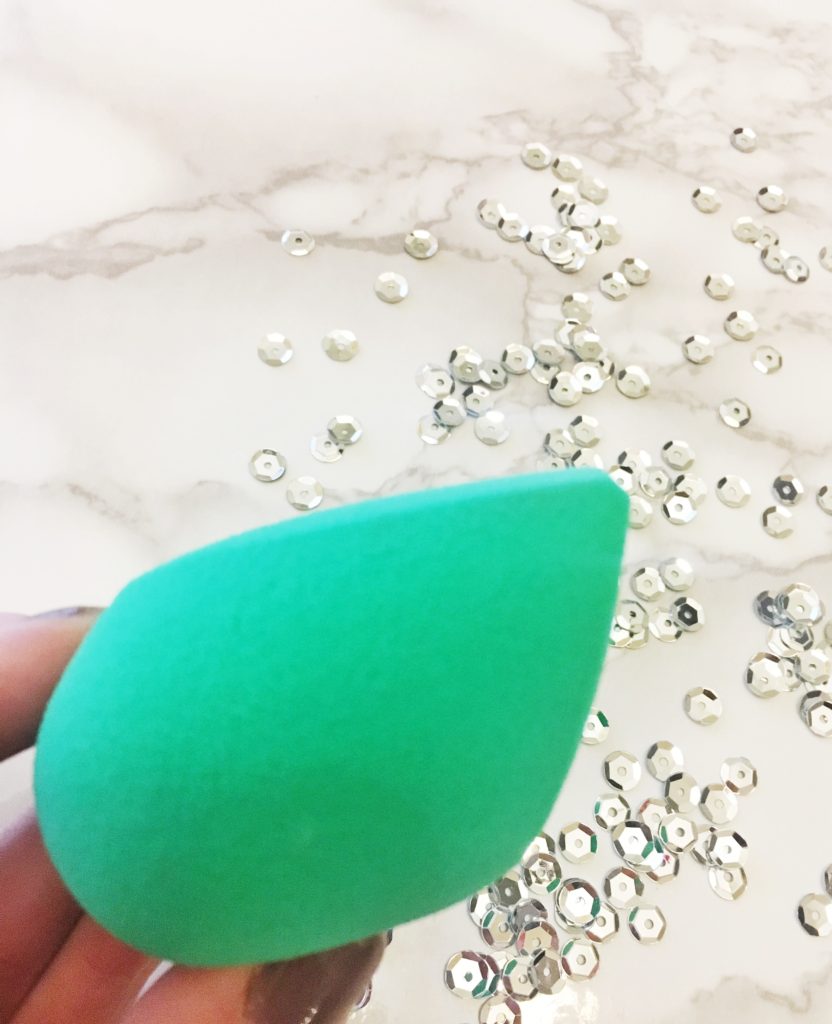
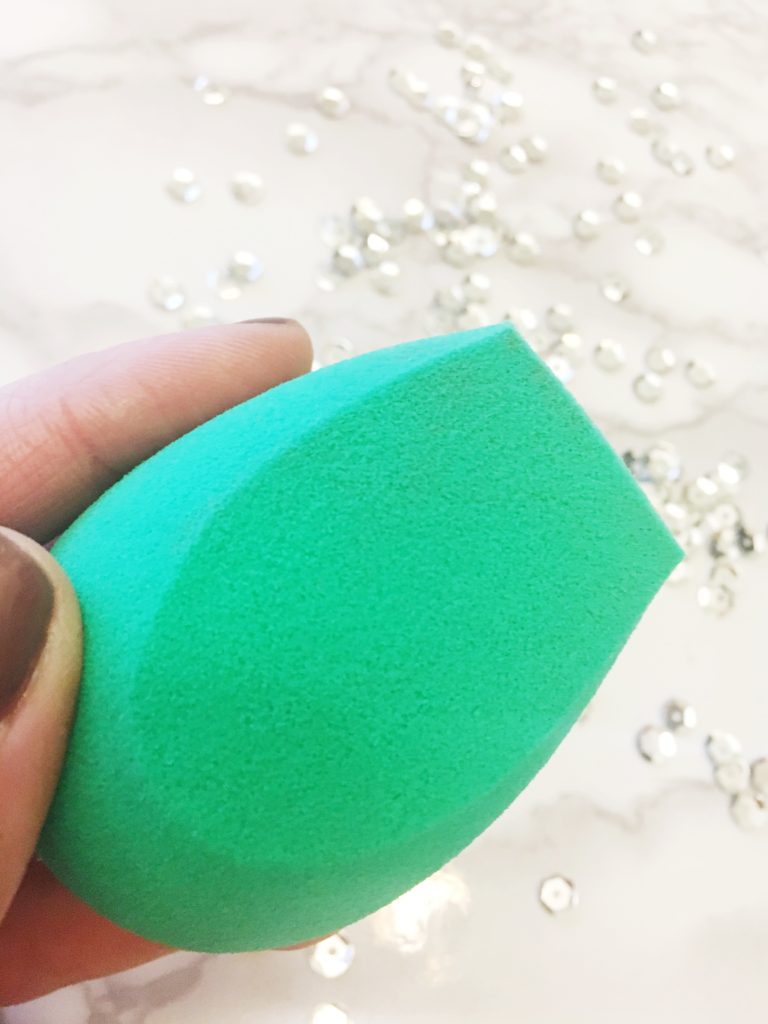
The Total Perfecting Blender is designed with EcoFoam Technology to blend primer & foundation for flawless skin. The website description claims that the contoured makeup sponge can be used wet/dry to create the look you want. You can purchase the EcoTools Sponge in a duo with a smaller sponge included, or a single like I purchased. 

First Impressions and My Thoughts

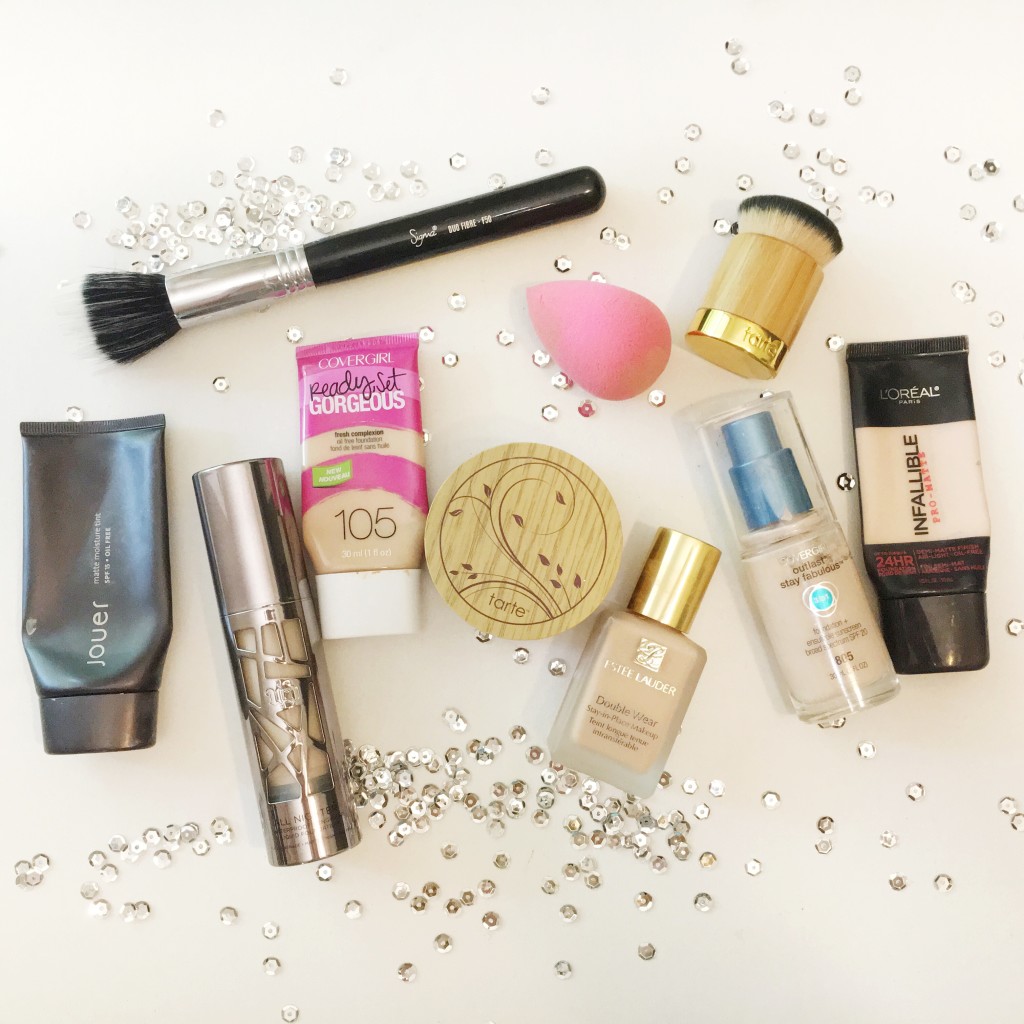
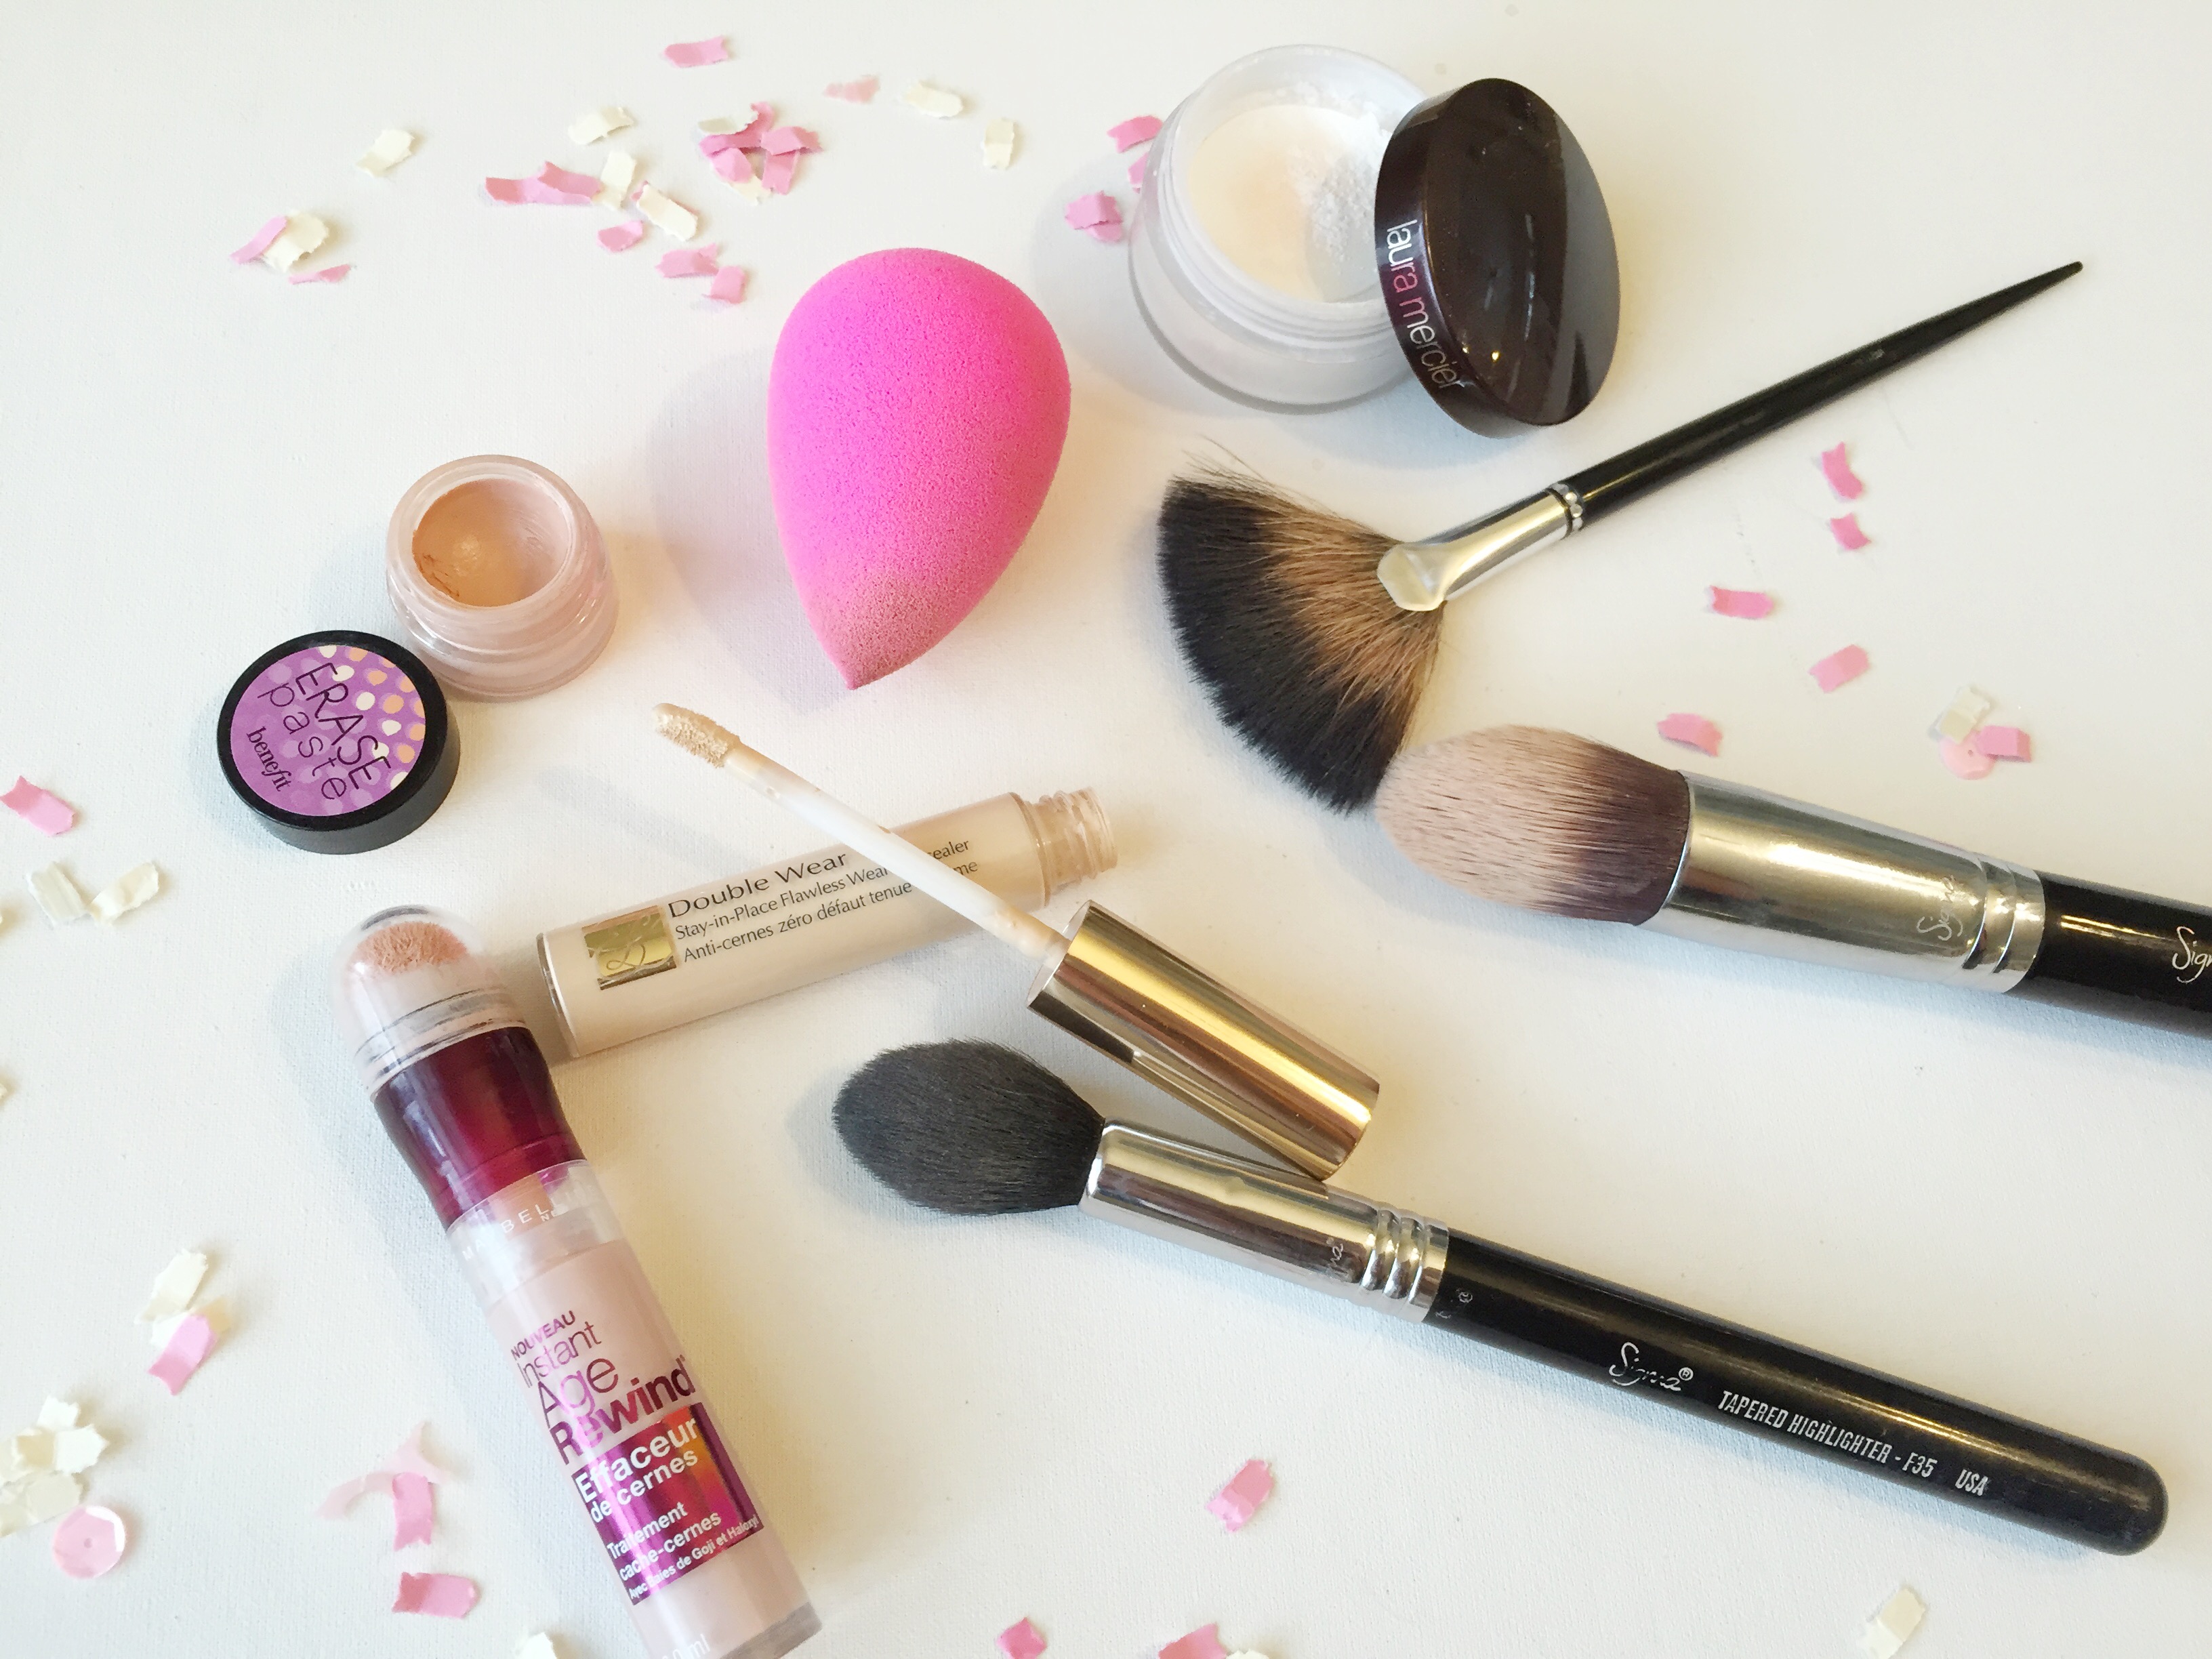
I have used the Beauty Blender for years and really love it, but the price point is high and sometimes that causes me to not reach for it or not replace it when I have one that gets worn out. I love that the EcoTools sponge because the price point is something that I can grab without much thought or guilt on a regular basis. The EcoTools Total Perfecting Blender sponge expanded beautifully, and it felt nice. The large flat side of the sponge worked great for my foundation, and the rounded end worked well as well, though the sponge did feel a bit more stiff compared to the Beauty Blender sponge. The EcoTools sponge doesn’t have a fine point, and so to get the under eye area and the deepest set area of my eyes I had to hold the sponge to create a finer point for it to fit. I thought this sponge gave a beautiful flawless finish. I loved the flat sides of this sponge for getting around the crevices of my nose. The flat edge is also great for cleaning up eye shadow fallout.  I didn’t find that this sponge absorbed too much makeup on the flat edge, but did notice a bit more had absorbed on the bottom, but it wasn’t so much that I was concerned about wasting makeup product.  I will definitely continue to use this sponge, and I love that for those who want to try out a beauty sponge or want a sponge with a more affordable price-point, that they have this option.

My Routine

The sponge can be used wet or dry according to the description, but I wet all my makeup sponges with cool water wringing the sponge out until it is as large as possible. I can’t imagine using this dry, it was too stiff in my opinion to use that way, but using it wet it gets much softer and bounces the product onto the skin well.  After applying my favorite primer I dot the foundation onto my skin with my fingers and then use the sponge in a bouncing motion, similar to stippling. I like to use the large flat side of the brush and the bottom of the brush to apply foundation. I hold the sponge, squeezing to create a small tip to apply concealer to the under eye area. I dry sponge in storage stand after washing it with an antibacterial hand soap or baby shampoo. 

Shop


Have you tried this sponge? Please let me know your favorite makeup sponge in the comments!


Watch My Latest YouTube Video 

FacebookTwitterEmailPinterestShare

Filed Under: Beauty Tagged With: affordable makeup sponge, beauty blender, Beauty Sponge, cheap blending sponge, Drugstore Beauty, drugstore beauty sponge, drugstore makeup sponge, eco tools blending duo, eco tools sponge, ecotools blending sponge, ecotools blending sponge review, ecotools perfecting sponge, leahtackles, LeahTackles Beauty, makeup sponge

HOW TO MAKE YOUR FOUNDATION WORK BEST FOR YOU!

August 15, 2016 & Leave a Comment

Hi there! Happy Monday!

I hope that you had a fantastic weekend! I was talking to a few friends recently about what foundations we had been loving and which we maybe hadn’t been loving as much. I realized that a lot of people (myself included until I really got into the blog and YouTube scene a few years ago) will try a foundation once or just one way before giving it a yes or no verdict. Buying a foundation, especially one you’re really excited about or you’ve heard others rave about, and not having it work can be frustrating! So, today I thought I would share a few quick tips for what to do if you think a foundation isn’t living up to the hype.


MAKEYOURFOUNDATIONWORK-FOUNDATIONTIPS-LEAHTACKLES.JPEG


TRY A DIFFERENT APPLICATION METHOD:

This is absolutely my biggest tip! I have some foundations that I apply with a makeup sponge like the Beauty Blender, I have others that I know I prefer the look when applied with a stippling brush like the Sigma F50, and others still that I apply with my fingers or other brushes. I have some foundations that I can apply any way and the look turns out pretty much the same, but a few of them I dislike one way but love the finish I get using another way to apply it.

SOMETIMES LESS IS MORE AND SOMETIMES MORE IS MORE:

For some foundations they will look and feel cakey very quickly, so I apply a very small amount. Other foundations are more buildable, so I will apply a small amount and then go back in any areas that still have redness, blemishes, or inperfections that I want to cover.

WHAT IS THE WEATHER?:

Some foundations I love on myself in the dry winter months I absolutely cannot wear in the summer, so if the foundation is an oil-slick on you, for example, in the summer, there is still a chance it could be dewy perfection on you in the winter!

GET SHADE MATCHED:

I need to follow my own advice here, but I consider myself a fairly easy shade match because I am so fair that I can usually get away with buying the lightest shade in a foundation range, but definitely go to Sephora, Ulta, or a cosmetics counter at a department store to get color matched whenever possible! If you can’t go to be color matched in person, websites like Sephora and Ulta do offer very good return policies. Drugstore makeup is tricky because here in the United States you typically cannot open the makeup, so you have to just take your best guess as far as color goes. I will say that some drugstores do have very friendly return polices as well, but be sure to check them before you purchase just incase!

WATCH FOR OXIDIZING:

Oxidizing happens when oxygen mixes with the air and this can cause you foundation to turn orange, flake off, and dry out! Sometimes, because of oxidizing, you need to be careful about the shade that you pick because it may change.

USE NATURAL LIGHTING:

Always use natural lighting whenever possible when applying your foundation! This can be tricky when being shade matched inside a store like Sephora, but you can walk outside to take a peek ; ) If you don’t have good natural lighting where you apply your makeup, get a nice makeup mirror that mimics sunlight.

I hope that you found these tips helpful! Never be afraid to ask for samples, ask questions, or return products that do not work for you! Makeup is expensive, and as long as you’re kind and follow the return policies you are absolutely fine girl! Let me know your tips for testing out new foundations in the comments! I would love to hear them : )

FacebookTwitterEmailPinterestShare

Filed Under: Beauty Tagged With: beauty blender, beauty blog, beauty blogger, beauty questions, Beauty Vlogger, beauty youtuber, foundation 101, foundation application, foundation help, Foundation oxidize, Foundation Review, foundation shade match tips, Foundation Tips, How to Pick Foundation, leahtackles, Make Your Foundation Work, makeup blog, sigma f50, skincare, Test Foundation

IS YOUR UNDER EYE CONCEALER MAKING YOUR FINE LINES AND DARK CIRCLES MORE VISIBLE?

January 25, 2016 & Leave a Comment

Hi there! Happy Monday!

This morning I was thrilled to be volunteering in my 4 year olds classroom for a few hours, and her sweet teacher asked me about under eye concealer suggestions. First of all, thank you for asking! I absolutely love getting questions from all of you, and every time I take it as a compliment! So, ask away! I am also a huge fan of this topic, because I have (BAD) dark circles! I’ve talked about it before, but the combo of three kids under five and genetics (love ya mom and dad!) makes my dark circles situation rough most days. I also think it’s a super important topic because if you don’t apply or set your under eye concealer correctly it can cause the makeup to set into your fine lines making the lines and dark circles more visible! Let’s be real, none of us have time for that!

What I Do For My Under Eye Make Up and Dark Circles:

UNDEREYECONCEALERTIPS-DARKCIRCLETIPS-LEAHTACKLES.jpeg

1. If you’re not using an eye cream, you should be! I really love using the Benefit It’s Potent Eye Cream which you can find at Ulta or Sephora. It’s a little pricy, but I really like this and it has helped my dark circles to appear less drastic. I also like this because it doesn’t take forever to absorb into the skin, and it doesn’t feel heavy at all.

2. I always use some sort of pinky/salmon concealer to brighten up the dark circles under my eyes. My go-to favorite is a drugstore concealer! I use the Maybelline Instant Age Rewind Eraser Dark Circles in Brightener! Make sure you get the one that actually says “Dark Circles” because they also have a regular concealer that isn’t specific to the under eye area. I also really like the Benefit Erase Paste, it works so well on days when I want maximum concealing power, but it’s thicker and harder to work with when I’m in a real hurry.

3. I then use a concealer (Tip: Look for one that is one shade lighter than your skin tone for extra brightening power! But I am very fair so I just get the lightest shade offered) over the brightening concealer from step 2. I really love the Estée Lauder Double Wear Concealer or the It Cosmetics Bye Bye Under Eye! I like to make a triangle under each eye and then use either a damp Beauty Blender, or my Sigma F86 Tapered Kabuki Brush (any makeup sponge similar to this or tapered kabuki brush will work) to pat and lightly press the concealer into the skin. Don’t drag the brush in a painting motion! You want that product to stay there!!

*Note: Sometimes I go from step 2 to step 4 and skip this step altogether, but most days I include this in my routine.

4. I then ALWAYS set my under eye concealer with a loose setting powder, preferably a brightening setting powder, with my Sigma F35 Tapered Highlighter (or a fan brush works wonderfully too!).  By setting your under eye concealer with a powder you are helping it to stay put, and also avoiding the risk of the product settling into your fine lines or wrinkles. I love the Laura Mercier Secret Brightening Powder or for a much less expensive route, the E.L.F High Definition Under Eye Setting Powder is also fantastic! Who can beat $3?!

If You Enjoyed This Post You May Also Enjoy:

My Top 3 Ways To Apply Liquid Foundation

I hope that this was helpful! If it was please subscribe, share, or “pin” onto your Pinterest account! I have share buttons for social media at the bottom of each post : ) Have a wonderful week! Let’s chat again on Wednesday! xo

FacebookTwitterEmailPinterestShare

Filed Under: Beauty Tagged With: beauty blender, Beauty Reviews, benfit erase paste concealer, Cover Up Dark Circles, Diminish Fine Lines, Easy makeup tips, estee lauder double wear concealer, laura mercier secret brightening powder, leahtackles, LeahTackles Makeup, Lifestyle Blogger, makeup blogger, makeup tips, makeup videos, maybelline age rewind dark circles, mommy blogger, Sigma Beauty, Under Eye Concealer Tips, Under eye makeup help, Youtuber


SUBSCRIBE

Leave your email to subscribe!

SEARCH

SPONSORS

ARCHIVES

GRAB MY BUTTON


copy & paste code

site design by The Kinch Life Design & development by Olive & Ivy Design