Leah Tackles

  • Home
  • About
  • Policy
  • Beauty
  • Fashion
  • Cooking
  • Exercise
  • DIY Projects
  • Decor
  • Book Club
  • Family

Adorable Watermelon Slice Cookies!

May 23, 2014 & Leave a Comment

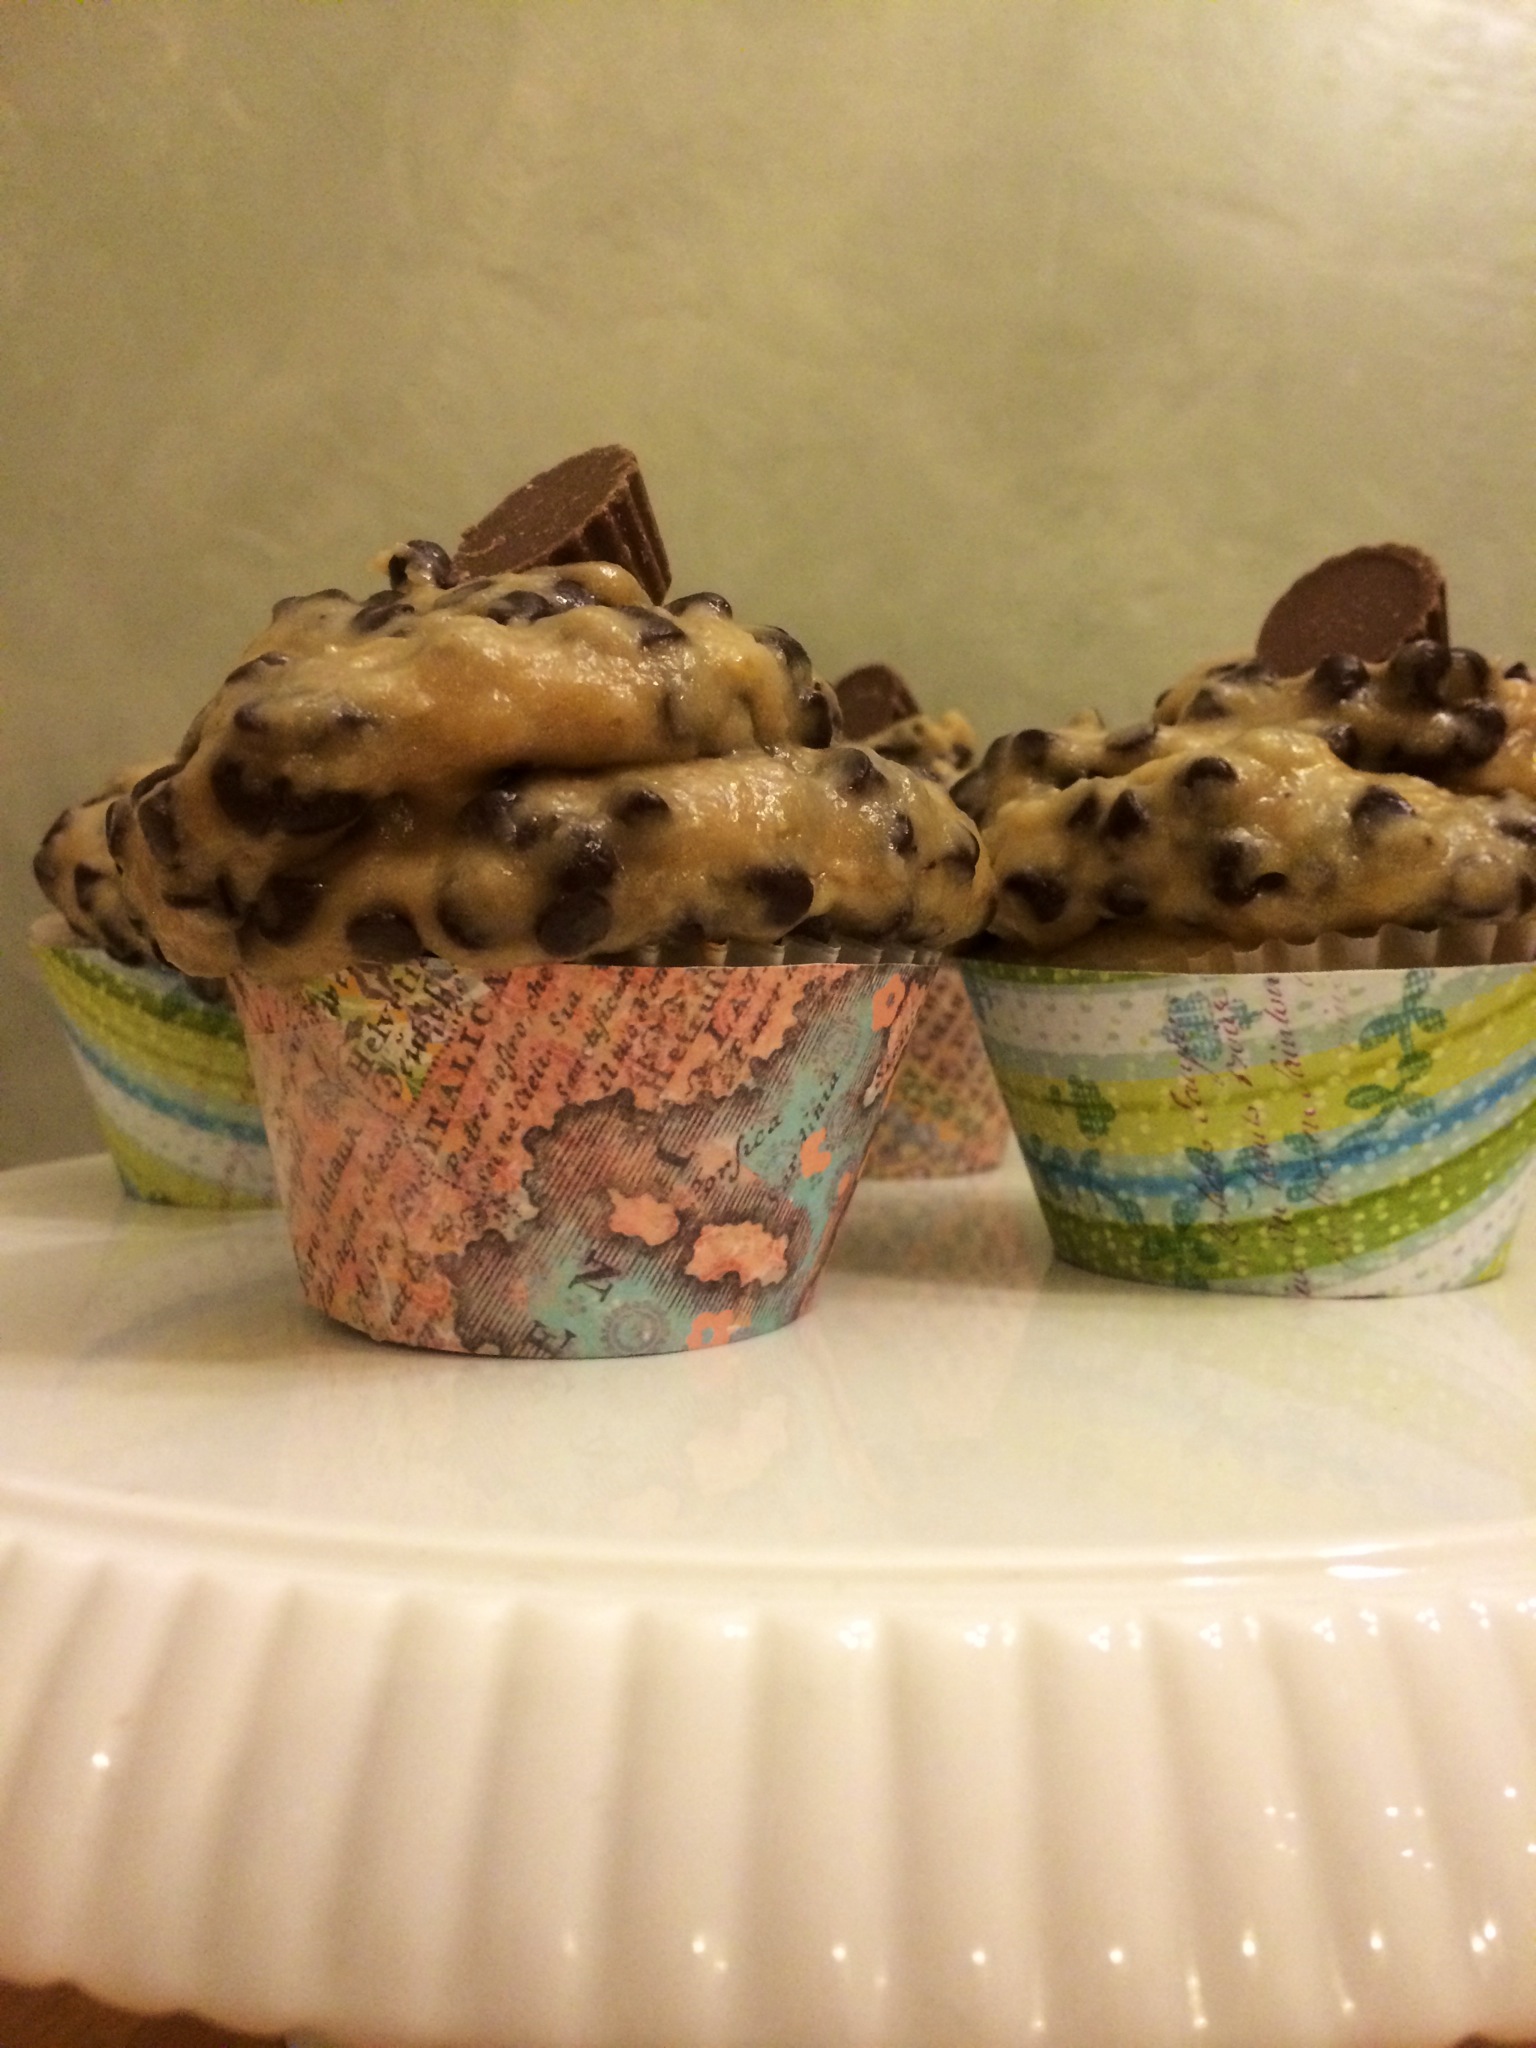
Hi there! Happy Friday!!

I thought that because this weekend is the big kickoff to summer that it would be the perfect time to share this recipe! It is a very simple recipe, it just needs a little prep, but the end result is so adorable! You will impress all of your family and friends with these *for sure*! I found this recipe in my Taste of Home magazine last summer.  If you enjoy this recipe, please pin it to your Pinterest account by clicking the “pin” button that will show up if you scroll over any of the pictures on this blog post : )
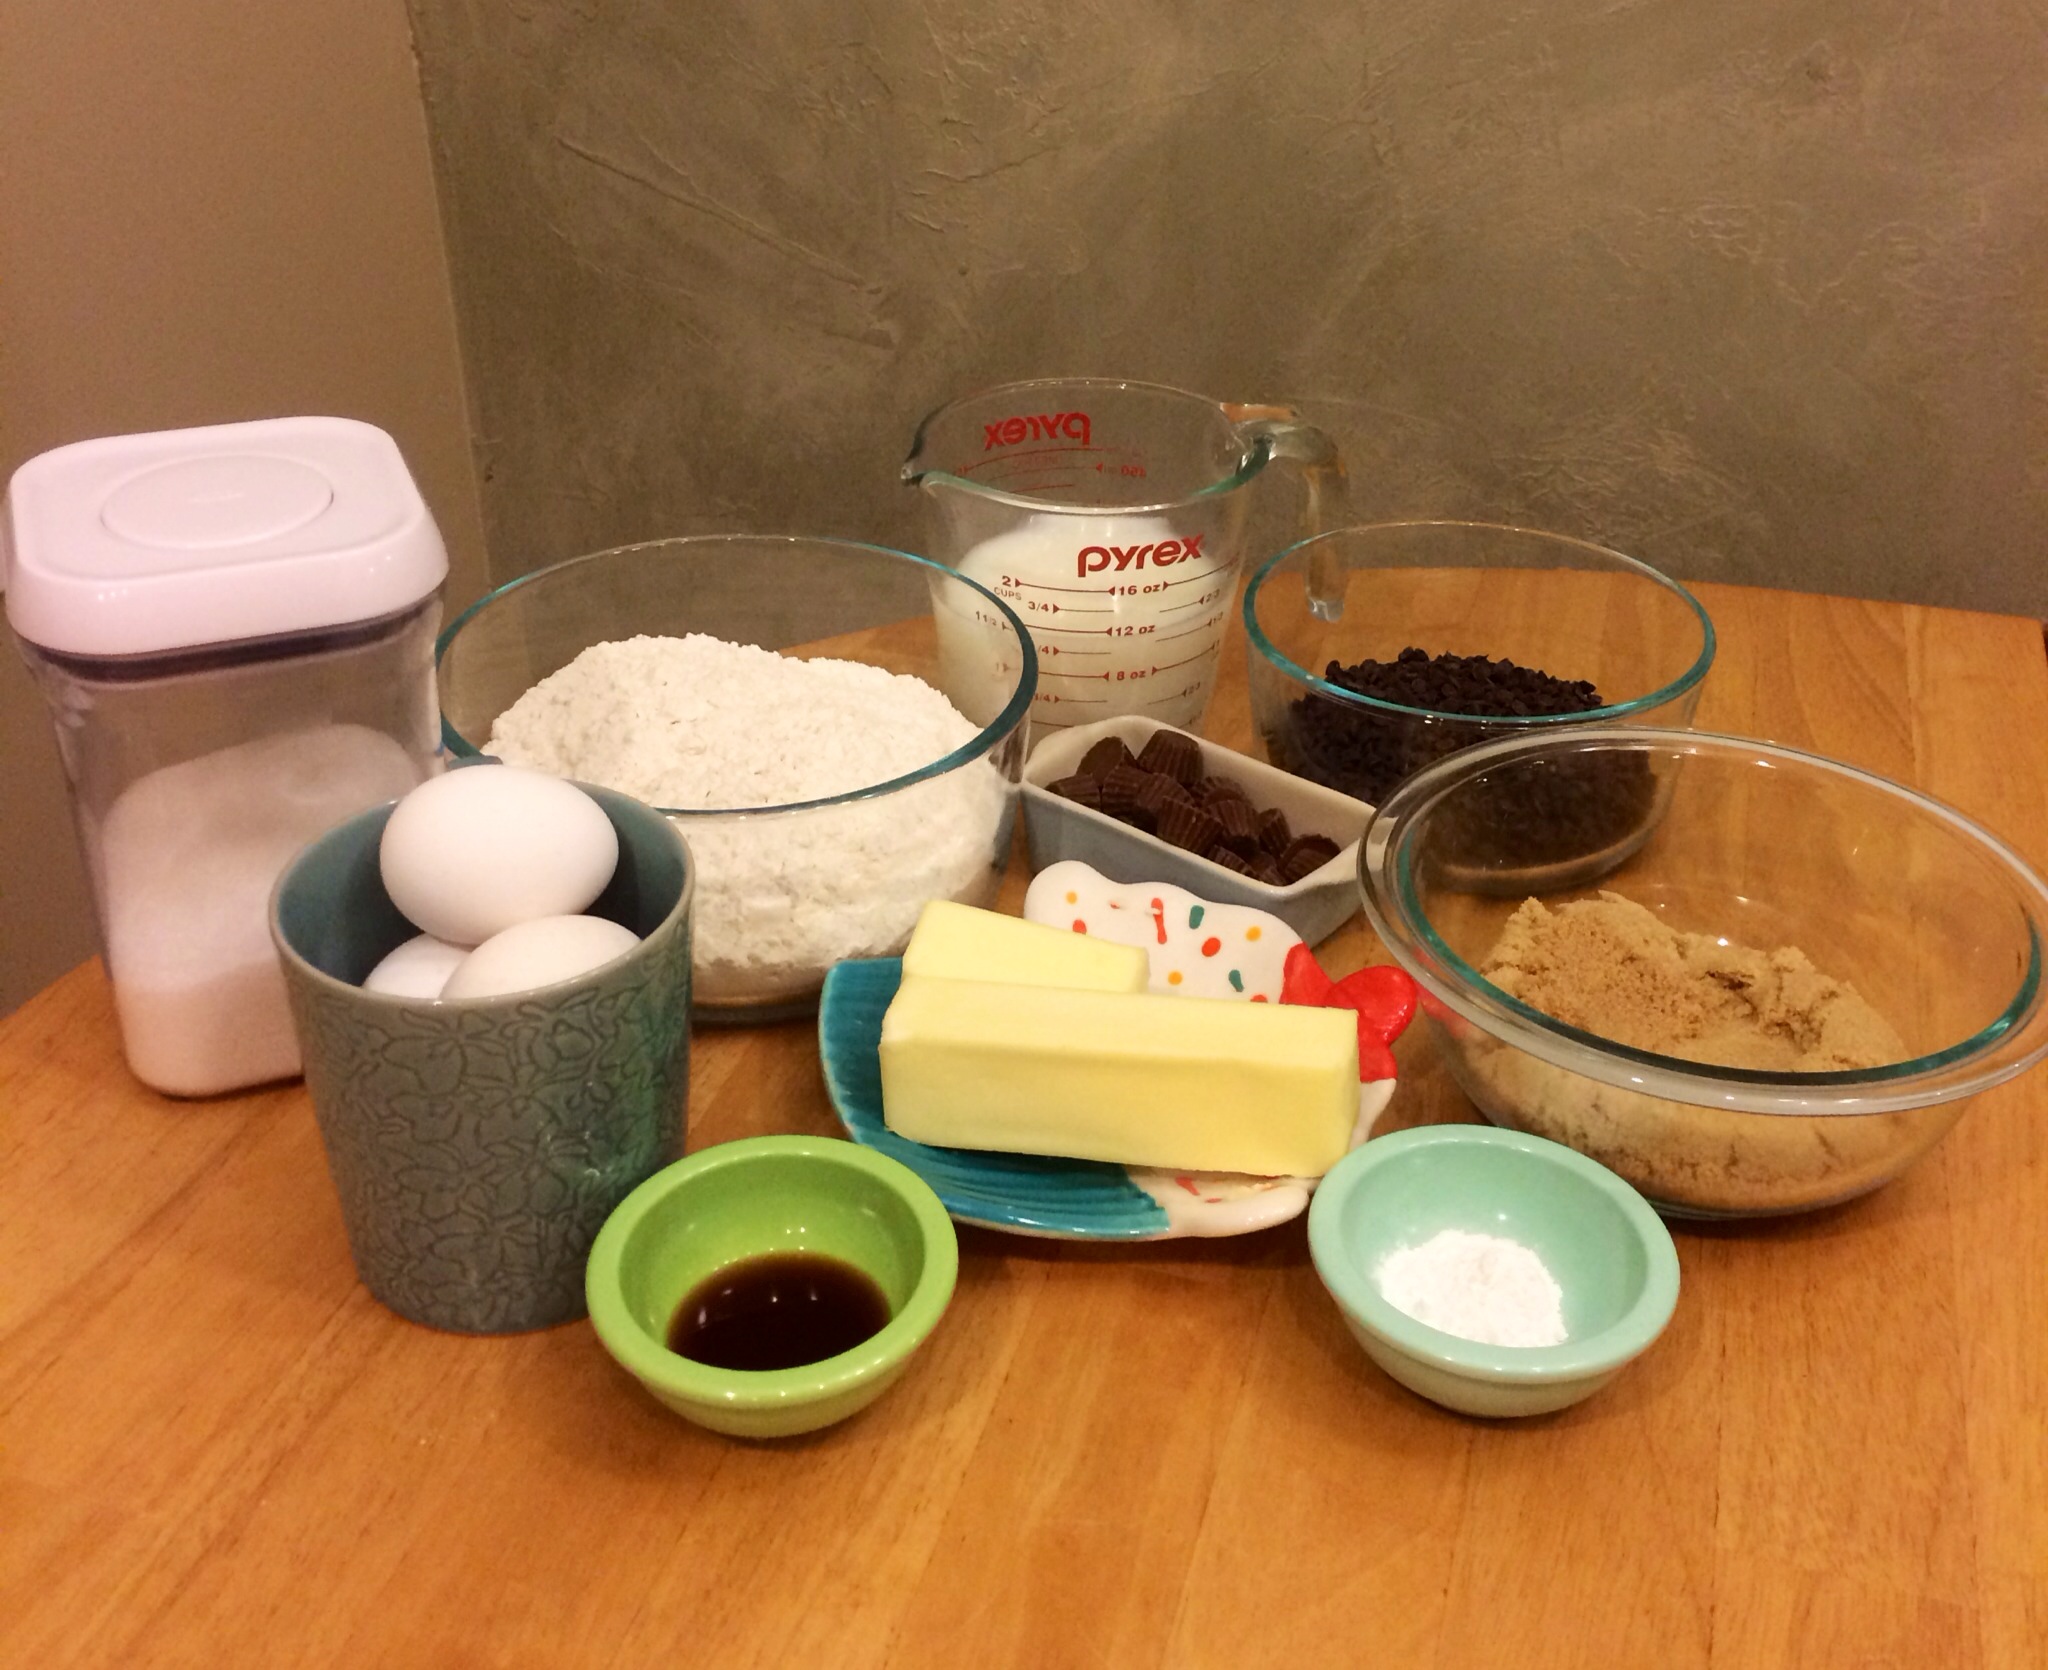
 

watermelon-cookie-recipe.jpeg


Ingredients:


watermelon-cookies.jpeg


3/4 cup butter, softened

3/4 cup sugar

1 egg

1/2 teaspoon almond extract

2 cups all-purpose flour

1/4 teaspoon baking powder

1/8 teaspoon salt

Red and green food coloring

1/3 cup mini chocolate chips


Directions:

In a large bowl cream the butter and the sugar until fluffy. Beat in the almond extract and the egg. In a seperate bowl mix the flour, baking powder, and salt. Slowly add the dry mix to the creamed batter. Reserve 1 cup of the dough. Tint the rest of the dough red and shape into a 3 1/2 inch roll. Wrap in plastic wrap or press n’ seal (my favorite!). Tint 1/3 of the dough green and wrap in the plastic wrap. Wrap the remaining plain dough in plastic wrap. Put all 3 colors of dough into the fridge for 2 hours. After 2 hours, on a lightly floured surface, roll the plain dough into an 8 1/2 by 3 1/2 inch rectangle. Unwrap the red dough and roll the plain dough around the red. Roll the green dough into a 10 by 3 1/2 inch rectangle and wrap it around the other roll. Put in the fridge again for 8 hours at least or overnight. Slice the cookies into 1/4 inch or slightly smaller circles. Place the cookies about 2 inches apart on an ungreased cookie sheet. Press mini chocolate chips into the cookies to create the watermelon seeds. (*NOTE: I used regular chocolate chips because that is what I had on hand, but have included a picture of ones I made with the mini chocolate chips at the top of this post. I think the mini look better, personally! But both taste great ; ) ) Bake at 350° for 8-10 minutes. Cut in half with a sharp knife immediately. Remove to wire racks to cool.


watermelon-cookies.jpeg


These cookies are so great for all those summer BBQs I know you’re going to be heading to anyways, and they’re an amazing way to impress your hostess (mother-in-laws?! Meeting the parents!?! go for it!!) or host! These also can be made in advance and kept like other slice-and-bake cookies if you want to save yourself some time the day of an event! If you enjoy this recipe, please subscribe to my blog and make my weekend!! If you have any questions or if you make these, tell me about it! Find me on Facebook, Twitter, or Instagram! Or, comment by clicking the link by the title of this post. Have a wonderful holiday weekend and stay safe!! : )

FacebookTwitterEmailPinterestShare

Filed Under: Cooking Tagged With: baking, bbq, bbq cookies, butter cookies, cookies, easy roll cookies, freezer cookies, leah tackles, summer cookies, taste of home, watermelon baking, watermelon butter cookies, watermelon cookies

Chocolate Chip Cookie Dough Cupcakes and Free Cupcake Wrapper Template

March 24, 2014 & 7 Comments

Hi There! Happy Monday! I hope you had a wonderful weekend!

I got to eat cookie dough this weekend, safely, and it was so delicious! Today I’m going to share with all of you…I have a recipe for chocolate chip cookie dough cupcakes! I also have included a template for a cupcake wrapper that I first made for my sons first birthday party several months ago. They are very simple, and you can use any scrapbook paper you like! If you enjoy this post, please consider pinning it to Pinterest by hovering over any of the pictures & clicking the big “pin” button that appears.

I stumbled on Sweet Emelyne’s videos and blog some time ago, and quickly came to love her sweet personality and baking expertise! She is a very talented cupcake baker and decorator, yet she shows things in an approachable and unintimidating way! This is nice, it is realistic for people like me who have no real cupcake decorating experience or skills. If you like to bake or are interesting in seeing lots of creative ideas for cupcakes for every occasion, I think you would love her videos and blog! And a huge thank you to Emelyne for being such a doll, and being so kind when I asked about sharing this recipe on my blog.


cupcake close up


Vanilla Cupcake:

Leah’s Note: You could use a boxed cake mix for this if you just want to get right to the cookie dough, but from scratch was definitely easy and tasty!


cupcake ingredients


Ingredients:

3 cups all-purpose flour

1 1/2 teaspoons baking powder

1 1/2 sticks butter

1 1/2 cups sugar

4 large eggs

2 teaspoons pure vanilla extract

1 1/4 cups milk

Directions:

Preheat your oven to 350 degrees and line your cupcake pan with wrappers. Whisk together flour and baking powder. In a different mixing bowl cream together butter and sugar until light and fluffy. Add the eggs one at a time and beat in vanilla. Add flour mixture and milk alternately, starting and ending with flour. Use an ice cream scoop to place batter in liners. Bake for 18-20 minutes. To test the cupcakes place a toothpick in the center of the cupcake, if it comes out clean they are done.

COOKIE DOUGH FROSTING:

3/4 cup butter

1 cup + 1 tablespoon light brown sugar

2 teaspoons vanilla extract

1 and 1/4 cups all-purpose flour

7 tablespoons milk

1 and 1/2 cups mini chocolate chips

*Optional chocolate for garnish

Directions:

With an electric mixer cream together the butter and brown sugar, next add in the vanilla. Stir in the flour until doughy. Beat in the milk, now  fold in the chocolate chips. Pipe onto your cupcakes. ( Leah’s Note: In her video Emelyne shows this being done with a simple large zip baggie with the end cut off. The frosting is thick, so the hole needs to be pretty large. Also, I added another small step by adding a small piece of chocolate to the top for garnish…not needed but I had some and figured more chocolate couldn’t hurt!)


piping on cupcake cookie dough


CUPCAKE WRAPPER:

Here is my free cupcake wrapper template that you simply can click and print!


cupake template pic

SUPPLIES:

Scissors

Scrapbook paper

Scotch tape, glue dots, scrapbook glue, or something similar to these

STEP 1:

Print the template (please make sure that your printer is printing in actual size).

STEP 2:

Cut out the templates.

STEP 3:

Trace the template onto the scrapbook paper you would like to use.

STEP 4:

Tape or glue the two ends of the wrapper together.

STEP 5:

Set you cooled and frosted cupcake into the liner.

STEP 6:

Admire your gorgeous, homemade cupcake wrapper!

photo 5

This bite was pure cookie dough frosting, and it was girlie night-in, tell-all-of-your-secrets, sleepover worthy! Sorry for the super close up of me eating, or about to eat! He-he!

Again, a BIG thank you to Emelyne for letting me share the delicious cupcake love! I really hope that you enjoy this post and if there is any other baked good you’d like to see, I would be happy to try! Let me know your questions or thoughts by commenting (click the comment link right next to the title of this post), or find me on Facebook, Twitter, or Instagram! I would love to hear from you! Also if you have enjoyed this post, please stay awhile and subscribe by entering your email into the subscribe box on the right of this page. You will only be emailed when a new post from my page goes up!

FacebookTwitterEmailPinterestShare

Filed Under: Cooking, DIY Projects Tagged With: baker, baking, chocolate chip cookie dough, cookie dough, cupcake wrapper, cupcake wrapper template, diy, eggless chocolate chip cookie dough, frosting, leahtackles, projects, safe chocolate chip cookie dough, vanilla cupcake


SUBSCRIBE

Leave your email to subscribe!

SEARCH

SPONSORS

ARCHIVES

GRAB MY BUTTON


copy & paste code

site design by The Kinch Life Design & development by Olive & Ivy Design

Catch The Webinar Replay! Boundary Setting For Entrepreneurs

Go to leahtacklessocial.com and sign-up for the link!